
Delicious Rice Krispies Treats: A Family Favorite
There’s something magical about the simplicity and nostalgia of Rice Krispies Treats. Whether you’re a kid or an adult, these gooey, crunchy squares are sure to bring a smile to your face. I remember making them for the first time with my mom as a child—standing on a stool to reach the stove, mesmerized by the bubbling marshmallows. Over the years, I’ve perfected this classic recipe, and today, I’m thrilled to share it with you. From birthday parties to cozy movie nights, these treats are always a hit.
The Sweet History Behind Rice Krispies Treats
Rice Krispies Treats have been delighting taste buds since the 1930s when they were first created by a Kellogg’s employee named Mildred Day. She combined Rice Krispies cereal with melted marshmallows to make a simple snack for a fundraising event. The recipe quickly gained popularity and became a household staple. Today, variations like chocolate drizzled Rice Krispies or colorful holiday-themed treats keep this classic relevant. My favorite twist? Adding a sprinkle of sea salt on top for a sweet-and-salty flavor explosion!
Why You’ll Love This Rice Krispies Treats Recipe
This recipe is a dream come true for anyone who loves easy, no-bake desserts. With just three main ingredients and minimal prep time, you can whip up a batch in no time. The combination of buttery, chewy marshmallows and crispy cereal creates a texture that’s simply irresistible. Plus, it’s a great way to get kids involved in the kitchen—they’ll love stirring the mix and pressing it into the pan!
Perfect Occasions to Make Rice Krispies Treats
Rice Krispies Treats are incredibly versatile. They’re perfect for bake sales, potlucks, or as a quick snack after school. I love serving them at birthday parties because they’re so easy to customize with sprinkles, food coloring, or themed cookie cutters. During the holidays, I make peppermint-flavored treats by adding crushed candy canes. No matter the occasion, these treats are guaranteed to be a crowd-pleaser.
Ingredients for Classic Rice Krispies Treats
- 3 tablespoons unsalted butter
- 10 ounces mini marshmallows (about 40 large ones)
- 6 cups Rice Krispies cereal
- 1 teaspoon vanilla extract (optional but recommended)
Substitution Options for Your Rice Krispies Treats
If you’re looking to switch things up, there are plenty of substitutions you can try. Swap regular marshmallows for flavored ones like strawberry or chocolate. For a nuttier flavor, add chopped peanuts or almonds. If you’re avoiding dairy, use vegan butter and marshmallows. Gluten-free? Opt for gluten-free Rice Krispies cereal. The possibilities are endless!
Preparation Steps for Perfect Rice Krispies Treats
Step 1: Melt the Butter and Marshmallows
Start by melting the butter in a large saucepan over low heat. Once it’s completely melted, add the marshmallows and stir continuously until they’re smooth and creamy. This step is crucial because it ensures the marshmallows melt evenly without burning. Pro tip: Use a silicone spatula to scrape every last bit of marshmallow goodness from the pan!
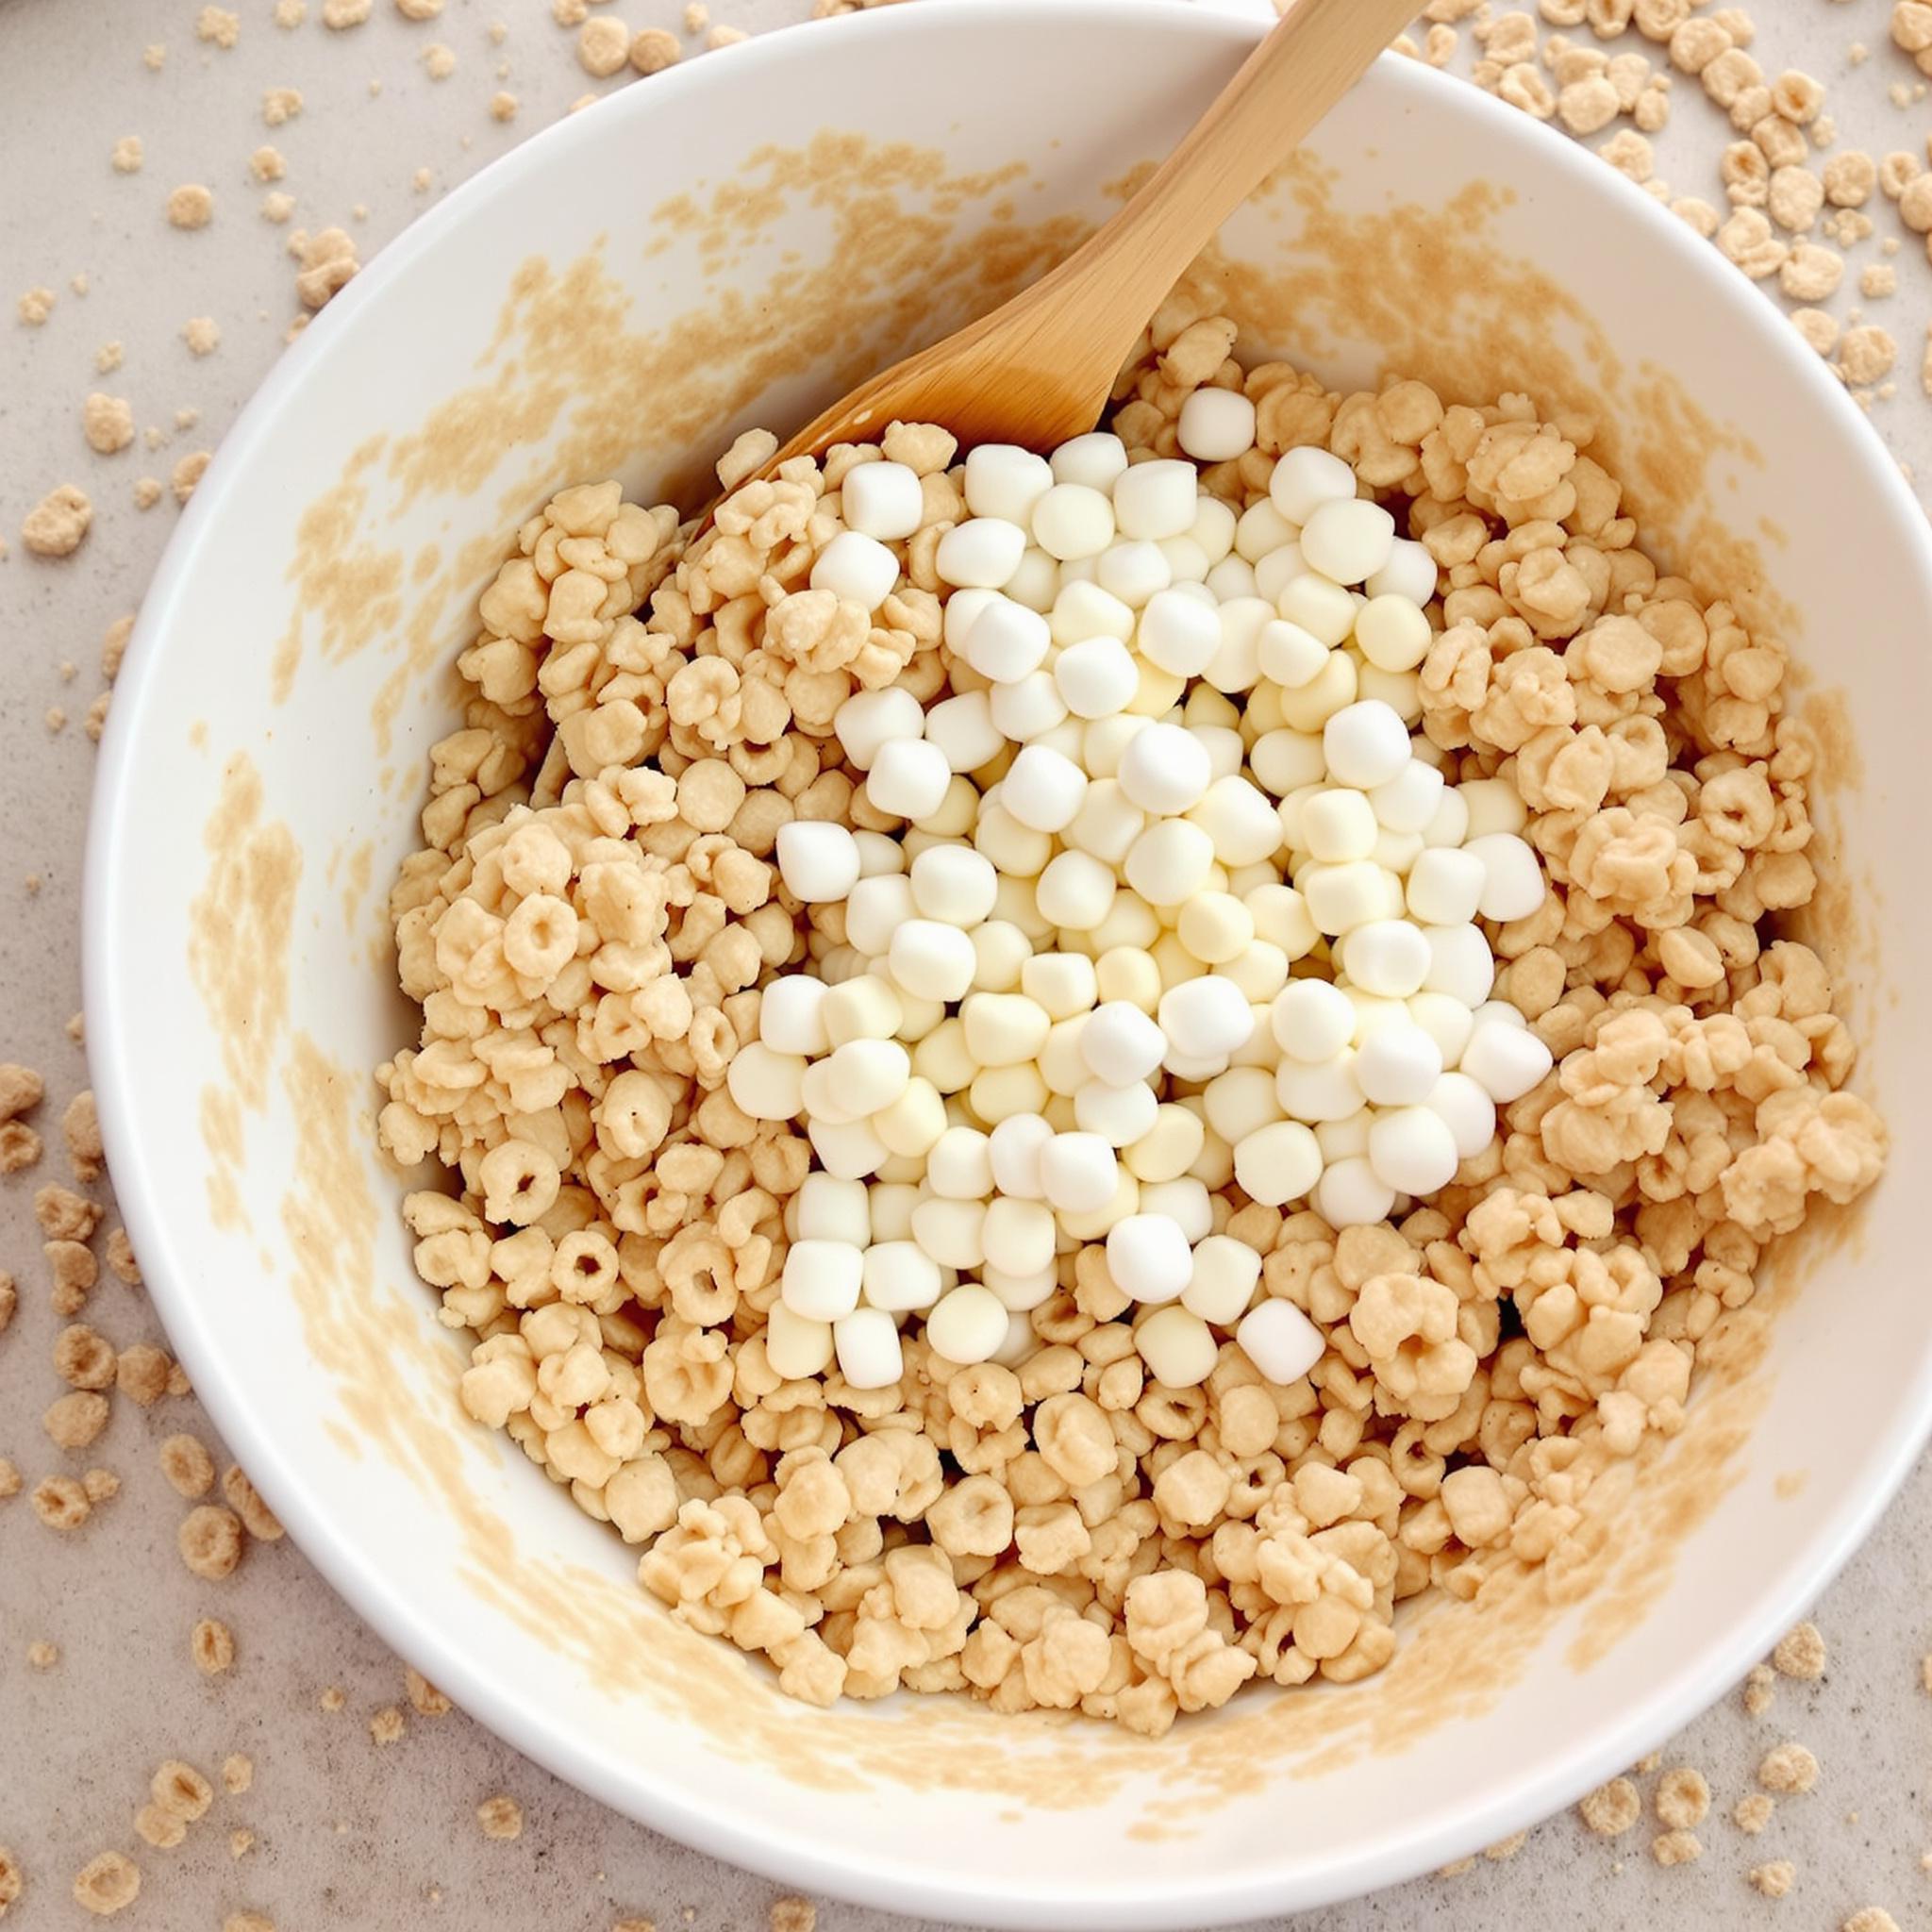
Step 2: Combine the Cereal
Once the marshmallows are melted, remove the pan from the heat and stir in the vanilla extract for a hint of extra flavor. Then, gradually add the Rice Krispies cereal, folding it gently into the marshmallow mixture. Be careful not to crush the cereal—it’s the key to achieving that satisfying crunch. The golden hue of the cereal combined with the sticky marshmallow is pure magic!
Step 3: Press Into the Pan
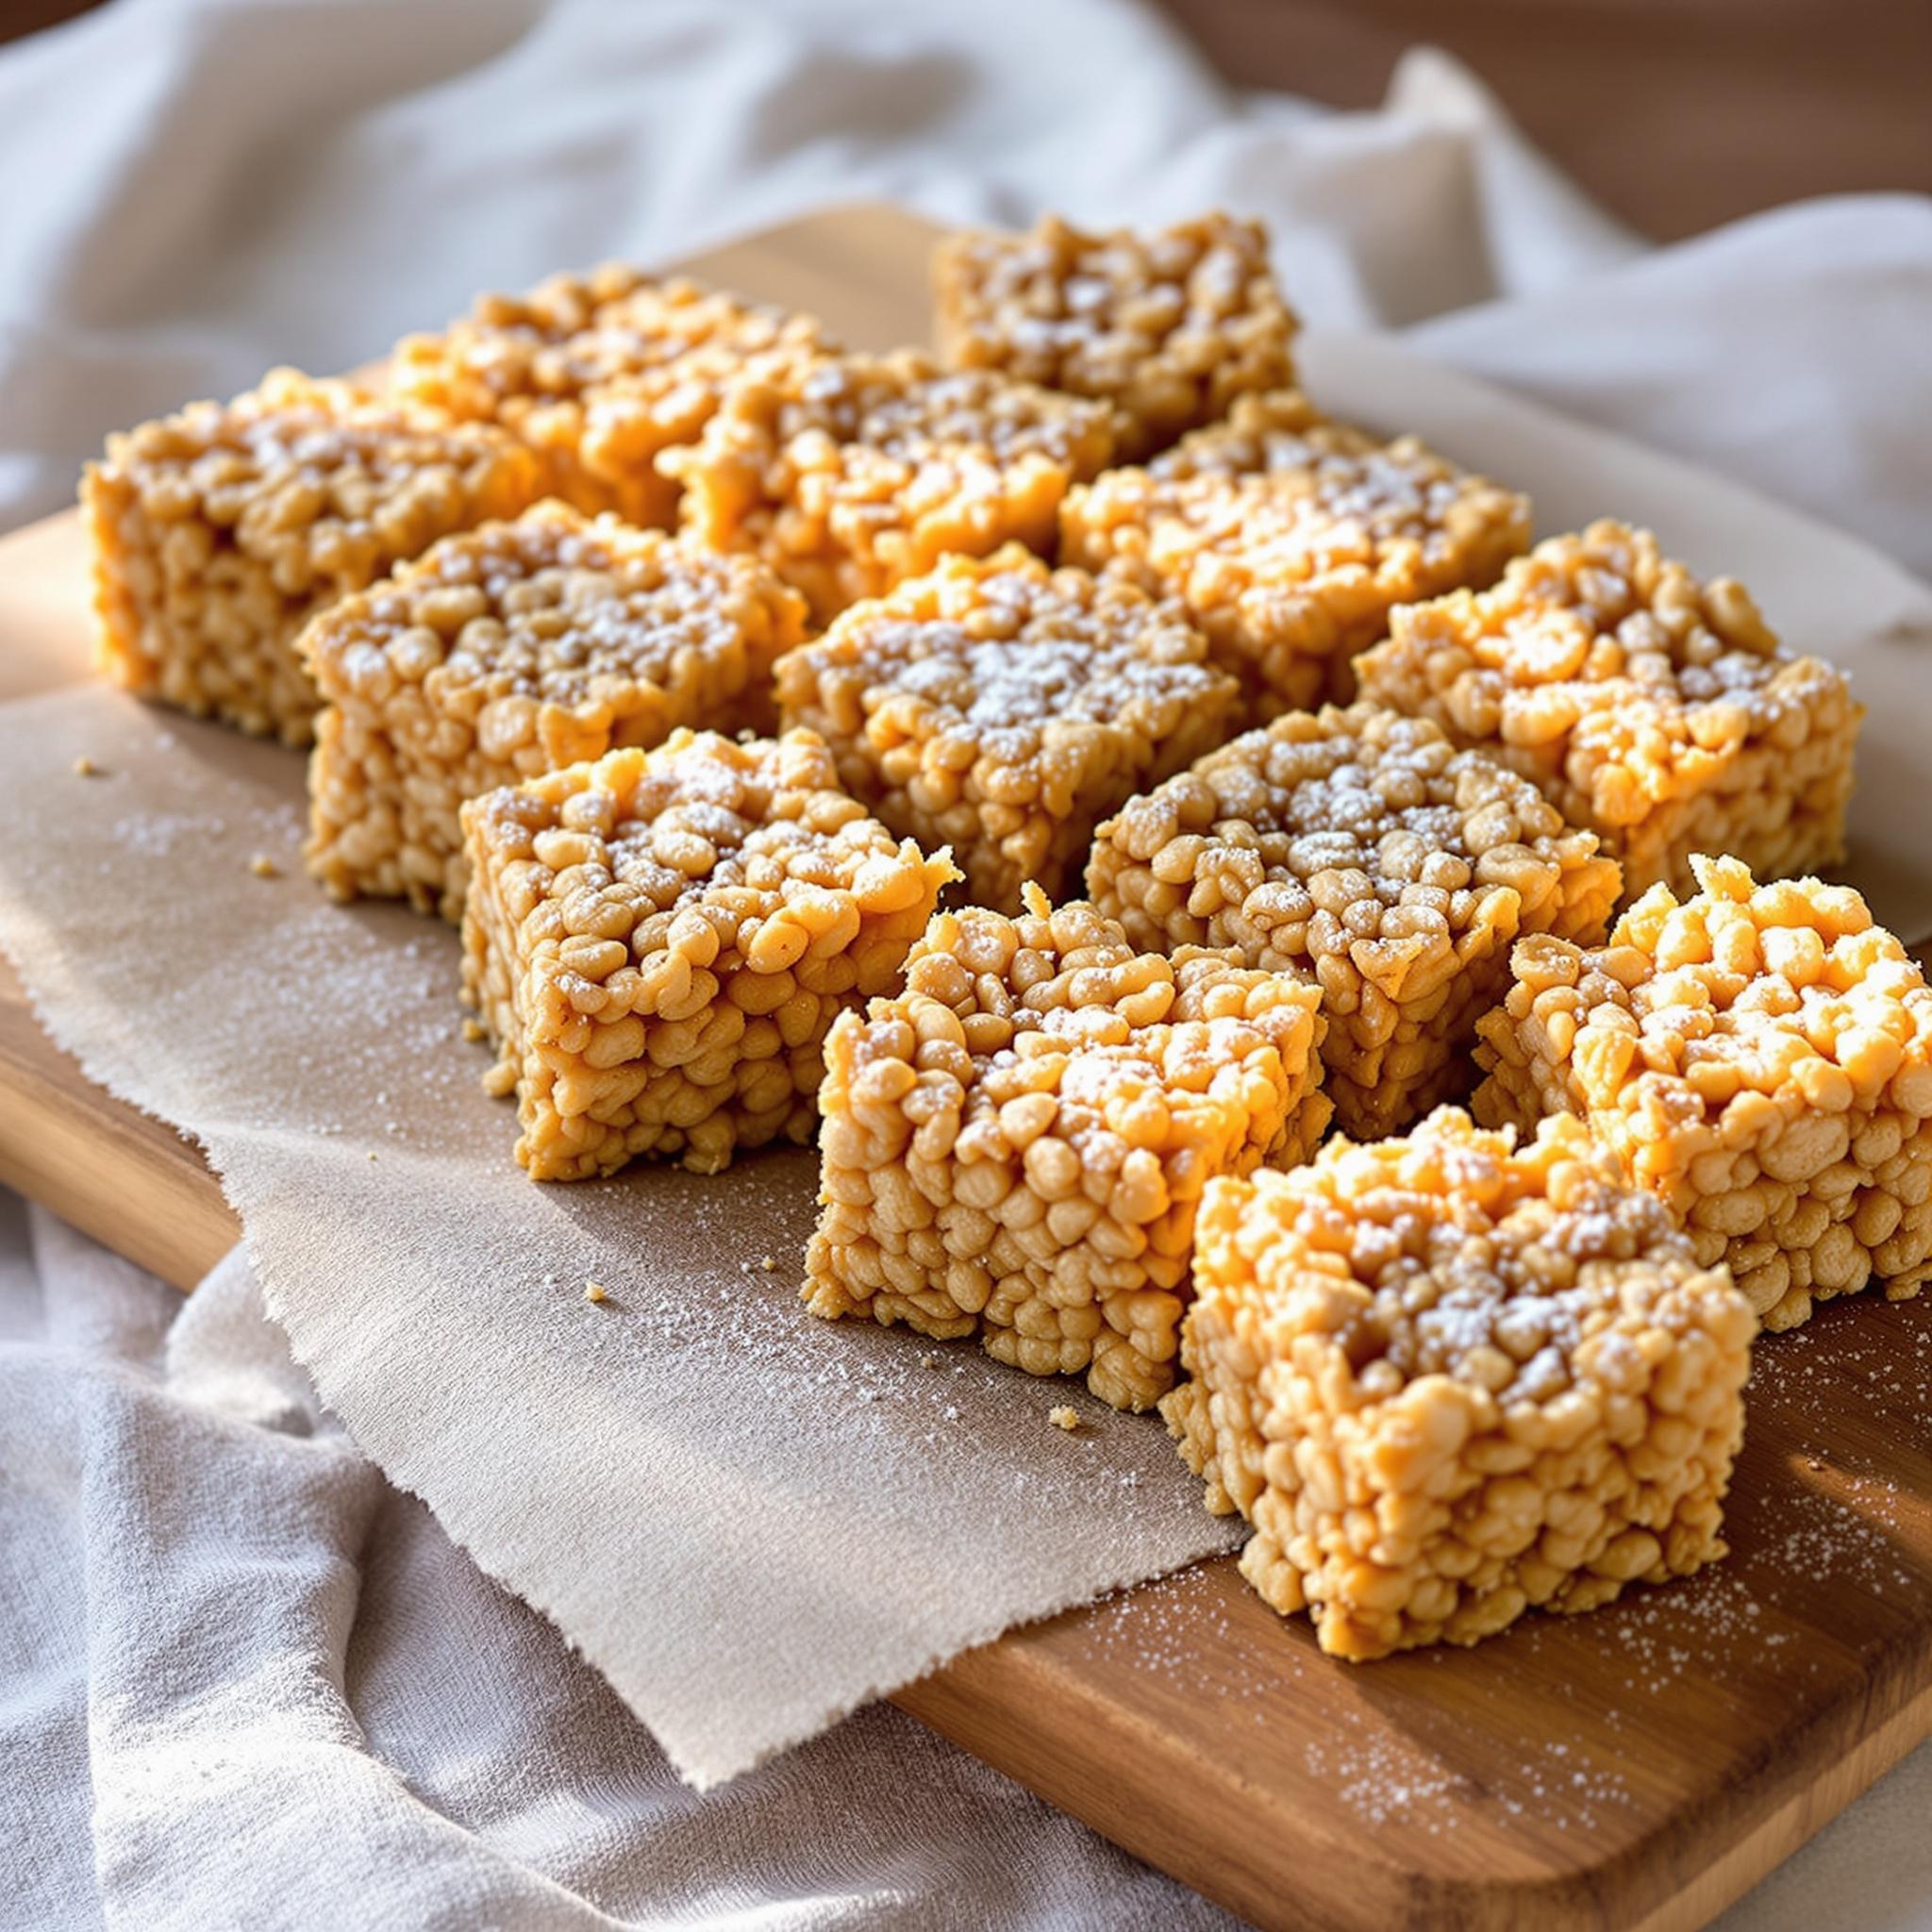
Transfer the mixture to a greased 8×8-inch baking pan. Using a piece of parchment paper or a spatula, press the mixture firmly into the pan to create an even layer. This step might require some elbow grease, but trust me, it’s worth it. Let the treats cool for about 15 minutes before cutting them into squares. As they set, the aroma of warm marshmallows fills the air—it’s heavenly!
Chef’s Tip for Extra Gooey Treats
To take your Rice Krispies Treats to the next level, try using a 1:1 ratio of marshmallows to cereal. This will result in an ultra-gooey texture that’s perfect for those who love their treats extra sticky. Just be prepared for messy fingers—it’s part of the fun!
Time Required for Rice Krispies Treats
- Prep Time: 10 minutes
- Cooking Time: 5 minutes
- Total Time: 15 minutes + cooling time
Nutritional Information
Per serving (1 square): Calories: 150 | Protein: 2g | Fat: 5g | Carbohydrates: 27g | Sugar: 15g
An Interesting Curiosity About Rice Krispies Treats
Did you know that Rice Krispies Treats were originally marketed as a breakfast food? In the 1940s, Kellogg’s promoted them as a quick and nutritious morning snack. While we now think of them as a dessert, they’re still a fun reminder of how versatile this recipe truly is.
Necessary Tools for Making Rice Krispies Treats
- Large saucepan
- Silicone spatula
- 8×8-inch baking pan
- Parchment paper
Storage Instructions for Rice Krispies Treats
To keep your Rice Krispies Treats fresh, store them in an airtight container at room temperature. Avoid refrigerating them, as the cold can make the marshmallows hard and lose their gooey texture. For longer storage, you can freeze the treats for up to two months. Simply wrap each square individually in plastic wrap before placing them in a freezer-safe bag.
If you live in a humid climate, consider adding a silica gel packet to the container to prevent the treats from becoming sticky. Proper storage ensures that every bite remains as delightful as the first.
Finally, don’t forget to label the container with the date. It’s easy to lose track of time when these treats are so delicious!
Tips and Tricks for Perfect Rice Krispies Treats
- Use fresh marshmallows for the best texture.
- Grease your hands lightly before pressing the mixture into the pan for easier handling.
- Add mix-ins like chocolate chips or sprinkles while the mixture is still warm to incorporate them evenly.

Serving Suggestions for Rice Krispies Treats
For a festive touch, drizzle melted chocolate or caramel over the cooled treats. You can also serve them alongside ice cream for a decadent sundae topping. Another fun idea is to cut them into fun shapes using cookie cutters—perfect for themed parties!
Healthier Alternatives for Rice Krispies Treats
Here are six healthier variations to try:
- Coconut Oil Swap: Replace butter with coconut oil for a dairy-free option.
- Honey Marshmallows: Use marshmallows made with honey instead of corn syrup.
- Protein-Packed: Add a scoop of vanilla protein powder to the marshmallow mixture.
- Fruit Infusion: Mix in dried cranberries or blueberries for natural sweetness.
- Dark Chocolate Drizzle: Top with dark chocolate for added antioxidants.
- Gluten-Free Option: Use certified gluten-free Rice Krispies cereal.
Common Mistakes to Avoid When Making Rice Krispies Treats
Mistake 1: Overcooking the Marshmallows
One of the most common mistakes is cooking the marshmallows too long, which can cause them to turn brown and develop a burnt flavor. To avoid this, melt them slowly over low heat and stir constantly. Pro tip: Remove the pan from the heat just before all the marshmallows are fully melted—the residual heat will finish the job.
Mistake 2: Crushing the Cereal
It’s tempting to press the mixture firmly into the pan, but applying too much pressure can crush the cereal and ruin the texture. Instead, use gentle, even pressure to maintain that delightful crunch. A piece of parchment paper between your hands and the mixture helps distribute the force evenly.
Mistake 3: Skipping the Vanilla Extract
While it may seem optional, skipping the vanilla extract means missing out on a subtle depth of flavor. Always include it for a richer taste experience. Trust me, it makes a noticeable difference!
Frequently Asked Questions About Rice Krispies Treats
Can I use large marshmallows instead of mini ones?
Yes, you can substitute large marshmallows, but you’ll need to chop them into smaller pieces to ensure they melt evenly. Mini marshmallows are preferred because they melt faster and distribute more uniformly throughout the mixture.
How do I prevent my treats from sticking to the pan?
Lightly grease the pan with butter or nonstick spray before adding the mixture. Alternatively, line the pan with parchment paper for easy removal and cleanup.
Can I freeze Rice Krispies Treats?
Absolutely! Wrap each square individually in plastic wrap and place them in a freezer-safe bag. They can be stored for up to two months. Thaw at room temperature before serving.
What can I add to make the treats more exciting?
Try mixing in chocolate chips, sprinkles, crushed cookies, or even dried fruit for added flavor and texture. Get creative and tailor the additions to your preferences!
Why did my treats turn out dry?
Dry treats often result from using old marshmallows or not enough marshmallows in the recipe. Always use fresh marshmallows and follow the recommended ratios for the best results.
How can I make gluten-free Rice Krispies Treats?
Simply swap regular Rice Krispies cereal for a certified gluten-free version. Ensure all other ingredients, such as marshmallows, are also gluten-free.
Can I reduce the sugar content?
You can experiment with using fewer marshmallows or opting for marshmallows made with natural sweeteners. However, keep in mind that reducing sugar may affect the texture slightly.
What tools do I need to make Rice Krispies Treats?
A large saucepan, silicone spatula, 8×8-inch baking pan, and parchment paper are essential for making this recipe. These tools help ensure smooth preparation and easy cleanup.
How long do Rice Krispies Treats stay fresh?
Stored in an airtight container at room temperature, they remain fresh for up to three days. Beyond that, they may start to lose their crispiness.
Can I make Rice Krispies Treats ahead of time?
Yes, you can prepare them a day in advance and store them properly. Just be sure to cover them tightly to maintain freshness until serving time.
Conclusion
Rice Krispies Treats are a timeless classic that never fails to bring joy. Their simplicity, versatility, and nostalgic charm make them a must-have in any baker’s repertoire. Whether you stick to the traditional recipe or experiment with creative variations, these treats are sure to become a family favorite. So grab your ingredients, gather your loved ones, and let the fun begin!
Equipment
- Large saucepan
- Silicone spatula
- 8x8-inch baking pan
- Parchment paper
Ingredients
- 3 tablespoons unsalted butter
- 10 ounces mini marshmallows (about 40 large ones)
- 6 cups Rice Krispies cereal
- 1 teaspoon vanilla extract (optional but recommended)
Instructions
- Start by melting the butter in a large saucepan over low heat. Once it’s completely melted, add the marshmallows and stir continuously until they’re smooth and creamy.
- Once the marshmallows are melted, remove the pan from the heat and stir in the vanilla extract for extra flavor. Gradually add the Rice Krispies cereal, folding it gently into the marshmallow mixture.
- Transfer the mixture to a greased 8x8-inch baking pan. Using a piece of parchment paper or a spatula, press the mixture firmly into the pan to create an even layer. Let the treats cool for about 15 minutes before cutting them into squares.
Notes
Nutrition

Hi, I’m Olivia Parker, the founder of BakingSecret.com and a lifelong lover of all things sweet and homemade. I grew up in a small town in Oregon, where the smell of fresh cookies in my family’s kitchen sparked my passion for baking. Over the years, I turned that passion into a mission: to help home bakers feel confident, inspired, and creative.
After studying food science and working in several artisan bakeries across the U.S., I decided to create a space where everyone from beginners to seasoned bakers can find reliable recipes, expert tips, and a warm, welcoming community. BakingSecret.com is my way of sharing the magic of baking with the world. When I’m not testing new recipes, you’ll find me exploring farmers’ markets, collecting vintage cookbooks, or perfecting my sourdough technique.