
Why I Love Cakes and Mini Cakes
I still remember the first time I tasted a mini cake. It was at a friend’s birthday party, and there it sat on the dessert table—a tiny, perfectly frosted chocolate cake just for me. One bite, and I was hooked. That moment made me realize something: cakes and mini cakes are more than just desserts. They’re little bites of joy. Whether you’re celebrating a big event or simply treating yourself after a long day, these sweet creations have a way of making life better.
In the USA, cakes and mini cakes are everywhere. From weddings to office parties, they’re a staple at celebrations. Why? Because they’re versatile, delicious, and easy to share—or keep all to yourself. Plus, mini cakes give you the perfect excuse to try multiple flavors without overindulging. In this article, I’ll share some of my favorite recipes, tips for baking, decorating ideas, and answers to common questions about cakes and mini cakes. Let’s get started!
Why Choose Cakes and Mini Cakes?
Versatility of Cakes and Mini Cakes
Cakes and mini cakes aren’t just for birthdays anymore. These treats work for almost any occasion. Need a centerpiece for your dessert table? A beautifully decorated cake does the job. Want party favors that guests will actually use? Mini cakes are the answer. Their bite-sized appeal makes them ideal for casual gatherings, formal events, or even as gifts.
Here’s why they stand out:
- Perfect for any celebration: Birthdays, weddings, anniversaries—you name it, cakes and mini cakes fit right in.
- Easy to customize: You can tailor flavors, colors, and decorations to match the theme of your event.
- Great portion control: Mini cakes let you enjoy a treat without overdoing it, which is especially helpful if you’re watching your calorie intake.
And let’s not forget their practicality. Bite-sized desserts like mini cakes make serving a breeze. No need to slice or worry about uneven portions—each guest gets their own little masterpiece.
Health-Conscious Options
If you’re someone who loves desserts but wants to stay mindful of your health, mini cakes are a game-changer. Smaller portions mean fewer calories, so you can indulge without guilt. For example, instead of slicing a large cake and eating multiple servings, a single mini cake satisfies your craving in one go.
Even better, you can tweak recipes to make them healthier. Here are a few ideas:
- Use whole grains: Swap refined flour for whole wheat or almond flour to add nutrients.
- Reduce sugar: Many recipes taste just as good with less sugar or natural alternatives like honey or maple syrup.
- Add fruits: Top your mini cakes with fresh berries or incorporate mashed bananas into the batter for natural sweetness.
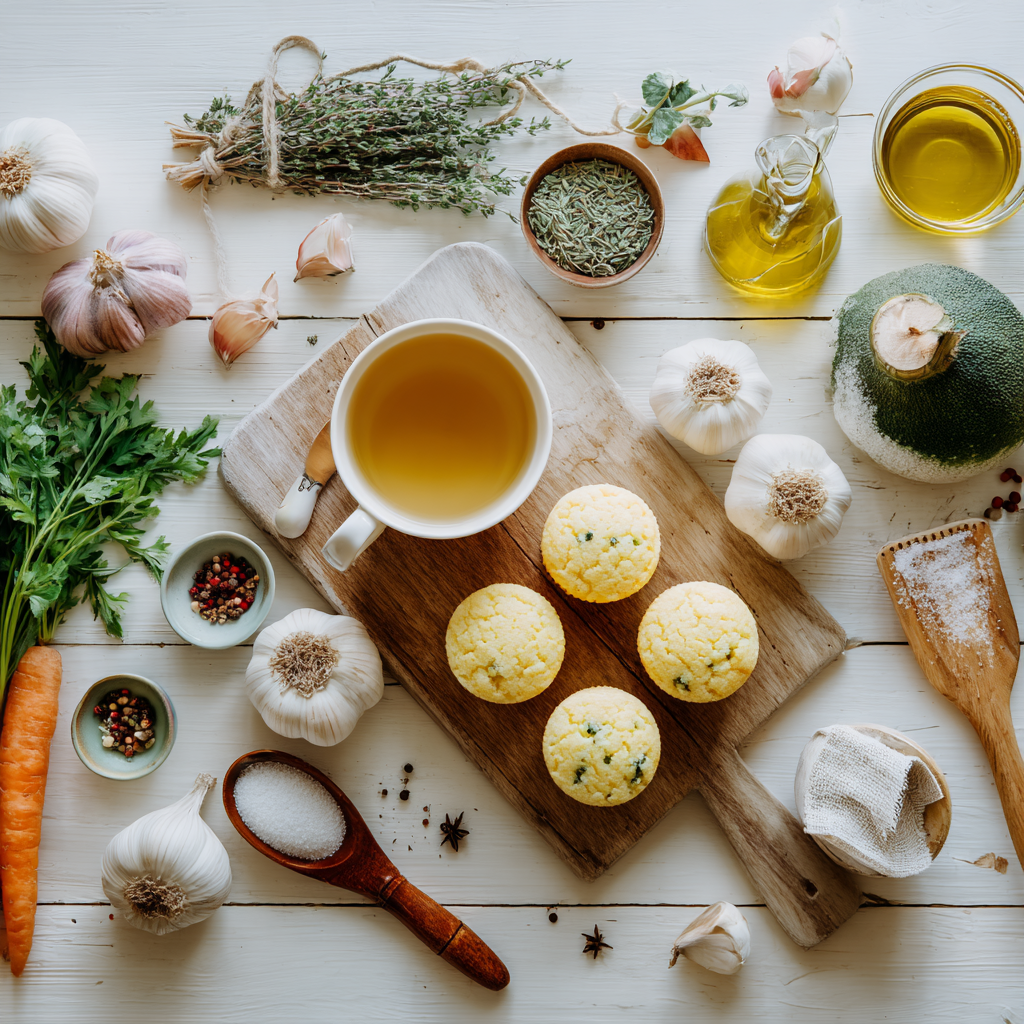
Searching for low-calorie mini cakes or healthy cake alternatives doesn’t have to feel overwhelming. With a few adjustments, you can create desserts that align with your wellness goals while still tasting amazing. I’ve even found ways to sneak veggies into my mini cakes—yes, veggies! Think carrot cake or zucchini-based recipes that pack flavor and nutrition.
At the end of the day, cakes and mini cakes are about more than just taste. They’re about connection, creativity, and finding joy in the little things. Whether you’re baking for a crowd or just for yourself, these treats bring people together. And trust me, once you try making your own, you’ll see how rewarding it can be.
How to Make Cakes and Mini Cakes at Home
Okay, so you’re sold on the idea of cakes and mini cakes being awesome, right? But what about making them yourself? Trust me, it’s not as intimidating as it sounds. In fact, baking your own cakes at home can be downright therapeutic. Plus, there’s nothing like the smell of vanilla wafting through your kitchen while you whip up something sweet. Let’s dive into the nitty-gritty of how to make these little wonders from scratch.
Essential Tools and Ingredients
Before we get our hands dirty (or floury), let’s talk tools. You don’t need a fancy bakery setup—just some basics that’ll make your life easier. First off, muffin tins are a must for mini cakes. They’re inexpensive and versatile, perfect for portioning out batter evenly. Oh, and if you’re thinking about decorating, invest in a piping bag and a small decorating kit. These will help you create those Instagram-worthy designs without breaking a sweat.
As for ingredients, the usual suspects apply: flour, sugar, eggs, butter, and flavorings like vanilla extract. I always keep these staples stocked because they’re the backbone of most cake recipes. Funny enough, I once ran out of vanilla extract mid-bake and tried substituting almond extract instead—it worked surprisingly well! If you’re looking for a crab cake sandwich recipe, though, maybe hold off on adding vanilla. Just saying.
Here’s the thing: having the right baking supplies for cakes makes all the difference. A good whisk, a sturdy spatula, and measuring cups are non-negotiables. And don’t forget parchment paper—it saves you from scrubbing pans later. Pro tip: write yourself a cake ingredient checklist before heading to the store. That way, you won’t end up halfway through a recipe only to realize you forgot the baking powder.
Step-by-Step Recipe Guide
Alright, let’s roll up our sleeves and bake some magic. Here’s an easy homemade cake recipe that works for both full-sized cakes and mini cakes. We’ll go with classic vanilla since it’s a crowd-pleaser and pairs beautifully with almost any frosting.
Ingredients:
- 1 cup unsalted butter, softened
- 1½ cups granulated sugar
- 4 large eggs
- 2 teaspoons vanilla extract
- 3 cups all-purpose flour
- 1 tablespoon baking powder
- ½ teaspoon salt
- 1 cup milk
Instructions:
- Preheat your oven to 350°F (175°C). Grease your muffin tin or cake pan lightly with butter or nonstick spray.
- In a large mixing bowl, cream the butter and sugar together until fluffy. This should take about 2–3 minutes with a hand mixer.
- Add the eggs one at a time, beating well after each addition. Stir in the vanilla extract.
- In another bowl, whisk together the flour, baking powder, and salt. Gradually add this dry mix to the wet ingredients, alternating with the milk. Mix until smooth but don’t overbeat.
- Pour the batter into your prepared pans. For mini cakes, fill each muffin cup about two-thirds full.
- Bake for 18–20 minutes for mini cakes or 25–30 minutes for a larger cake. To check doneness, insert a toothpick into the center—it should come out clean.
- Let the cakes cool completely before frosting. Patience is key here!
See? Not too bad, right? With this how-to-bake-mini-cakes-step-by-step guide, you’ve got everything you need to impress your friends—or just treat yourself. By the way, if you ever want to try something more intricate, like a graduation cake, this basic recipe can serve as a solid foundation.
Decorating Ideas for Cakes and Mini Cakes
Now comes the fun part—decorating! Honestly, this is where I lose track of time. There’s something oddly satisfying about turning plain cakes into edible works of art. Whether you’re going for simple elegance or over-the-top creativity, the possibilities are endless.
Creative Themes and Designs
Seasonal decorations are my go-to when I’m stuck for ideas. For example, during fall, I love adorning mini cakes with orange frosting and tiny fondant leaves. Winter calls for snowflake patterns using white icing and sprinkles. Holidays? Absolutely. I once made a baseball-themed mini cake for my nephew using red piping gel for stitching details—it was adorable. If you’re curious about themed cakes, check out this baseball cake design for inspiration.
Floral patterns are another favorite of mine. Using a piping bag fitted with a petal tip, you can create stunning roses or daisies. One time, I attempted a vintage heart cake for Valentine’s Day, complete with lace-like borders. It turned out so cute that I ended up sharing the tutorial on my blog. Decorating mini cakes for parties doesn’t have to be stressful; start small and build your confidence.
Tools and Techniques for Beginners
If you’re new to decorating, don’t panic. Start with simple techniques for decorating mini cakes, like spreading frosting smoothly with an offset spatula. Once you’re comfortable, experiment with piping. A star tip is great for beginners because it hides imperfections and adds texture.
Edible decorations are also lifesavers. Think sprinkles, edible pearls, or even fresh fruit. Berries look fantastic on whipped cream-topped cakes, and they add a pop of color. Speaking of tools, the best tools for cake decorating include turntables (for smooth spinning), bench scrapers (to achieve sharp edges), and silicone mats (for mess-free prep).
One last tip: practice makes perfect. My first attempts at piping were laughably messy, but now I can pipe a decent rosette. So give yourself grace and enjoy the process. After all, cakes and mini cakes are meant to bring happiness—not stress!
Common Questions About Cakes and Mini Cakes
You know what’s funny? Every time I post a photo of my mini cakes on social media, I get flooded with questions. People want to know how to store them, if they can make them vegan, or whether mini cakes are worth the extra effort. Honestly, I love it because it means folks are curious and eager to try their hand at baking. So, let’s tackle some of these common questions head-on.
Storage Tips for Your Cakes and Mini Cakes
First up, storage. Someone once asked me, “How do I keep my cakes fresh without them drying out?” Great question. Here’s the deal: cakes and mini cakes don’t last forever, but with the right care, you can extend their shelf life. For starters, always let your cakes cool completely before storing them. If they’re still warm, condensation can form inside the container, making them soggy. Nobody wants that.
If you’re planning to eat your cakes within a day or two, keeping them at room temperature in an airtight container works perfectly. But if you’ve made extras (which, let’s be honest, is always a good idea), refrigerate them. Just make sure to wrap them tightly in plastic wrap or place them in a sealed container to prevent the fridge from stealing their moisture. Oh, and here’s a pro tip: freeze mini cakes for longer storage. Pop them into freezer-safe bags, and they’ll stay good for up to three months. Just thaw them at room temp before serving.
Dietary Adjustments for Special Needs
Now, what about dietary restrictions? A friend of mine recently went gluten-free, and she was devastated thinking she’d have to give up cakes. Spoiler alert: she didn’t. Making gluten-free or vegan cakes and mini cakes is totally doable. You just need to swap out a few ingredients.
For gluten-free bakers, almond flour or oat flour are fantastic alternatives to regular flour. They add a slightly nutty flavor and work beautifully in most recipes. Funny enough, I tried oat flour for the first time last month, and it turned out so well that I forgot it was “dietary” cake. As for vegans, plant-based butter and flax eggs (a mix of ground flaxseed and water) are game-changers. And don’t even get me started on aquafaba—the liquid from canned chickpeas. It whips up like egg whites and makes frosting light and fluffy.
By the way, if you’re looking for more dessert ideas that cater to special diets, check out our collection of cakes and cupcakes recipes. There’s something for everyone, whether you’re cutting back on gluten, dairy, or refined sugar.
Serving Suggestions to Elevate the Experience
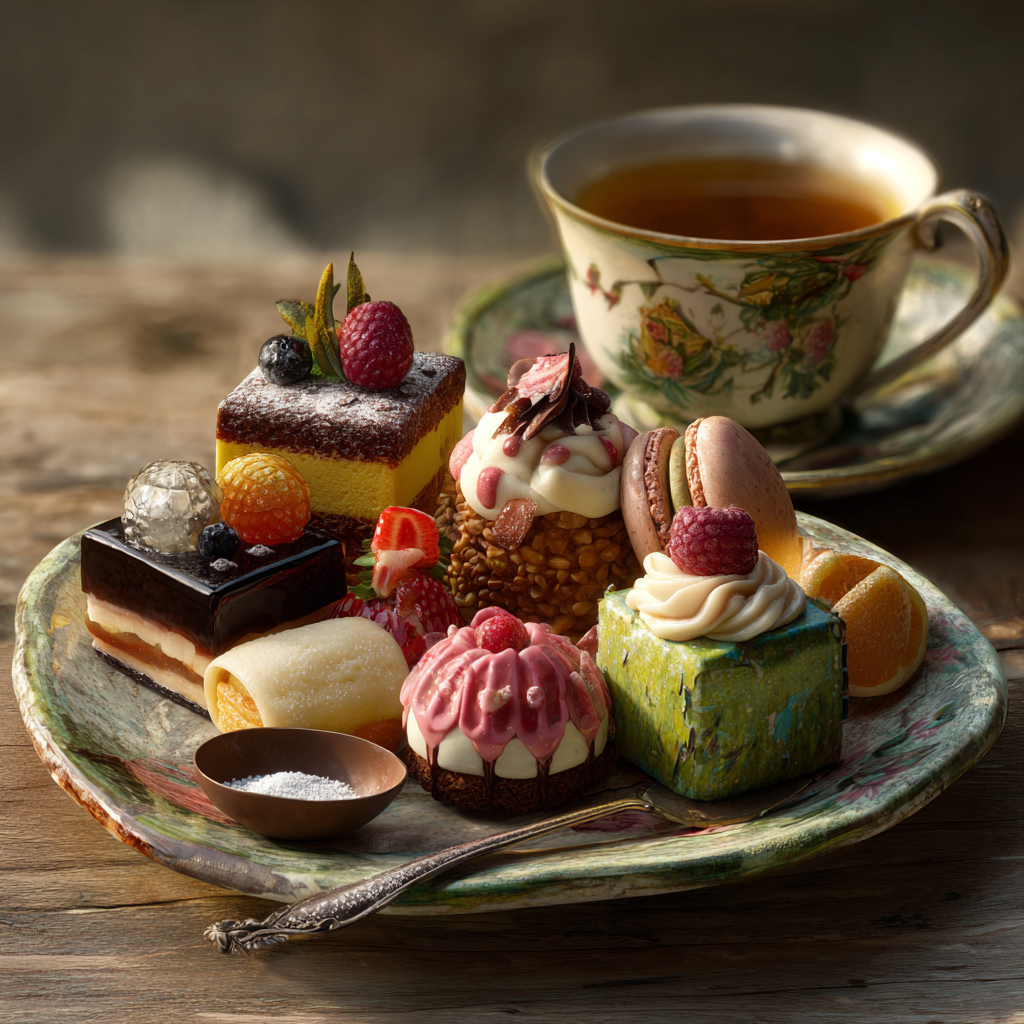
Alright, picture this: you’ve baked a batch of mini cakes, and they’re sitting there looking adorable. What’s next? Pairing them with the right drinks, of course. One of my favorite combos is mini chocolate cakes with a hot cup of coffee. The bitterness of the coffee balances the sweetness of the cake—it’s pure bliss. Tea lovers, you’re not left out either. A fragrant Earl Grey or chamomile tea pairs beautifully with lighter flavors like lemon or vanilla.
If you’re hosting a party, why not serve sparkling beverages alongside your cakes? I once served mini red velvet cakes with raspberry lemonade spritzers, and it was such a hit. The fizziness complemented the richness of the cakes without overwhelming them. Honestly, experimenting with drink pairings is half the fun. You might discover your new go-to combo!
Cost-Effectiveness of Mini Cakes
Here’s a question I hear a lot: “Are mini cakes more expensive than regular cakes?” The short answer is… it depends. On one hand, mini cakes require individual attention when it comes to baking and decorating, which can take more time. Plus, if you’re using fancy toppings or intricate designs, costs can add up. But on the flip side, mini cakes let you control portions better, which means less waste. If you’ve ever thrown away slices of a large cake that went stale, you know what I mean.
In terms of ingredients, the cost difference isn’t huge unless you’re splurging on premium stuff. Personally, I find mini cakes to be more cost-effective because I can bake smaller batches tailored to specific occasions. No leftover cake languishing in the fridge for days. And honestly, who doesn’t love having just enough dessert without feeling obligated to finish a whole cake?
Final Thoughts on Cakes and Mini Cakes
At the end of the day, cakes and mini cakes are all about creativity and connection. Whether you’re whipping up a quick batch for a family dinner or crafting show-stopping designs for a special event, these treats bring people together. My advice? Don’t be afraid to experiment. Try swapping flavors, playing with decorations, or even inventing your own recipe. Trust me, the process is as rewarding as the result.
So grab your apron, preheat that oven, and dive into the world of cakes and mini cakes. Who knows? You might surprise yourself with what you create. And hey, if you have any questions or want to share your creations, leave a comment below—I’d love to hear from you!
FAQs About Cakes and Mini Cakes
- How long do cakes and mini cakes last?
Cakes typically last 3–4 days at room temperature or up to a week in the fridge. Mini cakes freeze well for up to three months. - Can I use boxed cake mix for mini cakes?
Absolutely! Boxed mixes are convenient and work great for mini cakes. Just follow the instructions and adjust baking times accordingly. - What’s the best frosting for mini cakes?
Buttercream is versatile and easy to pipe, while ganache adds a rich, glossy finish. Choose based on your flavor preferences. - Do I need special tools to decorate mini cakes?
Not necessarily. An offset spatula and piping bag with basic tips are enough to get started. Advanced tools come later! - How do I stop my cakes from sticking to the pan?
Grease your pans thoroughly or line them with parchment paper. Silicone molds also work wonders for nonstick results. - Can I make mini cakes ahead of time?
Yes! Bake them in advance, cool completely, then store in airtight containers. Frost them the day of serving for freshness. - What’s the easiest way to transport mini cakes?
Use a cupcake carrier or a sturdy box lined with parchment paper to prevent movement during transit. - Why did my cakes sink in the middle?
This often happens if the batter is overmixed or the oven door is opened too early. Stick to proper mixing and timing. - Are mini cakes kid-friendly to make?
Definitely! Kids love helping with stirring, pouring batter, and decorating. It’s a fun family activity. - Where can I find unique cake recipes?
Explore our website for inspiration. From classic to quirky, we’ve got recipes to suit every taste and skill level.
Equipment
- Mixing Bowl
- Whisk
- Spatula
- Muffin Tin or Cake Pan
- Parchment Paper
Ingredients
- 1 cup unsalted butter, softened
- 1½ cups granulated sugar
- 4 large eggs
- 2 teaspoons vanilla extract
- 3 cups all-purpose flour
- 1 tablespoon baking powder
- ½ teaspoon salt
- 1 cup milk
Instructions
- Preheat your oven to 350°F (175°C). Grease your muffin tin or cake pan lightly with butter or nonstick spray.
- In a large mixing bowl, cream the butter and sugar together until fluffy (about 2–3 minutes with a hand mixer).
- Add the eggs one at a time, beating well after each addition. Stir in the vanilla extract.
- In another bowl, whisk together the flour, baking powder, and salt. Gradually add this dry mix to the wet ingredients, alternating with the milk. Mix until smooth but don’t overbeat.
- Pour the batter into your prepared pans. For mini cakes, fill each muffin cup about two-thirds full.
- Bake for 18–20 minutes for mini cakes or 25–30 minutes for a larger cake. Check doneness with a toothpick; it should come out clean.
- Let the cakes cool completely before frosting.
Notes
Nutrition

Hi, I’m Olivia Parker, the founder of BakingSecret.com and a lifelong lover of all things sweet and homemade. I grew up in a small town in Oregon, where the smell of fresh cookies in my family’s kitchen sparked my passion for baking. Over the years, I turned that passion into a mission: to help home bakers feel confident, inspired, and creative.
After studying food science and working in several artisan bakeries across the U.S., I decided to create a space where everyone from beginners to seasoned bakers can find reliable recipes, expert tips, and a warm, welcoming community. BakingSecret.com is my way of sharing the magic of baking with the world. When I’m not testing new recipes, you’ll find me exploring farmers’ markets, collecting vintage cookbooks, or perfecting my sourdough technique.