
Introduction to the Delightful Portuguese Pastel de Nata
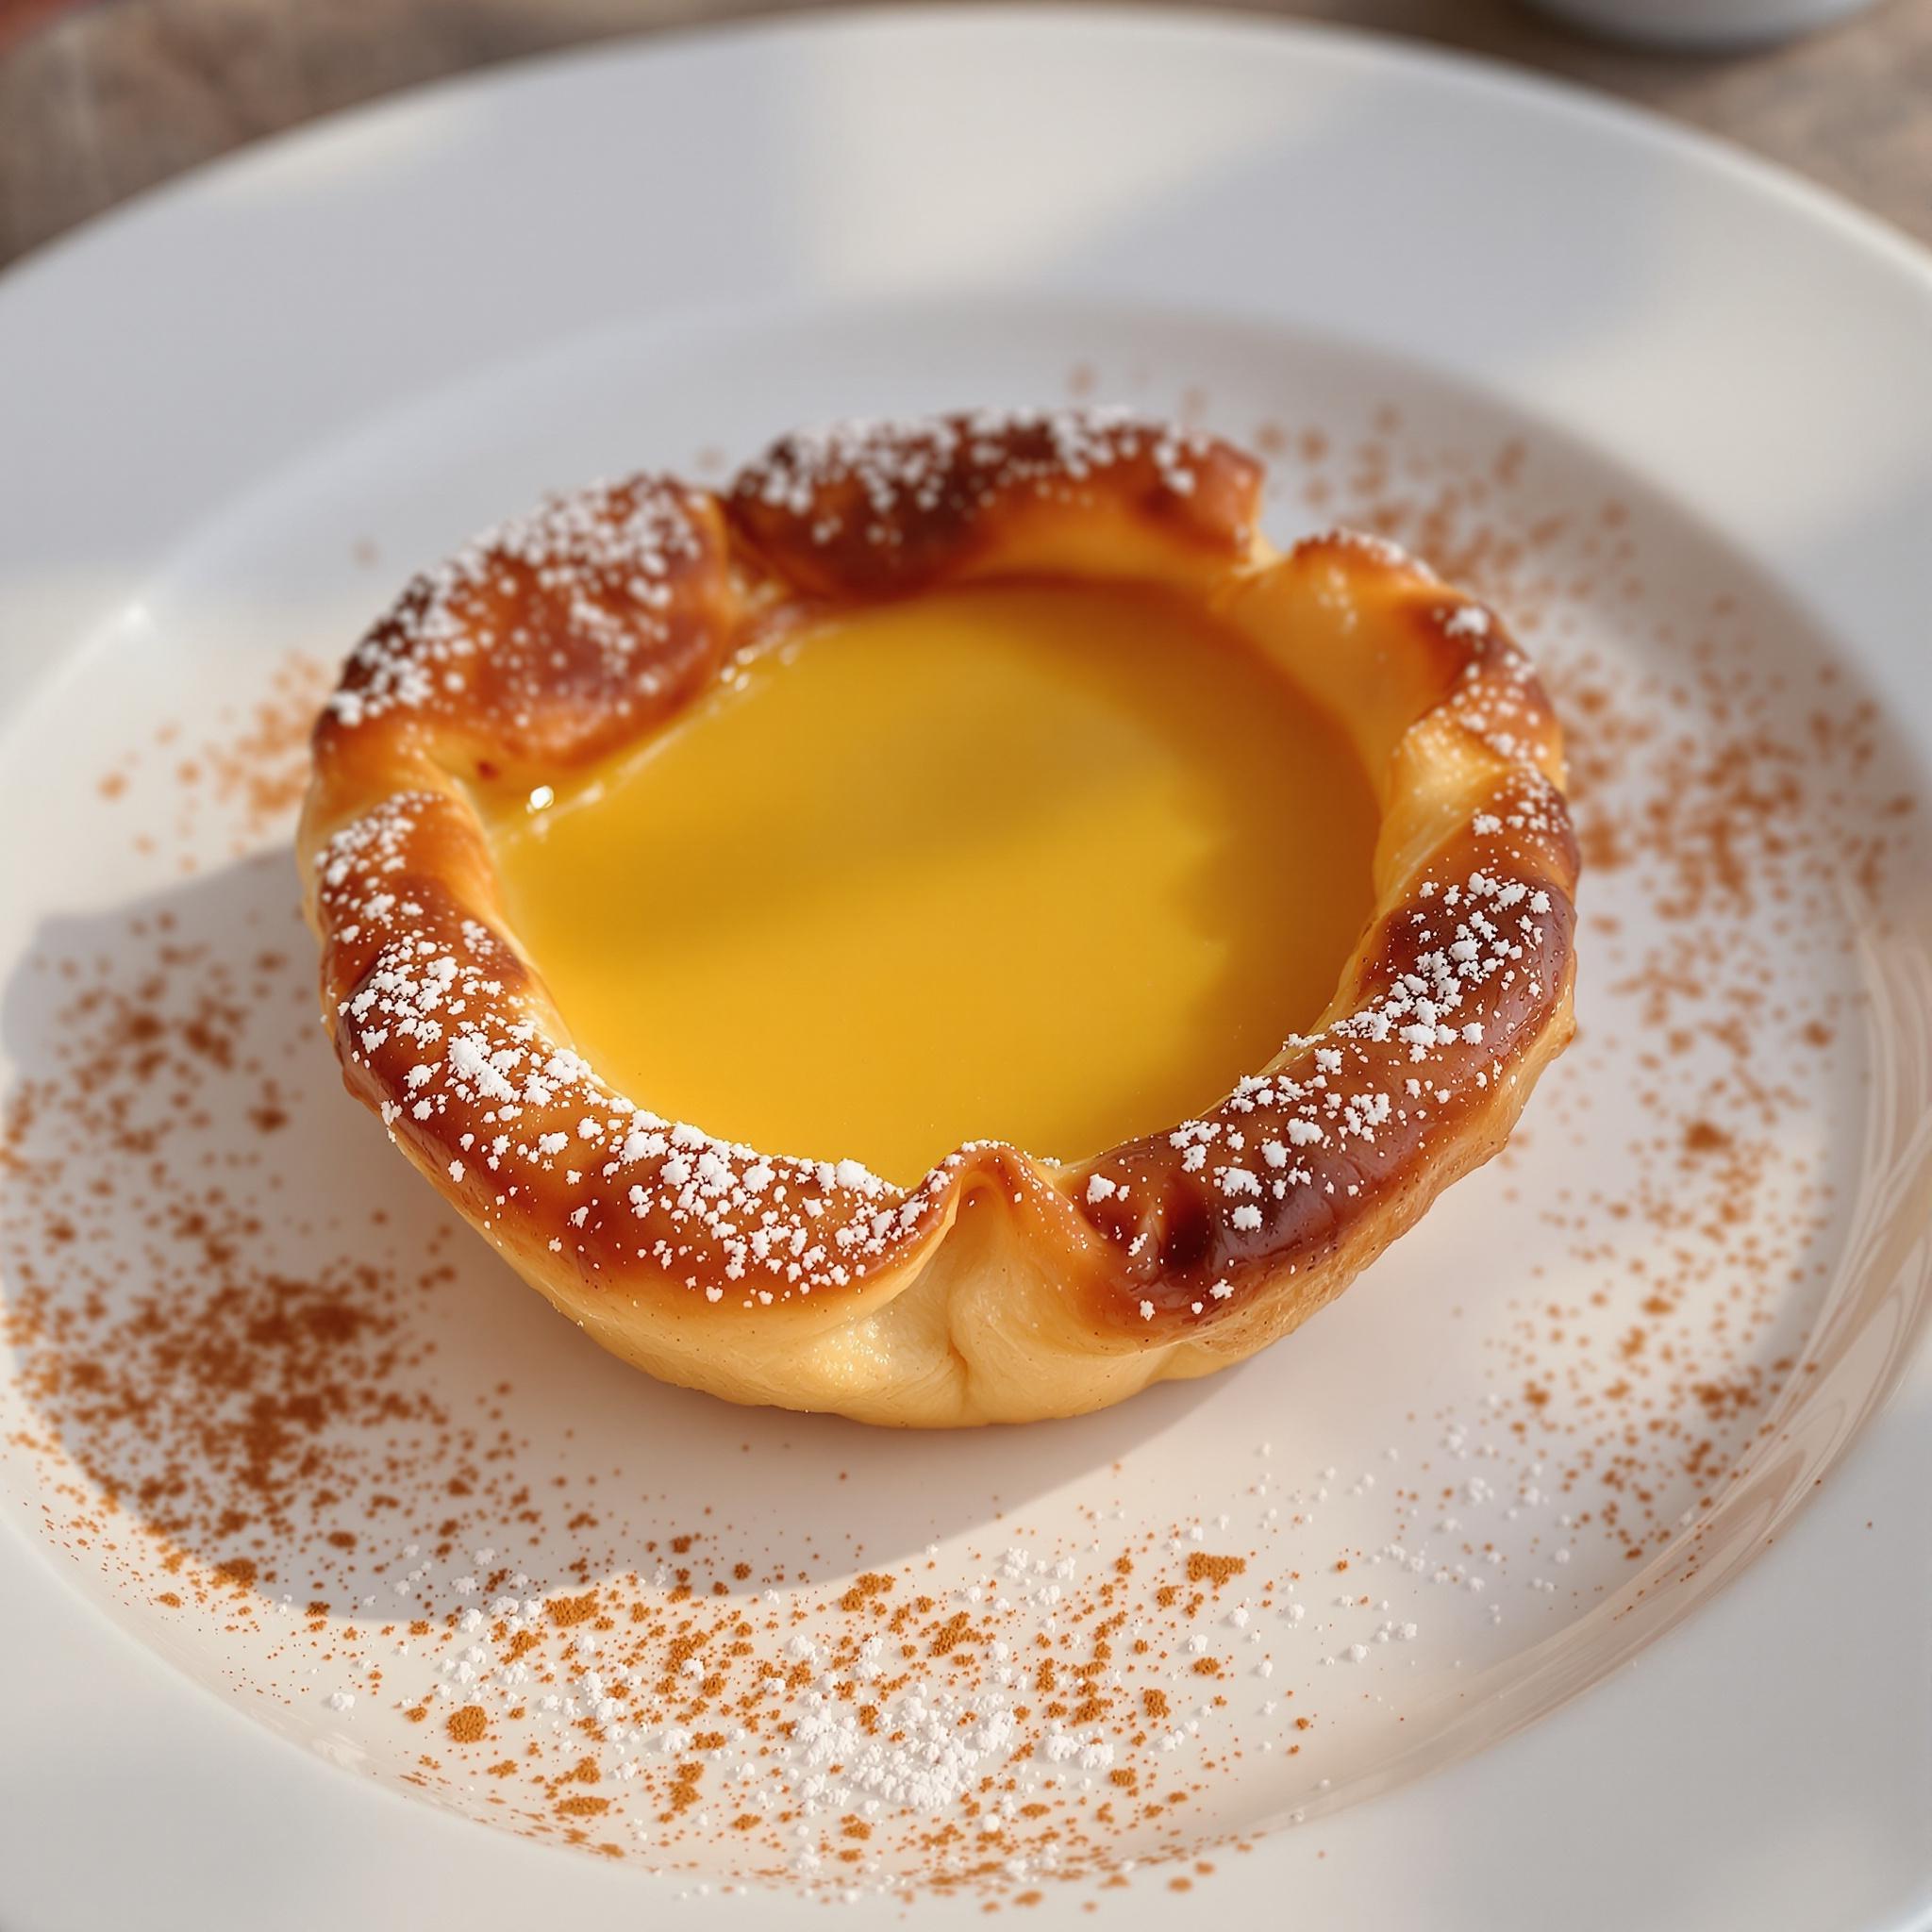
There’s something magical about the creamy, caramelized custard nestled in flaky pastry that makes Portuguese Pastel de Nata a timeless classic. This recipe is not just a dessert; it’s an experience that brings people together. I first tasted this heavenly treat during a trip to Lisbon, and since then, I’ve been on a mission to perfect my homemade version. Whether you’re new to baking or a seasoned pro, this recipe is sure to become a favorite in your kitchen.
The Rich History of Portuguese Pastel de Nata
The origins of Pastel de Nata trace back to the Jerónimos Monastery in Belém, Portugal, where monks created these tarts in the 18th century. Originally made to use leftover egg yolks from starching clothes, the recipe became a sensation when the monastery’s bakery began selling them to the public. Today, Pastéis de Belém, a bakery in Lisbon, still uses the original secret recipe. While my version may not be identical, it captures the essence of this iconic treat—crispy, creamy, and utterly irresistible.
Why You’ll Love This Portuguese Custard Tart Recipe
This Pastel de Nata recipe stands out for its simplicity and elegance. The combination of buttery puff pastry and velvety custard filling creates a symphony of textures and flavors. Plus, the aroma of cinnamon and vanilla wafting through your kitchen will make everyone gather around the table. It’s a dessert that feels indulgent yet comforting, perfect for any occasion.
Perfect Occasions to Prepare Portuguese Pastel de Nata
Whether you’re hosting a brunch with friends, celebrating a special occasion, or simply craving a sweet treat, these custard tarts are always a hit. They’re also a wonderful addition to holiday gatherings or afternoon tea. Trust me, once you bake a batch, they’ll disappear faster than you can say “Pastel de Nata”!
Ingredients for Perfect Portuguese Custard Tarts
- 1 sheet of store-bought puff pastry (or homemade if you’re feeling adventurous)
- 4 large egg yolks
- 1/2 cup granulated sugar
- 1 tablespoon all-purpose flour
- 1 1/4 cups whole milk
- 1 cinnamon stick
- 1 strip of lemon zest
- 1 teaspoon pure vanilla extract
Substitution Options for Versatility
If you’re looking to tweak the recipe, here are some ideas:
– Swap puff pastry for phyllo dough for a lighter texture.
– Use coconut milk instead of whole milk for a tropical twist.
– Replace granulated sugar with honey or maple syrup for a unique sweetness.
These substitutions allow you to experiment while keeping the essence of Portuguese Pastel de Nata intact.
Preparation: Step-by-Step Guide to Making Portuguese Custard Tarts
Step 1: Preparing the Puff Pastry
Start by rolling out your puff pastry sheet on a lightly floured surface. Gently press it into your tart molds, ensuring there are no air bubbles. Trim the excess pastry and prick the bottoms with a fork to prevent puffing during baking. Pro tip: Chill the molds in the fridge for 15 minutes before baking to ensure the pastry holds its shape.
Step 2: Crafting the Creamy Custard Filling
In a saucepan, combine milk, cinnamon stick, and lemon zest over medium heat. Bring it to a gentle simmer, allowing the flavors to infuse. Meanwhile, whisk together egg yolks, sugar, and flour in a separate bowl. Once the milk mixture is ready, slowly pour it into the egg mixture, stirring constantly to avoid curdling. Return the mixture to the saucepan and cook until thickened, creating a luscious custard base.
Step 3: Assembling and Baking the Tarts
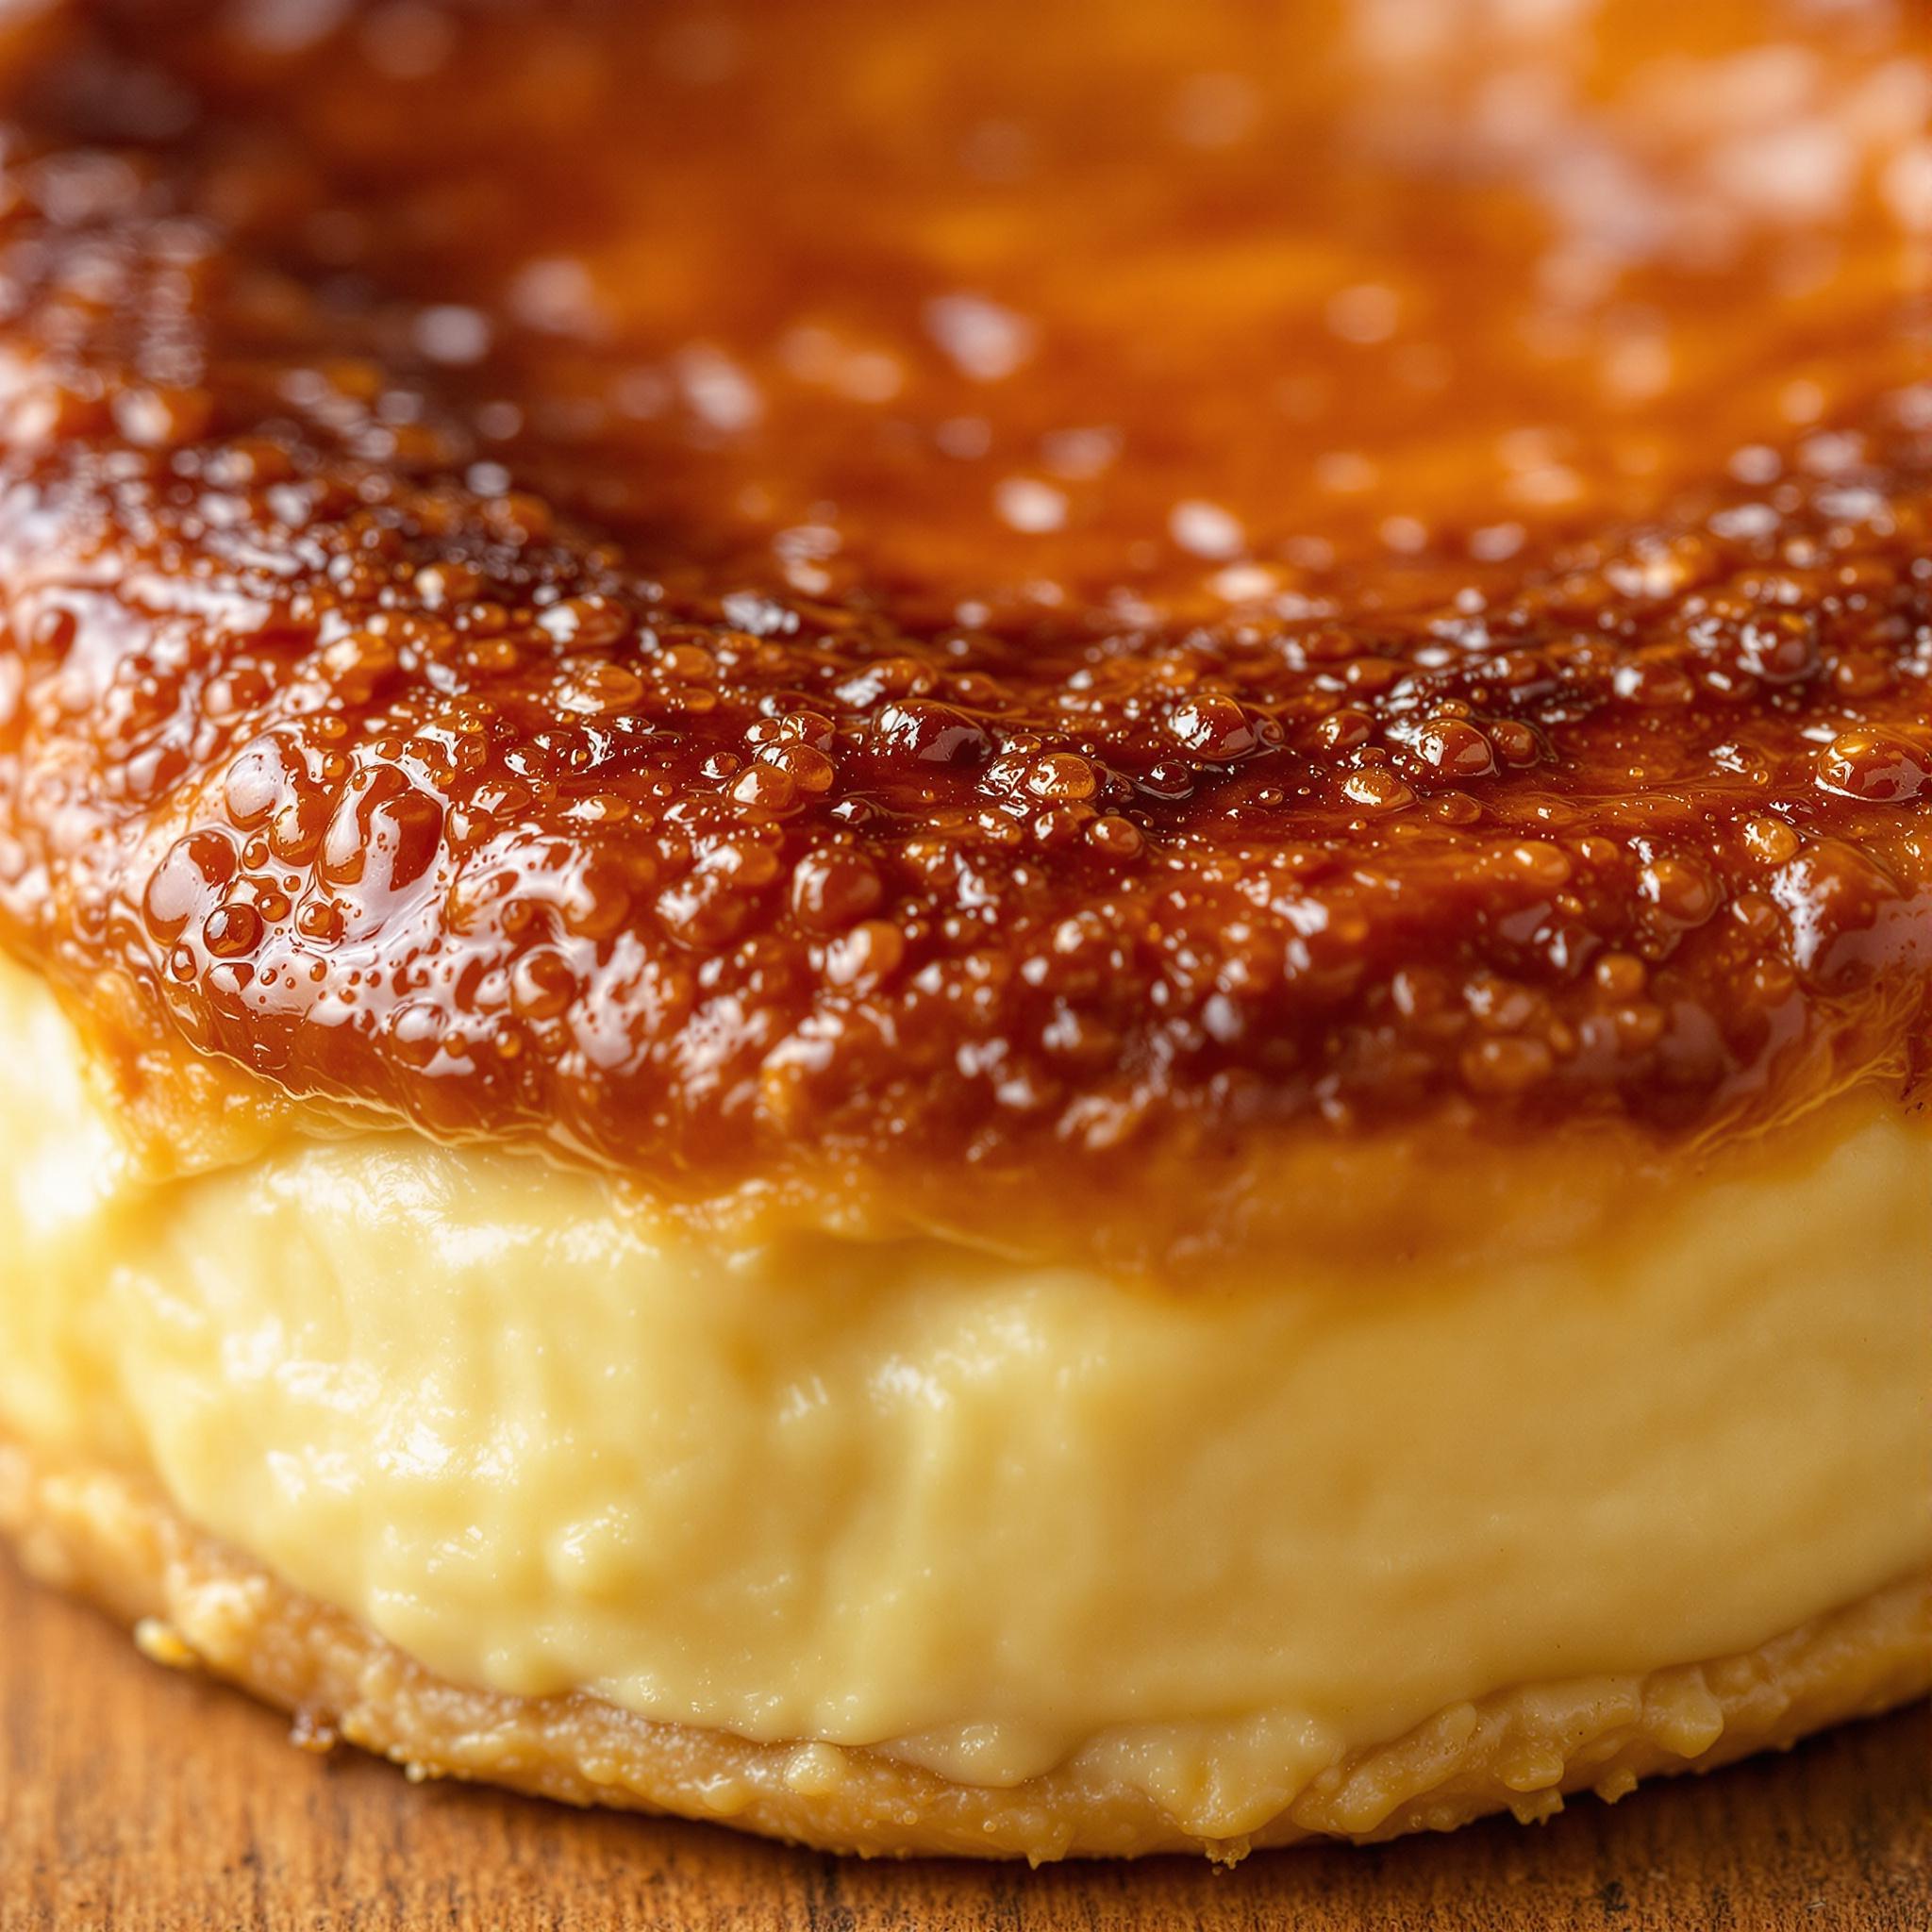
Pour the custard filling into the prepared pastry shells, filling each one almost to the top. Bake in a preheated oven at 475°F (245°C) for 12-15 minutes, or until the edges are golden brown and the custard develops those signature caramelized spots. The aroma will be intoxicating, and your kitchen will feel like a cozy Portuguese café.

Chef’s Tip for the Best Portuguese Pastel de Nata
To achieve the perfect caramelization, place your baking tray as close to the top of the oven as possible. This ensures the tops get that gorgeous golden-brown hue without overcooking the pastry. A sprinkle of cinnamon right before serving adds an extra layer of flavor.
Time Required for Portuguese Pastel de Nata
Prep time: 20 minutes | Cooking time: 15 minutes | Resting time: 15 minutes | Total time: 50 minutes
Nutritional Information
Per serving (1 tart): Calories: 250 | Protein: 5g | Fat: 12g | Carbohydrates: 30g
Extra Information: A Fun Fact About Pastel de Nata
The secret to the iconic black spots on the custard? It’s all about high heat! These caramelized spots are a hallmark of authenticity and add a delightful contrast to the creamy filling.
Necessary Tools for Making Portuguese Pastel de Nata
- Tart molds or muffin tin
- Rolled pin
- Saucepan
- Whisk
- Baking tray
Storage Instructions for Portuguese Custard Tarts
Store your Pastel de Nata in an airtight container at room temperature for up to 2 days. If you need to keep them longer, refrigerate them for up to 5 days. For best results, reheat them in the oven at 350°F (175°C) for 5-7 minutes to restore their crispiness. Avoid microwaving, as it can make the pastry soggy. Lastly, freezing is an option—wrap each tart individually in plastic wrap and freeze for up to a month.
Tips and Tricks for Perfect Portuguese Custard Tarts
– Always strain your custard to ensure a smooth filling.
– Don’t skip chilling the pastry shells—it prevents shrinkage.
– Rotate the baking tray halfway through cooking for even browning.
Serving Suggestions for Portuguese Pastel de Nata
Pair these tarts with a hot espresso for a traditional Portuguese experience. Alternatively, serve them with a dollop of whipped cream or a scoop of vanilla ice cream for a decadent twist.
Healthier Alternatives for Portuguese Pastel de Nata
Here are six variations to make this recipe healthier:
1. **Whole Wheat Pastry**: Substitute puff pastry with whole wheat phyllo dough for added fiber.
2. **Low-Sugar Custard**: Reduce the sugar by half and use a sugar substitute like stevia.
3. **Dairy-Free Option**: Replace milk with almond or oat milk for a plant-based version.
4. **Egg-Free Custard**: Use cornstarch and plant-based milk to create a vegan custard filling.
5. **Mini Tarts**: Make bite-sized versions for portion control.
6. **Nutty Twist**: Add a sprinkle of crushed almonds or pistachios for extra crunch and nutrients.
Common Mistakes to Avoid When Making Portuguese Pastel de Nata
Mistake 1: Overfilling the Pastry Shells
Overfilling can cause the custard to spill over during baking, making a mess and ruining the presentation. To avoid this, fill each shell three-quarters full and leave some space at the top. Pro tip: Use a piping bag for precise filling.
Mistake 2: Skipping the Chilling Step
Skipping the chilling step can lead to pastry shrinkage and uneven baking. Always chill your assembled tarts for at least 15 minutes before baking to ensure they hold their shape.
Mistake 3: Underbaking the Custard
Underbaked custard can result in a runny filling. Ensure your custard thickens properly on the stovetop before pouring it into the shells. Test by coating the back of a spoon—if it leaves a clear trail, it’s ready.
Frequently Asked Questions About Portuguese Pastel de Nata
Can I use store-bought custard?
Absolutely! While homemade custard offers the best flavor, store-bought custard works in a pinch. Just ensure it’s thick enough to hold its shape.
How do I prevent soggy pastry?
To avoid sogginess, blind bake the pastry shells for 5 minutes before adding the custard. This creates a barrier that keeps the pastry crisp.
Can I make these ahead of time?
Yes! You can prepare the components a day in advance and assemble them just before baking. Store the custard in the fridge and roll out the pastry ahead of time.
What’s the best way to reheat leftovers?
Reheat in the oven at 350°F (175°C) for 5-7 minutes. This restores the pastry’s crispiness and warms the custard evenly.
Can I freeze Portuguese Pastel de Nata?
Yes, wrap each tart individually in plastic wrap and freeze for up to a month. Reheat directly from frozen in the oven.
Do I need a special mold?
No, a standard muffin tin works perfectly fine. Just grease it well to ensure easy removal.
Why isn’t my custard thickening?
This usually happens if the heat is too low or the flour ratio is off. Increase the heat slightly and whisk continuously until thickened.
Can I omit the cinnamon?
While cinnamon is traditional, you can omit it if you prefer. However, it adds a warm depth of flavor that complements the custard beautifully.
What’s the difference between Pastel de Nata and Pastéis de Belém?
Pastéis de Belém are made using a secret recipe from the famous bakery in Lisbon, while Pastel de Nata refers to the general version found throughout Portugal.
Is this recipe beginner-friendly?
Yes! With clear instructions and simple ingredients, even beginners can master this recipe. Just take your time and enjoy the process.
Conclusion
Portuguese Pastel de Nata is more than just a dessert—it’s a celebration of tradition, flavor, and craftsmanship. Whether you’re baking for family, friends, or yourself, this recipe is guaranteed to impress. So roll up your sleeves, preheat your oven, and let the magic of Pastel de Nata bring joy to your table. Happy baking!
Equipment
- Rolling Pin
- Whisk
- Saucepan
- Tart molds or Muffin tin
- Baking Tray
Ingredients
- 1 sheet puff pastry store-bought or homemade
- 4 large egg yolks
- 1/2 cup granulated sugar
- 1 tablespoon all-purpose flour
- 1 1/4 cups whole milk
- 1 cinnamon stick
- 1 strip lemon zest
- 1 teaspoon pure vanilla extract
Instructions
- Start by rolling out your puff pastry sheet on a lightly floured surface. Gently press it into your tart molds, ensuring there are no air bubbles. Trim the excess pastry and prick the bottoms with a fork to prevent puffing during baking. Pro tip: Chill the molds in the fridge for 15 minutes before baking to ensure the pastry holds its shape.
- In a saucepan, combine milk, cinnamon stick, and lemon zest over medium heat. Bring it to a gentle simmer, allowing the flavors to infuse. Meanwhile, whisk together egg yolks, sugar, and flour in a separate bowl. Once the milk mixture is ready, slowly pour it into the egg mixture, stirring constantly to avoid curdling. Return the mixture to the saucepan and cook until thickened, creating a luscious custard base.
- Pour the custard filling into the prepared pastry shells, filling each one almost to the top. Bake in a preheated oven at 475°F (245°C) for 12-15 minutes, or until the edges are golden brown and the custard develops those signature caramelized spots. The aroma will be intoxicating, and your kitchen will feel like a cozy Portuguese café.
Notes
Nutrition

Hi, I’m Olivia Parker, the founder of BakingSecret.com and a lifelong lover of all things sweet and homemade. I grew up in a small town in Oregon, where the smell of fresh cookies in my family’s kitchen sparked my passion for baking. Over the years, I turned that passion into a mission: to help home bakers feel confident, inspired, and creative.
After studying food science and working in several artisan bakeries across the U.S., I decided to create a space where everyone from beginners to seasoned bakers can find reliable recipes, expert tips, and a warm, welcoming community. BakingSecret.com is my way of sharing the magic of baking with the world. When I’m not testing new recipes, you’ll find me exploring farmers’ markets, collecting vintage cookbooks, or perfecting my sourdough technique.
it’s a very scary place, but this is a good article that is good for increasing knowledge