
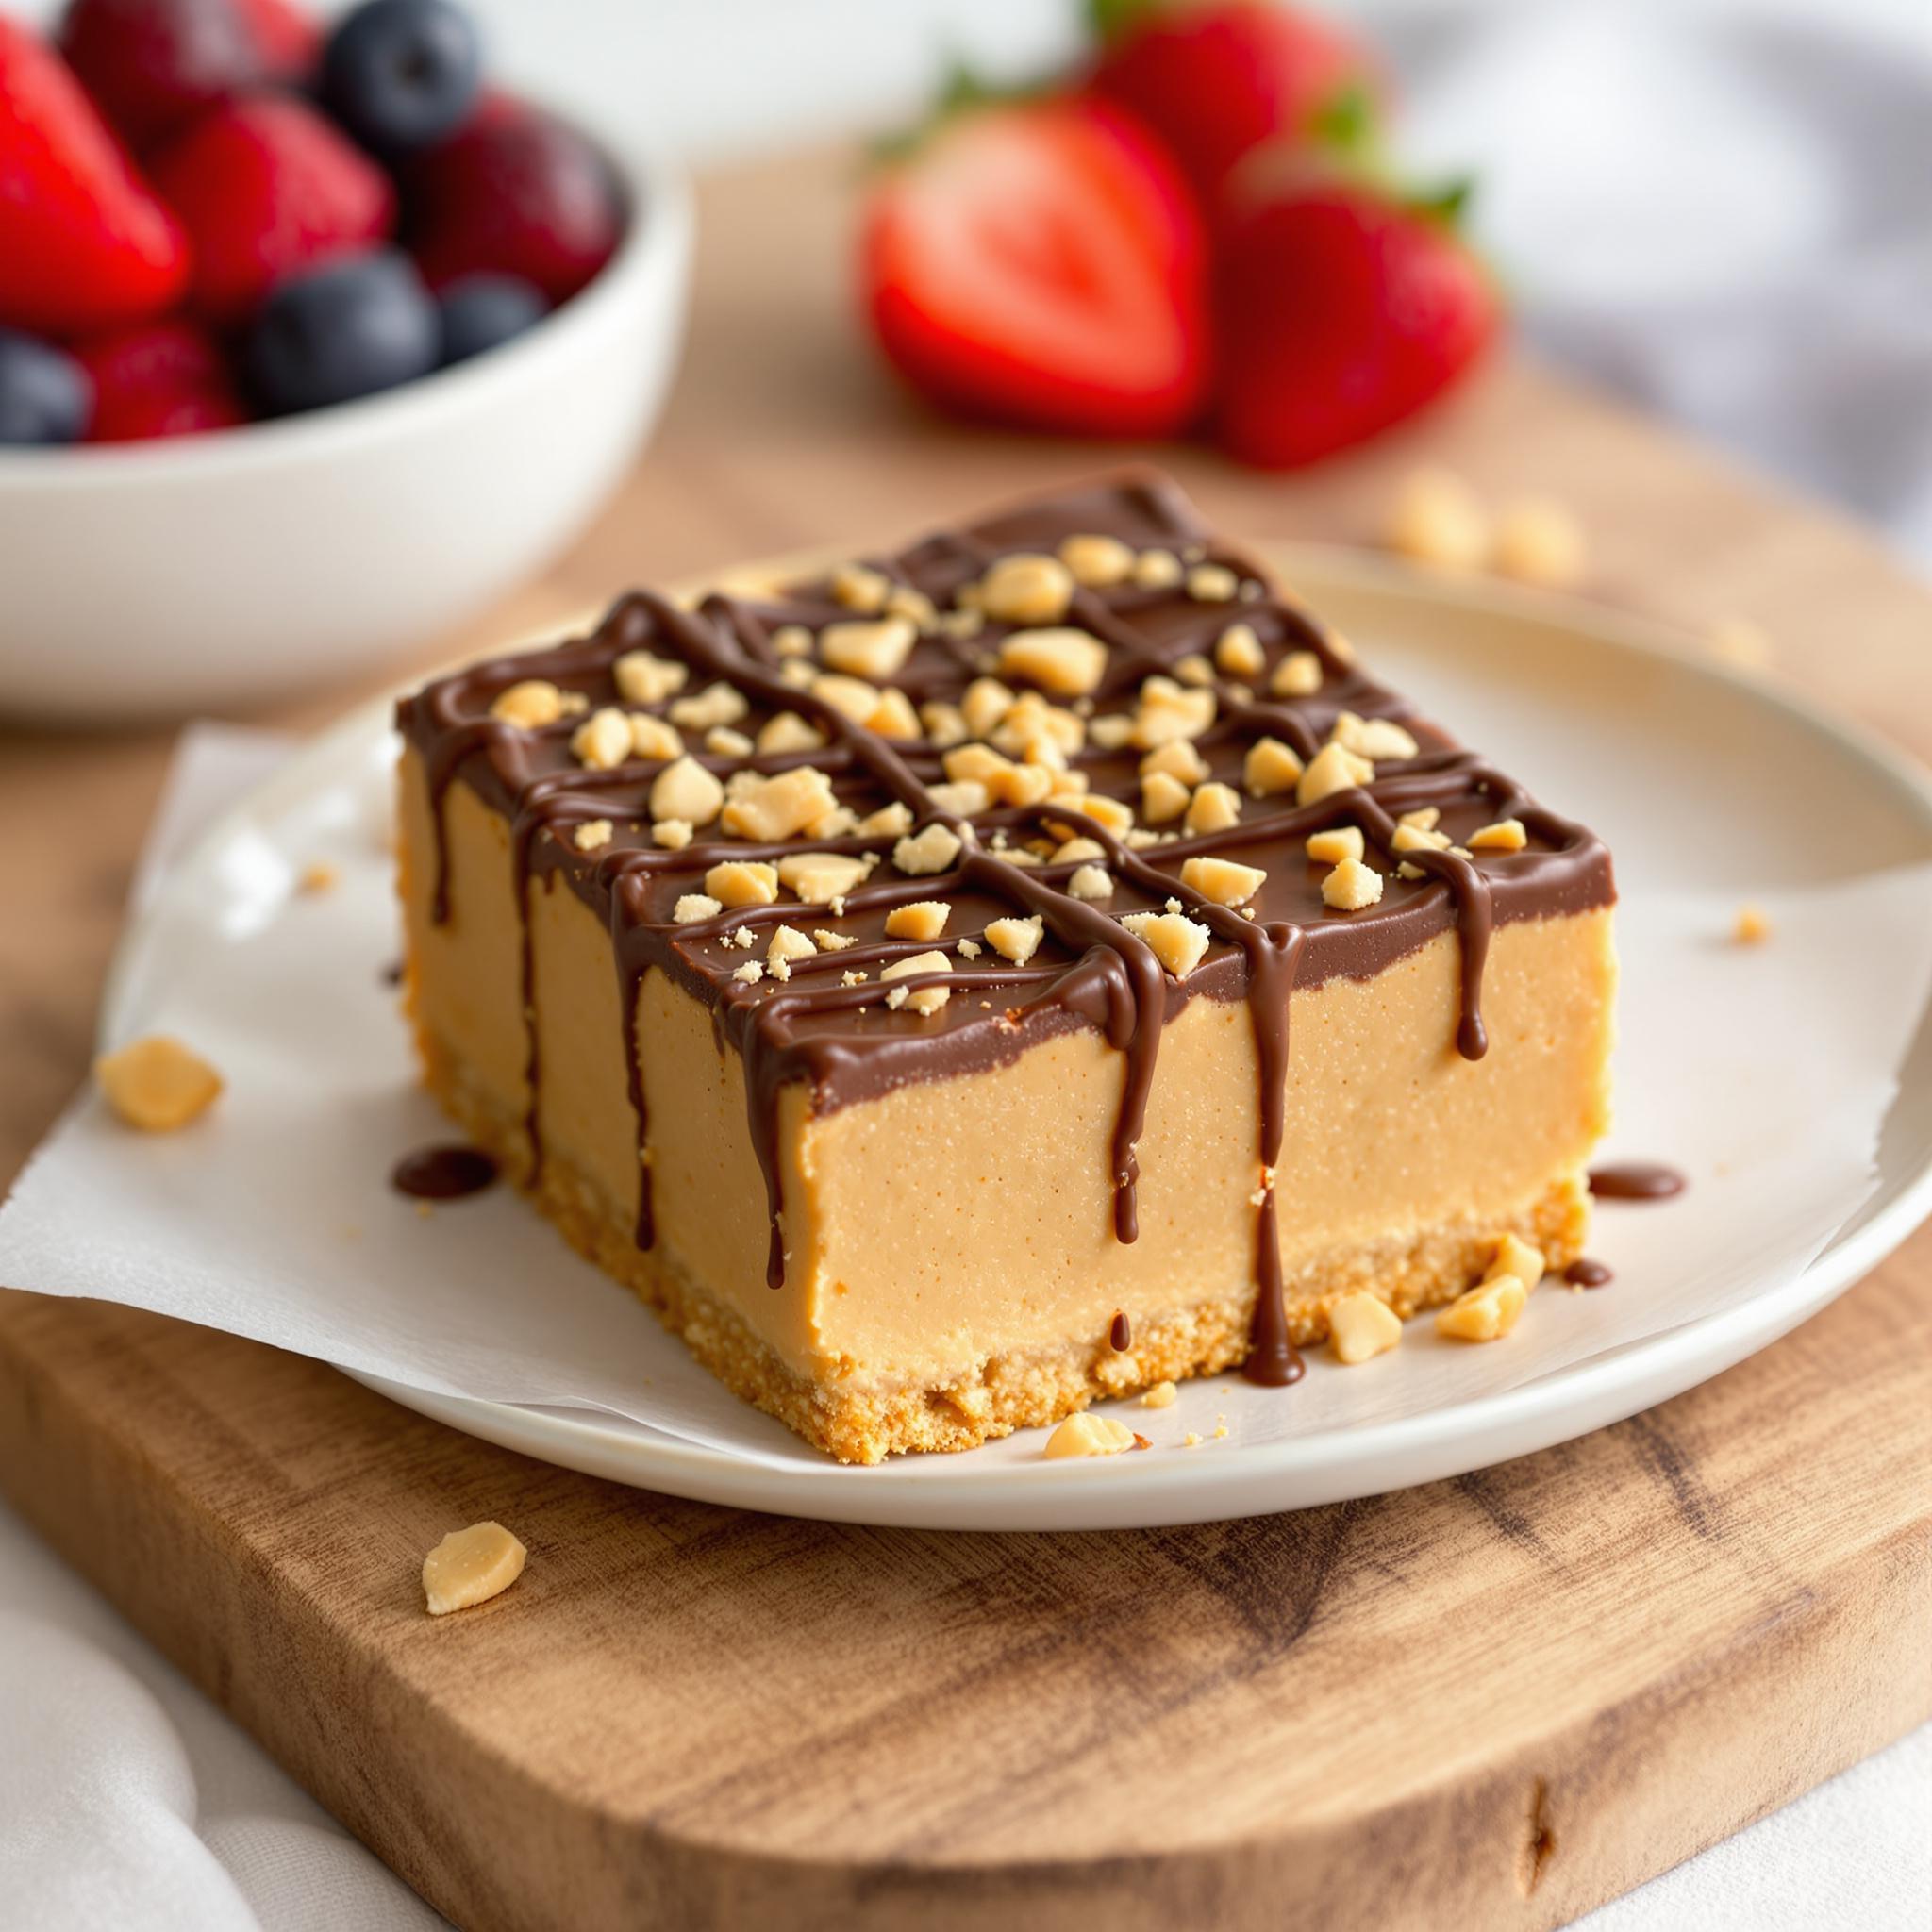
Delicious Peanut Butter Bars: A Treat Everyone Will Love
There’s something magical about the combination of rich peanut butter and sweet chocolate. These Peanut Butter Bars are one of my all-time favorite desserts—simple to make, yet oh-so-satisfying. Whether you’re a seasoned baker or just starting out, this recipe is foolproof and perfect for any occasion. I’ve made these bars countless times for family gatherings, potlucks, and even as a quick treat for myself, and they never fail to impress. Let me show you why these Peanut Butter Dessert Bars deserve a spot in your recipe collection!
The Sweet History Behind Peanut Butter Bars
Peanut butter has been a staple in American kitchens for over a century, and its creamy texture pairs beautifully with chocolate. While the exact origin of Peanut Butter Bars is unclear, they likely evolved from classic no-bake cookies and bar desserts. These bars bring together two beloved flavors in a way that’s both nostalgic and modern. I remember my grandma making a version of these when I was a kid—her secret was adding a pinch of sea salt on top to balance the sweetness. That little touch inspired me to tweak the recipe and make it my own.
Why You’ll Fall in Love with These Peanut Butter Bars
What makes these Peanut Butter Dessert Bars so irresistible? First, they’re incredibly easy to prepare—no fancy techniques required! Second, the flavor combination is unbeatable. The rich, nutty layer of peanut butter contrasts perfectly with the smooth, velvety chocolate topping. Plus, they’re versatile. You can enjoy them as a quick snack, a dessert after dinner, or even as a sweet gift for friends. Trust me, once you try these Peanut Butter Chocolate Bars, you’ll be hooked!
Perfect Occasions to Whip Up These Peanut Butter Bars
These Peanut Butter Bars are perfect for any occasion—or no occasion at all! They’re great for birthday parties, holiday celebrations, or casual get-togethers. I love making them during the holidays because they’re quick to prepare and always disappear fast. They’re also ideal for bake sales or as a thoughtful homemade gift. And let’s not forget lazy weekends when you just want to indulge in something sweet without spending hours in the kitchen.
Ingredients for Your Peanut Butter Bars
- 1 cup creamy peanut butter
- 1/2 cup unsalted butter, melted
- 1 teaspoon vanilla extract
- 2 cups powdered sugar
- 1 1/2 cups graham cracker crumbs
- 1 cup semi-sweet chocolate chips
- 1 tablespoon coconut oil (optional, for smoother melting)
Substitution Options for Flexibility
If you’re looking to customize your Peanut Butter Bars, here are some substitution ideas:
- Use almond butter or cashew butter instead of peanut butter for a twist.
- Swap graham cracker crumbs with crushed cookies like Oreos or digestive biscuits.
- Replace semi-sweet chocolate chips with dark chocolate or white chocolate for a different flavor profile.
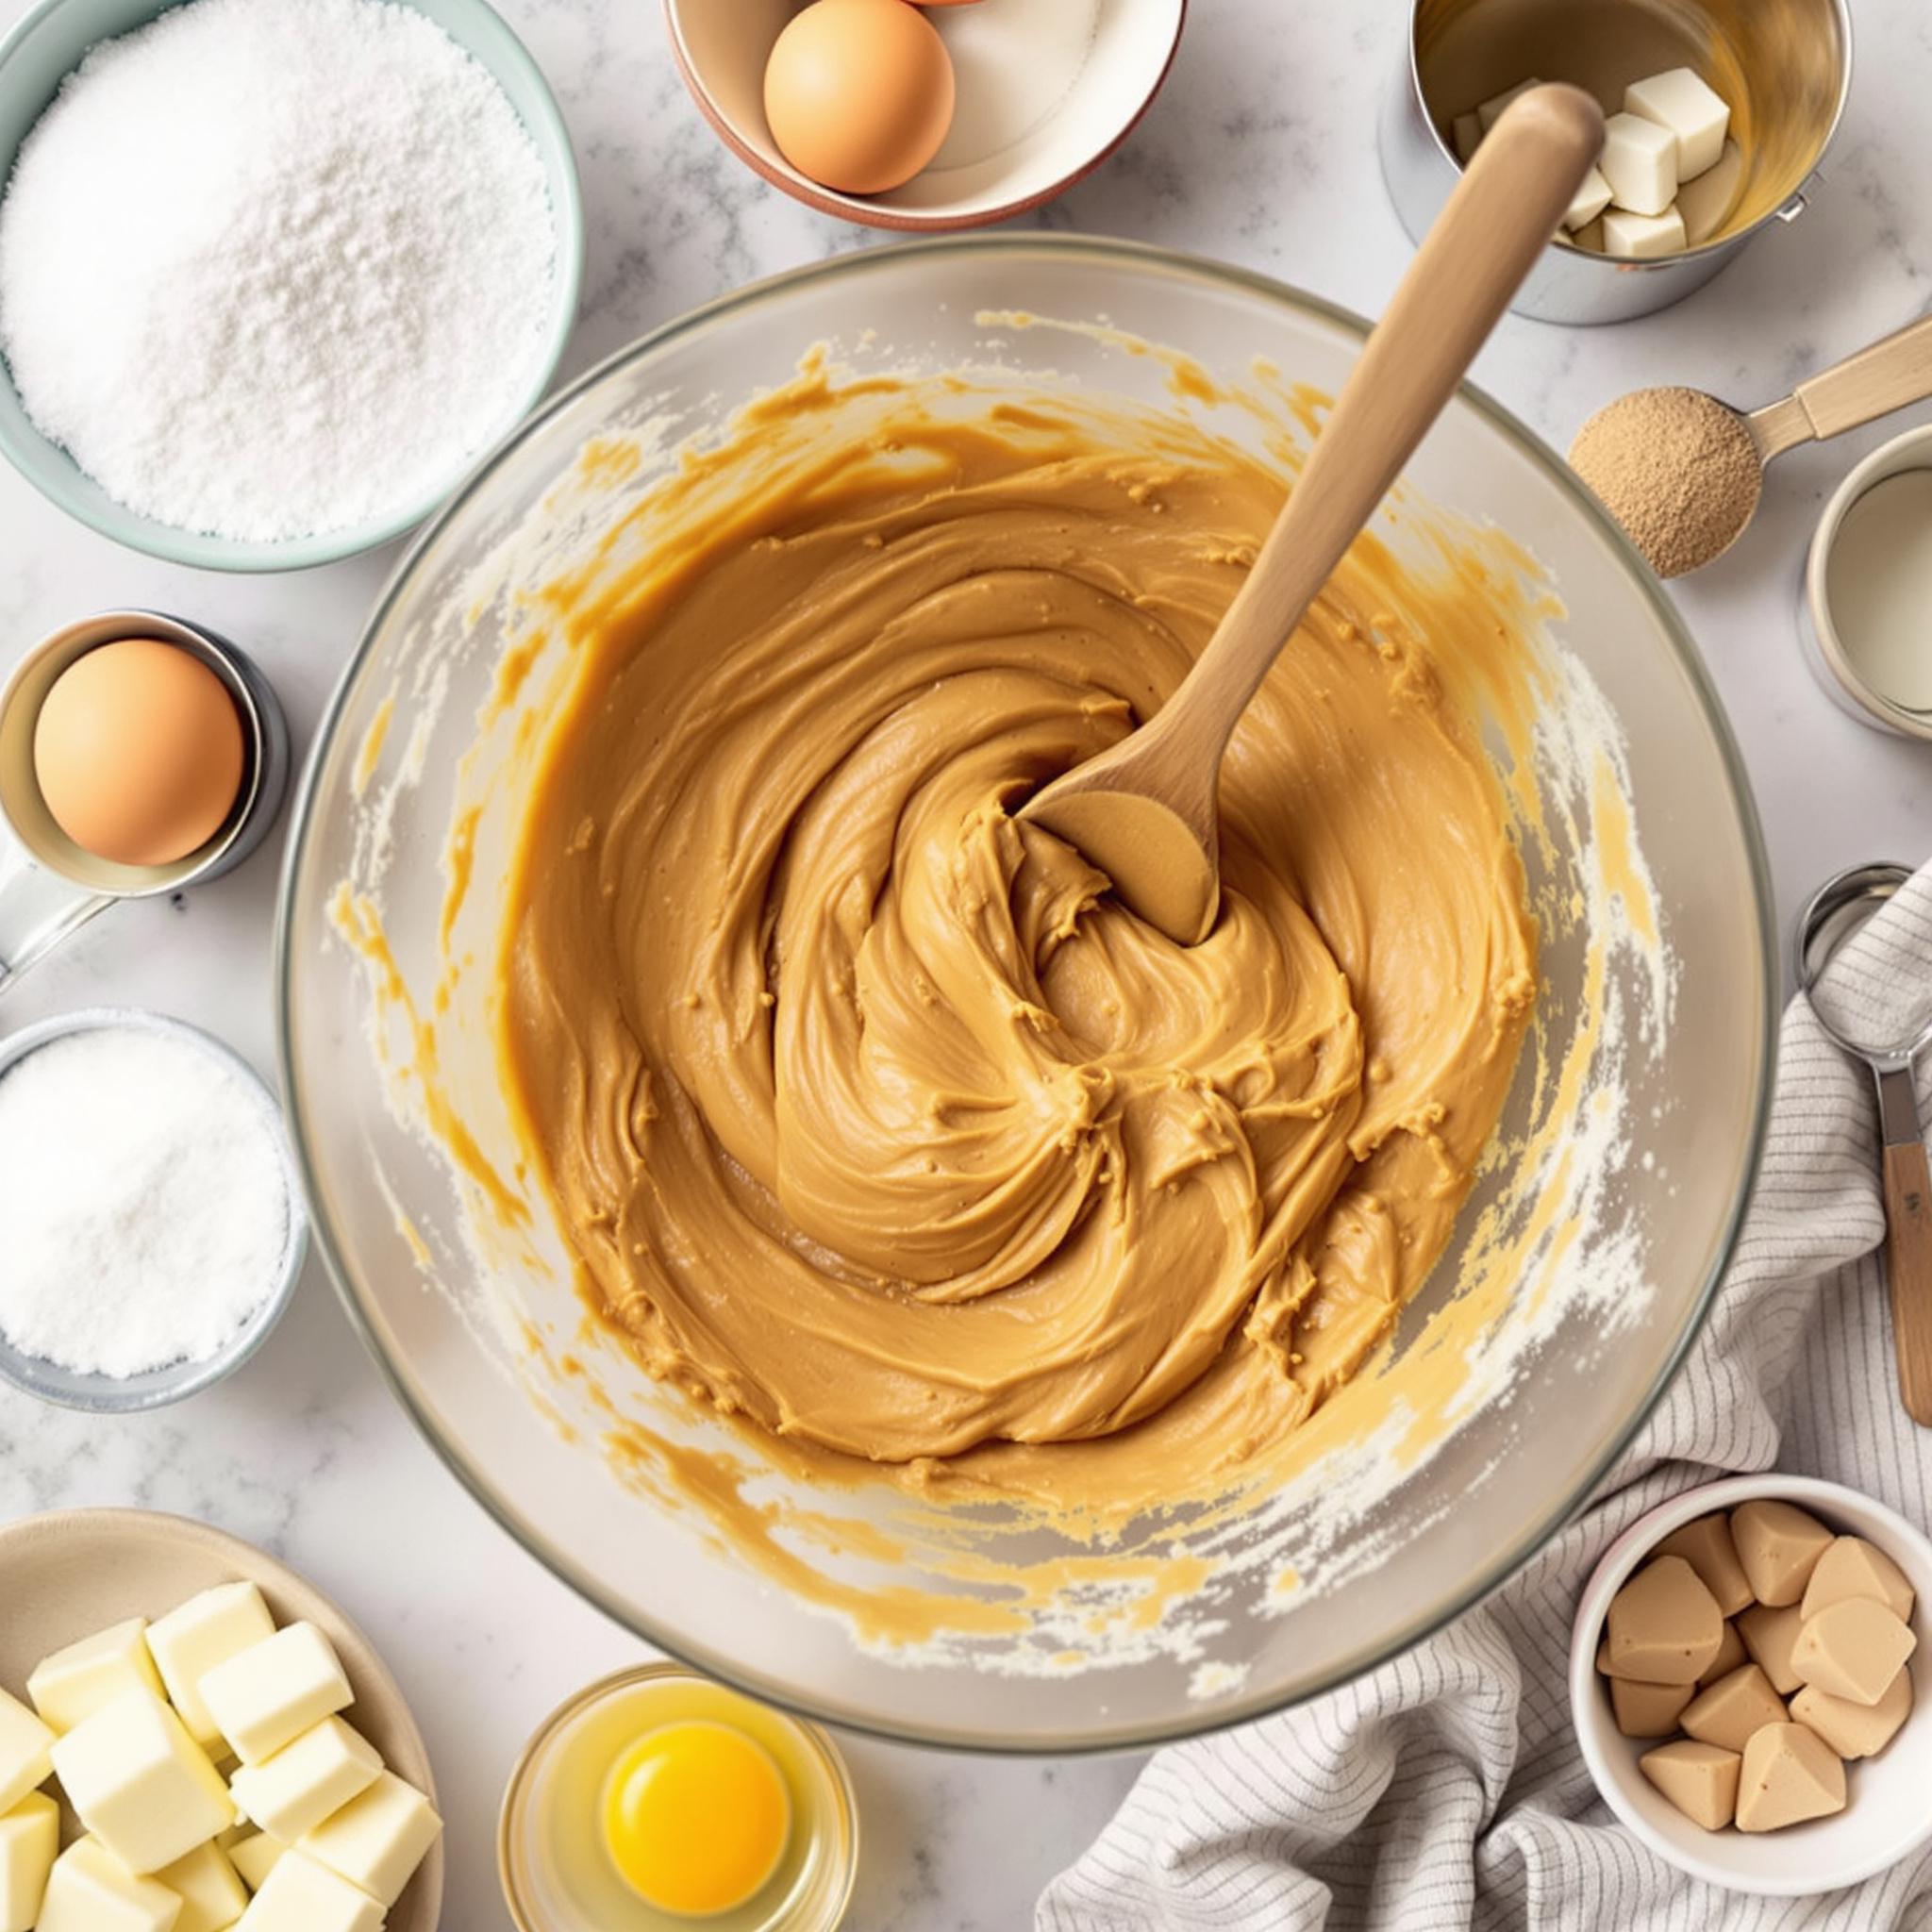
Step 1: Prepare the Peanut Butter Layer
To start, grab a mixing bowl and combine the creamy peanut butter, melted butter, and vanilla extract. Stir until the mixture is smooth and fragrant. Next, add the powdered sugar and graham cracker crumbs. Mix everything together until you have a thick, sticky dough. This layer will form the base of your Peanut Butter Bars. Pro tip: If the dough feels too dry, add a tiny bit more melted butter to help it come together.
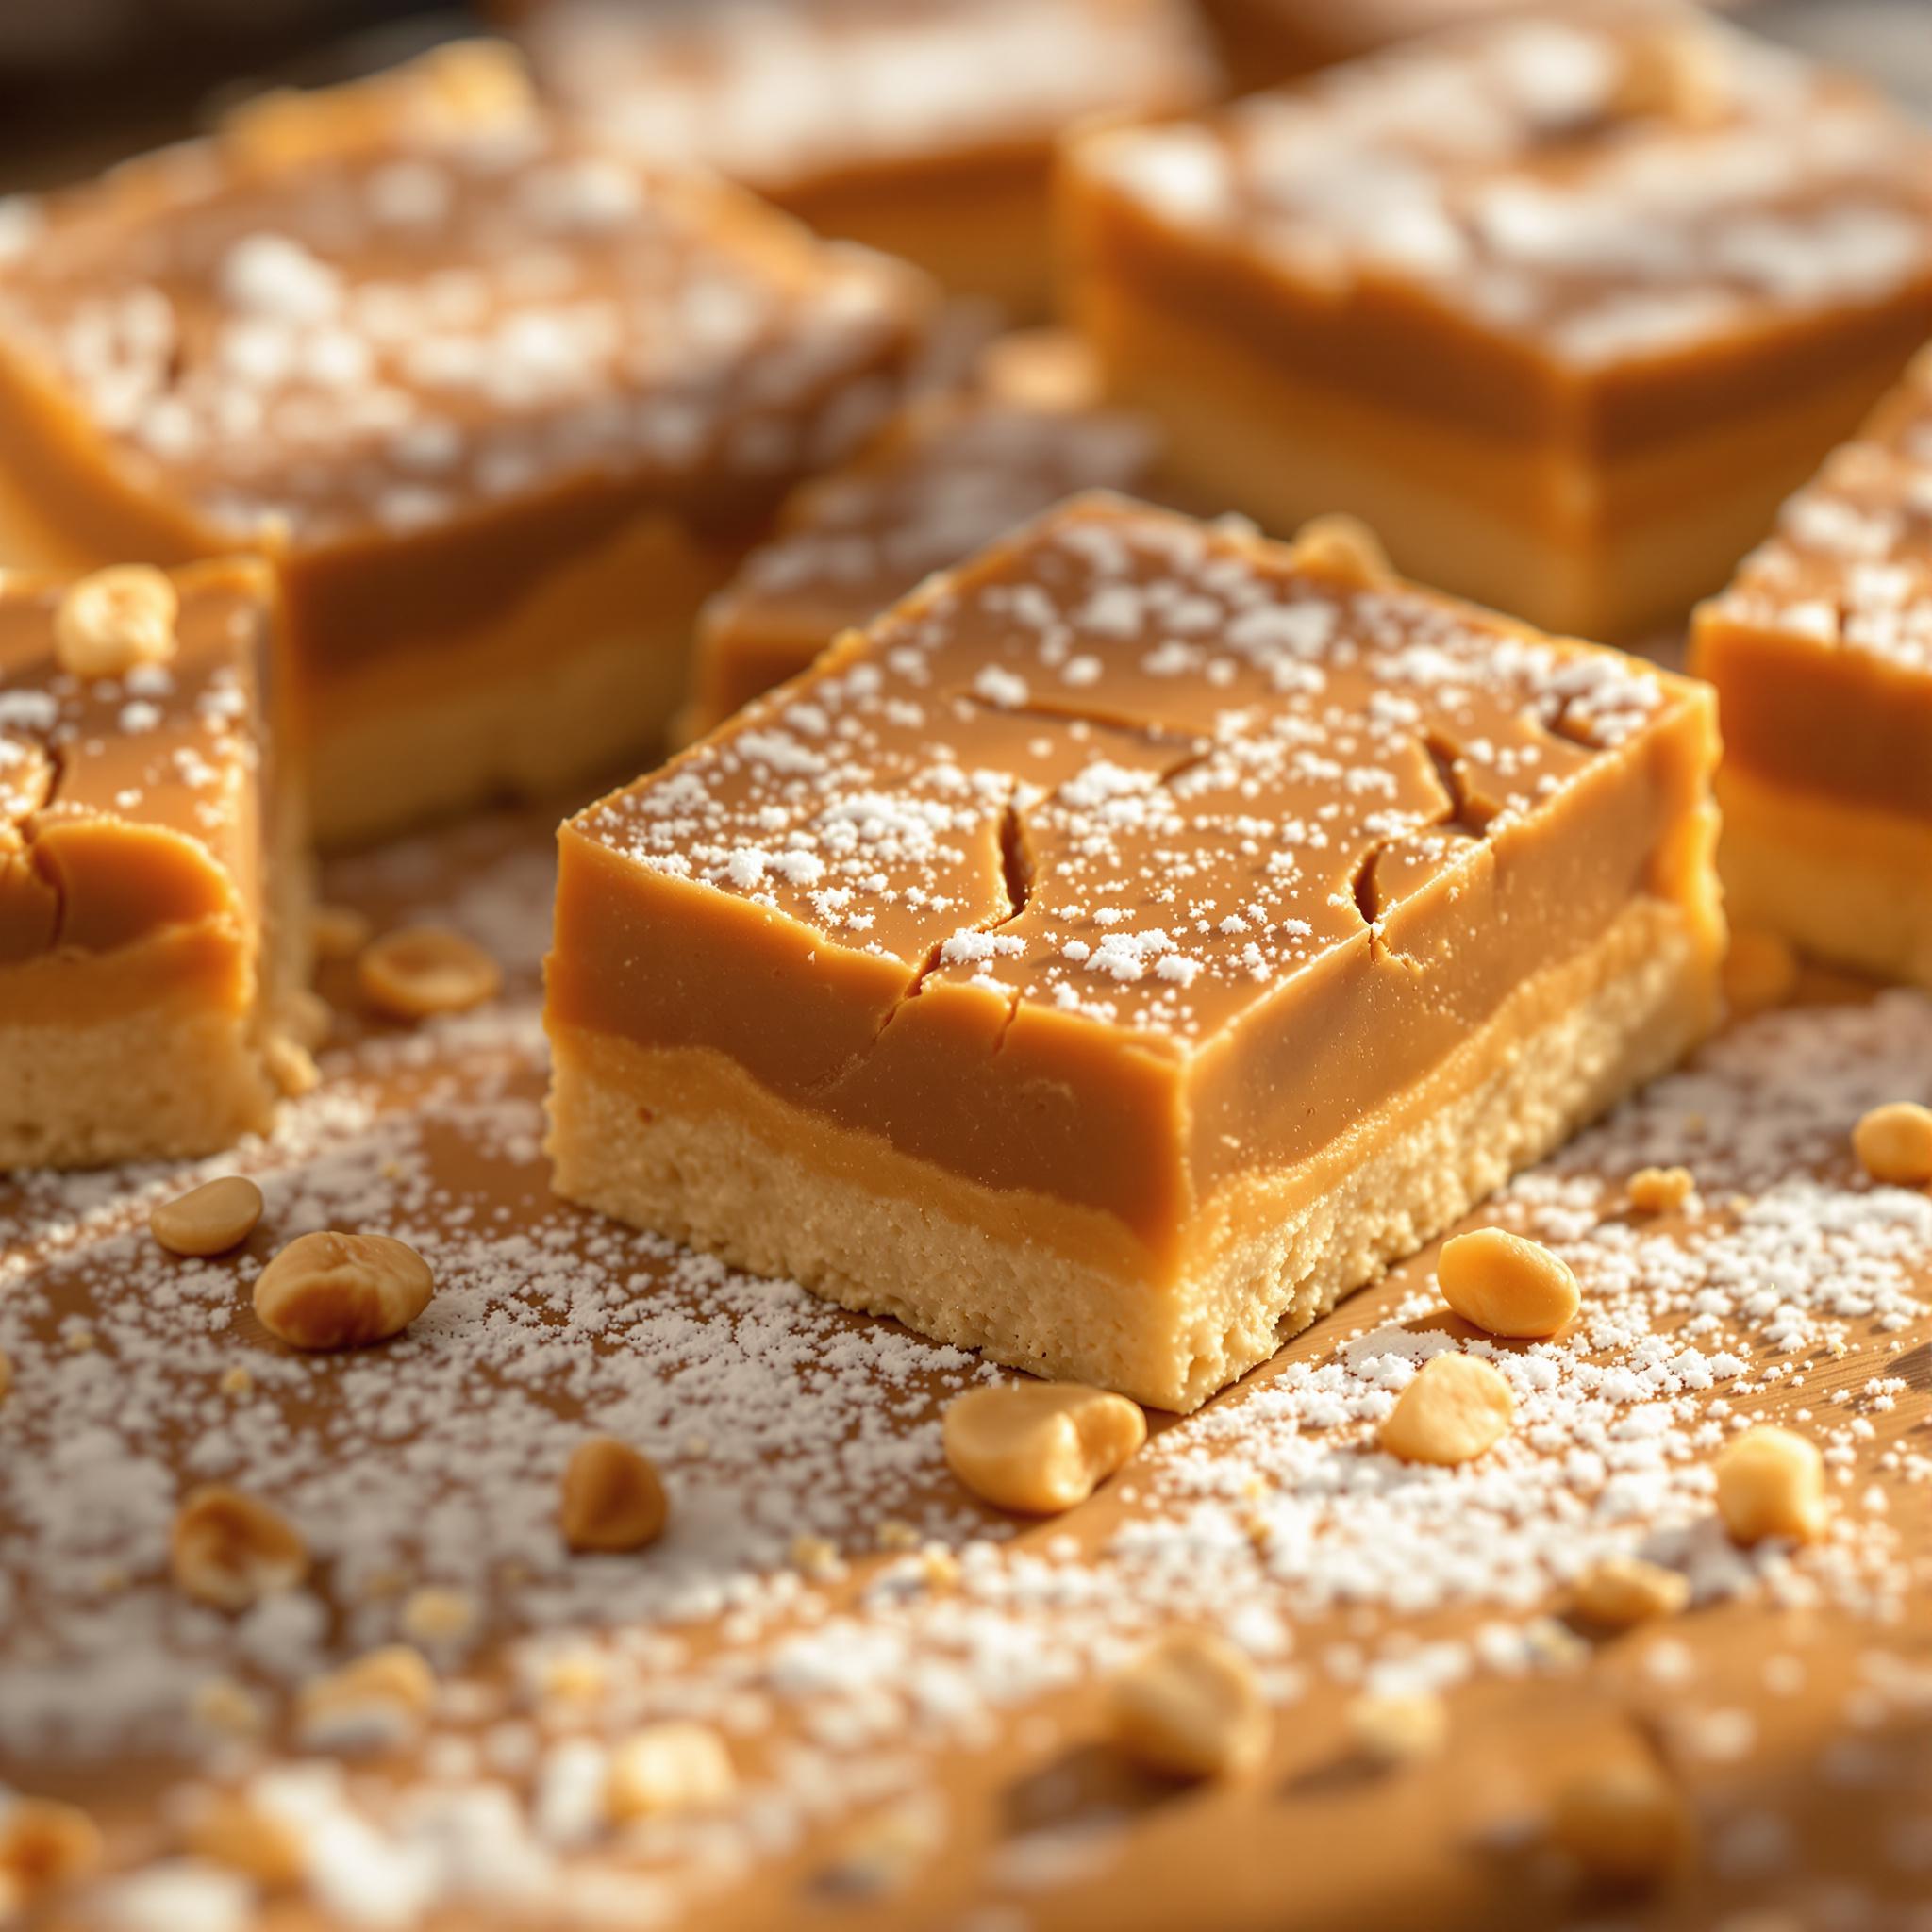
Step 2: Press the Base into the Pan
Line an 8×8-inch baking pan with parchment paper, leaving some overhang on the sides for easy removal later. Transfer the peanut butter mixture to the pan and press it down firmly using the back of a spoon or your fingers. Make sure the layer is even and compact—it should look like a golden, sandy beach ready for its chocolate topping. This step sets the foundation for your Peanut Butter Dessert Bars, so take your time to get it right.
Step 3: Melt the Chocolate Topping
In a microwave-safe bowl, melt the semi-sweet chocolate chips with the coconut oil in 30-second intervals, stirring between each round. The coconut oil helps create a glossy, smooth finish, but feel free to skip it if you prefer. Once melted, pour the chocolate over the peanut butter layer and spread it evenly with a spatula. The contrast between the golden base and the rich chocolate topping is pure perfection. Let the bars chill in the fridge for at least an hour before slicing.
Chef’s Tip for Perfect Peanut Butter Bars
For an extra touch of elegance, sprinkle a pinch of flaky sea salt on top of the melted chocolate before it sets. The salty crunch enhances the sweetness and adds a gourmet flair to your Peanut Butter Bars. It’s a small detail that makes a big difference!
Time Required for These Peanut Butter Bars
- Prep Time: 15 minutes
- Cooking Time: 0 minutes (no baking needed!)
- Chilling Time: 1 hour
- Total Time: 1 hour 15 minutes
Nutritional Information per Serving
- Calories: 200
- Protein: 4g
- Fat: 12g
- Carbohydrates: 22g
- Sugar: 16g
Fun Fact About Peanut Butter Bars
Did you know that peanut butter was invented in the late 1800s as a protein-rich food for people who couldn’t chew solid foods? Today, it’s a beloved ingredient in countless recipes, including these Peanut Butter Bars. Its creamy texture and nutty flavor make it a timeless favorite.
Necessary Tools for Making Peanut Butter Bars
- Mixing bowls
- Spatula
- 8×8-inch baking pan
- Parchment paper
- Microwave-safe bowl
Storage Instructions for Your Peanut Butter Bars
Once your Peanut Butter Bars are set, store them in an airtight container to keep them fresh. They can be kept at room temperature for up to three days, but I recommend refrigerating them if you live in a warm climate. The cool temperature firms up the layers and enhances the flavors.
For longer storage, these bars freeze beautifully. Wrap individual pieces in plastic wrap and place them in a freezer-safe bag. They’ll stay good for up to three months. Simply thaw at room temperature when you’re ready to enjoy them again.
If you’re taking these bars to a party or picnic, pack them in a cooler with ice packs to prevent the chocolate from melting. Nobody wants a gooey mess!
Tips and Tricks for Better Peanut Butter Bars
- Use freshly ground peanut butter for a more intense flavor.
- Toast the graham cracker crumbs lightly before adding them for a deeper taste.
- Experiment with different types of chocolate for the topping—dark, milk, or white chocolate all work well.
Serving Suggestions for Your Peanut Butter Bars
These Peanut Butter Bars are delicious on their own, but you can elevate the experience by pairing them with a scoop of vanilla ice cream or a dollop of whipped cream. For a fun twist, serve them alongside a warm cup of coffee or tea for an afternoon treat. They’re also perfect for gifting—wrap individual bars in colorful foil and tie them with ribbon for a festive touch.
Healthier Alternatives for Peanut Butter Bars
If you’re looking for ways to make your Peanut Butter Bars healthier, here are six variations:
- Low-Sugar Version: Use a sugar substitute like stevia or monk fruit instead of powdered sugar.
- Gluten-Free Option: Replace graham cracker crumbs with gluten-free cookies or almond flour.
- Vegan Twist: Swap butter with coconut oil and use dairy-free chocolate chips.
- High-Protein Bars: Add a scoop of protein powder to the peanut butter layer for an extra boost.
- No-Bake Energy Bites: Roll the peanut butter mixture into bite-sized balls instead of pressing it into a pan.
- Dark Chocolate Topper: Use dark chocolate with at least 70% cocoa content for less sugar and more antioxidants.
Common Mistakes to Avoid When Making Peanut Butter Bars
Mistake 1: Overmixing the Peanut Butter Layer
Overmixing can make the peanut butter layer too dense and tough. To avoid this, mix just until the ingredients are combined. Remember, we want the bars to have a light, crumbly texture that melts in your mouth.
Mistake 2: Skipping the Chilling Step
Patience is key! Skipping the chilling step can result in messy, soft bars that are difficult to slice. Place the pan in the fridge for at least an hour to allow the layers to firm up properly.
Mistake 3: Using Low-Quality Chocolate
The quality of your chocolate matters. Cheap chocolate often contains additives that affect the taste and texture. Splurge on good-quality chocolate chips or bars for the best results.
Frequently Asked Questions About Peanut Butter Bars
Can I use crunchy peanut butter instead of creamy?
Absolutely! Crunchy peanut butter adds a delightful texture to your Peanut Butter Bars. Just be aware that it might make the base slightly harder to press into the pan.
Do I need to bake these bars?
Nope! These bars are completely no-bake, which makes them super quick and easy to prepare.
How long do these bars last?
Stored in an airtight container, these bars can last up to three days at room temperature or a week in the fridge.
Can I freeze Peanut Butter Bars?
Yes, they freeze beautifully. Individually wrap the bars and store them in a freezer-safe bag for up to three months.
What can I use instead of graham cracker crumbs?
You can use crushed cookies like Oreos, digestive biscuits, or even pretzels for a unique twist.
Is there a way to reduce the sugar content?
Definitely! Try using a sugar substitute like stevia or reducing the amount of powdered sugar in the recipe.
Can I add nuts to the recipe?
Of course! Chopped peanuts or almonds would add a nice crunch to your Peanut Butter Bars.
How do I cut neat slices?
For clean cuts, dip a sharp knife in hot water, wipe it dry, and then slice through the bars. Repeat as needed.
Can I use natural peanut butter?
Yes, but make sure to stir it well before measuring, as natural peanut butter tends to separate.
What’s the best way to serve these bars?
Pair them with a scoop of vanilla ice cream or a warm drink like coffee or tea for a cozy treat.
Conclusion
These Peanut Butter Bars are truly a crowd-pleaser. With their creamy peanut butter layer, rich chocolate topping, and endless customization options, they’re a dessert you’ll want to make again and again. Whether you’re baking for a special occasion or simply treating yourself, this recipe is sure to become a favorite. So grab your ingredients, roll up your sleeves, and let’s create something delicious together!
Equipment
- Mixing bowls
- Spatula
- 8x8-inch baking pan
- Parchment paper
- Microwave-safe bowl
Ingredients
- 1 cup creamy peanut butter
- 1/2 cup unsalted butter melted
- 1 teaspoon vanilla extract
- 2 cups powdered sugar
- 1 1/2 cups graham cracker crumbs
- 1 cup semi-sweet chocolate chips
- 1 tablespoon coconut oil optional, for smoother melting
Instructions
- To start, grab a mixing bowl and combine the creamy peanut butter, melted butter, and vanilla extract. Stir until the mixture is smooth and fragrant. Next, add the powdered sugar and graham cracker crumbs. Mix everything together until you have a thick, sticky dough.
- Line an 8x8-inch baking pan with parchment paper. Transfer the peanut butter mixture to the pan and press it down firmly. Ensure the layer is even and compact.
- In a microwave-safe bowl, melt the semi-sweet chocolate chips with the coconut oil in 30-second intervals. Once melted, pour the chocolate over the peanut butter layer and spread evenly with a spatula.
- Chill the bars in the fridge for at least an hour before slicing.
Notes
Nutrition

Hi, I’m Olivia Parker, the founder of BakingSecret.com and a lifelong lover of all things sweet and homemade. I grew up in a small town in Oregon, where the smell of fresh cookies in my family’s kitchen sparked my passion for baking. Over the years, I turned that passion into a mission: to help home bakers feel confident, inspired, and creative.
After studying food science and working in several artisan bakeries across the U.S., I decided to create a space where everyone from beginners to seasoned bakers can find reliable recipes, expert tips, and a warm, welcoming community. BakingSecret.com is my way of sharing the magic of baking with the world. When I’m not testing new recipes, you’ll find me exploring farmers’ markets, collecting vintage cookbooks, or perfecting my sourdough technique.