
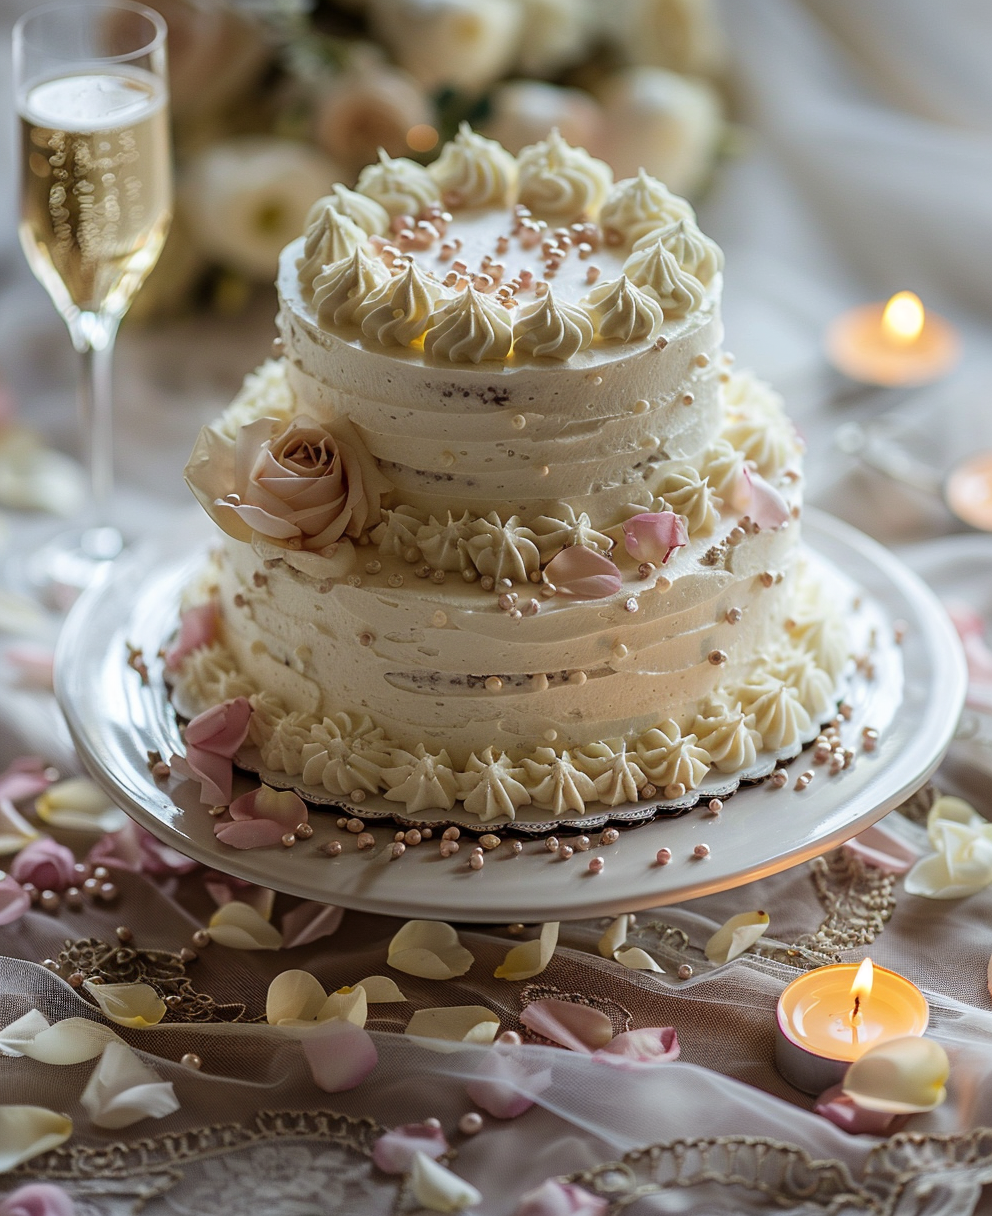
Why a Two Tier Wedding Cake is the Star of Any Celebration
I still remember my niece’s wedding last summer. It was a cozy outdoor affair, filled with laughter and love. But when that two tier wedding cake made its grand entrance, everyone gasped. It wasn’t just beautiful—it was the perfect size for her intimate guest list. That got me thinking: why not share how you can recreate this show-stopping dessert at home? Whether you’re planning a small gathering or dreaming of your own big day, this recipe will guide you step-by-step to bake a cake that’s as delicious as it is stunning.
A Little History of the Two Tier Wedding Cake
The tradition of wedding cakes dates back centuries, but the tiered design became popular in Victorian England. Back then, only the wealthy could afford such elaborate creations. Today, a two tier wedding cake strikes the perfect balance between elegance and practicality. I’ve tested this recipe countless times—once even for my best friend’s vow renewal—and it never fails to impress. The buttercream version is especially close to my heart because it’s so forgiving for beginners.
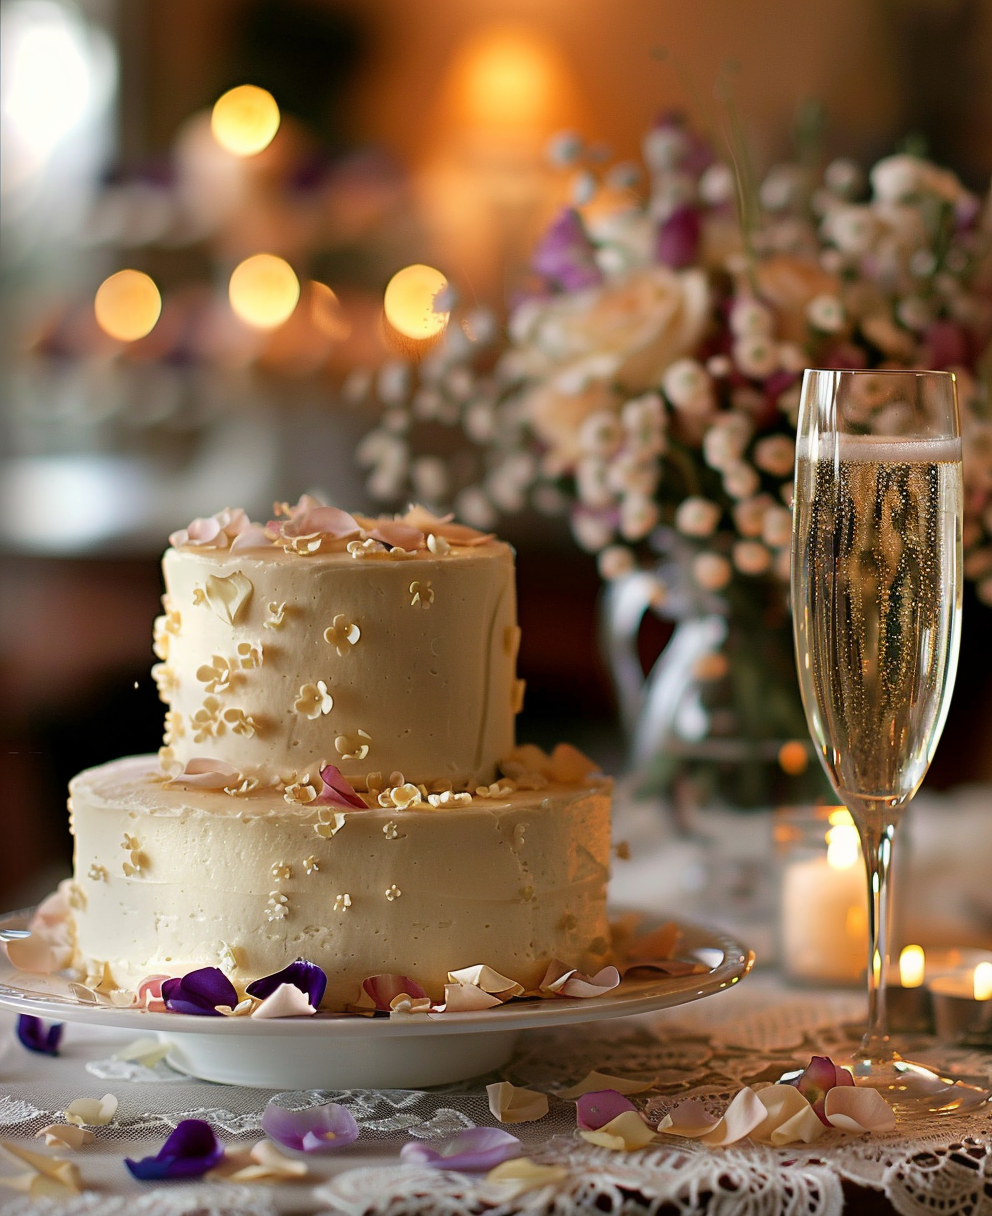
Why You’ll Fall in Love with This Recipe
This two tier wedding cake recipe is everything you need: simple yet sophisticated. The flavors are customizable, and the buttercream frosting is silky smooth. Plus, it won’t break the bank! If you’ve ever wondered “How much does a 2 tier wedding cake cost?”—making it yourself can save hundreds compared to ordering from a bakery. Whether you opt for classic vanilla, rich chocolate, or something fruity, this cake will win over hearts (and stomachs).
Perfect Occasions for a Two Tier Wedding Cake
While this cake shines at weddings, it’s also ideal for anniversaries, bridal showers, or milestone birthdays. A two tier square wedding cake adds a modern twist, while round tiers feel timeless. For smaller events, consider pairing it with cupcakes for a two tier wedding cake with cupcakes display. Guests always appreciate variety!
Ingredients You’ll Need
- For the Cake Layers:
- 4 cups all-purpose flour
- 3 cups granulated sugar
- 1 tablespoon baking powder
- 1 teaspoon salt
- 1 cup unsalted butter, softened
- 1 cup whole milk
- 4 large eggs
- 2 teaspoons vanilla extract
- For the Buttercream Frosting:
- 2 cups unsalted butter, softened
- 8 cups powdered sugar, sifted
- 1 tablespoon vanilla extract
- ½ cup heavy cream
Substitution Options
- Swap all-purpose flour with gluten-free flour for a gluten-free option.
- Use almond or coconut milk instead of whole milk if you’re dairy-free.
- Replace vanilla extract with almond or lemon extract for a unique flavor.
Step 1: Preparing Your Cake Batter
Start by preheating your oven to 350°F (175°C). In a large mixing bowl, whisk together the dry ingredients—flour, sugar, baking powder, and salt. Add the softened butter and mix until crumbly. Slowly pour in the milk, eggs, and vanilla extract, blending until smooth. The batter should be thick but pourable, with a pale yellow hue. Pro tip: Don’t overmix! Overworking the batter can make your cake dense.
Step 2: Baking the Perfect Layers
Divide the batter evenly between two greased and floured cake pans—one 8-inch and one 6-inch for a classic two tier wedding cake sizes. Bake them for 25-30 minutes or until a toothpick comes out clean. As they bake, your kitchen will fill with the warm, sweet aroma of vanilla. Let the cakes cool completely before frosting. Rushing this step can cause the frosting to melt, ruining your hard work.
Step 3: Making Silky Buttercream Frosting
In a stand mixer, beat the softened butter on high speed until light and fluffy. Gradually add the powdered sugar, one cup at a time, mixing on low to avoid clouds of sugar everywhere. Once combined, add the vanilla extract and heavy cream. Beat on high for 3-5 minutes until the frosting is airy and smooth. Chef’s tip: Chill the frosting for 15 minutes before using—it spreads like a dream!
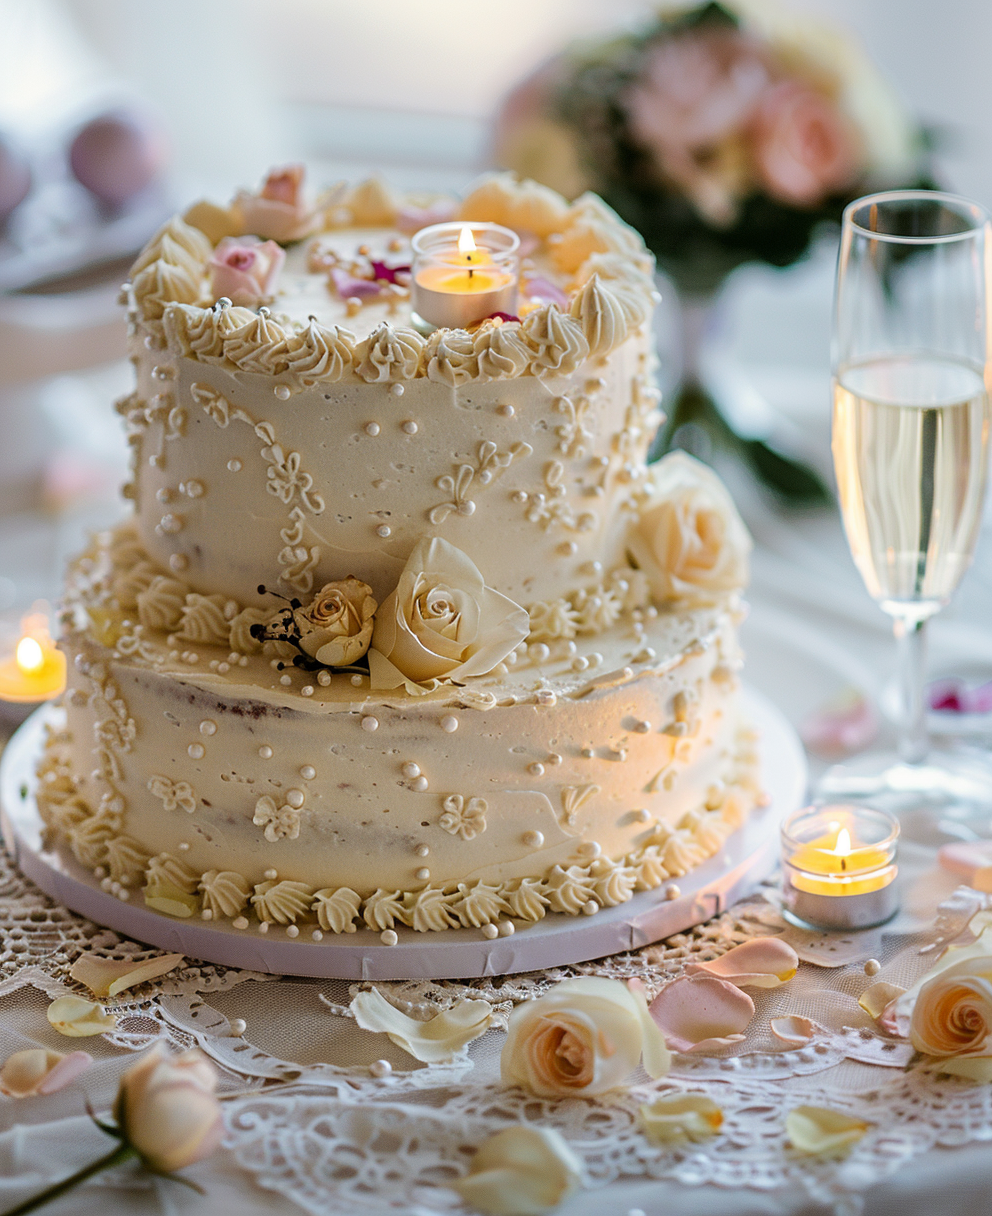
Step 4: Assembling the Cake
Place the larger 8-inch layer on a cake board or plate. Spread a generous layer of frosting on top, then stack the smaller 6-inch cake on top. Use a spatula to cover the entire cake with a thin crumb coat. Refrigerate for 20 minutes, then apply a final thick layer of frosting. Smooth it out with a bench scraper for a professional finish. Pro tip: Use a turntable for easier decorating.
Timing Breakdown
- Prep Time: 30 minutes
- Baking Time: 30 minutes
- Cooling Time: 1 hour
- Frosting & Assembly: 1 hour
- Total Time: Approximately 2 hours and 30 minutes
Chef’s Secret
To prevent your cake layers from doming, cut a piece of parchment paper slightly smaller than the pan and place it on top of the batter before baking. This trick ensures flat, even layers every time.
An Interesting Tidbit About Wedding Cakes
Did you know that the tradition of saving the top tier of a wedding cake started in the early 20th century? Couples would freeze it to enjoy on their first anniversary—a sweet reminder of their special day.
Necessary Equipment
- Stand mixer or hand mixer
- 8-inch and 6-inch round cake pans
- Offset spatula
- Bench scraper
- Cake turntable (optional but helpful)
Storage Tips
After assembling your two tier wedding cake, store it in the refrigerator to keep the frosting firm. Cover it loosely with plastic wrap or place it in an airtight container to prevent it from absorbing odors. For longer storage, freeze the unfrosted layers separately. Thaw them overnight in the fridge before frosting.
If you live in a humid climate, refrigeration is key. Moisture can soften the buttercream, making it harder to handle. Always bring the cake back to room temperature before serving for the best texture and flavor.
Leftover slices can be stored in the fridge for up to five days. Wrap individual pieces tightly in plastic wrap to retain freshness. Reheat gently in the microwave for a few seconds if desired.
Tips and Advice
- Level your cakes with a serrated knife to ensure even stacking.
- Use dowels or straws inside the bottom tier for support if adding weight on top.
- Practice piping techniques on parchment paper before decorating the actual cake.
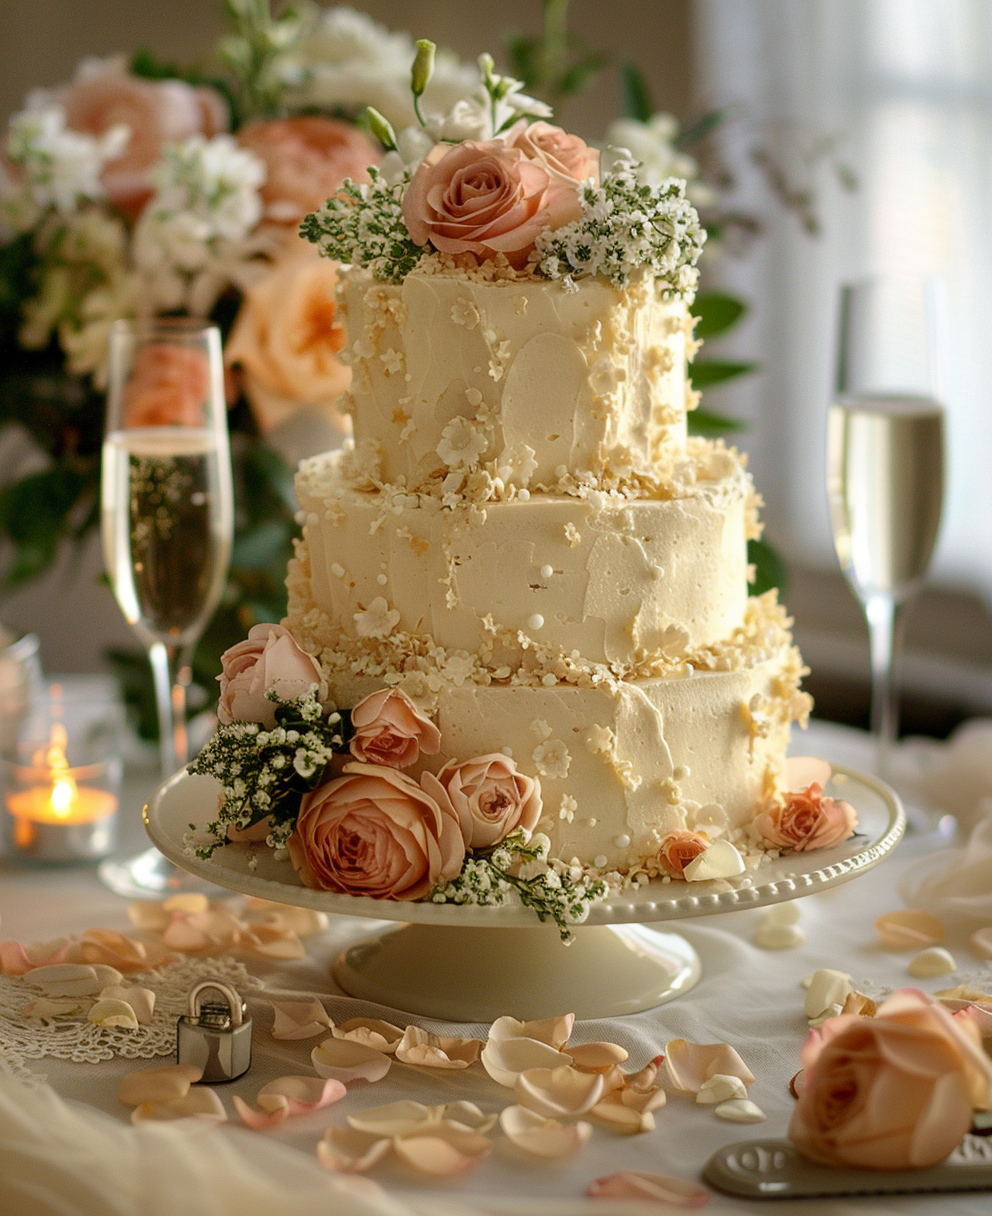
Presentation Ideas
- Decorate with fresh flowers or edible pearls for a touch of elegance.
- Add a personalized cake topper with the couple’s names or initials.
- Surround the base with candles or fairy lights for a magical effect.
Healthier Alternatives
Here are six ways to lighten up your two tier wedding cake:
- Gluten-Free Option: Substitute all-purpose flour with almond or oat flour.
- Low-Sugar Version: Replace half the sugar with mashed bananas or applesauce.
- Vegan Twist: Use plant-based butter and aquafaba instead of eggs.
- Fruit-Infused Layers: Fold pureed berries into the batter for natural sweetness.
- Lighter Frosting: Make a whipped cream cheese frosting instead of buttercream.
- Dairy-Free Delight: Opt for coconut milk and vegan butter throughout the recipe.
Common Mistakes to Avoid
Mistake 1: Skipping the Crumb Coat
Skipping the crumb coat leaves stray crumbs visible in the final frosting, ruining the polished look. Always apply a thin layer of frosting first, chill, then proceed with the outer layer. Practical tip: Use a damp paper towel to wipe off excess crumbs before applying the crumb coat.
Mistake 2: Overloading the Top Tier
Adding too much weight to the top tier can cause it to sink into the bottom layer. Use lightweight decorations or support the structure with dowels. Pro tip: Measure and trim dowels to fit snugly under the top tier.
Mistake 3: Not Leveling the Cakes
Uneven layers lead to a lopsided cake. Always level your cakes before stacking. If you don’t have a cake leveler, a serrated knife works just fine.
FAQs About Two Tier Wedding Cakes
How much does a 2 tier wedding cake cost?
A professionally made 2 tier wedding cakes buttercream typically costs between $150-$300, depending on design complexity and location. DIY versions can cost as little as $50, making them budget-friendly.
Is a two-tier cake good for weddings?
Absolutely! A two tier wedding cake is perfect for intimate weddings or as part of a dessert table. It serves around 20-30 guests, offering both beauty and functionality.
How many people will a 2 tier wedding cake feed?
On average, a two tier wedding cake feeds 20-30 guests, depending on slice size. Larger slices mean fewer servings, so plan accordingly.
What is the difference between 2 tier and 2 layer?
A 2-layer cake has two horizontal layers stacked within a single tier, while a 2-tier cake consists of two separate tiers, each with multiple layers. Think height versus depth!
Can I freeze a two tier wedding cake?
Yes, you can freeze the unfrosted layers for up to three months. Wrap them tightly in plastic wrap and foil to prevent freezer burn.
Do I need special tools to decorate?
While professional tools help, basics like an offset spatula and piping bags work wonders. Practice makes perfect!
What flavors pair well with buttercream?
Classic combos include vanilla, chocolate, lemon, and strawberry. Experiment to find your favorite.
How do I transport the cake safely?
Use a sturdy cake box or carrier. Secure the tiers with non-slip mats and drive carefully to avoid jostling.
Can I use fondant instead of buttercream?
Yes, fondant provides a sleek finish but requires more skill. Combine it with buttercream for stability.
What’s the best way to serve the cake?
Cut the top tier first, then move to the bottom. Use a sharp knife and clean it between slices for neat portions.
Final Thoughts
Baking a two tier wedding cake might seem daunting, but with this guide, you’ll feel confident every step of the way. From its rich history to its endless customization options, this cake is truly a labor of love. So roll up your sleeves, gather your ingredients, and let’s create something unforgettable—together.
Equipment
- Stand mixer or hand mixer
- 8-inch and 6-inch round cake pans
- Offset spatula
- Bench scraper
- Cake turntable (optional)
Ingredients
- 4 cups all-purpose flour
- 3 cups granulated sugar
- 1 tablespoon baking powder
- 1 teaspoon salt
- 1 cup unsalted butter, softened
- 1 cup whole milk
- 4 large eggs
- 2 teaspoons vanilla extract
- 2 cups unsalted butter (for frosting), softened
- 8 cups powdered sugar, sifted
- 1 tablespoon vanilla extract (for frosting)
- ½ cup heavy cream
Instructions
- Preheat your oven to 350°F (175°C).
- In a large mixing bowl, whisk together the flour, sugar, baking powder, and salt.
- Add the softened butter and mix until crumbly.
- Slowly pour in the milk, eggs, and vanilla extract, blending until smooth.
- Divide the batter evenly between two greased and floured cake pans (one 8-inch and one 6-inch).
- Bake for 25-30 minutes or until a toothpick comes out clean.
- Let the cakes cool completely before frosting.
- In a stand mixer, beat the softened butter on high speed until light and fluffy.
- Gradually add the powdered sugar, mixing on low to avoid clouds of sugar.
- Add the vanilla extract and heavy cream, then beat on high for 3-5 minutes until airy and smooth.
- Place the larger 8-inch layer on a cake board or plate and spread frosting on top.
- Stack the smaller 6-inch cake on top and cover the entire cake with a thin crumb coat.
- Refrigerate for 20 minutes, then apply a final thick layer of frosting, smoothing it out with a bench scraper.
Notes
Nutrition

Hi, I’m Olivia Parker, the founder of BakingSecret.com and a lifelong lover of all things sweet and homemade. I grew up in a small town in Oregon, where the smell of fresh cookies in my family’s kitchen sparked my passion for baking. Over the years, I turned that passion into a mission: to help home bakers feel confident, inspired, and creative.
After studying food science and working in several artisan bakeries across the U.S., I decided to create a space where everyone from beginners to seasoned bakers can find reliable recipes, expert tips, and a warm, welcoming community. BakingSecret.com is my way of sharing the magic of baking with the world. When I’m not testing new recipes, you’ll find me exploring farmers’ markets, collecting vintage cookbooks, or perfecting my sourdough technique.