

Introduction
There’s something magical about pulling a warm, golden loaf of No-Knead Bread out of the oven. The aroma alone is enough to make your kitchen feel like home, and the simplicity of this recipe makes it accessible for bakers of all levels. I discovered this recipe during a particularly busy week when I craved homemade bread but didn’t have the energy for complicated techniques. To my delight, No-Knead Bread turned out to be a game-changer—crispy on the outside, soft on the inside, and utterly delicious. Whether you’re a seasoned baker or a beginner, this no-fuss bread is sure to become a staple in your kitchen.
The History and Origin of No-Knead Bread
No-Knead Bread might seem like a modern invention, but its roots trace back to traditional artisanal baking methods. The concept of minimal kneading has been around for centuries, as bakers relied on time and patience to develop gluten naturally. However, this specific technique gained popularity thanks to Jim Lahey, a New York baker who popularized it in the early 2000s. His method simplified the process, making it possible for home cooks to achieve bakery-quality results with just a few ingredients. I remember the first time I tried his recipe—it felt like unlocking a secret that professional bakers had kept hidden for years!
Why You’ll Love This No-Knead Bread Recipe
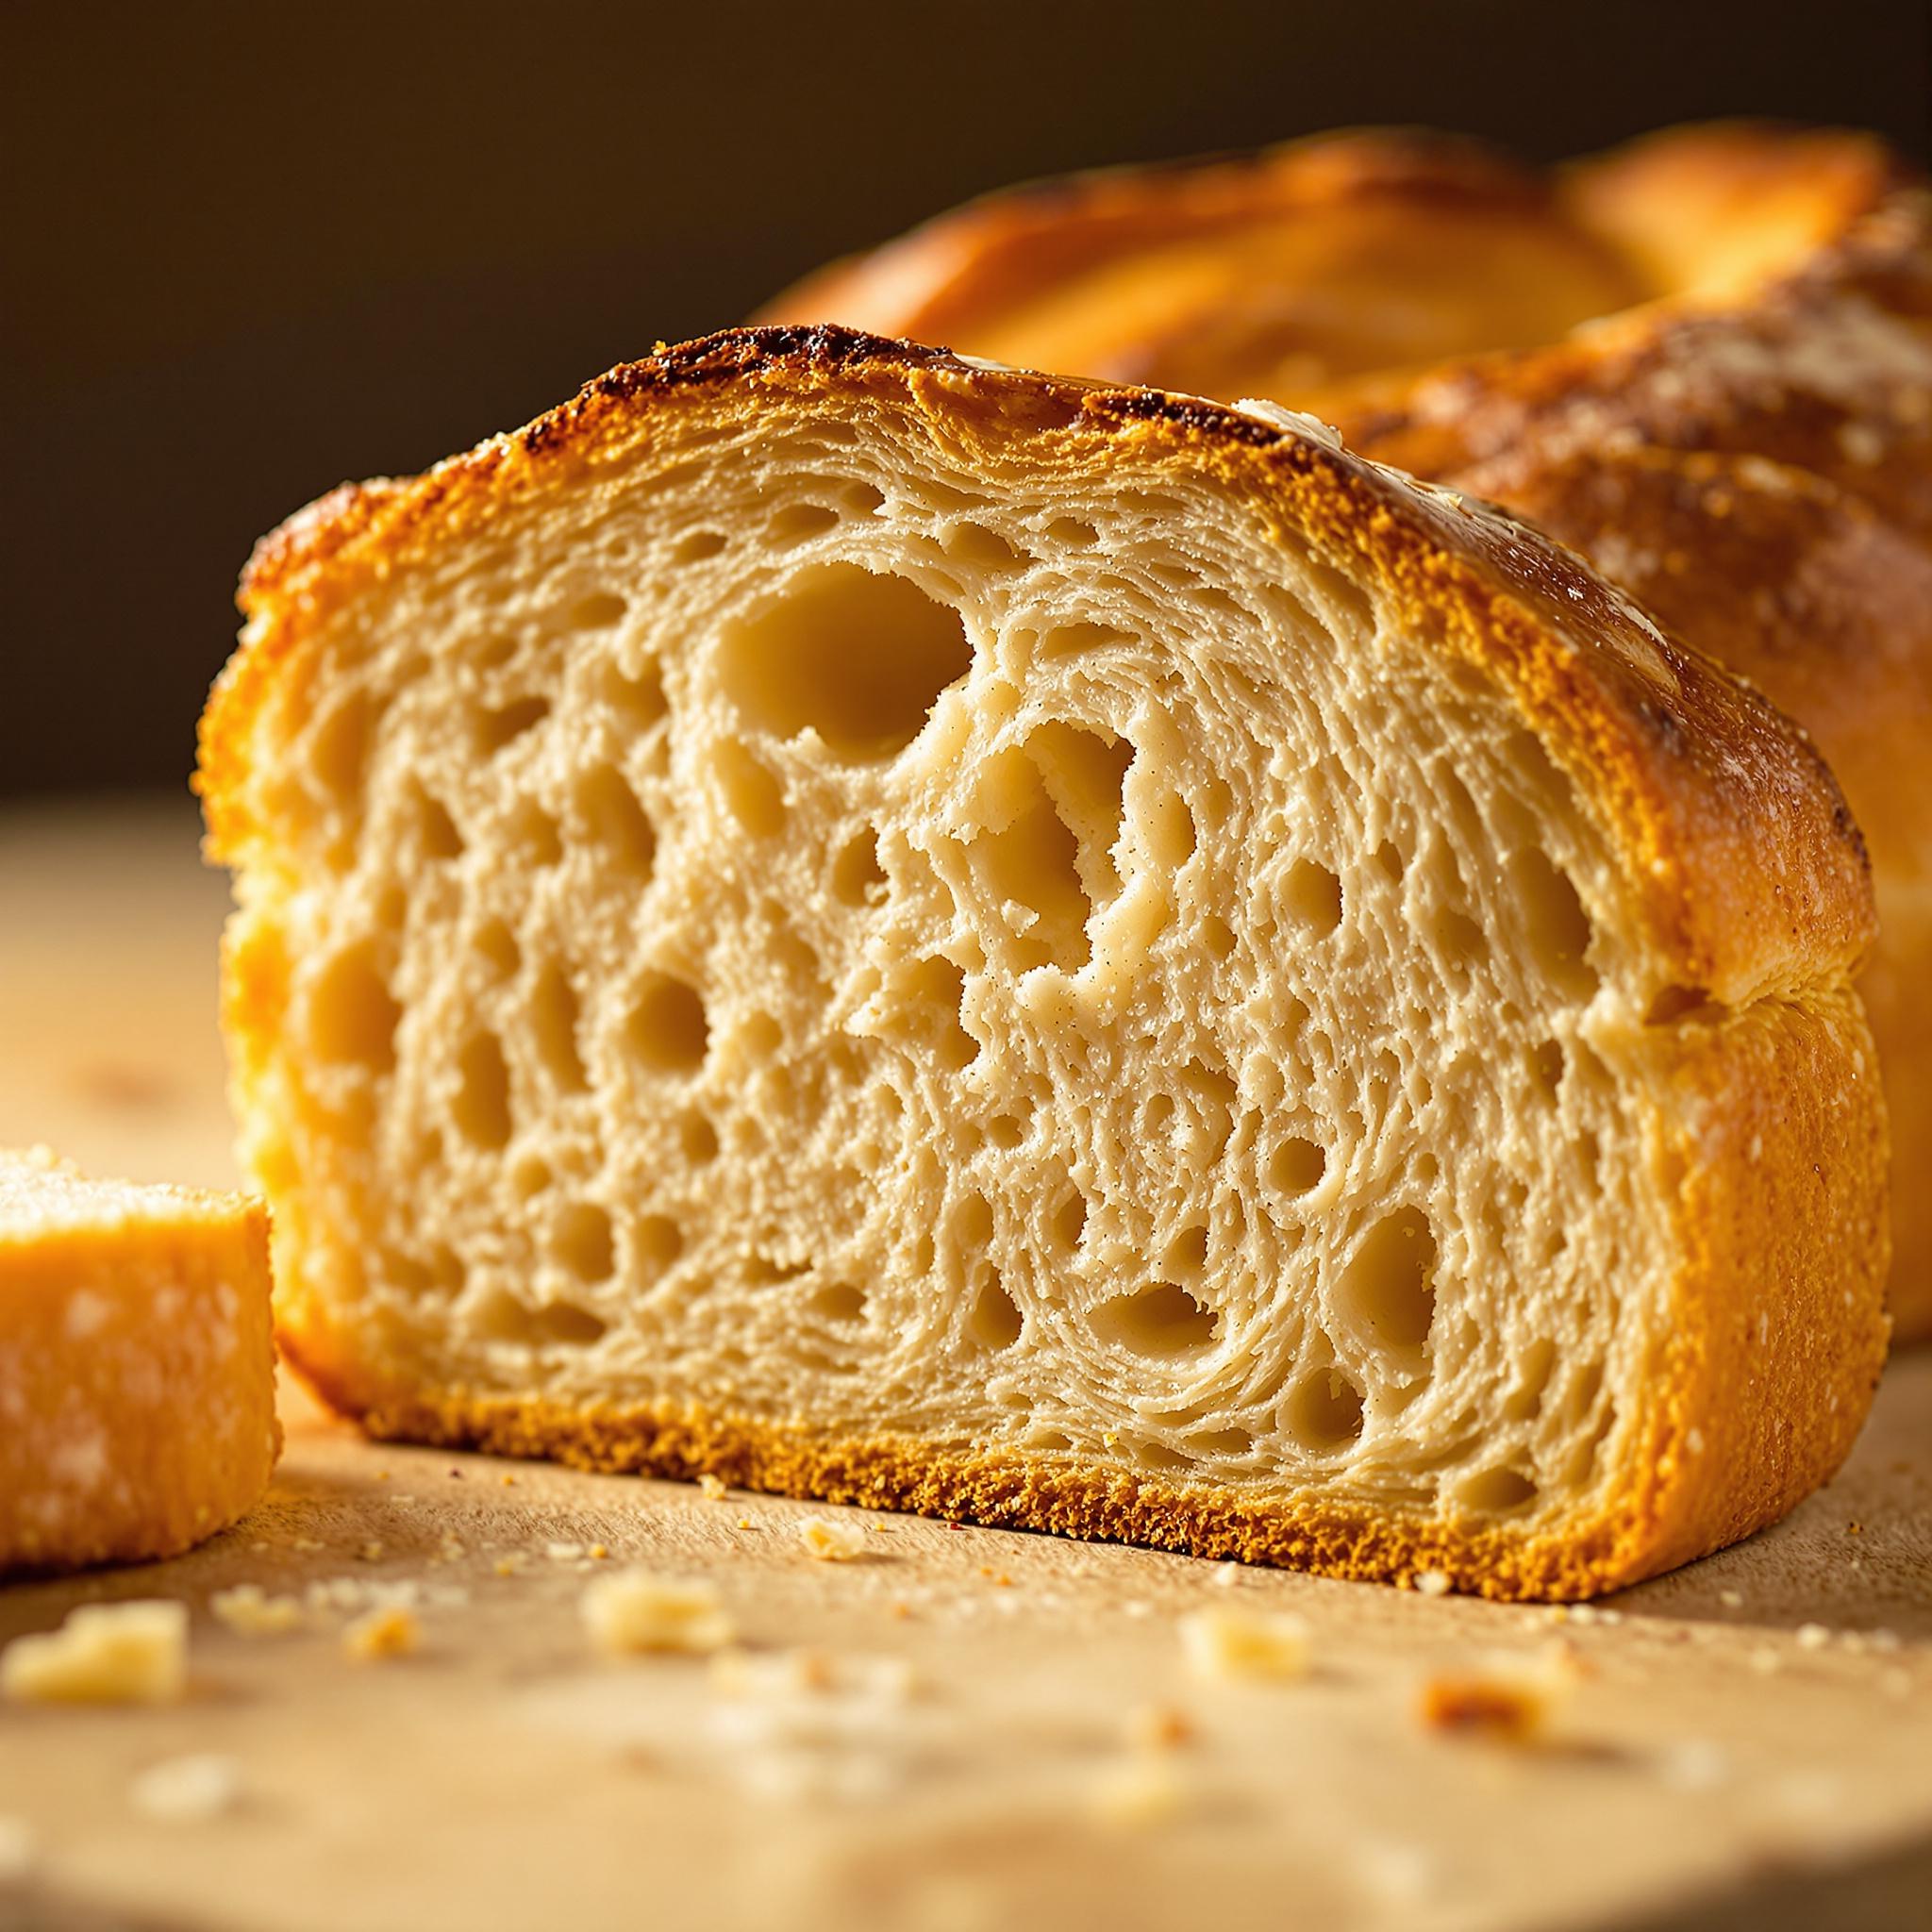
What sets this No-Knead Bread apart is its simplicity and versatility. With only four basic ingredients and minimal effort, you can create a rustic loaf that rivals anything from a fancy bakery. The texture is divine: a thick, crackly crust gives way to a tender, airy interior with irregular holes—a hallmark of great bread. Plus, the hands-on time is minimal, leaving you free to focus on other things while the dough does its magic. It’s perfect for those who want homemade bread without the hassle.
Perfect Occasions to Prepare No-Knead Bread
This bread shines in so many scenarios. Serve it warm with butter and honey for a cozy breakfast, or slice it up for sandwiches at lunch. It’s also a fantastic addition to dinner parties, where guests will marvel at your “bakery-worthy” creation. I love baking it on lazy weekends when I have time to savor the process—or even as a thoughtful gift for friends and family. Trust me, once you start sharing this bread, people will beg you for the recipe!
Ingredients for No-Knead Bread
- 3 cups (360g) all-purpose flour
- 1 ¼ teaspoons salt
- ¼ teaspoon instant yeast
- 1 ⅓ cups (315ml) lukewarm water
Substitution Options
Don’t worry if you don’t have all the exact ingredients on hand. Here are some substitutions:
- Flour: Swap half the all-purpose flour with whole wheat flour for a nuttier flavor.
- Yeast: Active dry yeast works too; just proof it in the water before mixing.
- Water: Use milk for a softer, richer loaf.
Preparation
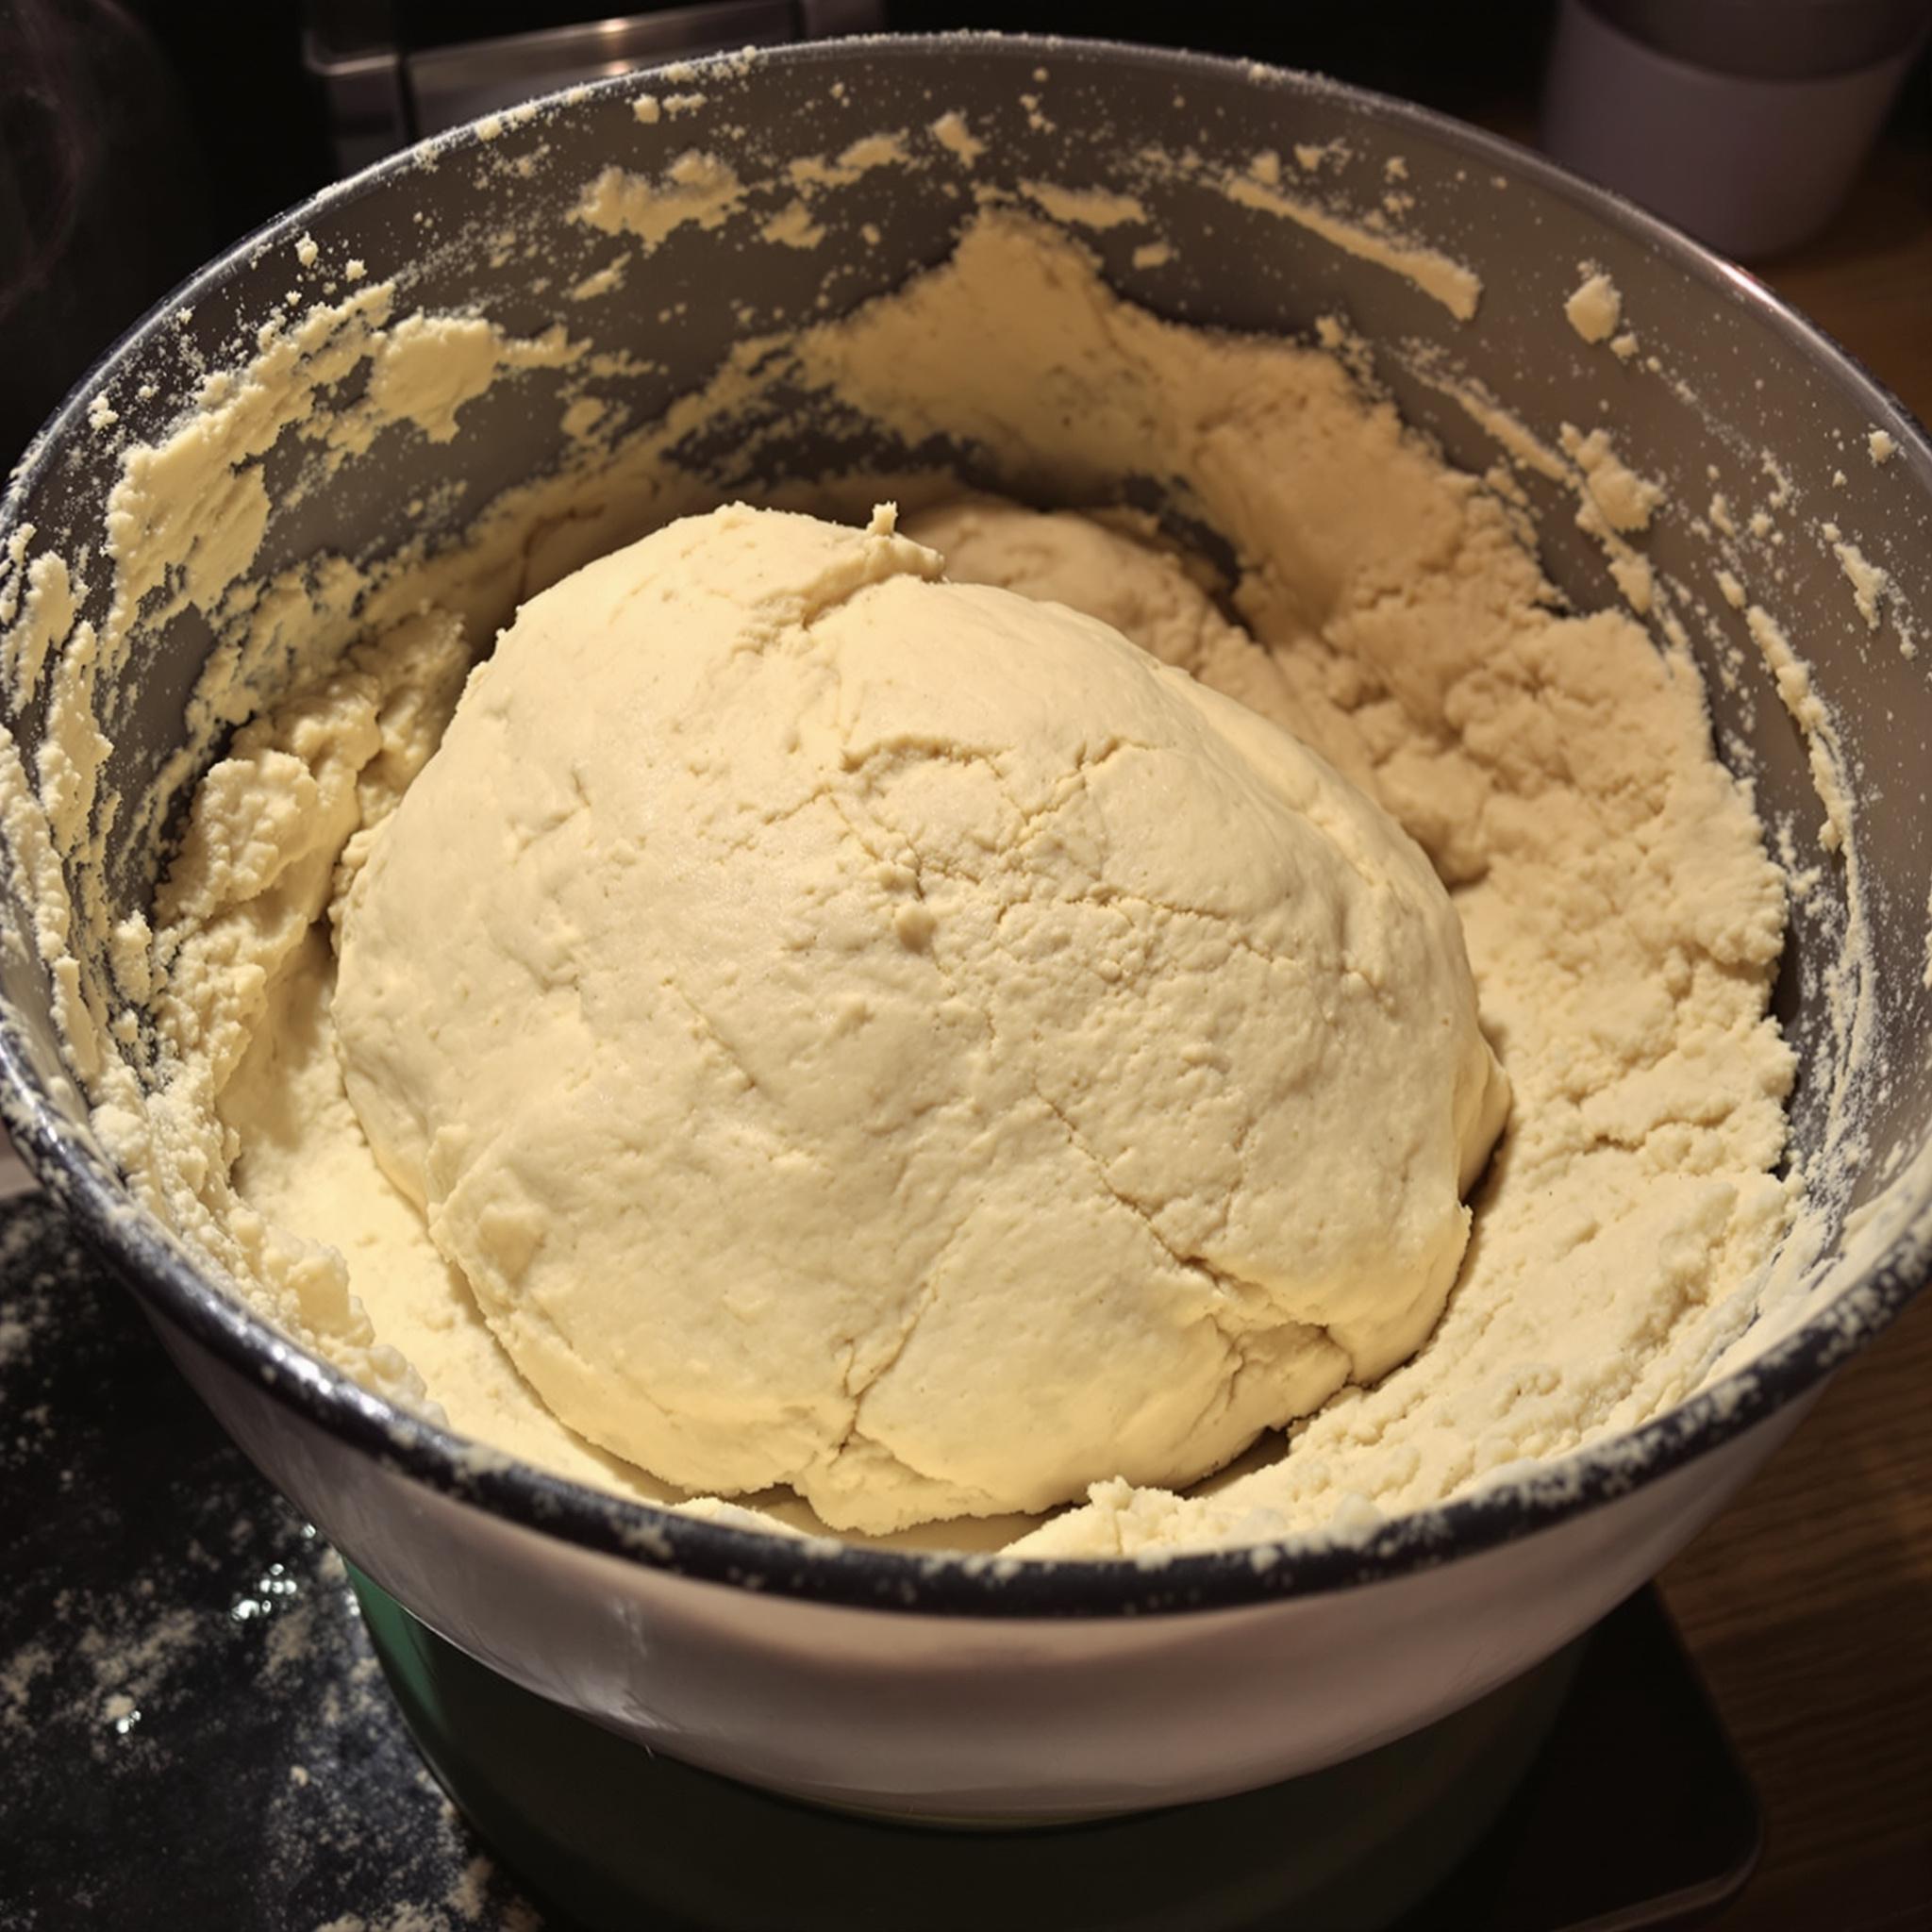
Step 1: Mixing the Dough
Start by combining the flour, salt, and yeast in a large mixing bowl. Add the lukewarm water gradually, stirring with a wooden spoon until the mixture forms a shaggy dough. Don’t worry about perfection here—the beauty of No-Knead Bread lies in its forgiving nature. Once mixed, cover the bowl with plastic wrap or a damp towel and let it rest at room temperature for 12-18 hours. Pro tip: If your kitchen is cold, place the bowl near a warm spot to encourage fermentation.
Step 2: Shaping the Loaf
After the resting period, you’ll notice bubbles forming in the dough—a sign that fermentation is working its magic. Lightly flour your work surface and gently turn out the dough. Shape it into a round loaf using your hands, being careful not to deflate all the air pockets. Transfer the shaped dough onto a piece of parchment paper and let it rise again for about 2 hours. During this time, preheat your oven to 450°F (230°C) with a Dutch oven inside. The high heat helps create that signature crispy crust.
Step 3: Baking the Bread
Carefully remove the hot Dutch oven from the oven and transfer the dough (still on the parchment paper) into the pot. Cover it with the lid and bake for 30 minutes. Then, uncover and bake for an additional 15-20 minutes until the crust turns deep golden brown. The smell wafting through your kitchen will be irresistible! Let the bread cool completely on a wire rack before slicing to ensure the perfect texture.
Chef’s Tip
For an extra-crisp crust, toss a few ice cubes into the Dutch oven right before covering it. The steam created during baking enhances the crust’s texture and adds a professional touch.
Time Required
- Prep Time: 10 minutes
- Rising Time: 14-20 hours total
- Cooking Time: 45-50 minutes
- Total Time: Approximately 15 hours
Nutritional Information
Per serving (1 slice, assuming 12 slices per loaf):
- Calories: 120
- Protein: 3g
- Fat: 0.5g
- Carbohydrates: 24g
- Fiber: 1g
Extra Information
Did you know that the long fermentation process not only develops flavor but also breaks down gluten, making this bread easier to digest for some people? It’s one of the reasons why No-Knead Bread has become such a favorite among health-conscious bakers.
Necessary Tools
- Mixing bowl
- Wooden spoon
- Dutch oven
- Parchment paper
- Wire cooling rack
Storage Instructions
To keep your No-Knead Bread fresh, store it in a paper bag or loosely wrapped in a clean kitchen towel. Avoid plastic bags, as they trap moisture and soften the crust. For longer storage, freeze slices individually in zip-top bags. When ready to enjoy, simply toast them for a quick snack.
If you live in a humid climate, consider keeping the bread in a bread box to maintain its freshness. A well-sealed container can also work wonders for preserving the loaf’s texture.
Remember, homemade bread doesn’t contain preservatives, so it’s best enjoyed within 2-3 days. But trust me—you won’t have leftovers for long!
Tips and Tricks
- Use filtered water to avoid any off flavors that tap water might impart.
- Experiment with different flours, like rye or spelt, for unique variations.
- Score the top of the loaf with a sharp knife before baking to control how it expands.
Serving Suggestions
- Serve warm slices drizzled with olive oil and sprinkled with sea salt.
- Pair it with soups, stews, or salads for a hearty meal.
Healthier Alternatives for No-Knead Bread
Looking to make this recipe healthier? Try these six variations:
- Whole Grain Version: Replace half the all-purpose flour with whole wheat or oat flour for added fiber.
- Seed Boost: Add sunflower seeds, flaxseeds, or chia seeds for extra nutrients.
- Herb Infusion: Mix in dried rosemary or thyme for a fragrant twist.
- Low-Carb Option: Use almond flour and coconut flour for a keto-friendly loaf.
- Vegan Adaptation: Substitute water with unsweetened almond milk for richness.
- Gluten-Free Choice: Experiment with gluten-free flour blends designed for bread-making.
Common Mistakes to Avoid
Mistake 1: Skipping the Long Fermentation
One common error is rushing the fermentation process. Patience is key here—the extended resting time allows the yeast to develop complex flavors and a light, airy texture. Pro tip: Plan ahead and start the dough the night before you plan to bake.
Mistake 2: Overhandling the Dough
Resist the urge to knead or overwork the dough. This bread relies on gentle handling to preserve its structure and airiness. Simply shape it lightly and let it do its thing.
Mistake 3: Not Preheating the Dutch Oven
Skipping this step can lead to a dense loaf. Always preheat your Dutch oven to ensure even heat distribution and a perfectly crisp crust.
Mistake 4: Cutting Into Hot Bread
As tempting as it may be, slicing into the bread too soon can ruin its texture. Allow it to cool completely on a wire rack to set properly.
Frequently Asked Questions
Can I use active dry yeast instead of instant yeast?
Yes, you can! Just dissolve the active dry yeast in the lukewarm water before adding it to the dry ingredients. This ensures it activates properly.
Do I need a Dutch oven to bake No-Knead Bread?
While a Dutch oven produces the best results, you can use a heavy oven-safe pot with a tight-fitting lid. Alternatively, bake directly on a baking stone with a tray of water for steam.
How do I know when the bread is done?
Tap the bottom of the loaf—it should sound hollow. Additionally, the internal temperature should reach around 200°F (93°C).
Can I add mix-ins like nuts or cheese?
Absolutely! Fold in your favorite mix-ins during the shaping stage for a personalized touch.
Is No-Knead Bread suitable for beginners?
Definitely! Its straightforward method and forgiving nature make it ideal for novice bakers.
Can I halve the recipe?
Yes, simply divide all ingredient quantities by two. Adjust baking times slightly if needed.
What if my dough is too sticky?
A sticky dough is normal for this recipe. Resist adding more flour unless absolutely necessary, as it can affect the final texture.
Can I refrigerate the dough overnight?
Yes! After the initial rise, refrigerate the dough for up to 2 days. Bring it to room temperature before shaping and baking.
How do I store leftover bread?
Keep it in a paper bag or bread box for short-term storage. For longer shelf life, freeze individual slices.
Can I double the recipe?
Of course! Double all ingredients and split the dough into two separate loaves for baking.
Conclusion
No-Knead Bread is more than just a recipe—it’s a celebration of simplicity, patience, and the joy of homemade goodness. Whether you’re whipping it up for a casual family meal or impressing guests at a dinner party, this bread never fails to deliver. So grab your ingredients, embrace the process, and get ready to fall in love with the art of effortless baking. Happy baking!
Equipment
- Mixing bowl
- Wooden spoon
- Dutch oven
- Parchment paper
- Wire cooling rack
Ingredients
- 3 cups all-purpose flour 360g
- 1 1/4 teaspoons salt
- 1/4 teaspoon instant yeast
- 1 1/3 cups lukewarm water 315ml
Instructions
- Start by combining the flour, salt, and yeast in a large mixing bowl. Add the lukewarm water gradually, stirring with a wooden spoon until the mixture forms a shaggy dough. Once mixed, cover the bowl with plastic wrap or a damp towel and let it rest at room temperature for 12-18 hours.
- After the resting period, lightly flour your work surface and gently turn out the dough. Shape it into a round loaf using your hands, being careful not to deflate all the air pockets. Transfer the shaped dough onto a piece of parchment paper and let it rise again for about 2 hours. Preheat your oven to 450°F (230°C) with a Dutch oven inside.
- Carefully remove the hot Dutch oven from the oven and transfer the dough (still on the parchment paper) into the pot. Cover it with the lid and bake for 30 minutes. Then, uncover and bake for an additional 15-20 minutes until the crust turns deep golden brown. Let the bread cool completely on a wire rack before slicing.
Notes
Nutrition

Hi, I’m Olivia Parker, the founder of BakingSecret.com and a lifelong lover of all things sweet and homemade. I grew up in a small town in Oregon, where the smell of fresh cookies in my family’s kitchen sparked my passion for baking. Over the years, I turned that passion into a mission: to help home bakers feel confident, inspired, and creative.
After studying food science and working in several artisan bakeries across the U.S., I decided to create a space where everyone from beginners to seasoned bakers can find reliable recipes, expert tips, and a warm, welcoming community. BakingSecret.com is my way of sharing the magic of baking with the world. When I’m not testing new recipes, you’ll find me exploring farmers’ markets, collecting vintage cookbooks, or perfecting my sourdough technique.