
Why This Chocolate Peanut Butter Cake Will Steal Your Heart
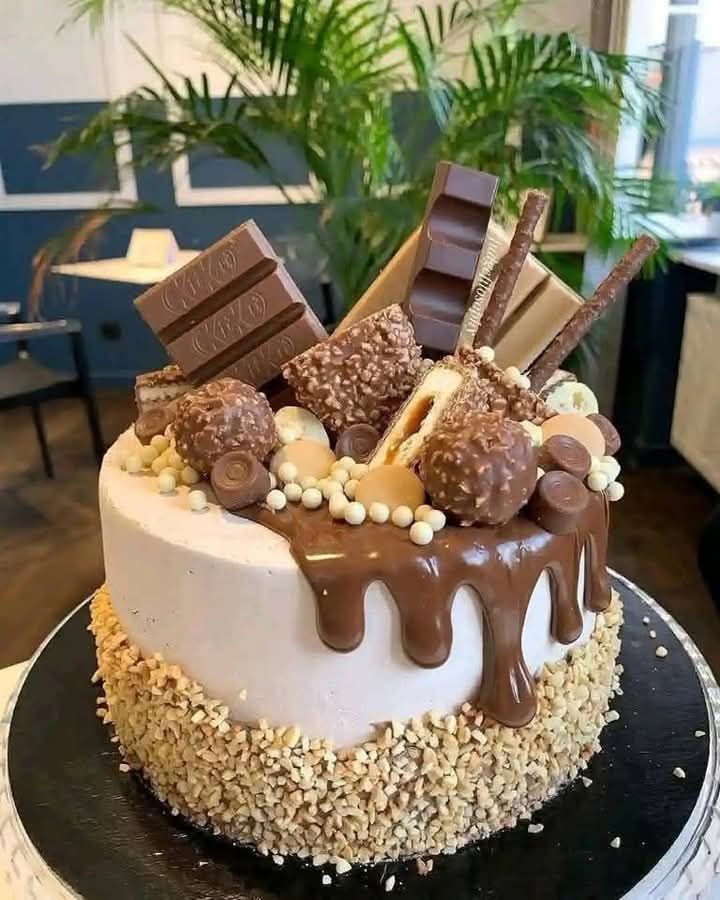
Picture this: a rich, fudgy chocolate cake layered with creamy peanut butter filling, all draped in a glossy chocolate ganache. Sounds like a dream, right? I first made this Chocolate Peanut Butter Cake for my best friend’s birthday, and let me tell you, it was a showstopper. The combination of deep chocolate and nutty peanut butter is pure magic, and the recipe is surprisingly easy to pull off. Whether you’re baking for a celebration or just because, this cake will win over hearts—and stomachs!
A Little History Behind the Magic
This dessert is a modern twist on classic American flavors. Chocolate and peanut butter have been a match made in heaven since the early 1900s when peanut butter gained popularity in the U.S. Back then, peanut butter was considered a health food, but let’s be real—it shines brightest when paired with chocolate. Over the years, bakers have taken this duo to new heights, creating everything from cookies to pies. This Chocolate Peanut Butter Layer Cake combines tradition with a touch of elegance, making it perfect for any occasion.
Why You’ll Love This Recipe
First off, the flavors are unbeatable. The cake layers are moist and deeply chocolatey, while the peanut butter filling adds a creamy, slightly salty contrast. Then there’s the ganache—oh, the ganache! It’s silky, shiny, and ties everything together beautifully. Plus, this recipe is straightforward enough for beginner bakers but impressive enough to wow even the pickiest dessert lovers. Trust me, once you try it, you’ll want to make it again and again.
Perfect Occasions for This Cake
This Chocolate Peanut Butter Cake is versatile. Serve it at birthdays, holidays, or potlucks—it’s always a hit. I’ve also made it for casual weekend gatherings, and it never fails to disappear quickly. Honestly, you don’t even need a special occasion. Sometimes, the best reason to bake this cake is simply because you’re craving something indulgent and delicious.
Ingredients
Here’s what you’ll need to create this masterpiece:
Cake Layers:
- 2 cups of all-purpose flour
- 2 cups of granulated sugar
- 3/4 cup of unsweetened cocoa powder
- 2 teaspoons of baking powder
- 1 1/2 teaspoons of baking soda
- 1 teaspoon of salt
- 1 whole cup of milk
- 1/2 cup vegetable oil
- 2 large eggs
- 2 teaspoons of vanilla extract
- 1 cup of boiling water
Peanut Butter Topping:
- 1 cup creamy peanut butter
- 1/2 cup unsalted butter, softened
- 2 cups of powdered sugar
- 1/4 cup heavy cream
Chocolate Ganache:
- 1 cup semi-sweet chocolate chips
- 1/2 cup heavy cream
Substitution Options
If you’re out of certain ingredients, here are some swaps:
- All-purpose flour: Use gluten-free flour if needed.
- Granulated sugar: Substitute with coconut sugar for a deeper flavor.
- Milk: Any milk works—dairy, almond, or oat.
- Veggie oil: Melted butter or canola oil are great alternatives.
- Semi-sweet chocolate chips: Swap for dark or milk chocolate depending on your preference.
Preparation Section
Step 1: Get Ready to Bake
Before diving in, preheat your oven to 350°F (175°C). Grease two 9-inch round cake pans and line them with parchment paper. This step ensures your cakes won’t stick and will come out perfectly every time. Pro tip: Dusting the pans lightly with cocoa powder instead of flour gives an extra chocolatey touch!
Step 2: Mix the Dry Ingredients
In a large mixing bowl, whisk together the flour, sugar, cocoa powder, baking powder, baking soda, and salt. The dry mixture should smell rich and chocolaty, thanks to the cocoa powder. Whisking these ingredients thoroughly helps distribute the leavening agents evenly, ensuring a light and airy cake.
Step 3: Add Wet Ingredients
Now comes the fun part! Pour in the milk, vegetable oil, eggs, and vanilla extract into the dry mix. Use a hand mixer or whisk until the batter is smooth and free of lumps. Finally, stir in the boiling water. Don’t panic—the batter will seem thin, but that’s exactly what makes the cake so moist. Chef’s tip: Let the batter rest for 5 minutes before pouring it into the pans for a more tender crumb.
Step 4: Bake Those Layers
Divide the batter evenly between the prepared pans and pop them into the oven. Bake for 30-35 minutes, or until a toothpick inserted in the center comes out clean. As the cakes bake, your kitchen will fill with the irresistible aroma of chocolate. Once done, let the cakes cool completely before assembling. Rushing this step could cause the layers to break, and nobody wants that!
Step 5: Whip Up the Peanut Butter Filling
While the cakes cool, beat the peanut butter and softened butter in a bowl until smooth. Gradually add the powdered sugar and heavy cream, mixing until the filling is fluffy and spreadable. The creamy texture pairs beautifully with the dense chocolate layers. Pro tip: Taste as you go—you might find yourself sneaking spoonfuls!
Step 6: Make the Ganache
Heat the heavy cream until it’s steaming but not boiling, then pour it over the chocolate chips. Let it sit for 5 minutes before stirring until smooth and glossy. This ganache is the crowning glory of your cake, so take your time to get it right. If it’s too thick, warm it slightly; if too thin, let it cool a bit longer.
Step 7: Assemble Your Masterpiece
Place one cake layer on a plate and spread the peanut butter filling generously on top. Add the second layer and pour the ganache over the cake, letting it drip artfully down the sides. Take a moment to admire your work—it’s almost too pretty to eat… almost!
Timing
Here’s how long each stage takes:
- Prep Time: 20 minutes
- Cooking Time: 35 minutes
- Resting/Cooling Time: 1 hour
- Total Time: About 2 hours
Chef’s Secret
To enhance the peanut butter flavor, toast the peanuts lightly and sprinkle them on top of the ganache before serving. It adds crunch and elevates the presentation.
Extra Info
Did you know peanut butter was originally created as a protein-rich food for people who couldn’t afford meat? Today, we love it for its creamy texture and ability to pair with chocolate. Fun fact: Americans spend over $800 million on peanut butter annually!
Necessary Equipment
You’ll need:
- Two 9-inch round cake pans
- Parchment paper
- Mixing bowls
- Hand mixer or stand mixer
- Measuring cups and spoons
- Spatula
- Cooling rack
Storage
This Chocolate Peanut Butter Cake keeps well if stored properly. Wrap it tightly in plastic wrap or place it in an airtight container to prevent it from drying out. At room temperature, it stays fresh for up to 2 days. For longer storage, refrigerate it for up to a week. Just bring it back to room temperature before serving for the best taste and texture.
If you want to freeze the cake, wrap individual slices in foil and store them in a freezer-safe bag. They’ll last for up to 3 months. Thaw overnight in the fridge before enjoying.
Pro tip: To refresh the ganache after refrigeration, give it a quick zap in the microwave or let it sit at room temp for 10 minutes.
Tips and Advice
For the best results, measure your ingredients accurately using a kitchen scale. Sift the cocoa powder and powdered sugar to avoid lumps. Also, make sure your eggs and butter are at room temperature—they blend better that way.
Presentation Tips
Take your cake to the next level by decorating it with crushed peanuts, chocolate shavings, or edible flowers. Drizzle extra ganache around the edges for a dramatic effect. A dusting of powdered sugar always adds a touch of elegance.
Healthier Alternative Recipes
If you’re looking to lighten things up, here are six variations:
- Gluten-Free: Use almond flour and gluten-free baking powder.
- Sugar-Free: Replace granulated sugar with a sugar substitute like erythritol.
- Vegan: Swap eggs for flax eggs and use plant-based milk and butter.
- Low-Fat: Opt for Greek yogurt instead of heavy cream in the ganache.
- Protein-Packed: Add a scoop of chocolate protein powder to the batter.
- Refined Sugar-Free: Sweeten with honey or maple syrup and adjust liquid amounts accordingly.
Common Mistakes to Avoid
Mistake 1: Skipping the Parchment Paper
Not lining your pans can lead to sticky disasters. Always use parchment paper to ensure your cakes release easily without breaking apart.
Mistake 2: Overmixing the Batter
Overmixing develops gluten, which can make the cake tough. Mix just until the ingredients are combined for a soft, tender crumb.
Mistake 3: Rushing the Cooling Process
As tempting as it is to assemble the cake immediately, rushing can cause the layers to crumble. Patience pays off here!
Mistake 4: Making Ganache Too Thick
If your ganache turns out too thick, it won’t pour smoothly. Warm it gently in the microwave or over a double boiler to loosen it up.
Mistake 5: Not Tasting Along the Way
Baking is as much about tasting as it is about measuring. Check the sweetness and flavors at each stage to ensure perfection.
FAQ
Can I use natural peanut butter?
Yes, but stir it well before using. Natural peanut butter has a tendency to separate, which could affect the texture of your filling.
What if I only have one cake pan?
No problem! Bake one layer at a time, cleaning the pan between uses. Just be sure to cool the pan completely before adding the next batch of batter.
How do I fix a lumpy ganache?
If your ganache isn’t smooth, reheat it gently and stir vigorously. You can also strain it through a fine mesh sieve to remove any stubborn lumps.
Can I make this cake ahead of time?
Absolutely! You can bake the layers a day in advance and store them wrapped tightly at room temperature. Assemble the cake closer to serving time.
Is this cake kid-friendly?
Oh, absolutely! Kids adore the combo of chocolate and peanut butter. Just check for allergies before serving.
Can I add nuts to the cake?
Of course! Chopped peanuts or pecans would add a delightful crunch to the layers.
What size servings does this recipe yield?
This recipe makes 10-12 generous slices, perfect for sharing—or not!
Can I use a different frosting?
While peanut butter frosting is ideal, you could experiment with marshmallow or whipped cream frostings for variety.
Why did my cake sink in the middle?
This usually happens if the oven door is opened too early or the batter wasn’t mixed properly. Keep the door closed during baking and follow the recipe closely.
Can I freeze leftovers?
Definitely! Wrap slices individually and freeze for up to 3 months. Thaw in the fridge overnight before enjoying.
Final Thoughts
This Chocolate Peanut Butter Cake is more than just a dessert—it’s a celebration of flavor, texture, and creativity. Whether you’re baking for loved ones or treating yourself, this recipe promises happiness in every bite. So grab your apron, gather your ingredients, and get ready to create something truly unforgettable. Happy baking!
Equipment
- Mixing bowls
- Hand mixer or stand mixer
- Spatula
- 2 9-inch round cake pans Greased and lined with parchment paper
- Cooling rack
Ingredients
- 2 cups all-purpose flour
- 2 cups granulated sugar
- 3/4 cup unsweetened cocoa powder
- 2 teaspoons baking powder
- 1 1/2 teaspoons baking soda
- 1 teaspoon salt
- 1 cup milk
- 1/2 cup vegetable oil
- 2 large eggs
- 2 teaspoons vanilla extract
- 1 cup boiling water
- 1 cup creamy peanut butter
- 1/2 cup unsalted butter, softened
- 2 cups powdered sugar
- 1/4 cup heavy cream
- 1 cup semi-sweet chocolate chips
- 1/2 cup heavy cream
Instructions
- Preheat your oven to 350°F (175°C), grease two 9-inch round cake pans, and line with parchment paper.
- In a large mixing bowl, whisk together the flour, sugar, cocoa powder, baking powder, baking soda, and salt.
- Pour in the milk, vegetable oil, eggs, and vanilla extract into the dry mixture, mixing until smooth and then stir in boiling water.
- Divide the batter evenly between the prepared pans and bake for 30-35 minutes or until a toothpick comes out clean.
- Let the cakes cool completely before assembling.
- Beat the peanut butter and softened butter until smooth, then add powdered sugar and heavy cream until fluffy.
- Heat the heavy cream until steaming, pour over chocolate chips, and stir until smooth to create ganache.
- Assemble the cake by spreading the peanut butter filling between the layers and pouring ganache on top.
Notes
Nutrition

Hi, I’m Olivia Parker, the founder of BakingSecret.com and a lifelong lover of all things sweet and homemade. I grew up in a small town in Oregon, where the smell of fresh cookies in my family’s kitchen sparked my passion for baking. Over the years, I turned that passion into a mission: to help home bakers feel confident, inspired, and creative.
After studying food science and working in several artisan bakeries across the U.S., I decided to create a space where everyone from beginners to seasoned bakers can find reliable recipes, expert tips, and a warm, welcoming community. BakingSecret.com is my way of sharing the magic of baking with the world. When I’m not testing new recipes, you’ll find me exploring farmers’ markets, collecting vintage cookbooks, or perfecting my sourdough technique.