
Why Cake Pens Are a Game-Winning Dessert Idea
Picture this: it’s my niece’s birthday, and she’s obsessed with unicorns. I wanted to make her cake magical, but let’s face it—I’m no artist. That’s when I discovered cake pens, and oh boy, did they save the day! With just a few strokes of an icing pen for cakes, I turned a plain vanilla cake into a unicorn wonderland. My niece squealed with joy, and my confidence as a baker soared higher than a hot air balloon. If you’ve ever felt intimidated by cake decorating, these pens are about to become your new best friend.
The Sweet History Behind Cake Pens
While cake pens may feel like a modern invention, their roots trace back to the art of edible decoration. Long before we had sleek pens filled with vibrant icing, bakers used squeeze bottles and pastry bags to create intricate designs. Fast forward to today, and companies have taken this idea to the next level. Brands like cake vape website and cake delta 8 manufacturer might sound familiar if you’re exploring edibles, but my focus is on the sweet side of things—decorating cakes with precision and flair. Whether you’re working on a themed cake or adding a personal touch, these tools are pure magic.
Why You’ll Love This Recipe
Here’s the deal: cake pens make decorating fun and stress-free. No piping bags, no mess, no frustration. The colors are vibrant, the tips are precise, and cleanup is a breeze. Plus, they’re perfect for both beginners and pros. Even if you think you can’t draw a straight line, trust me—you’ll nail it. When I tested this recipe, I realized how versatile these pens are. From writing names to drawing flowers, the possibilities are endless.
Perfect Occasions to Whip Out Your Cake Pens
Got a birthday party coming up? Use cake pens to write “Happy Birthday” in bold letters. Hosting a baby shower? Draw adorable onesies or balloons. They’re also great for holidays like Halloween (think spooky bats) or Valentine’s Day (hearts galore!). I once used them to decorate cupcakes for a school bake sale, and they sold out in minutes. People couldn’t believe I wasn’t a professional decorator!
Ingredients You’ll Need
- 1 pre-baked cake (homemade or store-bought)
- 1 set of cake pens in assorted colors
- 1 jar of frosting (optional, for base layer)
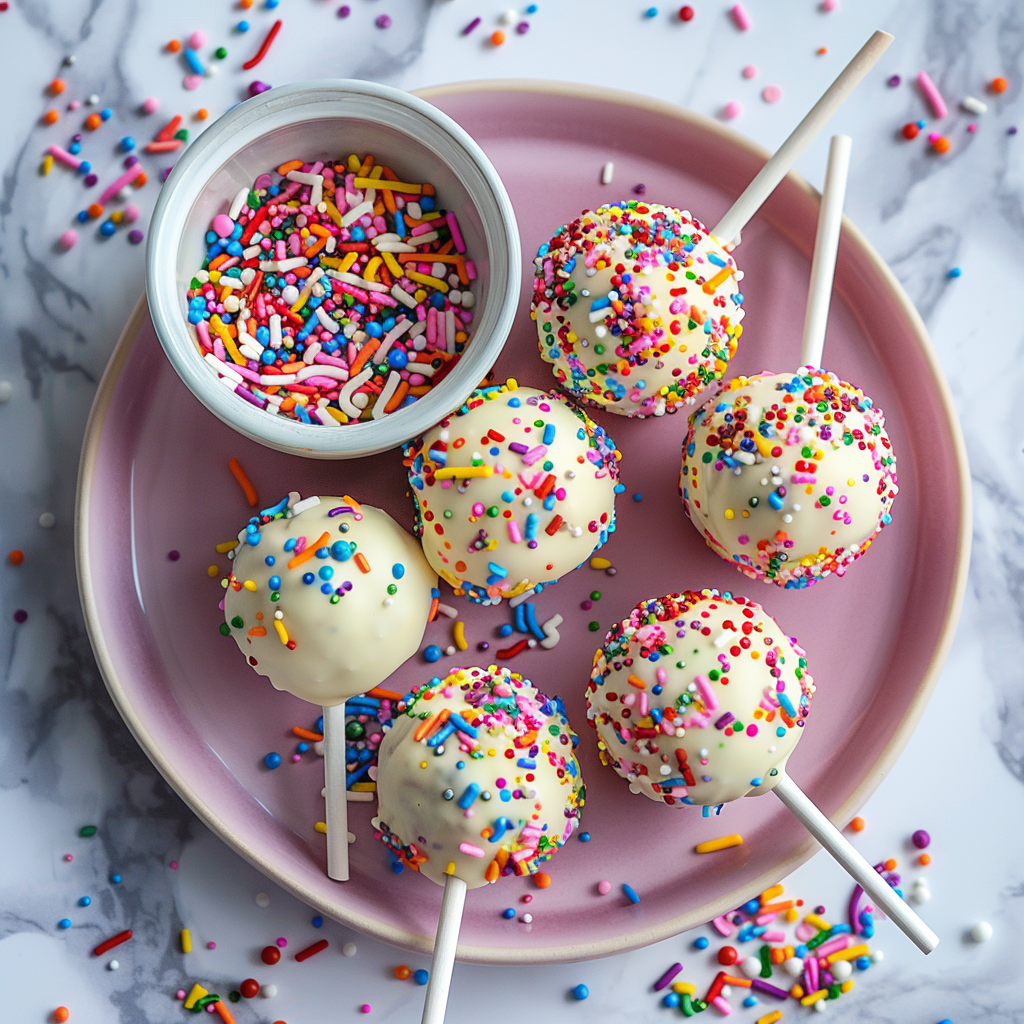
- Sprinkles or edible glitter (optional, for extra pizzazz)
Substitution Options
- If you don’t have cake pens, try using a small ziplock bag with the corner snipped off and filled with icing.
- Swap the pre-baked cake for brownies or cookies if you’re feeling adventurous.
- Use natural food coloring for the pens if you want a healthier option.
Step 1: Prepare Your Canvas
Start by smoothing a thin layer of frosting over your cake. This acts as a blank canvas for your designs. I like using white frosting because it makes the colors pop, but chocolate works too if you’re going for a rustic vibe. Pro tip: chill the frosted cake in the fridge for 10 minutes to firm up the surface. It’ll prevent smudging when you start drawing.
Step 2: Unleash Your Creativity
Now comes the fun part! Grab your cake pens and let your imagination run wild. Start with simple shapes like stars or hearts if you’re new to this. For more advanced designs, sketch lightly with a toothpick first, then trace over it with the pens. The ink-like flow of the pens feels so satisfying—it’s almost therapeutic. Don’t worry about perfection; handmade touches always charm people.
Step 3: Add Finishing Touches
Once your design is complete, sprinkle some edible glitter or tiny sprinkles around the edges for that wow factor. If you’re feeling extra fancy, use a cake disposable dab pen technique by dotting highlights with metallic edible paint. Chef’s tip: Less is more. Overloading the cake with decorations can make it look cluttered, so keep it balanced.
Timing Breakdown
- Prep Time: 10 minutes (frosting and chilling)
- Decorating Time: 15-20 minutes
- Total Time: 30 minutes
Chef’s Secret
To avoid clogged pens, always store them upright with the caps tightly sealed. If a pen seems dry, dip the tip in warm water for a few seconds to reactivate the flow. This trick saved me during a last-minute dessert emergency!
A Fun Fact About Cake Pens
Did you know that cake pens were originally inspired by calligraphy tools? Bakers loved how easy they were to handle, so manufacturers adapted them for edible use. Now, they’re a staple in kitchens worldwide. Who knew handwriting practice could translate into cake art?
Necessary Equipment
- Cake pens
- Offset spatula (for frosting)
- Toothpicks (for sketching)
- Small bowls (for organizing sprinkles)
Storage Tips
After decorating, store your cake in an airtight container to keep it fresh. Avoid stacking anything on top, as it might smudge your beautiful designs. If you live in a humid area, refrigerate the cake but bring it back to room temperature before serving. This ensures the frosting stays soft and creamy.
Leftover cake pens? Keep them in a cool, dry place away from direct sunlight. They’ll stay good for months, ready for your next creative adventure.
For long-term storage, freeze the undecorated cake layers and decorate later. Just thaw completely before applying any frosting or pens.
Tips and Advice
Practice makes perfect. Before diving into the real thing, test your cake pens on a piece of parchment paper. This helps you get comfortable with the pressure needed for smooth lines. Also, choose a theme or color scheme beforehand to keep your design cohesive. Oh, and don’t forget to have fun—it’s just cake!
Presentation Ideas
- Place the cake on a decorative stand surrounded by fairy lights.
- Add a personalized message like “You’re the Sweetest!”
- Serve slices on plates dusted with powdered sugar for an elegant touch.
Healthier Alternatives
Want to lighten up your dessert? Here are six variations:
- Vegan Option: Use dairy-free frosting and plant-based cake pens.
- Gluten-Free: Swap the cake for a gluten-free version.
- Low-Sugar: Opt for sugar-free frosting and pens made with stevia.
- Fruit-Topped: Decorate with fresh berries instead of sprinkles.
- Nut-Free: Ensure all ingredients are free from nut contamination.
- Protein-Packed: Add protein powder to the cake batter for a fitness-friendly twist.
Mistake 1: Skipping the Frosting Base
Some folks jump straight to using cake pens without frosting the cake first. Without a smooth base, your designs won’t stand out. Always apply a thin layer of frosting to create contrast and make your artwork pop.
Mistake 2: Using Too Much Pressure
Pressing too hard on the pens can cause blobs of icing. To avoid this, hold the pen at a slight angle and glide it gently across the surface. Practice on parchment paper if you’re unsure.
Mistake 3: Ignoring Storage Instructions
Leaving your cake pens uncapped or exposed to heat can dry them out. Always seal them tightly and store them properly to extend their lifespan.
FAQs About Cake Pens
Are Cake vape pens any good?
As much as I love cake pens for decorating, I haven’t tried cake vape pens. From what I’ve read, reviews are mixed, so do your research before buying. Stick with the edible kind for now—they’re guaranteed to satisfy your sweet tooth!
Are Cake vapes safe to use?
This question strays into the realm of CBD and Delta-8 products, which aren’t my specialty. However, reputable brands like cake delta 8 manufacturer often provide lab reports to ensure safety. Always check these documents before purchasing.
How long does a Cake pen stay in your system?
Again, this leans toward edibles like cake pens cbd or cake disposable dab pen. These products typically metabolize within a few hours to days, depending on factors like dosage and body chemistry.
Is Cake still a brand?
Absolutely! Brands like cake bar pen and cake disposable continue to innovate in the edible market. Their popularity shows no signs of slowing down.
Where can I buy quality cake pens?
Check out baking supply stores or online retailers like Amazon. Look for sets with vibrant colors and positive reviews for the best results.
Can I refill cake pens?
Most cake pens aren’t refillable, but you can mimic their effect using piping bags. Simply fill a small bag with icing and snip the corner for precise control.
Do cake pens work on all surfaces?
They work best on smooth, firm surfaces like frosted cakes or cookies. Uneven textures may cause the ink to spread unevenly.
Are cake pens kid-friendly?
Yes! Kids love using cake pens to create their own designs. Just supervise younger ones to prevent accidental ingestion of non-edible parts.
What flavors do cake pens come in?
Most pens are unflavored since they’re primarily for decoration. However, some brands offer flavored options like vanilla or chocolate.
Can I use cake pens for savory dishes?
Technically, yes, but it’s not common. Stick to sweet treats unless you’re experimenting with edible art for appetizers.
Final Thoughts
Whether you’re a seasoned baker or a newbie, cake pens open up a world of creative possibilities. They’re easy to use, fun to experiment with, and guaranteed to impress. So grab a set, channel your inner artist, and watch your desserts transform into edible masterpieces. Happy baking!
Equipment
- Cake Pens
- Offset spatula for frosting
- Toothpicks for sketching
- Small bowls for organizing sprinkles
- Fridge for chilling the cake
Ingredients
- 1 pre-baked cake homemade or store-bought
- 1 set cake pens in assorted colors
- 1 jar frosting optional, for base layer
- q.s. sprinkles or edible glitter optional, for extra pizzazz
Instructions
- Start by smoothing a thin layer of frosting over your cake.
- Chill the frosted cake in the fridge for 10 minutes to firm up the surface.
- Grab your cake pens and let your imagination run wild; begin with simple shapes.
- Consider sketching your design lightly with a toothpick before tracing with the pens.
- Once the design is complete, add edible glitter or tiny sprinkles around the edges.
Notes
Nutrition

Hi, I’m Olivia Parker, the founder of BakingSecret.com and a lifelong lover of all things sweet and homemade. I grew up in a small town in Oregon, where the smell of fresh cookies in my family’s kitchen sparked my passion for baking. Over the years, I turned that passion into a mission: to help home bakers feel confident, inspired, and creative.
After studying food science and working in several artisan bakeries across the U.S., I decided to create a space where everyone from beginners to seasoned bakers can find reliable recipes, expert tips, and a warm, welcoming community. BakingSecret.com is my way of sharing the magic of baking with the world. When I’m not testing new recipes, you’ll find me exploring farmers’ markets, collecting vintage cookbooks, or perfecting my sourdough technique.