
Why This Three Layer Cake is a Must-Try
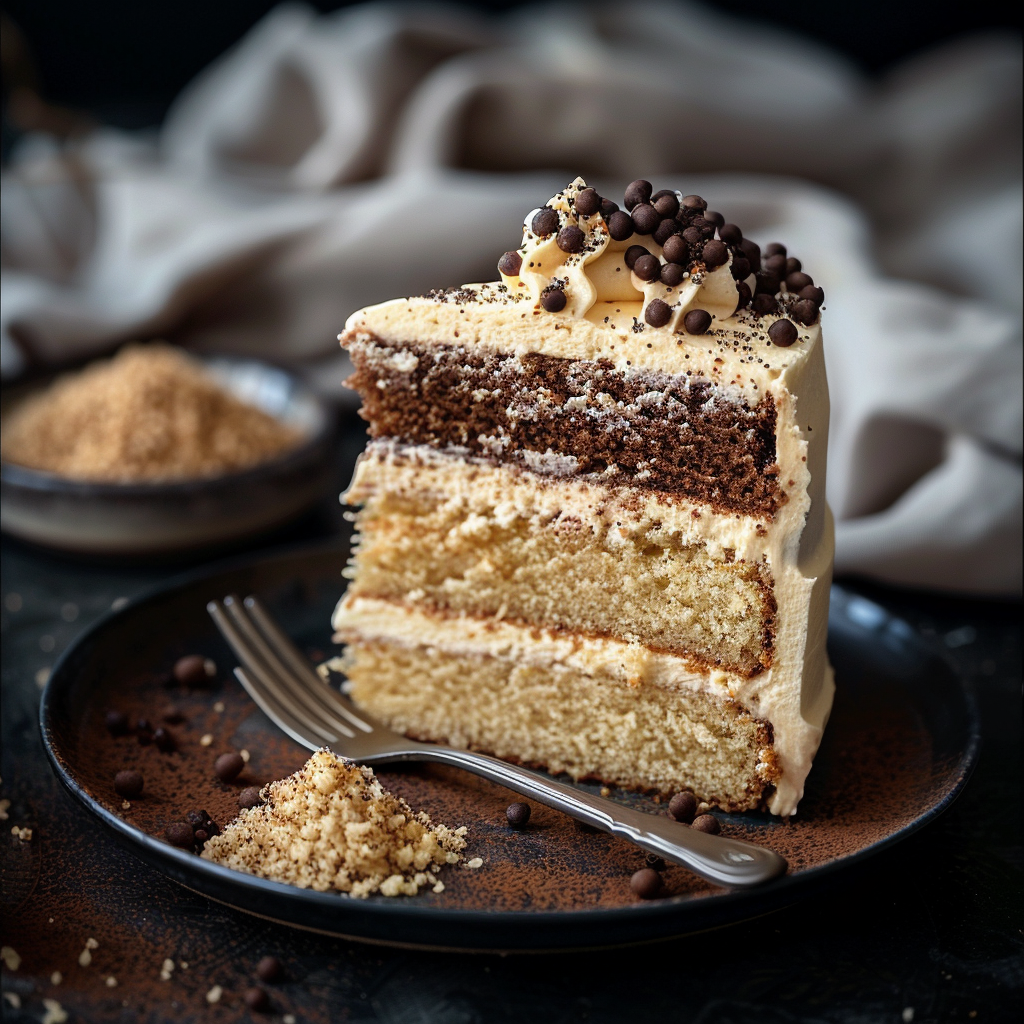
Picture this: It’s my niece’s birthday, and I’m standing in my cozy kitchen, flour dusted on my apron, trying to make the perfect three layer cake. The house smells like butter, sugar, and vanilla—a heavenly trio. When I finally pulled it out of the oven, golden brown and perfectly puffed, I knew it was going to be special. Not only did it taste divine, but the “oohs” and “aahs” from my family confirmed it. That day, I realized that a 3 layer cake recipe isn’t just dessert—it’s a showstopper. Whether you’re baking for a celebration or just because, this cake will steal the spotlight every time.
A Little History About Multi-Layered Cakes
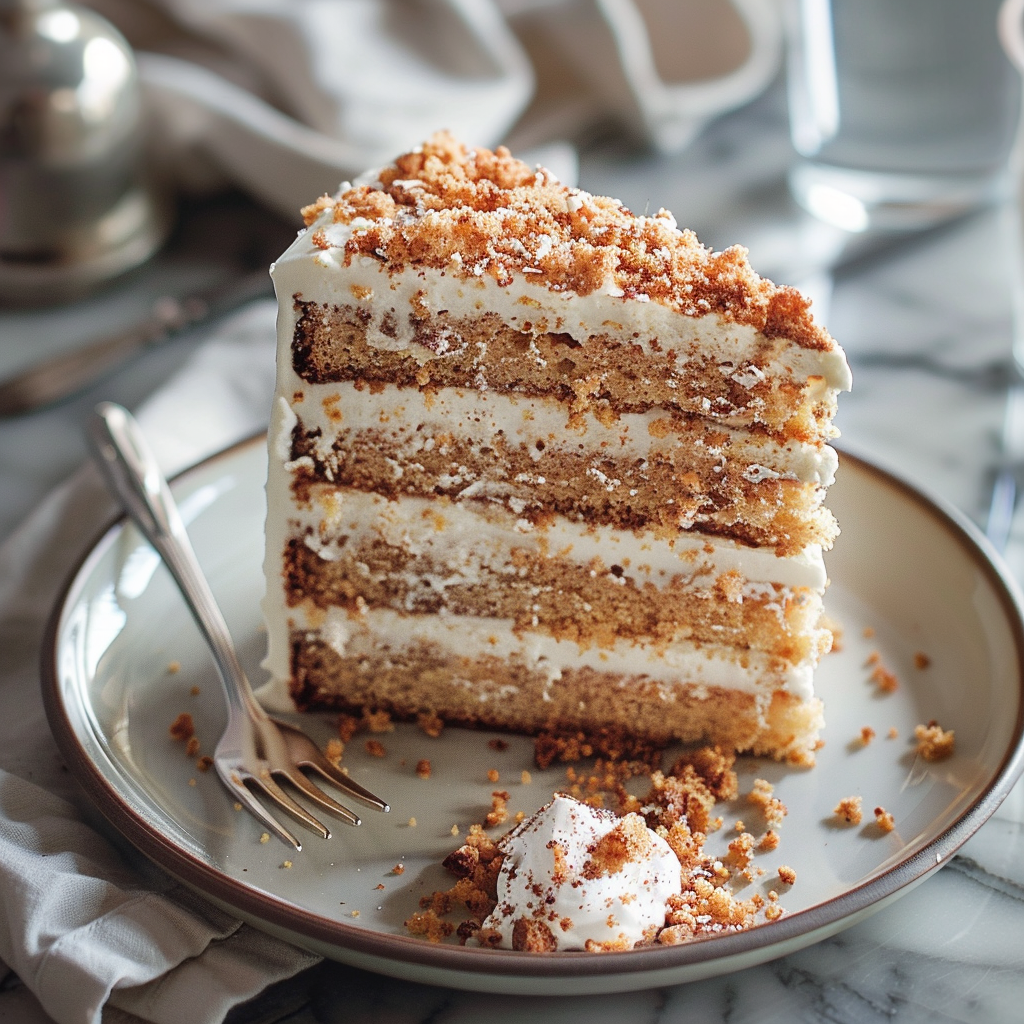
Cakes with multiple layers have been around for centuries, but they became truly iconic during the Victorian era. Back then, multi layered cake recipes symbolized wealth and luxury because they required more ingredients and skill. Today, though, anyone can make one with a little patience. My first attempt at a 3 layer vanilla cake recipe was a bit of a disaster (let’s just say the layers weren’t even). But over time, I learned tricks to stack them perfectly. Now, I bake them for everything—birthdays, holidays, and even random Tuesday nights when I want to feel fancy.
Why You’ll Love This Recipe
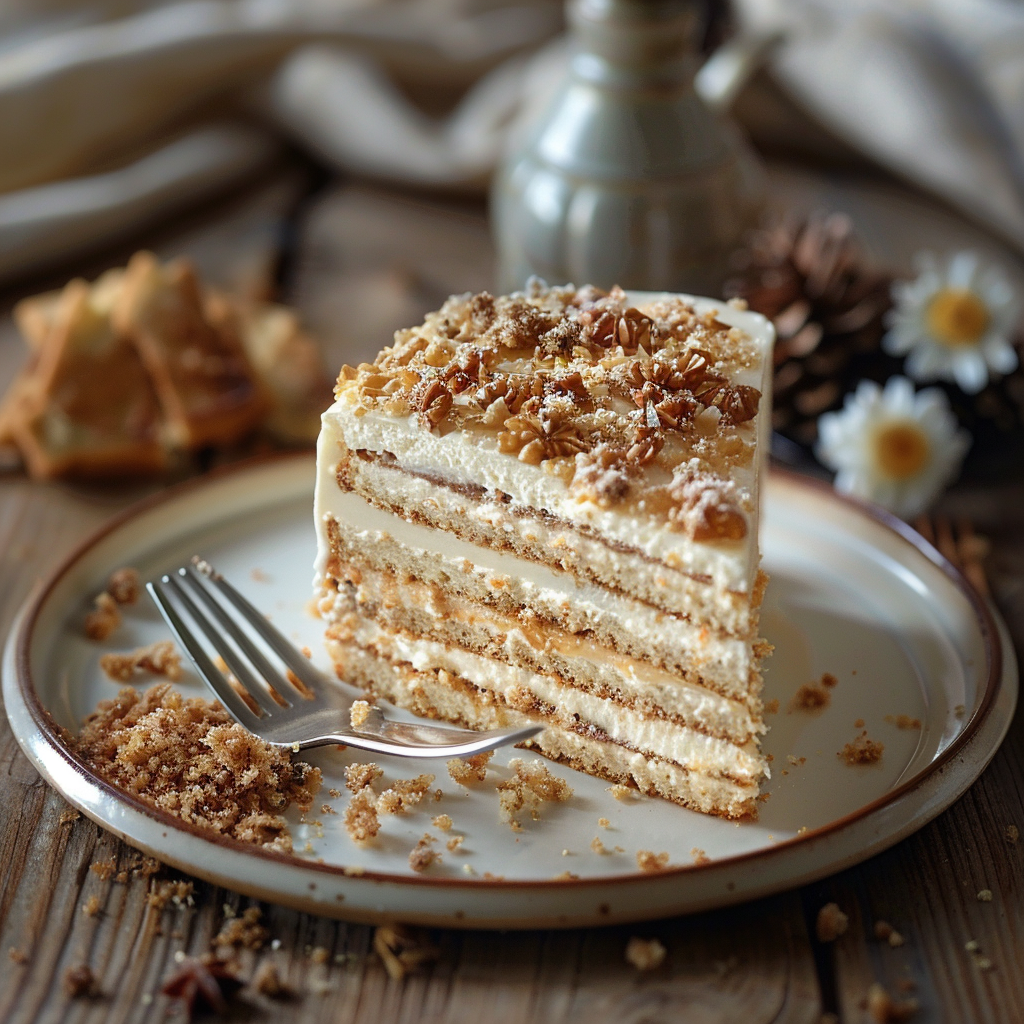
This three layer cake is a dream come true for bakers of all levels. The flavors are rich yet simple, and the texture? Let’s just say your fork will sink right in. Plus, it’s versatile—you can customize it with different fillings and frostings. Whether you’re making a 3 layer birthday cake or experimenting with layered cake recipes with fillings, this recipe has got you covered. And if you’re wondering about the effort, don’t worry. It’s easier than you think!
Perfect Occasions to Bake This Beauty
This cake shines at any gathering. Birthdays? Absolutely. Baby showers? Perfect. Anniversary dinners? Spot on. Even if you’re not celebrating anything, whip up a 2 layer cake recipe version for Sunday brunch. Trust me, people will love you for it. Once, I made this cake for a potluck and ended up sending everyone home with slices—they couldn’t get enough!
Ingredients You’ll Need
- 2 ½ cups all-purpose flour
- 2 ½ tsp baking powder
- ½ tsp salt
- 1 cup unsalted butter, softened
- 2 cups granulated sugar
- 4 large eggs
- 1 tbsp pure vanilla extract
- 1 cup whole milk
- 1 ½ cups buttercream frosting (or your favorite frosting)
- Fresh berries or sprinkles for decoration
Substitutions to Make It Your Own
- Swap whole milk for almond or oat milk for a dairy-free option.
- Use gluten-free flour if you need a gluten-free cake.
- Replace vanilla extract with almond extract for a nutty twist.
- Try cream cheese frosting instead of buttercream for tanginess.
Step 1: Preheat and Prep
Preheat your oven to 350°F (175°C). Grease three 8-inch round cake pans and line the bottoms with parchment paper. This step is crucial because no one likes a stuck cake. Pro tip: Use a pastry brush to spread a thin layer of butter evenly across the pan. It makes a world of difference.
Step 2: Mix the Dry Ingredients
In a medium bowl, whisk together the flour, baking powder, and salt. This ensures the leavening agents are evenly distributed, which helps your cake rise beautifully. Picture the soft, powdery mixture—it’s the foundation of your masterpiece.
Step 3: Cream Butter and Sugar
In a large mixing bowl, beat the butter and sugar until light and fluffy. This should take about 3-4 minutes. You’ll notice the color change from pale yellow to almost white, and the texture becomes airy. This step is magic—it gives your easy layer cake recipes from scratch their signature softness.
Step 4: Add Eggs and Vanilla
Crack the eggs into the bowl one at a time, mixing well after each addition. Then, add the vanilla extract. This is where the aroma starts to build. Your kitchen will smell amazing, and you might catch yourself sneaking a taste of the batter.
Step 5: Alternate Wet and Dry Ingredients
Gradually add the dry ingredients to the wet mixture, alternating with the milk. Start and end with the dry ingredients. This technique keeps the batter smooth and prevents lumps. Chef’s tip: Scrape down the sides of the bowl often to ensure everything mixes evenly.
Step 6: Bake Until Golden
Pour the batter evenly into the prepared pans and bake for 25-30 minutes. The cakes are done when a toothpick inserted in the center comes out clean. Let them cool completely before frosting. Patience here pays off—you don’t want melted frosting ruining your hard work.
Timing Breakdown
- Prep Time: 20 minutes
- Baking Time: 25-30 minutes
- Cooling Time: 1 hour
- Frosting and Assembly: 20 minutes
- Total Time: Approximately 2 hours
Chef’s Secret
To level your cakes perfectly, use a serrated knife to trim the tops once they’ve cooled. This ensures an even stack and makes your how to make a 4 layer cake dreams come true.
An Interesting Tidbit
Did you know that some professional bakers use dowels or straws to support tall cakes? While a three layer cake price at a bakery can be steep, homemade versions are budget-friendly and equally impressive.
Necessary Equipment
- Three 8-inch round cake pans
- Electric mixer
- Parchment paper
- Cooling rack
- Serrated knife
- Offset spatula
Storage Tips
After frosting, store your three layer cake in an airtight container at room temperature for up to two days. If you live in a warm climate, refrigerate it to keep the frosting firm. Bring it back to room temperature before serving for the best flavor.
If you need to store leftovers, wrap individual slices in plastic wrap and freeze them. They’ll stay fresh for up to a month. Just thaw overnight in the fridge before enjoying.
For long-term storage, freeze the unfrosted layers. Wrap them tightly in plastic wrap and foil, then defrost and frost as needed. This method works wonders for last-minute celebrations.
Tips and Advice
- Use room-temperature ingredients for smoother batter.
- Don’t overmix the batter—it can make the cake dense.
- Chill the layers briefly before frosting to prevent crumbs.
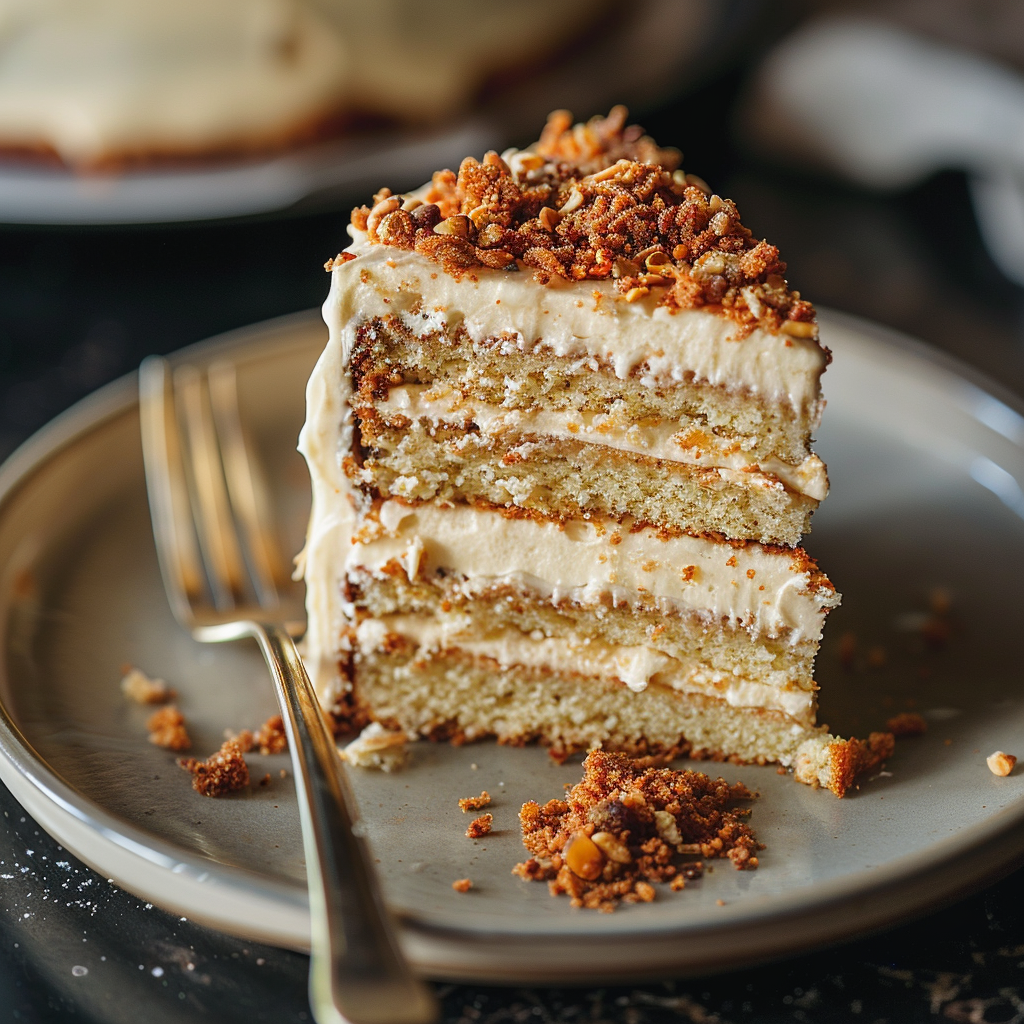
Presentation Ideas
- Decorate with fresh berries for a pop of color.
- Drizzle chocolate ganache for elegance.
- Add edible flowers for a rustic touch.
Healthier Alternatives
Here are six ways to make this cake healthier:
- Gluten-Free Option: Swap regular flour for almond or coconut flour.
- Low-Sugar Option: Use monk fruit sweetener instead of sugar.
- Vegan Option: Replace eggs with flax eggs and butter with coconut oil.
- Protein-Packed Option: Add a scoop of vanilla protein powder to the batter.
- Fruit-Filled Option: Mix mashed bananas or applesauce into the batter.
- Low-Fat Option: Use Greek yogurt instead of butter.
Mistake 1: Overmixing the Batter
Overmixing can lead to a dense cake. To avoid this, mix just until the ingredients are combined. A few lumps are okay—they’ll disappear during baking.
Mistake 2: Skipping the Cooling Step
Rushing to frost a warm cake will melt the frosting and ruin the presentation. Always let the layers cool completely on a rack.
Mistake 3: Uneven Layers
If your layers are uneven, your cake may lean. Use a scale to measure equal amounts of batter for each pan.
FAQ Section
What Do You Call a Cake With Three Layers?
A cake with three layers is simply called a three layer cake. It’s a classic design that’s both visually stunning and delicious.
How to Put Together a 3 Layer Cake?
Start by leveling the layers, then stack them with frosting in between. Use an offset spatula to smooth the sides and top for a polished look.
How Many People Does a 3 Layer Cake Serve?
A standard 8-inch three layer cake serves 8-12 people, depending on slice size. For larger crowds, consider doubling the recipe.
Do I Need to Support a 3 Layer Cake?
Not usually, unless it’s very tall. For stability, insert dowels or straws through the layers to hold them together.
Can I Use Store-Bought Frosting?
Yes, but homemade frosting tastes better and pairs perfectly with the cake’s flavors.
What’s the Best Filling for a 3 Layer Cake?
It depends on your taste! Try fruit preserves, whipped cream, or custard for variety.
How Do I Prevent Crumbs in the Frosting?
Apply a thin “crumb coat” first, chill the cake, then add the final layer of frosting.
Where Can I Find 3 Layer Cake Images?
Search online for inspiration or check out Pinterest for stunning visuals of decorated cakes.
Is This Recipe Suitable for Beginners?
Absolutely! With clear instructions and simple ingredients, this easy layer cake recipes from scratch is perfect for new bakers.
Can I Make This Cake Gluten-Free?
Yes, substitute regular flour with a gluten-free blend. The results will be just as tasty.
Final Thoughts
Baking a three layer cake is more than just following a 3 layer cake recipe—it’s creating memories. Whether you’re celebrating a special occasion or indulging in a weekend treat, this cake is sure to impress. So grab your apron, gather your ingredients, and let’s bake something beautiful together.
Equipment
- Large mixing bowl
- Electric mixer
- Offset spatula
- Three 8-inch round cake pans
- Cooling rack
Instructions
- Preheat your oven to 350°F (175°C). Grease three 8-inch round cake pans and line the bottoms with parchment paper.
- In a medium bowl, whisk together the flour, baking powder, and salt.
- In a large mixing bowl, beat the butter and sugar until light and fluffy for about 3-4 minutes.
- Crack the eggs into the bowl one at a time, mixing well after each addition. Then, add the vanilla extract.
- Gradually add the dry ingredients to the wet mixture, alternating with the milk. Start and end with the dry ingredients.
- Pour the batter evenly into the prepared pans and bake for 25-30 minutes until a toothpick inserted in the center comes out clean. Let them cool completely before frosting.
Notes
Nutrition

Hi, I’m Olivia Parker, the founder of BakingSecret.com and a lifelong lover of all things sweet and homemade. I grew up in a small town in Oregon, where the smell of fresh cookies in my family’s kitchen sparked my passion for baking. Over the years, I turned that passion into a mission: to help home bakers feel confident, inspired, and creative.
After studying food science and working in several artisan bakeries across the U.S., I decided to create a space where everyone from beginners to seasoned bakers can find reliable recipes, expert tips, and a warm, welcoming community. BakingSecret.com is my way of sharing the magic of baking with the world. When I’m not testing new recipes, you’ll find me exploring farmers’ markets, collecting vintage cookbooks, or perfecting my sourdough technique.