
Why These Meltaway Lemon Cookies Are a Must-Try
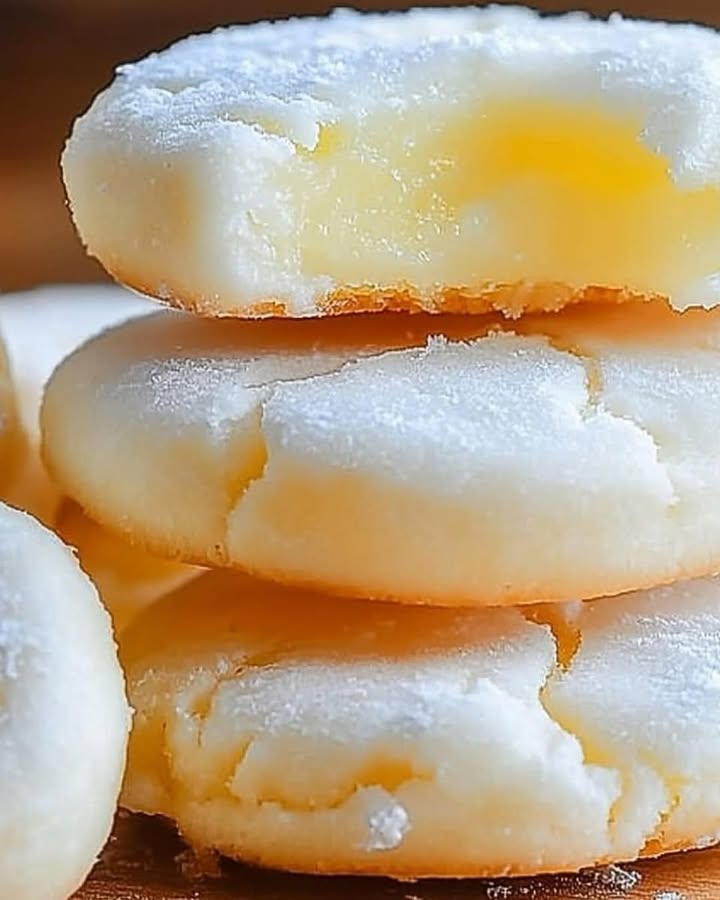
There’s something magical about the combination of buttery softness and zesty lemon tang. I first made these Meltaway Lemon Cookies for a summer picnic, and they were gone before the potato salad was even touched! These cookies are like sunshine wrapped in a sweet treat. They’re soft, melt-in-your-mouth delicious, and packed with fresh lemon flavor. Whether you’re baking for a family gathering or just craving something bright and cheerful, this recipe is sure to become a favorite.
A Little History Behind Lemon Cookies
Lemon cookies have been around for ages, often tied to warm-weather traditions and citrus-loving cultures. Growing up, my grandma always had a jar of lemon cookies on her counter. She’d say, “Lemon is happiness in dessert form.” Over the years, I’ve tweaked her classic recipe to make it even softer and more flavorful. The addition of cornstarch gives these cookies their signature meltaway texture, while the lemon glaze adds an extra burst of citrusy goodness.
Why You’ll Love This Recipe
What makes these Meltaway Zesty Lemon Cookies stand out? First, they’re incredibly easy to make—no fancy techniques or hours of prep required. Second, the flavors are bold yet balanced. The buttery base pairs perfectly with the tart lemon zest and juice. Finally, these cookies are versatile. Serve them at a party, pack them in a lunchbox, or enjoy them with a cup of tea. Plus, they look adorable with their glossy glaze and vibrant yellow hue!
Perfect Occasions to Bake These Cookies
These cookies are perfect for any occasion—or no occasion at all! Bring them to a baby shower, bridal brunch, or holiday cookie exchange. They’re also great for casual get-togethers or as a thoughtful homemade gift. I love making them during spring and summer when lemons are at their juiciest, but honestly, they’re delightful year-round.
Ingredients You’ll Need
Here’s what you’ll need to whip up a batch of these irresistible cookies:
- 1 cup unsalted butter, softened
- 1/2 cup powdered sugar
- 1 tsp vanilla extract
- 1 tbsp lemon juice
- 1 tbsp lemon zest
- 2 cups all-purpose flour
- 1/4 cup cornstarch
- 1/4 tsp salt
For the lemon glaze:
- 1 cup powdered sugar
- 2 tbsp lemon juice
- 1 tsp lemon zest
- Optional: Yellow food coloring for a vibrant touch
Substitution Options
If you want to tweak the recipe, here are some ideas:
- Butter: Use margarine or a plant-based butter substitute for a dairy-free version.
- Powdered Sugar: Swap with coconut sugar for a less sweet option (note that the texture may change).
- All-Purpose Flour: Replace with gluten-free flour if needed.
- Lemon Juice/Zest: Substitute with orange or lime for a different citrus twist.
Step 1: Prepare the Dough
Start by creaming the butter and powdered sugar in a large bowl until light and fluffy. This step is crucial because it creates air pockets that make the cookies soft and tender. Add the vanilla, lemon juice, and zest, mixing until everything is well combined. The aroma of fresh lemon will fill your kitchen—it’s like a little burst of sunshine! In another bowl, whisk together the flour, cornstarch, and salt. Gradually add this dry mixture to the wet ingredients, forming a smooth dough. Wrap it in plastic wrap and chill for 30 minutes. Pro tip: Chilling helps prevent spreading and enhances the meltaway texture.
Step 2: Bake the Cookies
Preheat your oven to 350°F and line baking sheets with parchment paper. Scoop out tablespoon-sized portions of dough and roll them into balls. Place them about 2 inches apart on the tray and gently flatten each one with your palm. Bake for 10–12 minutes, keeping an eye on them so they don’t brown too much. You want the edges to be set but still pale. Let them cool on the tray for 5 minutes before transferring to a wire rack. Chef’s tip: Underbaking slightly ensures they stay soft and meltaway-perfect.
Step 3: Make the Frosting
While the cookies cool, prepare the glaze. Whisk together powdered sugar, lemon juice, and zest until smooth. If you’re feeling fancy, add a drop of yellow food coloring for a pop of color. The glaze should be thick enough to coat the cookies but thin enough to drizzle easily. Taste it—you might find yourself sneaking spoonfuls!
Step 4: Glaze the Cookies
Once the cookies are completely cool, dip the tops into the glaze or drizzle it over them using a spoon. Let them sit until the glaze hardens. Watching the glaze set is oddly satisfying, isn’t it? Your kitchen will smell amazing, and your patience will pay off when you take that first bite.
Timing Breakdown
- Prep Time: 20 minutes
- Cooking Time: 12 minutes per batch
- Resting Time: 30 minutes (chilling)
- Total Time: About 1 hour
Chef’s Secret
To intensify the lemon flavor, rub the sugar and lemon zest together before adding them to the dough. This releases the essential oils from the zest and infuses the entire batch with a stronger citrus punch.
Extra Info
Did you know lemons are one of the most versatile fruits? From desserts to savory dishes, they add brightness and balance. And here’s a fun fact: Lemons can last up to three months in the fridge if stored properly!
Necessary Equipment
You don’t need anything fancy to make these cookies. A hand mixer, mixing bowls, measuring cups/spoons, baking sheets, parchment paper, and a wire cooling rack will do the trick.
Storage Tips
Store your Meltaway Lemon Cookies in an airtight container at room temperature for up to 5 days. To keep them fresh longer, place a slice of bread inside the container. The cookies will absorb moisture from the bread, staying soft and delicious.
If you live in a humid area, store them in the fridge instead. Just let them come to room temperature before serving.
For longer storage, freeze the unglazed cookies in a freezer-safe bag for up to 2 months. Thaw overnight and glaze before serving.
Tips and Advice
Here are a few tips to elevate your cookies:
- Use fresh lemons for the best flavor—bottled juice just doesn’t compare.
- Don’t skip chilling the dough; it’s key to achieving the right texture.
- Roll the dough balls evenly for uniform baking.
Presentation Ideas
Arrange the cookies on a platter with a sprinkle of extra zest on top for a pop of color. Tie ribbons around jars of cookies for a charming homemade gift. Or serve them alongside a pitcher of iced tea for a refreshing afternoon treat.
Healthier Alternatives
Looking to lighten up this recipe? Try these variations:
- Gluten-Free Option: Swap all-purpose flour with almond or oat flour.
- Low-Sugar Version: Reduce the sugar in both the dough and glaze by half.
- Vegan Twist: Use vegan butter and skip the glaze or use a plant-based icing.
- Whole Wheat Goodness: Replace half the flour with whole wheat flour for added fiber.
- Protein-Packed: Add a scoop of protein powder to the dough.
- Fruit Swirl: Mix in a spoonful of lemon curd for extra tanginess.
Mistake 1: Skipping the Chill Time
Chilling the dough might seem optional, but trust me, it’s not. Without it, your cookies may spread too much and lose their shape. To avoid this, always refrigerate the dough for at least 30 minutes. Tip: If you’re short on time, pop the dough in the freezer for 15 minutes instead.
Mistake 2: Overmixing the Dough
Overmixing can lead to tough cookies instead of soft, delicate ones. Mix just until the ingredients come together. Remember, less is more when it comes to handling cookie dough.
Mistake 3: Overbaking
These cookies should remain pale and soft. Overbaking will make them crisp instead of meltaway-tender. Set a timer and check them early. Tip: Remove them from the oven when the edges are set but the centers still look slightly underdone.
FAQ
Can I double the recipe?
Absolutely! Just make sure your bowls and mixer can handle the larger quantities. Double everything proportionally, including the chilling time.
Do I have to use lemon zest?
Yes, the zest is essential for that bright lemon flavor. Without it, the cookies won’t taste as vibrant.
It’s better to freeze them unglazed. The glaze can become sticky or weepy after thawing. Simply glaze once they’re defrosted.
What if I don’t have cornstarch?
Cornstarch is what gives these cookies their meltaway texture. If you don’t have it, try substituting arrowroot powder or omitting it entirely, though the texture may vary.
How do I zest a lemon without a zester?
No zester? No problem. Use a fine grater or even a vegetable peeler, then finely chop the peel. Just avoid the bitter white pith underneath.
Can I use bottled lemon juice?
Fresh lemon juice is always best for flavor. Bottled juice works in a pinch, but the cookies won’t taste quite as fresh and zesty.
Why is my dough too sticky?
Sticky dough usually means it needs more flour or chilling time. Add a tablespoon of flour at a time until it firms up, or chill it longer.
Can I add nuts or chocolate chips?
Sure! Fold in chopped nuts or white chocolate chips for extra texture and flavor. Keep in mind it changes the classic meltaway experience.
The cookies are ready when the edges are firm but the centers are still soft. They’ll continue to set as they cool.
What’s the best way to store leftovers?
Keep them in an airtight container at room temperature for up to 5 days. For longer storage, freeze the unglazed cookies.
Final Thoughts
These Meltaway Zesty Lemon Cookies are a celebration of simple, joyful baking. With their soft texture, bright flavors, and beautiful presentation, they’re sure to win hearts wherever you share them. So grab some lemons, preheat your oven, and let’s bake up a batch of happiness today!
Equipment
- Mixing Bowl
- Hand Mixer
- Spatula
- Baking Sheets
- Parchment Paper
Ingredients
- 1 cup unsalted butter, softened
- 1/2 cup powdered sugar
- 1 tsp vanilla extract
- 1 tbsp lemon juice
- 1 tbsp lemon zest
- 2 cups all-purpose flour
- 1/4 cup cornstarch
- 1/4 tsp salt
Instructions
- Cream the butter and powdered sugar in a large bowl until light and fluffy.
- Add the vanilla, lemon juice, and zest, mixing until well combined.
- In another bowl, whisk together the flour, cornstarch, and salt.
- Gradually add the dry mixture to the wet ingredients, forming a smooth dough.
- Wrap the dough in plastic wrap and chill for 30 minutes.
- Preheat your oven to 350°F and line baking sheets with parchment paper.
- Scoop out tablespoon-sized portions of dough and roll them into balls.
- Place the balls about 2 inches apart on the tray and gently flatten each one.
- Bake for 10–12 minutes, keeping an eye on them until the edges are set but still pale.
- Let the cookies cool on the tray for 5 minutes before transferring to a wire rack.
- For the glaze, whisk together powdered sugar, lemon juice, and zest until smooth.
- Dip the tops of the cooled cookies into the glaze or drizzle it over them.
- Let the cookies sit until the glaze hardens.
Notes
Nutrition

Hi, I’m Olivia Parker, the founder of BakingSecret.com and a lifelong lover of all things sweet and homemade. I grew up in a small town in Oregon, where the smell of fresh cookies in my family’s kitchen sparked my passion for baking. Over the years, I turned that passion into a mission: to help home bakers feel confident, inspired, and creative.
After studying food science and working in several artisan bakeries across the U.S., I decided to create a space where everyone from beginners to seasoned bakers can find reliable recipes, expert tips, and a warm, welcoming community. BakingSecret.com is my way of sharing the magic of baking with the world. When I’m not testing new recipes, you’ll find me exploring farmers’ markets, collecting vintage cookbooks, or perfecting my sourdough technique.