
Spooktacular Halloween Ghost Brownies: A Treat for Everyone!
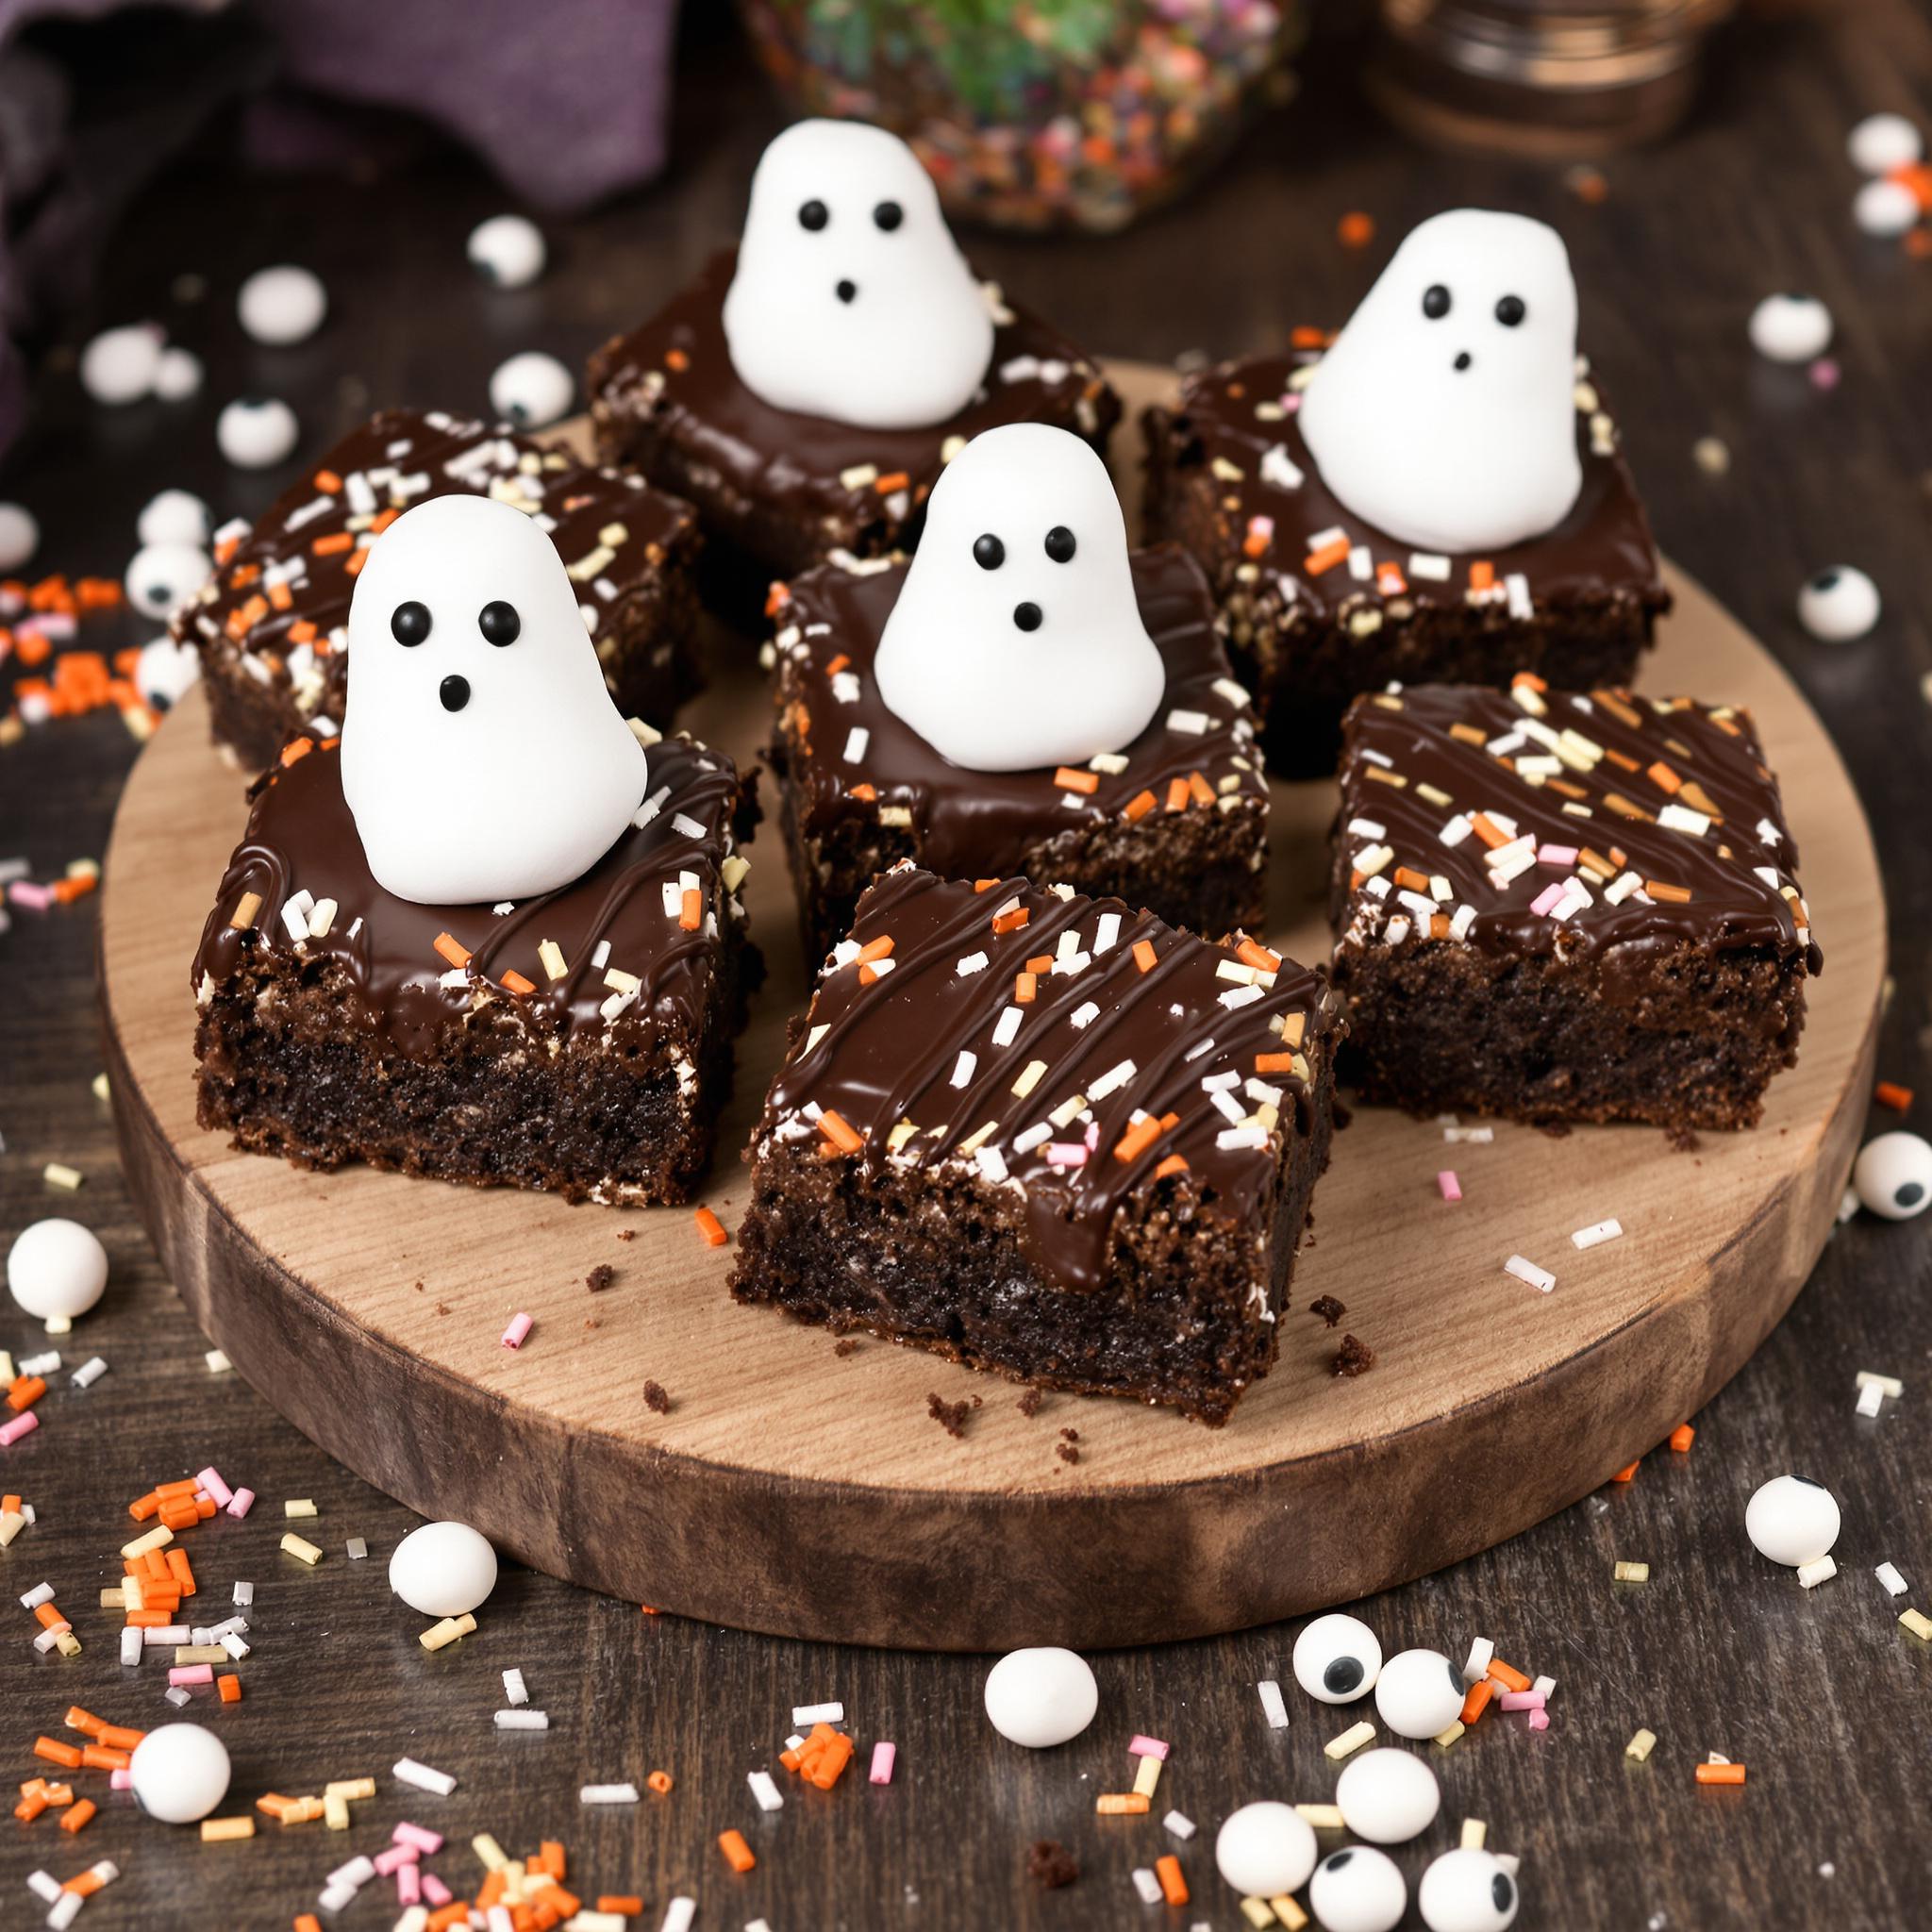
Halloween ghost brownies are the perfect way to add a spooky twist to your dessert spread. These rich, fudgy treats topped with white chocolate ghosts are fun, tasty, and easy to whip up. I first made them for a neighborhood party, and they were a hit with kids and adults alike. They’re simple enough for beginners but cool enough to impress anyone.
The Story Behind Halloween Ghost Brownies
Ghosts have been a Halloween dessert staple forever. People used to make them with meringue or marshmallows. These brownies put a modern spin on the classic idea. My version uses melted white chocolate and black food coloring to draw ghost faces. It’s a playful update that keeps things fresh and fun.
Why You’ll Love This Recipe
This recipe is as tasty as it is fun to make. The brownie base is rich and chewy, while the white chocolate adds sweetness and flair. Decorating the ghosts lets you get creative. Whether you’re baking alone or with family, this recipe brings joy and deliciousness together.
Perfect Occasions for Halloween Ghost Brownies
These treats are great for Halloween parties, school events, or cozy movie nights. They also make awesome gifts for friends who love themed goodies. Anytime you want to add a festive touch, these brownies fit the bill.
Ingredients List
- Unsweetened cocoa powder
- All-purpose flour
- Granulated sugar
- Brown sugar
- Eggs
- Unsalted butter
- Vanilla extract
- Salt
- White chocolate chips
- Black food coloring
- Edible eyes
Substitution Options
If you’re missing an ingredient, here are some swaps:
- Use gluten-free flour instead of all-purpose for a gluten-free option.
- Swap coconut oil for butter if you want dairy-free brownies.
- Replace white chocolate chips with candy melts for easier melting.
Step 1: Preheat and Prepare
Start by preheating your oven to 350°F (175°C). Grease a baking pan to keep the brownies from sticking. Lining the pan with parchment paper makes cutting them later a breeze.
Step 2: Mix Dry Ingredients
In a bowl, mix cocoa powder, flour, granulated sugar, brown sugar, and salt. Combining dry ingredients first helps distribute flavors evenly. The dark cocoa gives the brownies their rich color, which looks great against the white chocolate ghosts.
Step 3: Combine Wet Ingredients
In another bowl, whisk melted butter, eggs, and vanilla. Add this to the dry mix and stir until smooth. The batter will be thick and glossy. Be careful not to overmix, or the brownies might turn out dense.
Step 4: Bake the Brownies
Pour the batter into the prepared pan and spread it evenly. Bake for 20-25 minutes until just set. Overbaking dries them out, so check early. A toothpick should come out slightly gooey for a fudgy center.
Step 5: Decorate with Ghosts
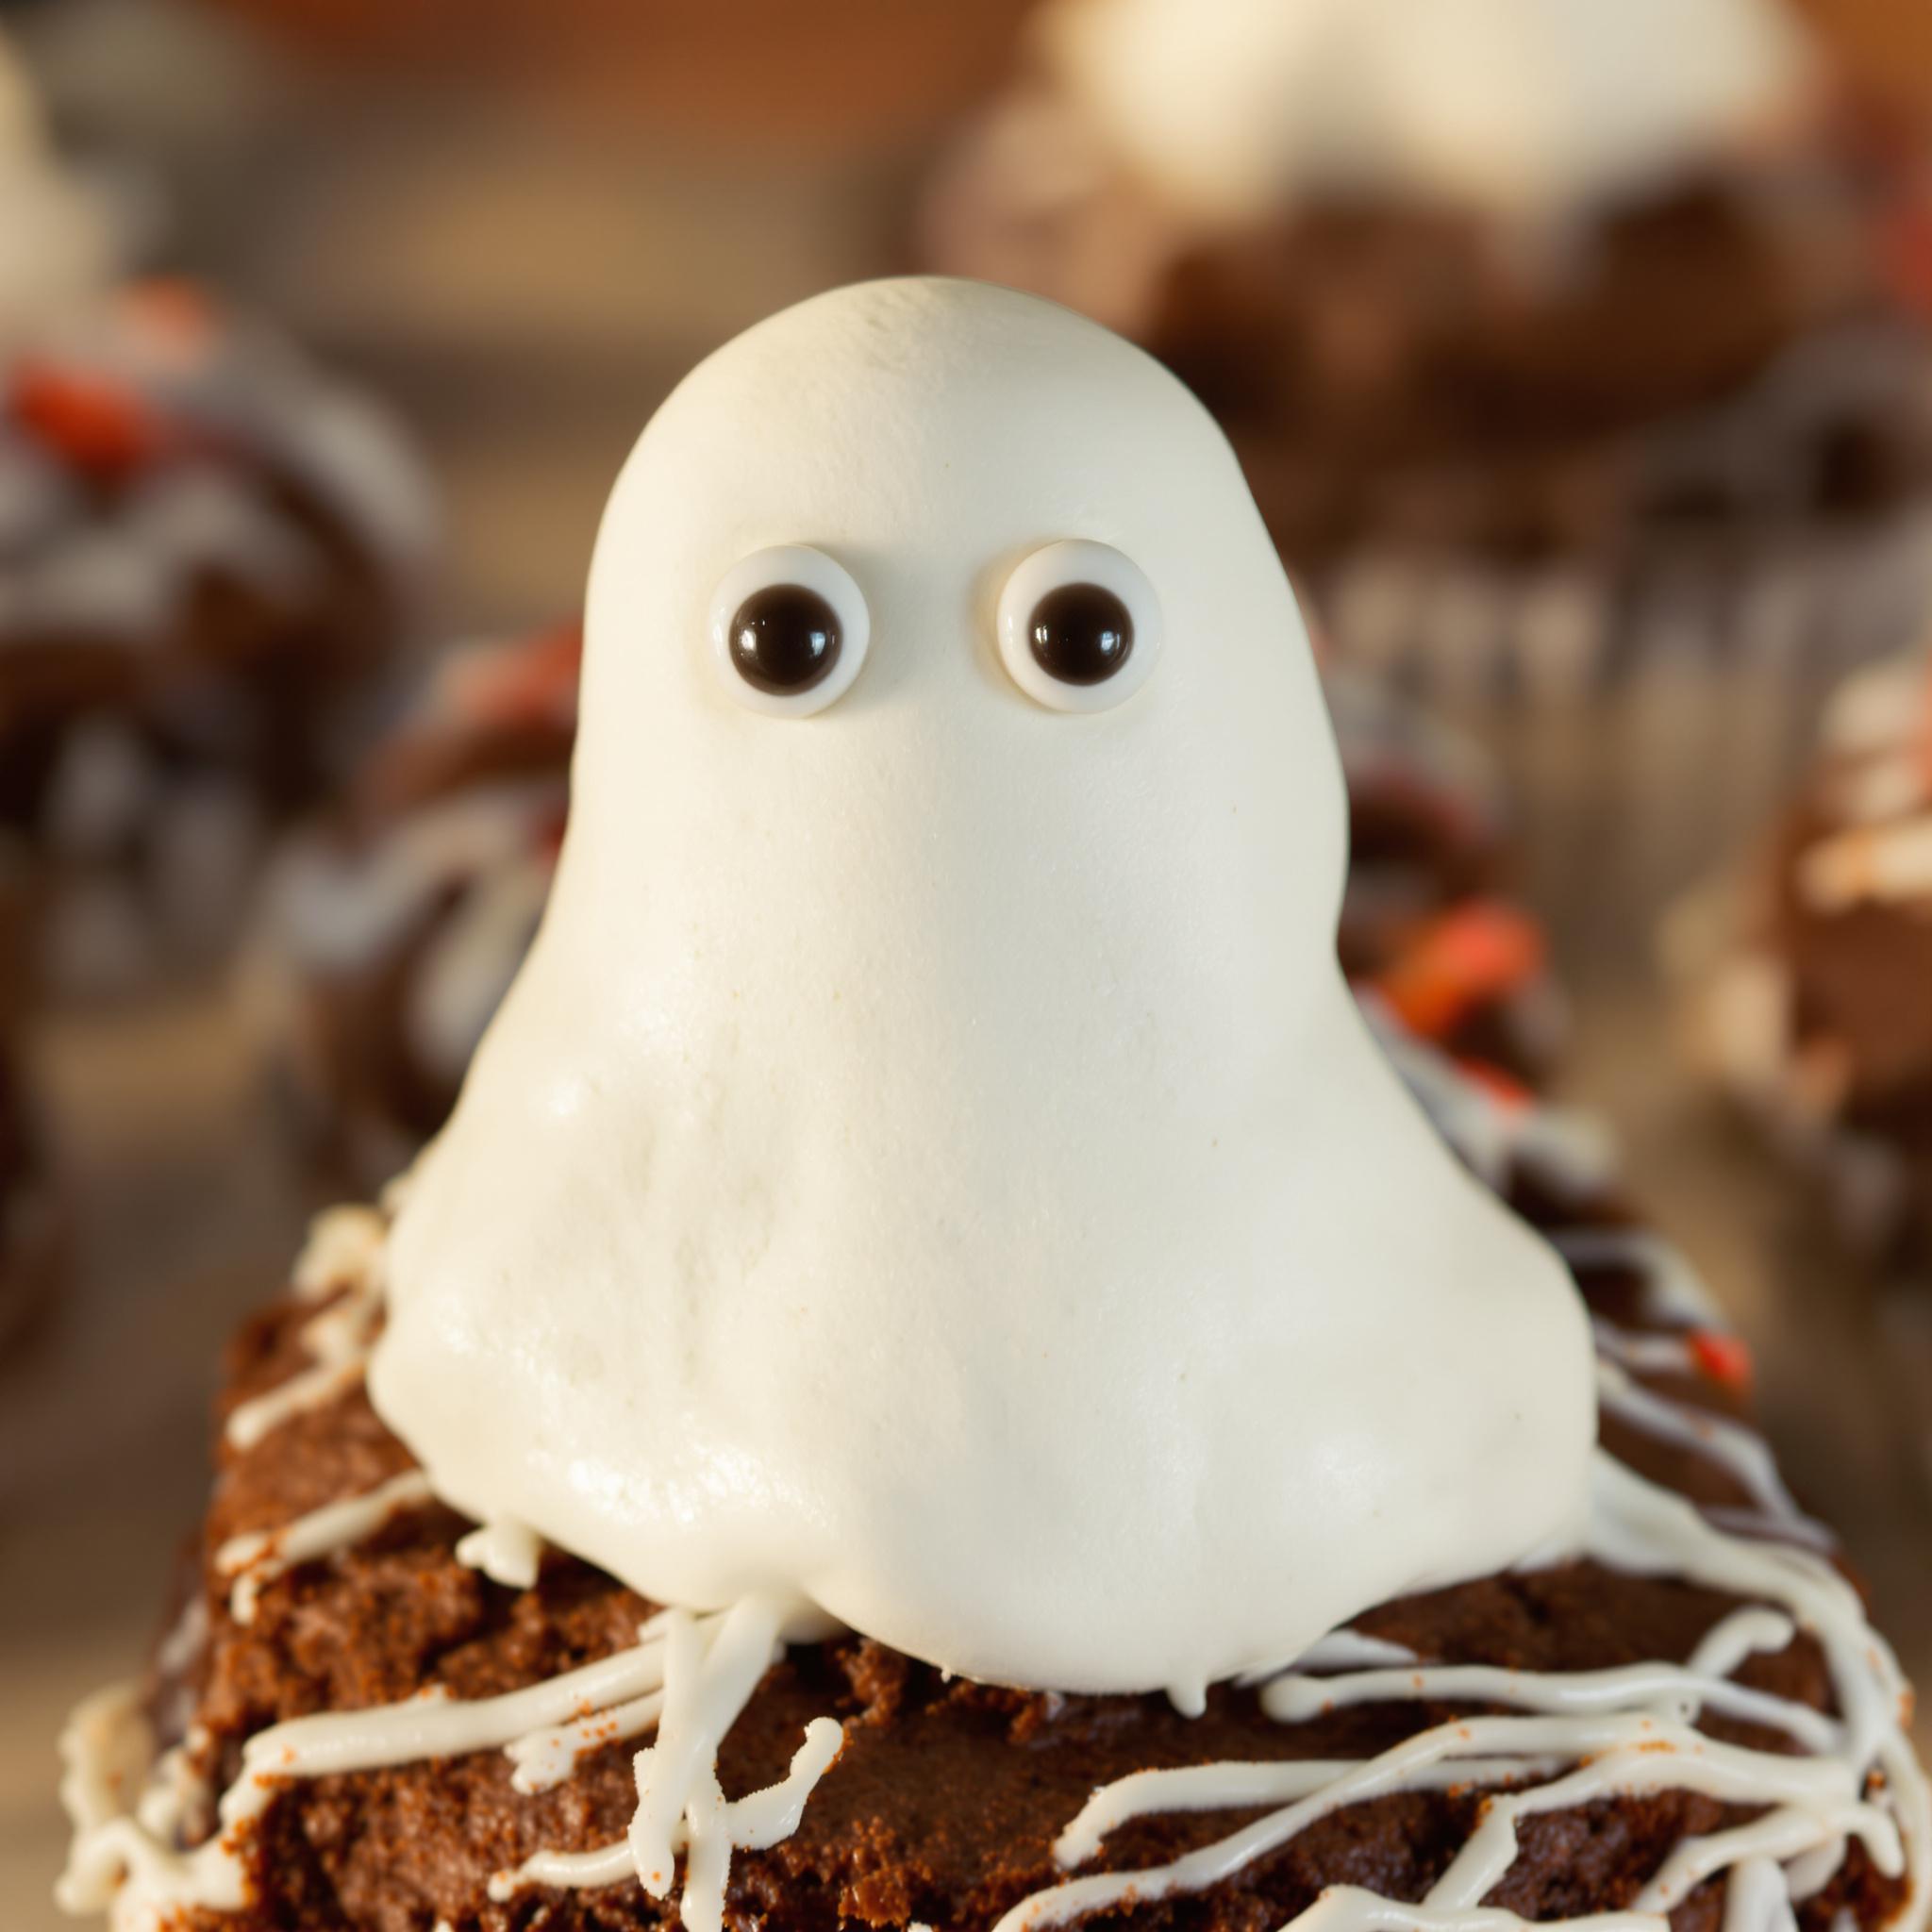
Let the brownies cool completely before decorating. Melt white chocolate chips and mix in black food coloring for gray ghost outlines. Drizzle the chocolate onto the brownies and add edible eyes for spooky charm. Have fun making each ghost unique!

Chef’s Tip
For smoother drizzling, spoon the melted white chocolate into a small zip-top bag. Snip off a corner and pipe ghost shapes onto the brownies. This gives you more control and cleaner lines.
Time Breakdown
- Prep Time: 15 minutes
- Cooking Time: 25 minutes
- Cooling Time: 30 minutes
- Total Time: 1 hour 10 minutes
Nutritional Information
Per serving (1 brownie): Calories: 250 | Protein: 3g | Fat: 12g | Carbs: 34g
Fun Fact
Did you know? White chocolate isn’t technically chocolate because it has no cocoa solids—just cocoa butter. That’s why it pairs so well with darker chocolates like these brownies!
Necessary Tools
- Mixing bowls
- Whisk
- Baking pan
- Parchment paper
- Toothpick
Storage Instructions
Store your ghost brownies in an airtight container at room temperature for up to three days. If it’s warm where you live, refrigerate them to keep the chocolate from melting. Bring them back to room temp before serving for the best taste.
For longer storage, freeze the undecorated brownies wrapped tightly in plastic wrap. Thaw overnight in the fridge before adding decorations.
Avoid stacking decorated brownies directly on top of each other, or the chocolate may smudge.
Tips and Tricks
- Use a double boiler to melt chocolate for smoother results.
- Chill the brownies briefly before piping the chocolate for firmer edges.
- Add sprinkles or glitter dust for extra sparkle.
Serving Suggestions
- Serve with hot cocoa or coffee for a cozy treat.
- Pair with orange soda for a fun Halloween-themed drink combo.
Healthier Alternatives
Here are six ways to make this recipe healthier:
- Swap Sugar: Use coconut sugar instead of granulated sugar for lower glycemic impact.
- Reduce Fat: Replace half the butter with unsweetened applesauce.
- Boost Fiber: Add oats to the batter for extra texture and nutrition.
- Lighten Chocolate: Use dark chocolate chips instead of white chocolate for antioxidants.
- Go Egg-Free: Use flax eggs as a vegan alternative.
- Less Sweet: Cut back on sugar by 25% without losing flavor.
Mistake 1: Overmixing the Batter
Overmixing makes brownies tough and cakey instead of fudgy. Stir only until the ingredients are combined. Stop mixing when you no longer see streaks of flour.
Mistake 2: Skipping Cooling Time
Decorating warm brownies causes the chocolate to melt and lose its shape. Always let them cool completely before adding toppings. Patience pays off!
Mistake 3: Using Too Much Food Coloring
Too much black food coloring can make the chocolate bitter. Start with a tiny drop and adjust gradually for the right shade.
Frequently Asked Questions
Can I use boxed brownie mix?
Yes, you can use a boxed mix to save time. Just follow the package instructions and decorate as directed.
How do I prevent chocolate from seizing?
Seizing happens when moisture gets into melted chocolate. Use a dry bowl and spoon, and heat gently to avoid clumping.
What if I don’t have edible eyes?
No problem! Draw eyes using leftover white and black chocolate for a similar effect.
Can I make these ahead?
Absolutely! Make the brownies a day in advance and store them properly. Decorate just before serving.
Are these kid-friendly?
Yes! Kids love helping decorate the ghost faces—it’s a fun activity for all ages.
Can I use almond extract instead of vanilla?
Yes, almond extract works well and adds a nutty twist to the flavor profile.
How many servings does this recipe make?
This recipe yields about 12 medium-sized brownies, depending on how you cut them.
Do I need special tools for piping?
No, a zip-top bag works perfectly fine for drizzling chocolate designs.
Can I freeze leftovers?
Yes, freeze undecorated brownies for up to two months. Thaw and decorate later.
What’s the best way to clean up melted chocolate?
Soak utensils in warm, soapy water to loosen the chocolate before washing.
Conclusion
Halloween ghost brownies are a fun mix of spooky vibes and delicious flavor. With their rich chocolate base and playful ghost designs, they’re sure to become a holiday favorite. Try this recipe today and bring smiles to your family and friends’ faces. Happy baking!
Equipment
- Mixing bowls
- Whisk
- Baking pan
- Parchment paper
- Toothpick
Notes
Nutrition

Hi, I’m Olivia Parker, the founder of BakingSecret.com and a lifelong lover of all things sweet and homemade. I grew up in a small town in Oregon, where the smell of fresh cookies in my family’s kitchen sparked my passion for baking. Over the years, I turned that passion into a mission: to help home bakers feel confident, inspired, and creative.
After studying food science and working in several artisan bakeries across the U.S., I decided to create a space where everyone from beginners to seasoned bakers can find reliable recipes, expert tips, and a warm, welcoming community. BakingSecret.com is my way of sharing the magic of baking with the world. When I’m not testing new recipes, you’ll find me exploring farmers’ markets, collecting vintage cookbooks, or perfecting my sourdough technique.