
Why Choose a Barbie Cake for Your Celebration?
I still remember the first time I made a barbie cake barbie for my niece’s birthday. Her eyes lit up like stars when she saw the doll perched in the middle of a colorful, edible gown. It wasn’t just a cake—it was magic. That moment showed me how a themed cake can turn an ordinary celebration into something unforgettable.
A barbie cake barbie isn’t just for kids’ birthdays. It’s perfect for any event where you want to add a touch of fun and creativity. Whether it’s a holiday party, a baby shower, or a special milestone, this cake stands out as a show-stopping centerpiece. Parents love it because it brings joy to their kids. Kids adore it because it feels like their favorite toy came to life on a plate.
If you’re wondering why this cake is so popular, here’s the truth: it combines imagination with dessert. The timeless appeal of Barbie-themed desserts lies in their ability to spark excitement. A cake like this does more than feed guests—it creates memories. And that’s what makes it worth every bit of effort.
Benefits of Making a Barbie Cake at Home
Now, let me tell you why I almost always make my barbie cake barbie from scratch. Sure, you can buy one from a bakery, but there’s something special about doing it yourself. First, it’s cost-effective. Store-bought cakes can be pricey, especially when they’re custom-designed. When I make mine at home, I save money while having full control over the design.
Customization is another big reason. With a homemade cake, I can match the colors to the party theme, choose flavors everyone loves, and even personalize details. Want a pink ombre gown? Done. Need gluten-free or vegan options? No problem. The possibilities are endless.
And let’s not forget the joy of creating something with your own hands. There’s a sense of pride that comes with presenting a cake you made yourself. Plus, it’s a fun activity to do with family or friends. Trust me, once you try making your own homemade barbie cake ideas, you’ll never look back.
Gathering Your Supplies
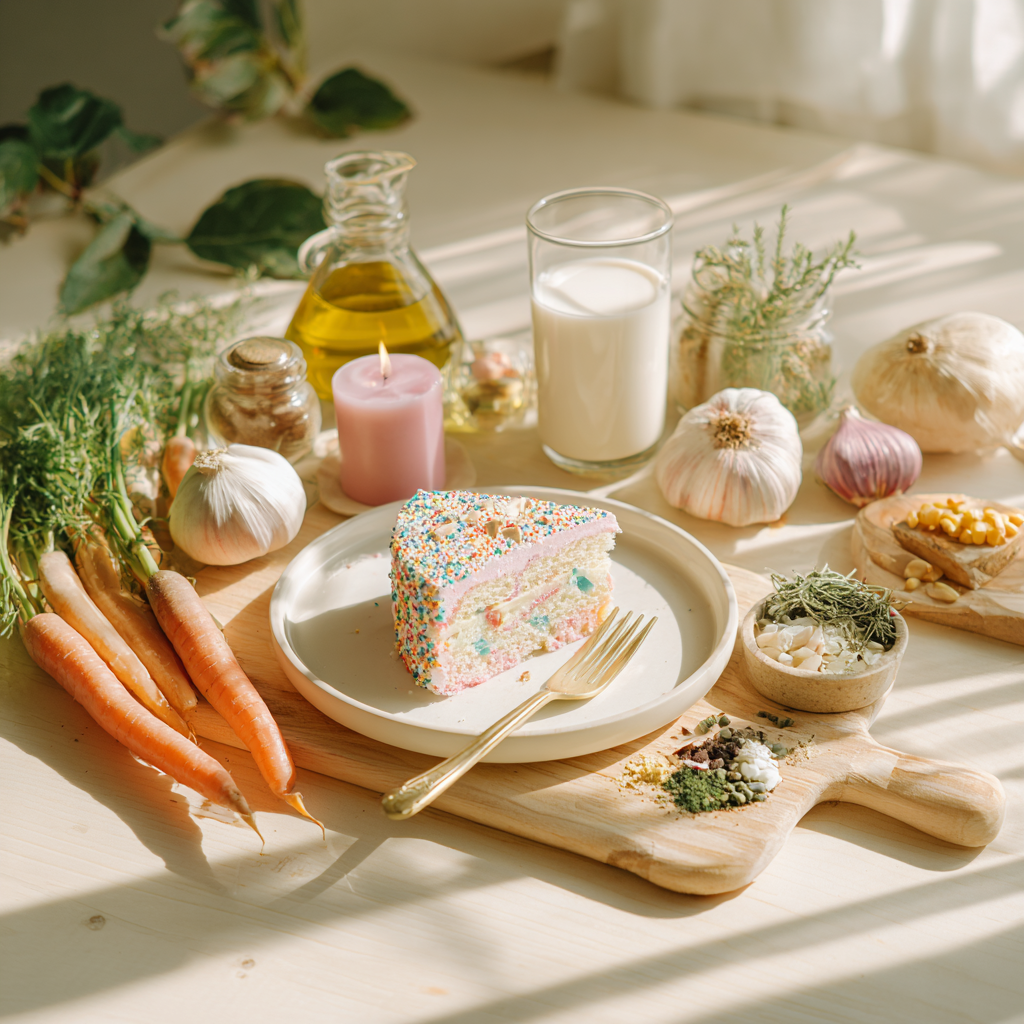
Before you dive into crafting your masterpiece, let’s talk about what you’ll need. Having the right tools and ingredients makes all the difference. Here’s a quick list to get you started:
- Cake base: Use your favorite recipe or boxed mix. Vanilla, chocolate, or even red velvet work great.
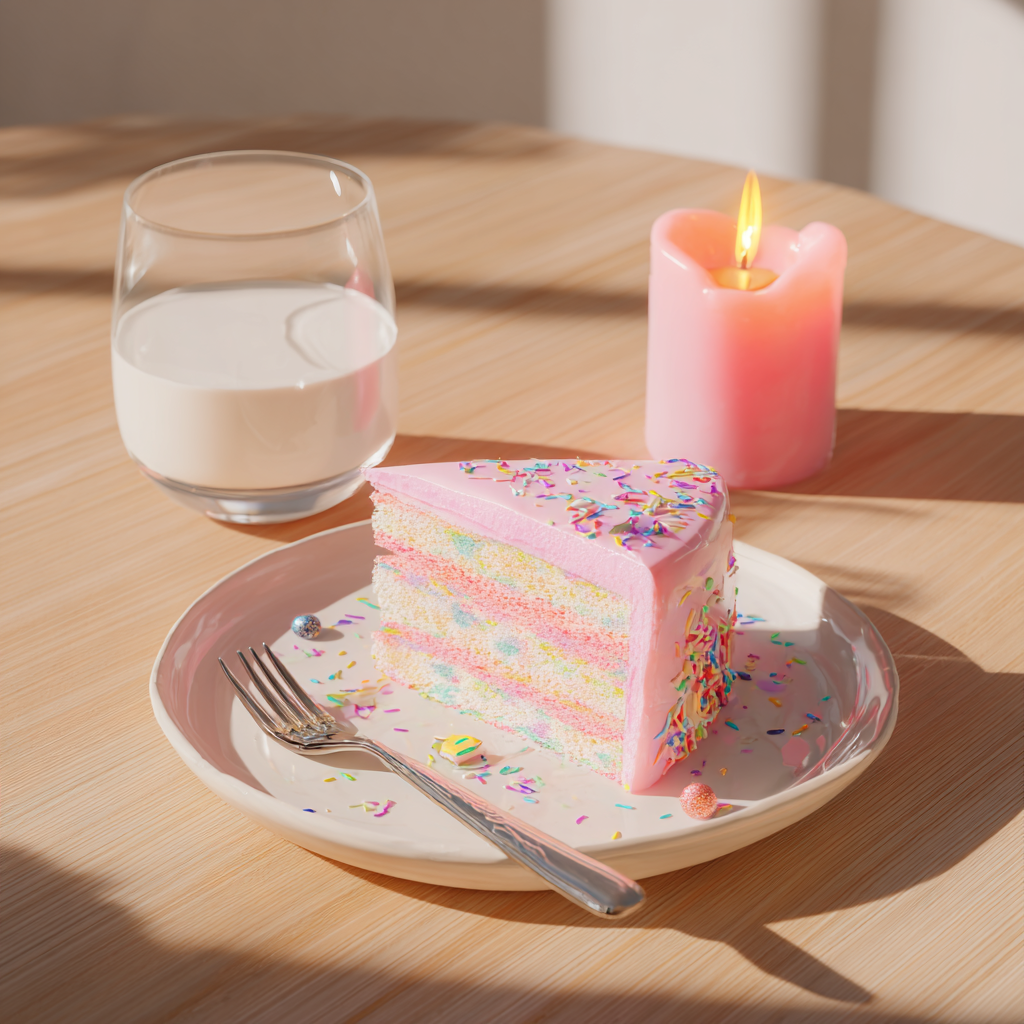
- Frosting: Buttercream is versatile and easy to color. Cream cheese frosting adds a tangy twist.
- Fondant: This is key for shaping the doll’s dress. You can buy pre-made fondant or make your own.
- Food coloring: Gel-based colors give vibrant results without altering the frosting’s texture.
- Doll figurine: Most people use a Barbie doll, but any doll with a slim waist will work.
- Decorative elements: Sprinkles, edible pearls, or sugar flowers add extra flair.
One question I often hear is, “What kind of Barbie doll should I use?” My advice is simple: pick one that fits your theme. If you’re aiming for a princess vibe, choose a doll with a tiara. For a modern look, go for a fashion-forward Barbie. Just make sure the doll is clean and safe to handle.
Another common concern is, “Can I make a barbie cake barbie without fondant?” Absolutely! While fondant gives a smooth finish, you can achieve beautiful results with piped buttercream. Use different piping tips to create ruffles, swirls, or rosettes. It’s all about finding what works best for you.
When gathering supplies, don’t stress too much about perfection. Part of the charm of cake decorations for kids is their whimsical, handmade look. Even if things aren’t picture-perfect, your effort will shine through—and your guests will appreciate it.
Tips for Decorating Your Barbie Cake
Decorating a barbie cake barbie might seem intimidating at first, but it’s easier than you think. Start by preparing your workspace. Clear off counters, gather your tools, and lay out all your ingredients. Organization is key to staying calm during the process.
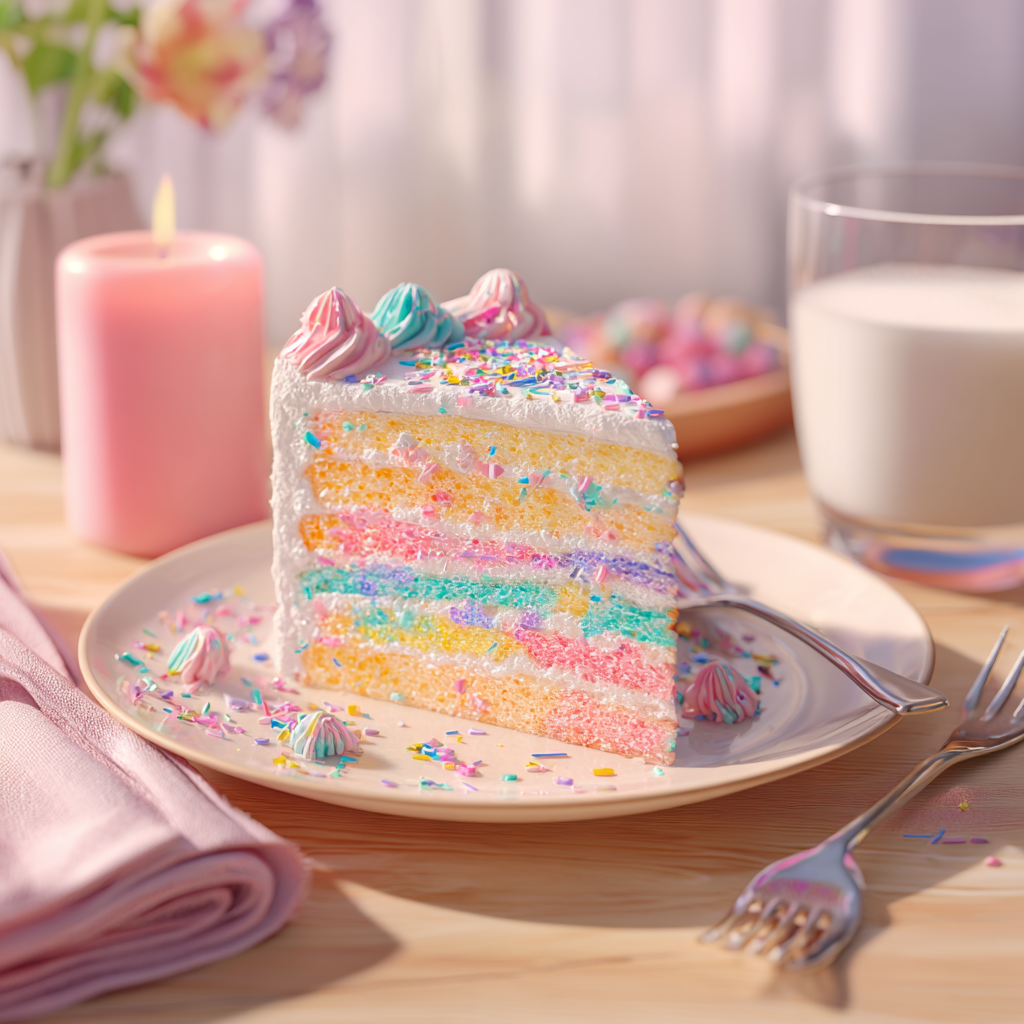
Next, focus on layering. Begin with a sturdy cake base. Trim the top to make it flat, then carve it into a cone shape. This forms the skirt of the dress. Once you’ve frosted the cake, drape the fondant over it carefully. Smooth it out with your hands or a fondant smoother tool.
For added flair, experiment with textures and patterns. Use a small knife or toothpick to etch designs into the fondant. Add edible glitter for sparkle or arrange sugar flowers around the base. These little touches take your cake to the next level.
Remember, practice makes progress. Don’t worry if your first attempt isn’t flawless. Each cake you make teaches you something new. Before long, you’ll be sharing your easy barbie cake recipes with friends and family.
Common Questions About Barbie Cakes
Over the years, I’ve heard plenty of questions about making barbie cake barbie creations. Let me address a few of the most common ones here.
“How far in advance can I make the cake?” Ideally, bake the cake layers a day ahead. Assemble and decorate it the morning of the event to keep everything fresh.
“Is it hard to work with fondant?” Fondant can be tricky at first, but it gets easier with practice. Knead it well before rolling it out, and dust your surface lightly with powdered sugar to prevent sticking.
“What flavors pair best with fondant?” Lighter flavors like vanilla, lemon, or almond complement fondant nicely. Richer flavors like chocolate can also work if balanced with a lighter filling.
By answering these questions upfront, I hope to ease any worries you might have. A barbie cake barbie is meant to bring happiness, not stress. So relax, enjoy the process, and trust yourself to create something amazing.
Step-by-Step Instructions for Making a Barbie Cake
Alright, let’s roll up our sleeves and get into the nitty-gritty of making your very own barbie cake barbie. Trust me, it’s not as hard as it might seem. With a little patience and some creativity, you’ll be crafting a cake that looks like it came straight out of a bakery window—or a Barbie dream house.
Step 1: Baking the Cake Base
I always start with the cake base because, well, you can’t build a masterpiece without a solid foundation, right? For this project, you’ll want something sturdy yet moist. My go-to is either a classic vanilla sponge recipe or a rich chocolate layer cake. Both hold up well when you carve them later, and they pair beautifully with buttercream frosting.
To ensure your layers are even, here’s a trick I swear by: use a kitchen scale to divide your batter evenly between the pans. Funny enough, I used to just eyeball it, and my cakes would always end up lopsided. Not fun. Another tip? Let the cakes cool completely before handling them. Warm cakes are prone to crumbling, and we don’t want any disasters when shaping the dress.
By the way, if you’re short on time, boxed mixes work too. Just doctor them up a bit—add an extra egg or swap water for milk—to make them taste homemade. No judgment here!
Step 2: Shaping the Dress
Now comes the fun part: turning your cake into a dress fit for Barbie. First, stack your cooled cake layers and trim off the domed tops so they’re flat. Then, carve the edges into a cone shape. Think of it like sculpting—you’re creating the silhouette of a ball gown. If you’ve ever wondered about shaping a barbie cake dress, this is where the magic happens.
Here’s the thing: crumbs can be a real pain during this step. To avoid a crumbly mess, brush the cake gently with a pastry brush after carving. You can also apply a thin “crumb coat” of frosting before adding the final layer. This locks in those pesky crumbs and gives you a smooth canvas to work on.
Oh, and don’t stress if it’s not perfect. Remember, the fondant will cover most imperfections. Speaking of which, if you’re feeling adventurous, try experimenting with different shapes. A mermaid-style dress? Totally doable. Or maybe something inspired by a princess gown from a Harry Potter cake? The possibilities are endless.
Step 3: Frosting and Decorating
Once your cake is shaped, it’s time to bring it to life with frosting and decorations. Start by applying a generous layer of buttercream. Use a spatula to smooth it out, then chill the cake in the fridge for about 15 minutes. This helps the frosting set, making it easier to drape fondant over the top.
When it comes to colors, think bold and playful. After all, Barbie’s style is anything but boring. Pastel pinks, vibrant purples, and shimmering golds are all great choices. If you’re unsure what colors work best for a Barbie-themed cake, take inspiration from her iconic outfits. Maybe go for a gradient effect using gel food coloring—it’s surprisingly easy and looks stunning.
For intricate details, grab your piping bags and have some fun. Swirls, rosettes, and ruffles can add texture and dimension. Or, if you’re feeling fancy, roll out fondant and cut out shapes like stars or hearts. I once made a mini version of this cake for a friend’s daughter, and she loved the tiny fondant bows I added. (Mini cakes are adorable, by the way!)
One last note: don’t forget the doll! Position her securely in the center of the cake, making sure she’s stable. A quick dab of frosting on the base of the doll can help keep her in place.
Creative Ideas for Personalizing Your Barbie Cake
Let’s talk personalization. Sure, a standard barbie cake barbie is already pretty amazing, but adding unique touches makes it unforgettable. Here’s where you can really let your imagination run wild.
If the birthday girl loves animals, why not incorporate some animal-themed elements? Maybe add fondant butterflies or a cute puppy figurine. For a sports enthusiast, consider a jersey-inspired design using fondant numbers or team colors. Custom barbie cake designs are all about reflecting the personality of the guest of honor.
Seasonal variations are another fantastic option. Picture a winter wonderland Barbie cake with snowflake accents and edible glitter for sparkle. Or how about a summer beach theme with fondant sunglasses and a tiny umbrella? Honestly, themed party cakes are a blast to create, and they make the celebration feel extra special.
And hey, if you’re looking for flavor inspiration, check out this lemon pound cake strain. It’s zesty and refreshing—a perfect match for a bright, cheerful Barbie cake.
Adding Finishing Touches
The final touches are what truly elevate your cake from good to jaw-dropping. Edible glitter is my secret weapon for adding instant glamour. Sprinkle it lightly over the fondant for a subtle shimmer, or go all out with a full-on sparkle effect. Sugar pearls and edible flowers are also great for adding elegance.
Ribbons are another detail I adore. Wrap a satin ribbon around the base of the cake stand for a polished look. Just make sure it’s food-safe if it’s going to touch the plate. Floral accents, whether real or edible, can soften the overall design and give it a romantic vibe.
Presentation matters, folks. When serving the cake, choose a stand that complements its height and grandeur. A tiered stand works wonders, especially if you’ve made additional desserts to accompany the main attraction. Trust me, people notice these little things, and they’ll appreciate the effort you put into making everything look cohesive.
In the end, remember that baking a barbie cake barbie is supposed to be enjoyable. Don’t sweat the small stuff. Even if your fondant isn’t perfectly smooth or your piped details aren’t symmetrical, it’s the thought—and love—that counts. And who knows? You might just discover a new hobby in the process!
Common Challenges and How to Overcome Them
Let’s be real for a second—making a barbie cake barbie isn’t always smooth sailing. Even seasoned bakers hit a few bumps along the way. But don’t worry, I’ve been there too, and I’m here to help you troubleshoot some of the most common issues.
One problem I hear about a lot is uneven frosting. It happens to the best of us! You’re smoothing out the buttercream, and suddenly, one side looks like a mountain while the other resembles a flat prairie. Here’s what I do: chill the cake for 10–15 minutes before applying the final layer. Cold cakes are easier to work with because the frosting doesn’t melt or slide around. If it’s still not perfect, fondant can hide a multitude of sins. Just roll it out evenly and drape it over the cake for a flawless finish.
Structural stability is another concern, especially if your cake feels wobbly. Funny enough, this happened to me once at a family gathering. The doll toppled right off the cake during the big reveal. Talk about awkward! To avoid that disaster, make sure the base of the cake is sturdy. Trim the layers carefully, and use dowels or straws inside the cake to support the weight of the doll. A little dab of frosting under the doll’s base also helps keep her upright. Trust me, nobody wants a tipsy Barbie.
Time management can also be tricky, especially if you’re juggling kids, work, or life in general. What I’ve learned is to break the process into chunks. Bake the cake a day ahead and store it wrapped in plastic. Assemble and frost it the morning of the event. This way, you’re not scrambling to get everything done at once. By the way, if you’re wondering how far in advance you can prep, fondant-covered cakes can last up to two days if stored properly. Just keep them in a cool, dry place (not the fridge, unless you want condensation ruining the fondant).
And what about fondant woes? “What if my fondant cracks?” is a question I get all the time. First off, don’t panic. Fondant cracks happen, but they’re fixable. Gently rub a bit of vegetable shortening over the crack to soften it, then smooth it out with your fingers. If the crack is stubborn, patch it with a small piece of fondant and blend the edges. Easy peasy.
When it comes to decorating, people often ask for tips for decorating cakes without making them look messy. My advice? Start simple. Use piping bags with large tips to create bold designs. For example, rosettes are forgiving and look gorgeous. If you’re going for a more polished look, practice your technique on a piece of parchment paper first. That way, you’ll feel more confident when it’s time to decorate the actual cake.
Frequently Asked Questions About Barbie Cakes
Before we wrap things up, let’s tackle a few lingering questions. These are the kinds of things people usually wonder about but might feel too shy to ask.
- Is it safe to use a regular Barbie doll in a cake? Yes, as long as you clean the doll thoroughly before inserting her into the cake. Some folks prefer using a doll pick, which is a plastic holder designed to keep the doll stable. Personally, I wipe mine down with warm, soapy water and let it air dry completely.
- Can I freeze a barbie cake for later use? Absolutely! Freezing works well if you need to prepare the cake ahead of time. Wrap it tightly in plastic wrap and then in foil to prevent freezer burn. Thaw it in the fridge overnight before serving. Just note that fondant decorations may lose a bit of their shine after freezing.
- Where can I buy supplies for making a barbie cake? Craft stores like Michaels or Hobby Lobby carry fondant, food coloring, and piping tools. Online retailers like Amazon are great for bulk purchases. If you’re looking for specialty items, check out baking supply websites—they often have everything you need in one place.
- How do I transport a barbie cake without damaging it? Transporting a tall cake can be nerve-wracking. My trick is to use a sturdy cake box that’s slightly taller than the cake itself. Secure the box in your car so it doesn’t slide around. If possible, assemble the doll portion once you arrive at the venue to avoid any mishaps.
By the way, if you’re searching for more inspiration, head over to our cakes and cupcakes recipes collection. You’ll find tons of ideas to spark your creativity!
Conclusion
Creating a barbie cake barbie is more than just baking—it’s about bringing joy to those you love. Whether it’s for a birthday, holiday, or just because, this cake has the power to turn any ordinary day into something extraordinary. So go ahead, give it a try. Even if it’s not perfect, I guarantee the recipient will adore it because it came from your heart.
FAQ Block
- Can I use a different doll instead of Barbie?
Of course! Any doll with a slim waist will work. Princess dolls, fashion dolls, or even custom figurines are great alternatives. Just ensure the doll is clean and safe to use. - How do I fix a lopsided barbie cake?
Trim the uneven areas with a serrated knife and apply a crumb coat to stabilize the shape. Chill the cake before adding the final layer of frosting or fondant to smooth out imperfections. - What flavors pair best with fondant?
Lighter flavors like vanilla, lemon, or almond complement fondant beautifully. Richer options like chocolate can work too, but balance them with a lighter filling to avoid overwhelming the palate. - How do I prevent fondant from sticking to my hands?
Dust your hands lightly with powdered sugar or cornstarch before handling fondant. Kneading it until it’s pliable also reduces stickiness. - Can I make a barbie cake without a stand mixer?
Definitely! Hand mixers or even whisking by hand can yield excellent results. Just take your time to ensure the batter is smooth and well-combined. - What if my fondant gets too dry?
Knead in a small amount of vegetable shortening or glycerin to restore moisture. Work quickly to prevent further drying, and store unused fondant in an airtight bag. - How do I add texture to my fondant?
Use textured mats, silicone molds, or household items like lace fabric to imprint patterns onto the fondant. Experiment with tools like ball tools or veiners for intricate details. - Can I use fresh flowers on a barbie cake?
Yes, but only if the flowers are non-toxic and pesticide-free. Place a barrier like parchment paper between the flowers and the cake to ensure safety. - How do I clean a doll for a cake?
Wash the doll with warm, soapy water, focusing on the parts that will touch the cake. Rinse thoroughly and let it air dry completely before use. - Where can I find tutorials for advanced designs?
YouTube and Pinterest are fantastic resources for step-by-step tutorials. Look for channels or boards dedicated to cake decorating for detailed guidance.
Equipment
- Mixing bowls
- Measuring cups and spoons
- Spatula
- Cake pans
- Rolling pin
Ingredients
- cake base your favorite vanilla, chocolate, or red velvet recipe or boxed mix
- fondant store-bought or homemade
- Barbie doll or any slim-waisted doll
- decorative elements sprinkles, edible pearls, or sugar flowers
Instructions
- Bake your chosen cake layers, ensuring they are even.
- Let the cake layers cool completely before handling.
- Trim the tops of the cake layers to make them flat.
- Stack the layers and carve them into a cone shape to form the dress.
- Brush off any crumbs from the cake.
- Apply a thin crumb coat of frosting to lock in crumbs and chill the cake.
- Roll out and drape fondant over the cake, smoothing it with your hands or a fondant smoother.
- Decorate with buttercream piping, edible glitter, and other decorative elements.
- Insert the cleaned Barbie doll securely into the center of the cake.
- Finalize the cake with any additional finishing touches like ribbons or flowers.
Notes
Nutrition

Hi, I’m Olivia Parker, the founder of BakingSecret.com and a lifelong lover of all things sweet and homemade. I grew up in a small town in Oregon, where the smell of fresh cookies in my family’s kitchen sparked my passion for baking. Over the years, I turned that passion into a mission: to help home bakers feel confident, inspired, and creative.
After studying food science and working in several artisan bakeries across the U.S., I decided to create a space where everyone from beginners to seasoned bakers can find reliable recipes, expert tips, and a warm, welcoming community. BakingSecret.com is my way of sharing the magic of baking with the world. When I’m not testing new recipes, you’ll find me exploring farmers’ markets, collecting vintage cookbooks, or perfecting my sourdough technique.