
Introduction
I’ve always loved baking, but there’s something about cupcakes that makes my heart skip a beat. Maybe it’s their cute size or how they bring joy to anyone who sees them. Among all the flavors I’ve tried, Boston cream cupcakes hold a special place in my heart—and on my dessert table. These little treats are more than just a sweet snack; they’re a piece of American dessert history wrapped in chocolate and filled with creamy goodness.
My goal here is simple: to share an easy-to-follow boston cream cupcakes recipe so you can make these delights at home. Along the way, we’ll explore fun variations, like gourmet filled cupcakes recipes inspired by famous sources such as the Food Network and Betty Crocker. Whether you’re a beginner or a seasoned baker, this guide will help you create cupcakes that taste as good as they look.
What Makes Boston Cream Cupcakes Special?
Let’s take a quick trip back in time. The story of Boston cream starts with Boston cream pie, which isn’t actually a pie at all—it’s a cake! Created in the 1800s, this classic dessert features layers of sponge cake filled with vanilla custard and topped with chocolate glaze. Over the years, bakers transformed it into cupcake form, making it easier to enjoy without needing a slice of cake.
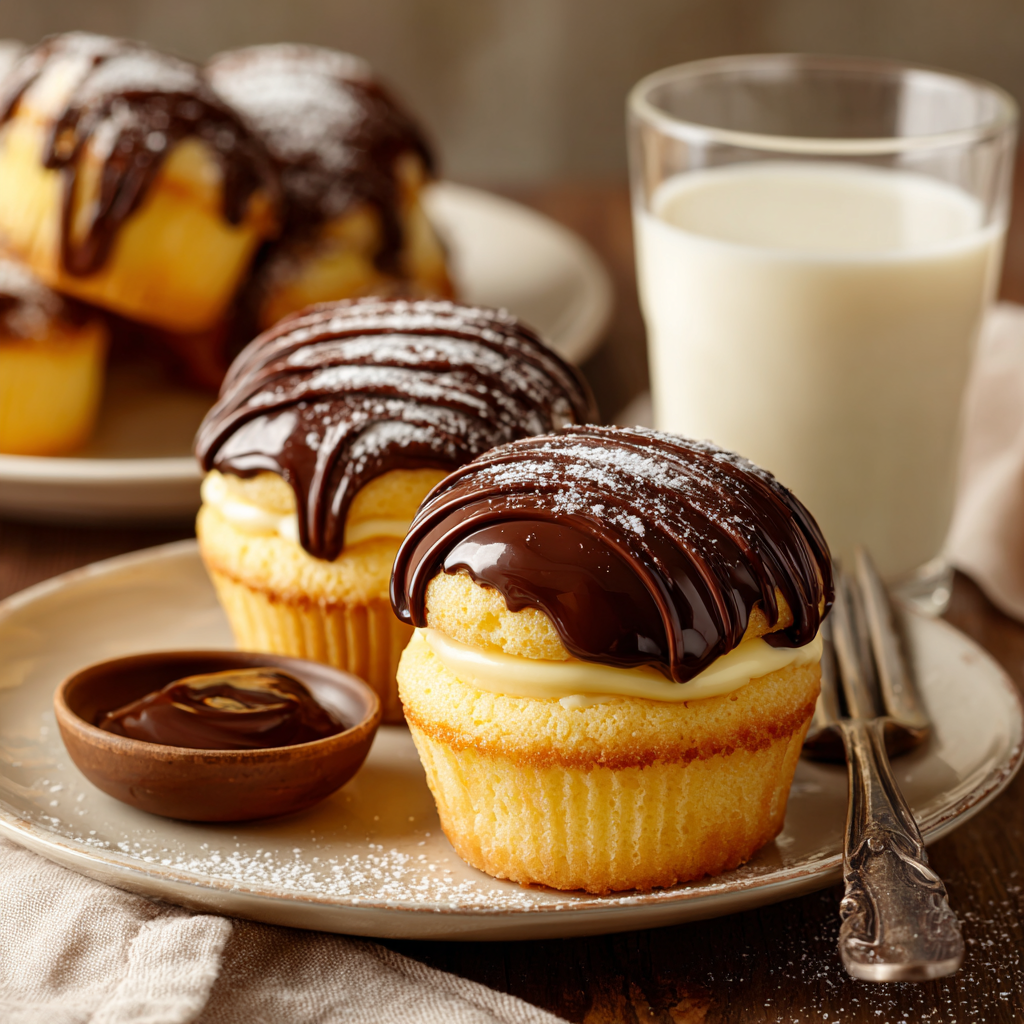
So, what sets Boston cream cupcakes apart? It’s the combination of textures and flavors. Each bite gives you soft, buttery cake, a rich vanilla pudding filling, and a glossy chocolate topping. This trio works together perfectly, balancing sweetness and creaminess. If you’ve ever wondered, What is Boston cream filling made of?, the answer is simple: it’s usually a creamy vanilla custard or pudding. Some recipes even use pastry cream for an extra luxurious touch.
These cupcakes aren’t just tasty—they’re also versatile. You can dress them up with gourmet touches or keep them simple for everyday treats. Either way, they’re sure to impress your friends and family.
Ingredients You’ll Need for Boston Cream Cupcakes
Before we dive into the steps, let’s talk about what you’ll need. Having the right ingredients is key to making delicious Boston cream cupcakes. Here’s a breakdown:
For the Cupcakes:
- 1 ½ cups all-purpose flour
- 1 ½ teaspoons baking powder
- ¼ teaspoon salt
- ½ cup unsalted butter, softened
- 1 cup granulated sugar
- 2 large eggs
- 1 teaspoon vanilla extract
- ½ cup whole milk
For the Filling:
- 2 cups whole milk
- ½ cup granulated sugar
- ¼ cup cornstarch
- 3 large egg yolks
- 2 tablespoons unsalted butter
- 1 teaspoon vanilla extract
For the Chocolate Glaze:
- ½ cup heavy cream
- 4 ounces semi-sweet chocolate, chopped
- 1 tablespoon light corn syrup (optional, for shine)
Tips for sourcing ingredients: If you want to elevate your cupcakes, choose high-quality vanilla extract and premium chocolate. Brands like Nielsen-Massey and Valrhona can make a noticeable difference. For the freshest taste, use real butter instead of margarine and opt for organic eggs if possible.
Now, let’s address some common questions. Should you refrigerate Boston cream cupcakes? Yes, because of the custard filling, it’s best to store them in the fridge. Just bring them to room temperature before serving for the best flavor. What’s the secret to super moist cupcakes? Don’t overmix the batter, and use room-temperature ingredients. And finally, what’s the difference between Bavarian cream and Boston cream? Bavarian cream has gelatin and whipped cream, while Boston cream is a simpler custard-based filling.
With these tips and ingredients ready, you’re well on your way to baking amazing Boston cream cupcakes. Next, we’ll walk through the step-by-step process to bring this recipe to life.

Step-by-Step Instructions for Making Boston Cream Cupcakes
Now that we’ve got all the ingredients ready, it’s time to roll up our sleeves and get baking. Don’t worry if you’re not a pro in the kitchen—I’ll walk you through every step so you can nail these boston cream cupcakes recipe like a seasoned baker. Trust me, once you taste the final result, you’ll want to make them again and again.
Baking the Perfect Vanilla Cake Base
Let’s start with the base because, honestly, a good cupcake is only as good as its foundation. The secret to light and fluffy vanilla cupcakes? It’s all about how you handle the batter. First, preheat your oven to 350°F (175°C) and line your cupcake tin with paper liners. Pro tip: don’t skip the liners unless you enjoy prying stuck cupcakes off the pan.
In a mixing bowl, cream together the softened butter and sugar until it’s pale and fluffy—this should take about 2-3 minutes with an electric mixer. Add the eggs one at a time, beating well after each addition. Stir in the vanilla extract; this little bit of flavor magic ties everything together. In another bowl, whisk the flour, baking powder, and salt. Gradually add the dry ingredients to the wet ones, alternating with the milk. Mix until just combined. Overmixing is the enemy here—it can make your cupcakes dense instead of airy.
By the way, if you’re wondering about the secret to super moist cupcakes, I’ve got a trick for you. Swap half the milk with buttermilk or sour cream. These ingredients add moisture and a slight tang that balances the sweetness. If you’ve ever made my biscoff cupcakes recipe, you know what I mean. Spoon the batter into the liners, filling them about two-thirds full, and bake for 18-20 minutes. A toothpick inserted into the center should come out clean. Let them cool completely before moving on to the next step.
Preparing the Cream Filling
Alright, let’s talk filling. This is where the magic happens. For a classic boston cream pie cupcakes vanilla pudding filling, you’ll need to whip up some homemade vanilla pudding. Heat the milk in a saucepan over medium heat until it’s warm but not boiling. In a separate bowl, whisk together sugar, cornstarch, and egg yolks until smooth. Slowly pour the warm milk into the egg mixture, whisking constantly to avoid scrambling the eggs. Return the mixture to the saucepan and cook over medium heat, stirring constantly, until it thickens. This should take about 5-7 minutes. Stir in the butter and vanilla extract, then transfer the pudding to a bowl. Cover it with plastic wrap directly on the surface to prevent a skin from forming, and let it cool completely.
If you’re short on time, store-bought vanilla pudding works too. It’s not as rich, but it gets the job done. Funny enough, I once used instant pudding for a last-minute bake sale, and no one could tell the difference. Just saying.
Assembling Your Boston Cream Cupcakes
Here comes the fun part: putting it all together. To core the cupcakes neatly, use a small paring knife or a cupcake corer. Cut a cone-shaped piece out of the center of each cupcake, making sure not to go all the way through. Fill a piping bag fitted with a round tip with the cooled pudding. Pipe the filling into the hollowed-out centers, then replace the tops. Easy peasy, right?
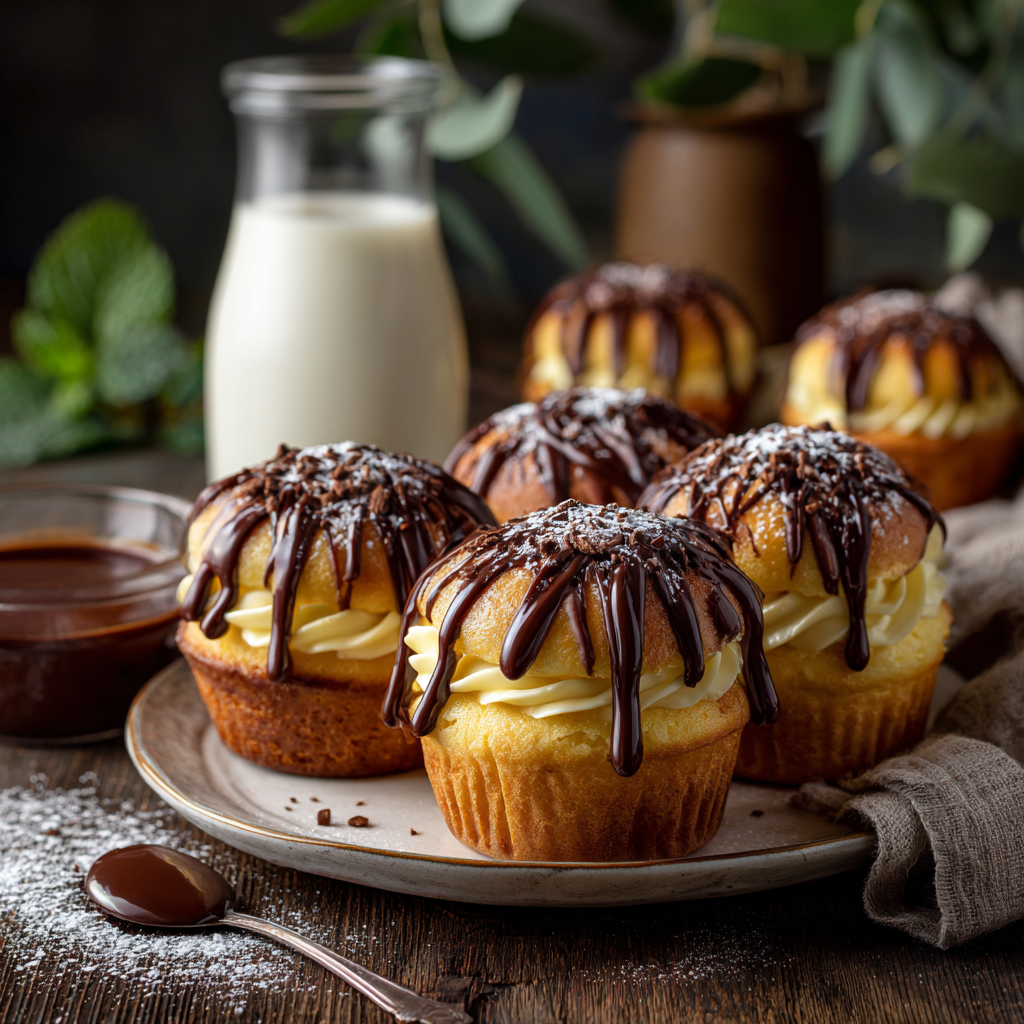
For the glaze, heat the heavy cream until it’s simmering, then pour it over the chopped chocolate in a heatproof bowl. Stir until smooth, and add a tablespoon of corn syrup if you want extra shine. Spoon the glaze over the filled cupcakes, letting it drip down the sides for that signature glossy finish. Here’s the thing: you don’t have to be perfect. A little messiness adds charm, and besides, who can resist a gooey chocolate topping?
Creative Variations of Boston Cream Cupcakes
Once you’ve mastered the classic boston cream cupcakes food network style, why not experiment with some fun twists? I love playing around with flavors and themes to keep things exciting. For instance, try making mini versions—mini boston cream pie cupcakes are adorable and perfect for parties. You can also swap the vanilla cake for chocolate cake to create chocolate boston cream cupcakes. Pairing chocolate with chocolate is never a bad idea.
Funny story: I once made spaceship-themed cupcakes for my nephew’s birthday. I piped the glaze to look like rocket boosters and added edible glitter for a cosmic effect. He called them “boston cream cupcakes spaceship” treats, and they were a hit. If you’re looking for more inspiration, check out CupcakeJemma’s tutorials or browse recipes from georgetown cupcake recipe. They’ve got some amazing ideas.
Another idea? Go oversized. My oversized cupcake recipe is a great starting point if you want to make one giant Boston cream cupcake for a special occasion. Top it with extra glaze and decorations—it’s a showstopper. Or, if you’re feeling adventurous, try swapping the vanilla pudding for something unexpected, like caramel or even fruit curd. The possibilities are endless.
Before wrapping up this section, I have to mention how versatile these cupcakes are. Whether you stick to tradition or go wild with flavors, they’re bound to impress. And hey, if you’re craving something different, my prune cupcakes recipe might just surprise you. Who knew dried fruit could be so delicious?
So there you have it—a complete guide to making, assembling, and customizing boston cream cupcakes recipe. Now it’s your turn to get creative in the kitchen. Happy baking!
Tips for Storing and Serving Boston Cream Cupcakes
Let’s be real—baking is only half the battle. Once you’ve created these little gems, you’ll want to store them properly so they stay fresh and delicious. Here’s my go-to advice: Boston cream cupcakes should ideally be refrigerated if you’re not serving them within a few hours. The reason? That creamy filling. Custard-based fillings can spoil quickly at room temperature, and nobody wants a food safety issue ruining their dessert dreams.
But here’s the kicker—even though refrigeration is necessary, cold cupcakes can taste a bit… blah. So, my pro tip? Take them out of the fridge about 30 minutes before serving. This lets the flavors come alive again. Funny enough, I once forgot a batch on the counter overnight, and while they were still edible, they didn’t have that same wow factor the next day. Lesson learned.
If you’re planning to make these ahead of time (say, for a party or bake sale), you can store them in an airtight container in the fridge for up to three days. For longer storage, freeze the unfilled cupcakes and glaze separately. When you’re ready to serve, thaw, fill, and glaze them. It’s a bit more work, but trust me—it’s worth it for that fresh-out-of-the-oven vibe.
Comparing Cream Fillings: Boston Crème vs. Bavarian Cream
Okay, let’s tackle a question I hear all the time: What’s the difference between Bavarian cream and Boston crème? Honestly, they’re like cousins rather than twins. Both are creamy and dreamy, but their textures, flavors, and prep methods set them apart.
Boston cream, as we’ve discussed, is typically a rich vanilla custard made with egg yolks, sugar, milk, and cornstarch. It’s smooth, thick, and perfect for piping into cupcakes. Think of it as the comfort food of cream fillings—classic, straightforward, and oh-so-satisfying.
Bavarian cream, on the other hand, is a bit fancier. It usually includes gelatin and whipped cream, giving it a lighter, airier texture. The addition of gelatin means it sets firmer, which makes it ideal for layered desserts or molded shapes. Flavor-wise, Bavarian cream can be customized with chocolate, fruit purees, or liqueurs, adding a gourmet twist.
Here’s the thing: both are amazing in their own right, but they serve different purposes. If you’re aiming for a traditional boston cream pie cupcakes vanilla pudding vibe, stick with the classic custard. But if you’re feeling adventurous, why not try a chocolate Bavarian cream filling instead? It’s all about what makes your taste buds happy.
Frequently Asked Questions About Boston Cream Cupcakes
I know baking can sometimes feel like solving a puzzle, so let’s clear up some common questions to make your life easier. Whether you’re a newbie or a cupcake pro, these answers will help you nail your next batch.
- What is Boston cream filling made of?
Boston cream filling is a vanilla custard made from egg yolks, sugar, milk, cornstarch, butter, and vanilla extract. It’s cooked on the stovetop until thick and creamy. Some bakers use pastry cream for an extra luxurious touch. - Should I refrigerate Boston cream cupcakes?
Yes, you should refrigerate them if you’re not serving them within a few hours. The custard filling can spoil at room temperature, so it’s safer to keep them chilled. Just remember to let them sit out for 30 minutes before serving for the best flavor. - What is the secret to super moist cupcakes?
The secret lies in using room-temperature ingredients and avoiding overmixing the batter. Adding buttermilk or sour cream instead of regular milk also works wonders. And don’t overbake them—keep an eye on the timer! - What’s the difference between Bavarian cream and Boston crème?
Boston cream is a dense, rich vanilla custard, while Bavarian cream is lighter and airier due to the addition of whipped cream and gelatin. They’re both delicious but suited for different types of desserts. - Can I use store-bought pudding for the filling?
Absolutely! While homemade pudding has a richer flavor, store-bought pudding is a great shortcut if you’re short on time. Instant pudding works well too, though it might not be as thick as custard. - How do I prevent the chocolate glaze from cracking?
Make sure the glaze isn’t too thick when you pour it. If it cools too much, reheat it gently. Also, avoid refrigerating the cupcakes immediately after glazing, as sudden temperature changes can cause cracking. - Can I freeze Boston cream cupcakes?
Yes, but freeze the components separately—the unfilled cupcakes and the glaze. Thaw everything completely before assembling and glazing for the best results. - What’s a good substitute for cornstarch in the filling?
You can use flour as a substitute, but keep in mind it might make the filling slightly less smooth. Arrowroot powder is another option if you’re looking for a gluten-free alternative. - How do I get the glaze perfectly shiny?
Add a tablespoon of light corn syrup to the melted chocolate mixture. It enhances the shine without altering the flavor. Stirring gently also helps achieve that glossy finish. - Can I make mini Boston cream cupcakes?
Definitely! Mini cupcakes are adorable and perfect for parties. Just reduce the baking time to around 10-12 minutes. Use a small piping tip to fill them neatly.
Why Boston Cream Cupcakes Are Worth Trying
You know what I love most about Boston cream cupcakes? They’re like a hug in dessert form. Whether you’re making them for a special occasion or just because, these treats have a way of bringing people together. Plus, they’re endlessly customizable. Want to go gourmet? Try adding a splash of rum to the filling or sprinkling sea salt on the glaze. Feeling nostalgic? Stick with the classic recipe—it’s timeless for a reason.
By the way, if you’re looking for more inspiration, check out my collection of gourmet filled cupcakes recipes. From fruity surprises to decadent chocolate creations, there’s something for everyone.
So here’s my final thought: don’t be afraid to experiment. Swap flavors, play with colors, and make these cupcakes your own. And hey, if you end up creating something amazing, share it online—I’d love to see what you come up with. Happy baking, friends!
Equipment
- Mixing bowl
- Electric mixer
- Whisk
- Cupcake tin
- Piping bag
Ingredients
- 1.5 cups all-purpose flour
- 1.5 tsp baking powder
- 0.25 tsp salt
- 0.5 cups unsalted butter softened
- 1 cup granulated sugar
- 2 large eggs
- 1 tsp vanilla extract
- 0.5 cups whole milk
- 2 cups whole milk
- 0.5 cups granulated sugar
- 0.25 cups cornstarch
- 3 large egg yolks
- 2 tbsp unsalted butter
- 1 tsp vanilla extract
- 0.5 cups heavy cream
- 4 oz semi-sweet chocolate chopped
- 1 tbsp light corn syrup optional, for shine
Instructions
- Preheat oven to 350°F (175°C) and line cupcake tin with paper liners.
- Cream together the softened butter and sugar until pale and fluffy (about 2-3 minutes).
- Add eggs one at a time, beating well after each addition; stir in vanilla extract.
- In another bowl, whisk together flour, baking powder, and salt.
- Gradually add the dry ingredients to the wet ones, alternating with milk, mixing until just combined.
- Spoon the batter into the liners, filling them about two-thirds full, and bake for 18-20 minutes.
- Let the cupcakes cool completely.
- For the filling, heat milk in a saucepan until warm.
- In a separate bowl, whisk together sugar, cornstarch, and egg yolks until smooth.
- Slowly pour the warm milk into the egg mixture, whisking constantly to avoid scrambling.
- Return mixture to saucepan and cook over medium heat, stirring constantly, until it thickens (about 5-7 minutes).
- Stir in butter and vanilla extract; transfer pudding to a bowl and cover with plastic wrap directly on the surface to cool.
- Core the cupcakes using a small paring knife; pipe the cooled pudding into the hollowed-out centers and replace the tops.
- For the glaze, heat heavy cream until simmering, then pour over chopped chocolate and stir until smooth.
- Add corn syrup if desired for extra shine; spoon the glaze over the filled cupcakes.