
Why Christmas Cake Pops Are the Festive Treat You Need This Year
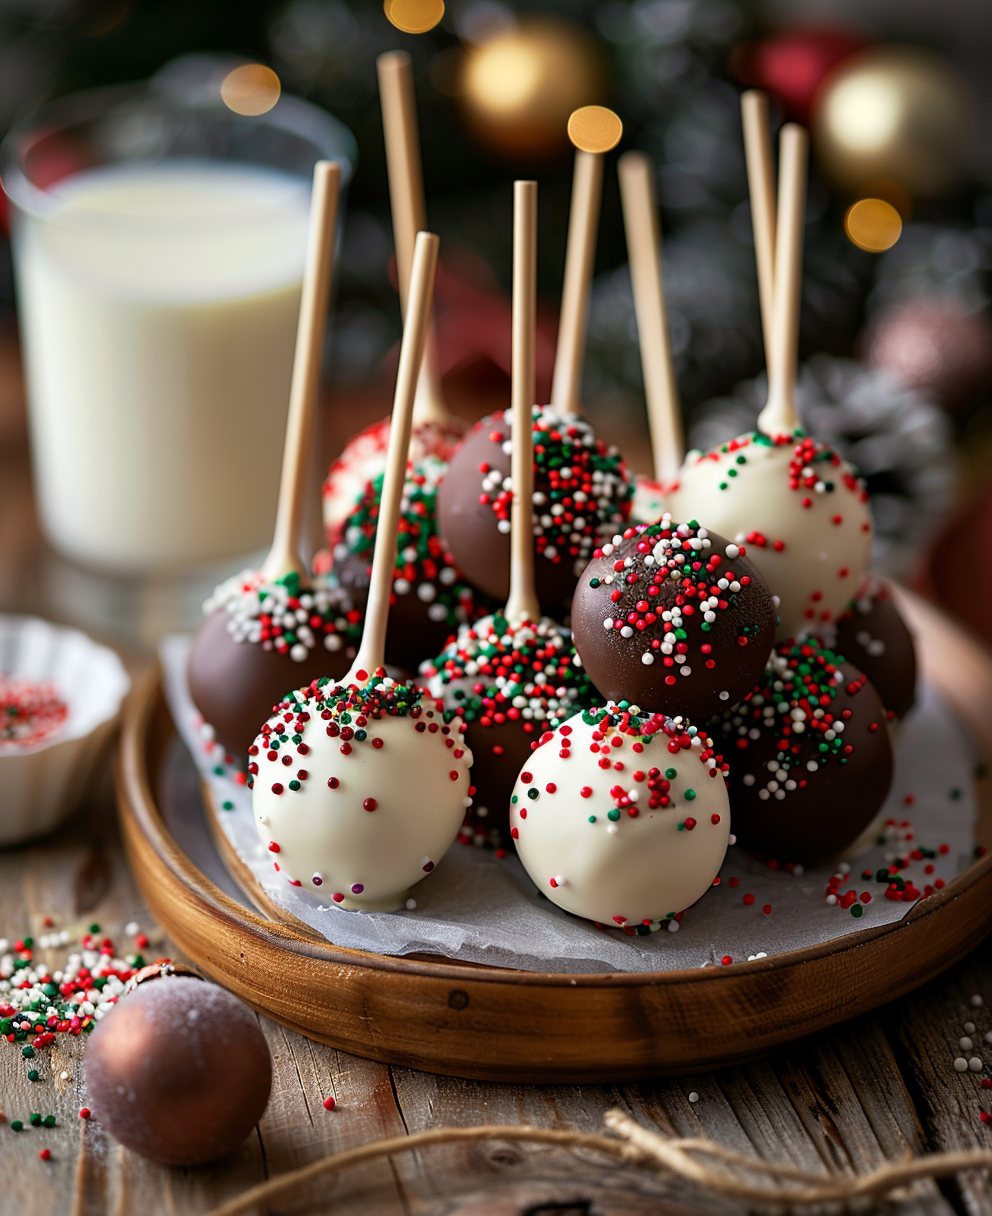
Picture this: It’s a chilly December evening, and your kitchen smells like vanilla, cinnamon, and holiday cheer. You’re rolling little balls of cake into shape, dipping them in glossy white chocolate, and turning them into adorable reindeer cake pops. Sounds magical, right? That’s exactly how I felt when I first made these Christmas cake pops. They’re not just a treat—they’re a memory wrapped in sprinkles and smiles. Whether you’re a seasoned baker or a beginner, this recipe will have you creating edible works of art that everyone will love.
A Little History Behind Cake Pops
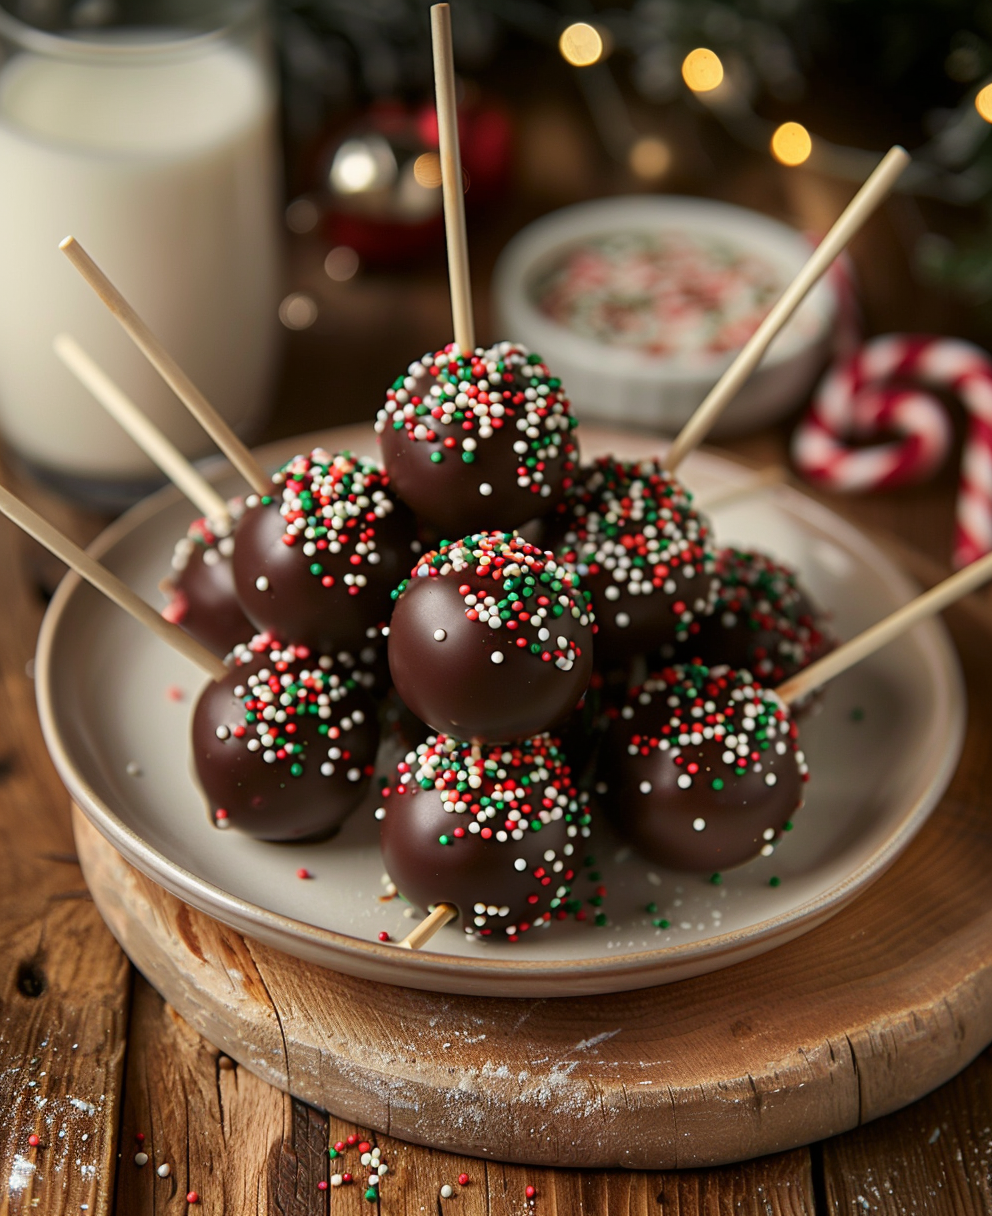
Cake pops burst onto the baking scene in the early 2000s, thanks to creative bakers who wanted to make desserts more fun and portable. Over time, they became a staple at parties, holidays, and even weddings. The christmas cake pops version is my personal favorite because you can get super creative with decorations. Last year, I made reindeer cake pops for my nephew’s birthday party. Let’s just say, those little antlers made from pretzels were an instant hit! Whether you’re making them for Christmas, Halloween, or just because, cake pops are a canvas for your imagination.
Why You’ll Love This Recipe
What’s not to love about cake pops? They’re bite-sized, easy to customize, and perfect for sharing. Plus, this cake pop recipe uses simple ingredients you probably already have in your pantry. The flavors are rich, the textures are delightful, and the decorating process is pure fun. Trust me, once you start, you won’t want to stop!
Perfect Occasions to Make These Christmas Cake Pops
These Christmas cake pops are ideal for holiday parties, cookie exchanges, or as gifts for friends and family. I’ve even made them for office potlucks and school bake sales. They’re also great for themed celebrations like Halloween cake pops (just swap out the colors!) or gluten-free gatherings using a gluten free cake pops recipe.
Ingredients
- 1 box of your favorite cake mix (or homemade cake)
- 1 container of frosting (store-bought or homemade)
- 1 bag of white chocolate or candy melts
- Sprinkles, edible glitter, or other decorations
- Lollipop sticks
- Pretzels (optional, for reindeer antlers)
Substitution Options
- Use dairy-free frosting and chocolate for a vegan version.
- Swap regular cake mix for a gluten-free option if needed.
- Try dark chocolate or almond bark instead of white chocolate.
Step 1: Bake the Cake
Start by baking your cake according to the package instructions. I always use a boxed mix because it’s quick and reliable, but feel free to whip up your favorite homemade recipe if you’re feeling fancy. Once the cake is baked, let it cool completely. Pro tip: Don’t rush this step! A warm cake will crumble too much when you mix it with frosting.
Step 2: Crumble and Mix
Once cooled, crumble the cake into fine crumbs using your hands or a fork. Add about half a cup of frosting and mix until the texture resembles cookie dough. If it’s too dry, add a bit more frosting. If it’s too sticky, sprinkle in some powdered sugar. Chef’s tip: Use gloves to keep your hands clean during this messy-but-fun part!
Step 3: Roll Into Balls
Roll the mixture into small, uniform balls—about 1-inch in diameter works well. Place them on a baking sheet lined with parchment paper. At this stage, you might notice some cracks forming. That’s okay! Just smooth them out with your fingers. To ensure they hold their shape, chill the balls in the fridge for at least 30 minutes.
Step 4: Insert Sticks
Dip the tip of each lollipop stick into melted chocolate or candy melts, then insert it halfway into a cake ball. The chocolate acts as glue, keeping the stick securely in place. Chill the cake pops again for another 10–15 minutes before moving on to the next step.
Step 5: Dip and Decorate
Melt your white chocolate or candy melts in short bursts in the microwave, stirring frequently to avoid burning. Dip each cake pop into the chocolate, tapping off any excess. Now comes the fun part—decorating! For reindeer cake pops, attach pretzel antlers and draw eyes with black icing. For beginners, check out tutorials on how to decorate cake pops for beginners online for inspiration.
Timing
This recipe takes about 30 minutes of prep time, 20 minutes of cooking time, and around 1 hour of resting time. In total, you’ll spend roughly 2 hours from start to finish. It’s a labor of love, but totally worth it!
Chef’s Secret
The trick to perfect cake pops? Keep everything cold! Chilled cake balls are less likely to fall off the sticks while dipping. Also, don’t skip the double-chill method—it makes all the difference.
Extra Info
Did you know that white chocolate for cake pops isn’t technically chocolate? It contains no cocoa solids, which is why it has such a creamy, sweet flavor. Fun fact: White chocolate pairs beautifully with red velvet cake!
Necessary Equipment
- Baking sheet
- Parchment paper
- Microwave-safe bowl
- Lollipop sticks
- Decorating tools (like piping bags or brushes)
Storage Tips
To store your Christmas cake pops, place them upright in a foam block or egg carton to prevent smudging. Cover loosely with plastic wrap and refrigerate for up to 3 days. For longer storage, freeze them without decorations for up to 2 weeks. When ready to serve, thaw in the fridge overnight.
If you’re wondering whether to freeze or refrigerate cake pops before dipping, the answer depends on timing. Freezing firms them up quickly, while refrigeration is gentler but takes longer. Choose based on your schedule.
Avoid leaving cake pops at room temperature for more than 2 hours, especially if they contain perishable ingredients like cream cheese frosting.
Tips and Advice
Here’s a pro tip: Always melt chocolate slowly and stir often to prevent clumping. Another helpful hint? Use thin gloves to handle the cake balls—they’re less messy that way. And remember, practice makes perfect. Even if your first batch isn’t flawless, it’ll still taste amazing!

Presentation Ideas
- Arrange cake pops in a festive wreath shape on a platter.
- Place them in mini mason jars tied with ribbon for gifting.
- Add a sprinkle of edible glitter for extra sparkle.
Healthier Alternatives
Looking for healthier options? Try these variations:
- Gluten-Free Cake Pops: Use gluten-free cake mix and frosting.
- Vegan Cake Pops: Swap dairy-based ingredients for plant-based alternatives.
- Fruit-Infused Cake Pops: Add mashed bananas or applesauce to the cake batter.
- Protein-Packed Cake Pops: Mix in protein powder or Greek yogurt.
- Low-Sugar Cake Pops: Use sugar-free cake mix and stevia-sweetened chocolate.
- Spiced Cake Pops: Add cinnamon, nutmeg, and cloves for a warm flavor.
Common Mistakes to Avoid
Mistake 1: Using Too Much Frosting
Adding too much frosting makes the cake balls soggy and prone to falling apart. Stick to just enough to bind the crumbs together. Pro tip: Start with small amounts and adjust as needed.
Mistake 2: Skipping the Chill Time
Rushing through the chilling steps leads to messy, melty cake pops. Patience is key here—chill them twice to ensure they stay intact.
Mistake 3: Overheating the Chocolate
Burning the chocolate ruins its texture and taste. Melt it in 30-second intervals, stirring between each one. If it seizes, rescue it by stirring in a teaspoon of coconut oil.
FAQ
What is the trick to cake pops?
The secret lies in keeping the cake balls cold and using the right ratio of cake to frosting. Double-chilling ensures they stay firm during dipping.
Is it better to make cake pops the day before?
Yes! Making them ahead saves time and allows flavors to meld. Store them in the fridge overnight and decorate just before serving.
What not to do when making cake pops?
Don’t skip chilling, overmix the batter, or overload with decorations. Simplicity is key to success.
Do I freeze or refrigerate cake pops before dipping?
Both work! Freezing firms them faster, while refrigerating is gentler. Choose based on your timeline.
How long to cook cake pops?
Technically, you don’t “cook” cake pops—they’re baked, chilled, and dipped. Total prep time is about 2 hours.
Where can I find a cake pop tutorial?
YouTube and Pinterest are great resources for step-by-step guides on making and decorating cake pops.
Can I use dark chocolate instead of white?
Absolutely! Dark chocolate adds a rich contrast to light-colored cakes like vanilla or lemon.
Are cake pops hard to make?
Not at all! With a little patience and practice, anyone can master this cake pop recipe.
What kind of sprinkles should I use?
Nonpareils and jimmies work best for beginners. Avoid large chunks that may weigh down the pops.
Can I make these for Halloween?
Of course! Swap Christmas-themed decorations for spooky ones to create Halloween cake pops.
Final Thoughts
There’s something truly magical about making Christmas cake pops. From the cozy aroma of freshly baked cake to the joy of watching your creations come to life, every step is a celebration. Whether you’re crafting reindeer cake pops or experimenting with gluten-free recipes, this dessert is sure to bring smiles to everyone who tries it. So grab your apron, gather your loved ones, and let the holiday baking begin!
Equipment
- Microwave-safe bowl
- Baking sheet
- Parchment paper
- Lollipop sticks
- Decorating tools
Ingredients
- 1 box cake mix your favorite (or homemade)
- 1 container frosting store-bought or homemade
- 1 bag white chocolate or candy melts
- q.s. sprinkles or edible glitter or other decorations
- optional bag pretzels for reindeer antlers
Instructions
- Bake your cake according to the package instructions and let it cool completely.
- Crumble the cooled cake into fine crumbs and mix with about half a cup of frosting until it resembles cookie dough.
- Roll the mixture into small balls, about 1 inch in diameter, and place them on a lined baking sheet.
- Chill the cake balls in the fridge for at least 30 minutes.
- Dip the tip of each lollipop stick into melted chocolate or candy melts, then insert it halfway into a cake ball and chill again for 10-15 minutes.
- Melt your white chocolate or candy melts, dip each cake pop, and decorate as desired.