
Introduction to Oreo Cheesecake Bars
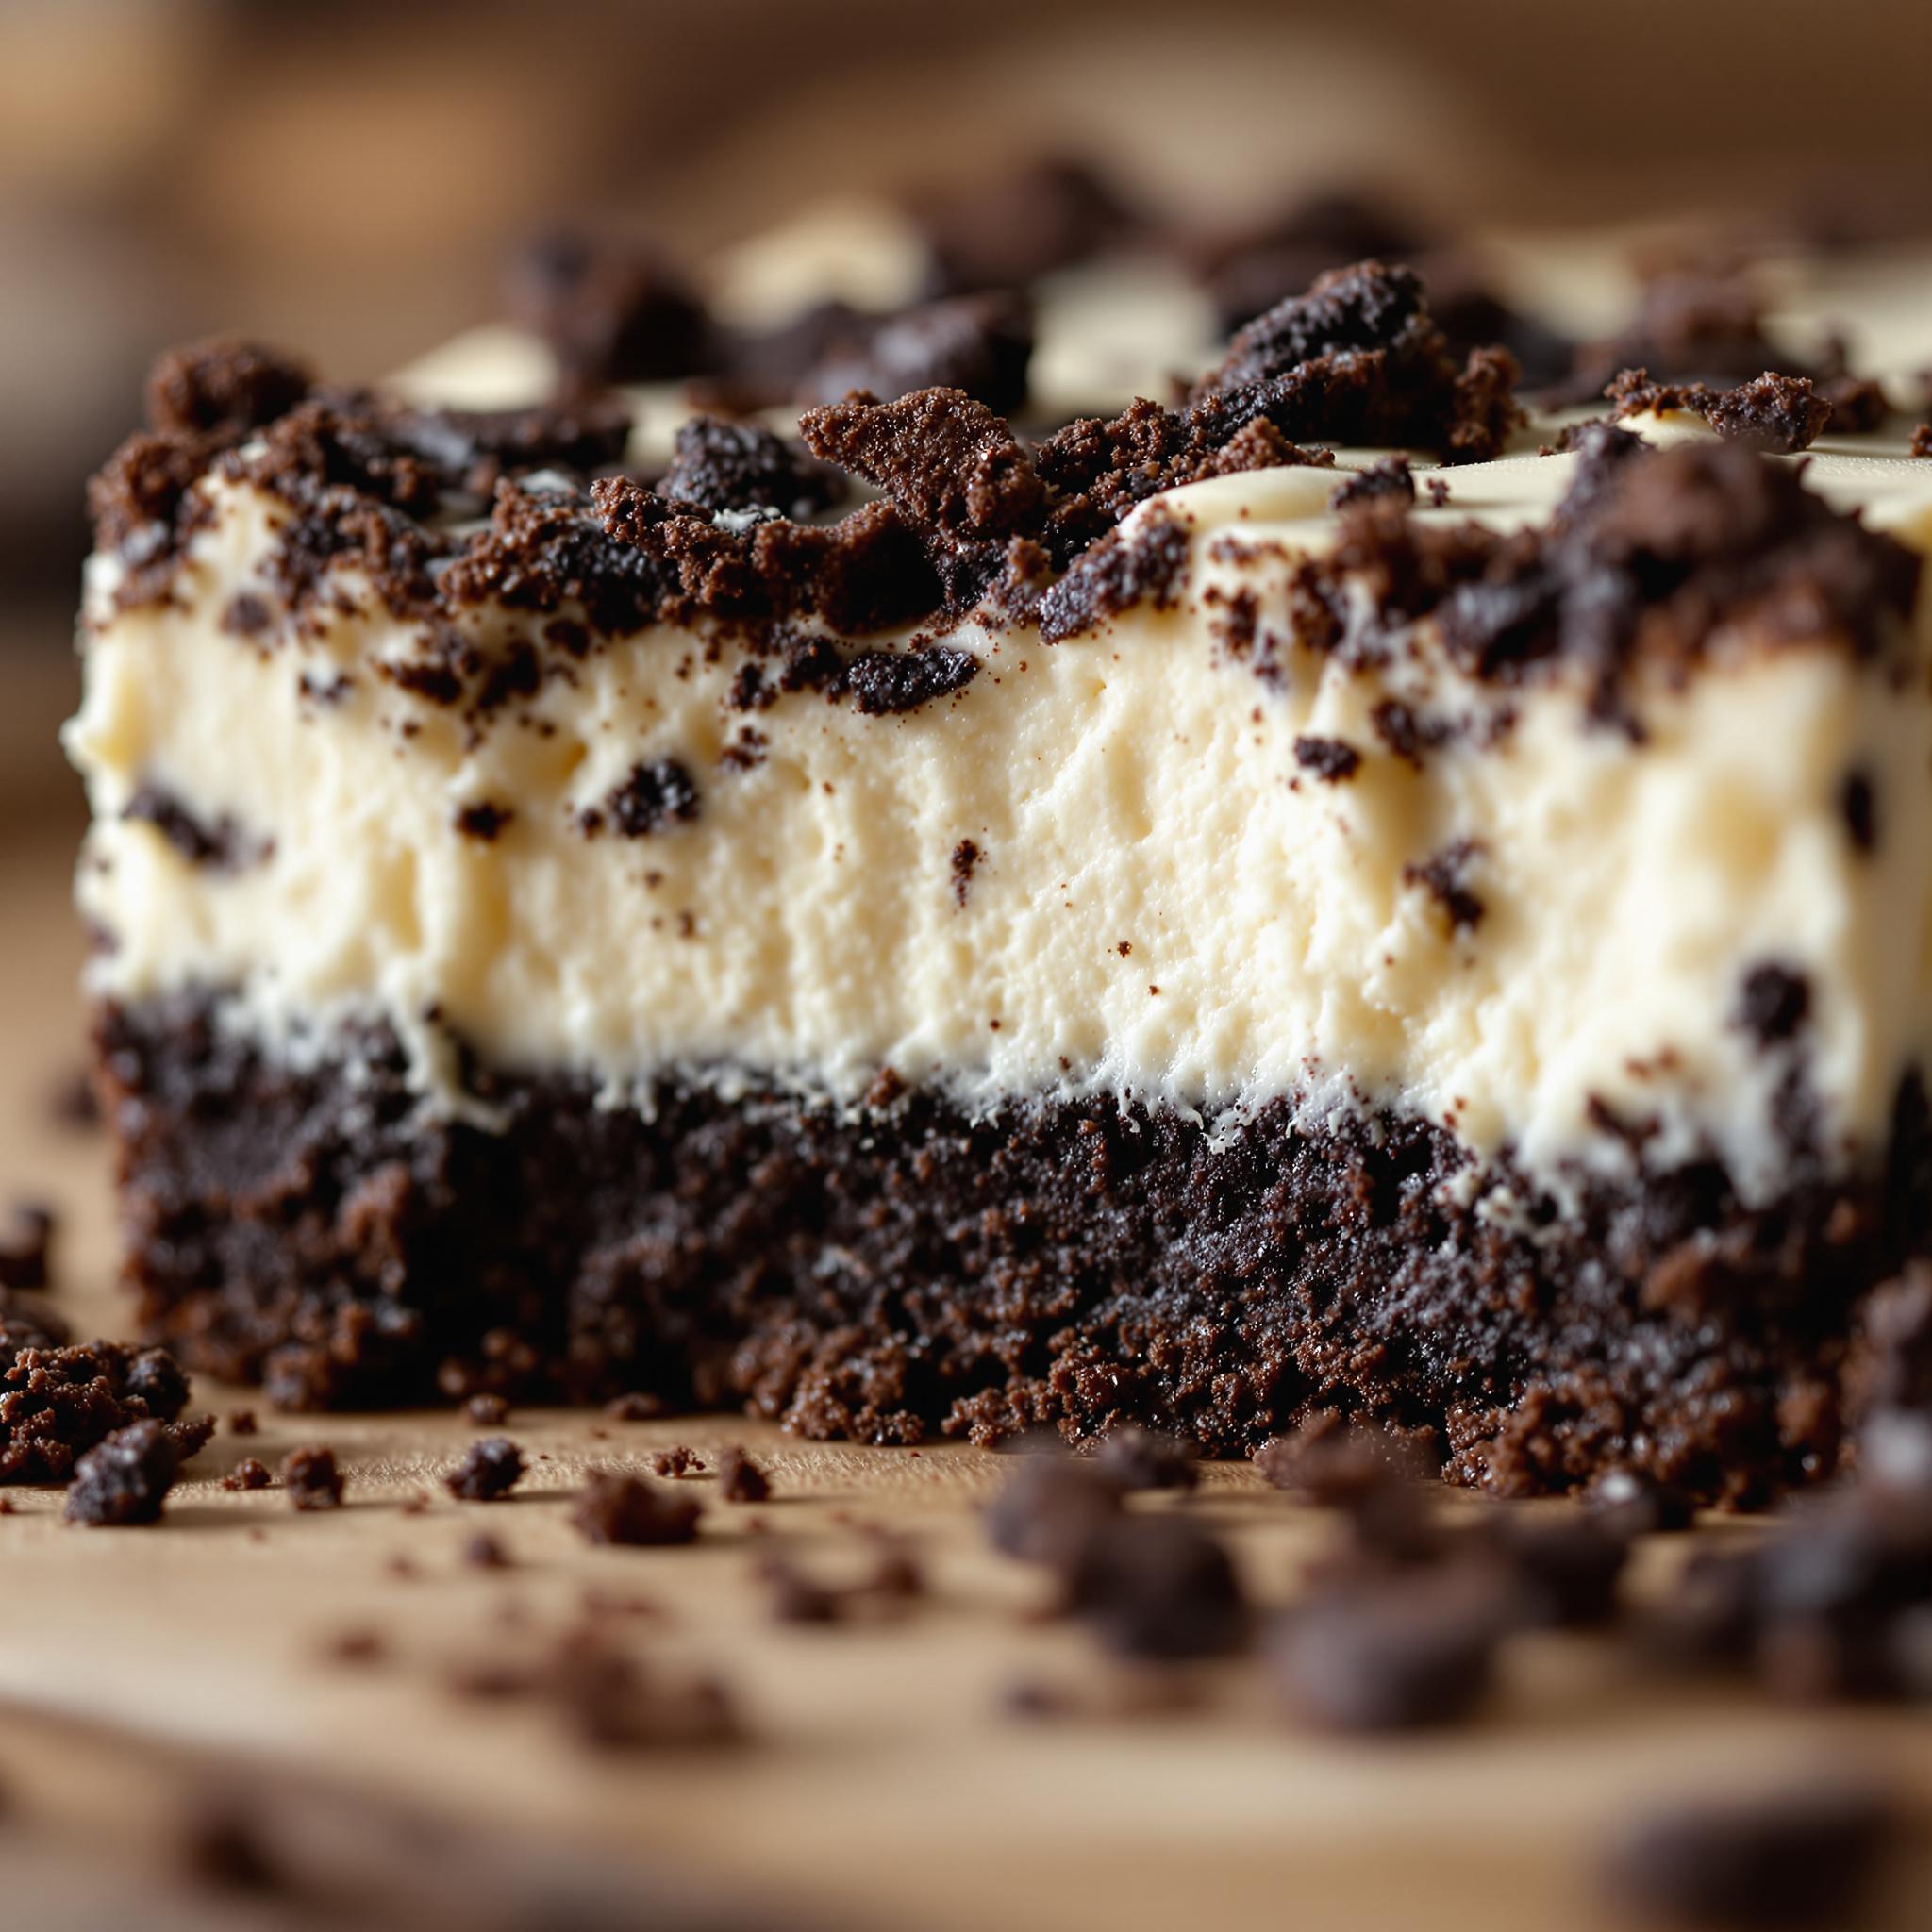
There’s something magical about combining rich, creamy cheesecake with the crunchy, chocolatey goodness of Oreos. These Oreo Cheesecake Bars are a dessert lover’s dream come true. Whether you’re baking for a family gathering or just craving something sweet, this recipe is sure to impress. I remember testing this recipe on a rainy afternoon—it turned out so delicious that my kids couldn’t stop asking for seconds!
The Sweet History Behind Oreo Cheesecake Bars
Cheesecake has been a beloved dessert for centuries, dating back to ancient Greece. The modern twist of adding Oreos brings a playful and indulgent touch to this classic treat. This combination reflects how desserts have evolved over time, blending tradition with fun. My version of Oreo Cheesecake Bars adds a personal spin by using crushed Oreos in both the crust and topping, creating layers of irresistible texture.
Why You’ll Love This Recipe
This recipe stands out because it’s incredibly easy to make yet delivers restaurant-quality results. The creamy filling contrasts beautifully with the crunchy Oreo crust, and the whole process takes less than an hour. Plus, it’s versatile enough to customize based on your preferences—whether you want extra chocolate drizzle or a hint of vanilla extract.
Perfect Occasions to Prepare Oreo Cheesecake Bars
These bars are perfect for any occasion, from birthday parties to cozy movie nights at home. They also make a fantastic addition to potlucks or holiday gatherings. Whenever you need a crowd-pleasing dessert, these Oreo Cheesecake Bars will never disappoint.
Ingredients for Oreo Cheesecake Bars
- 24 Oreos (divided)
- 6 tablespoons unsalted butter, melted
- 16 ounces cream cheese, softened
- ½ cup granulated sugar
- 1 teaspoon vanilla extract
- 2 large eggs
- ½ cup heavy whipping cream
Substitution Options
If you’re looking to switch things up, here are some ingredient swaps:
- Use gluten-free Oreos for a gluten-free option.
- Swap heavy whipping cream with full-fat coconut milk for a dairy-free alternative.
- Replace granulated sugar with honey or maple syrup for a natural sweetener.
Preparation
Step 1: Make the Oreo Crust
To start, crush 18 Oreos into fine crumbs using a food processor or zip-top bag and rolling pin. Mix the crumbs with melted butter until they resemble wet sand. Press this mixture firmly into the bottom of an 8×8-inch baking pan lined with parchment paper. Pop it in the fridge while you prepare the filling. Pro tip: Use the back of a measuring cup to press the crust evenly for a professional finish.
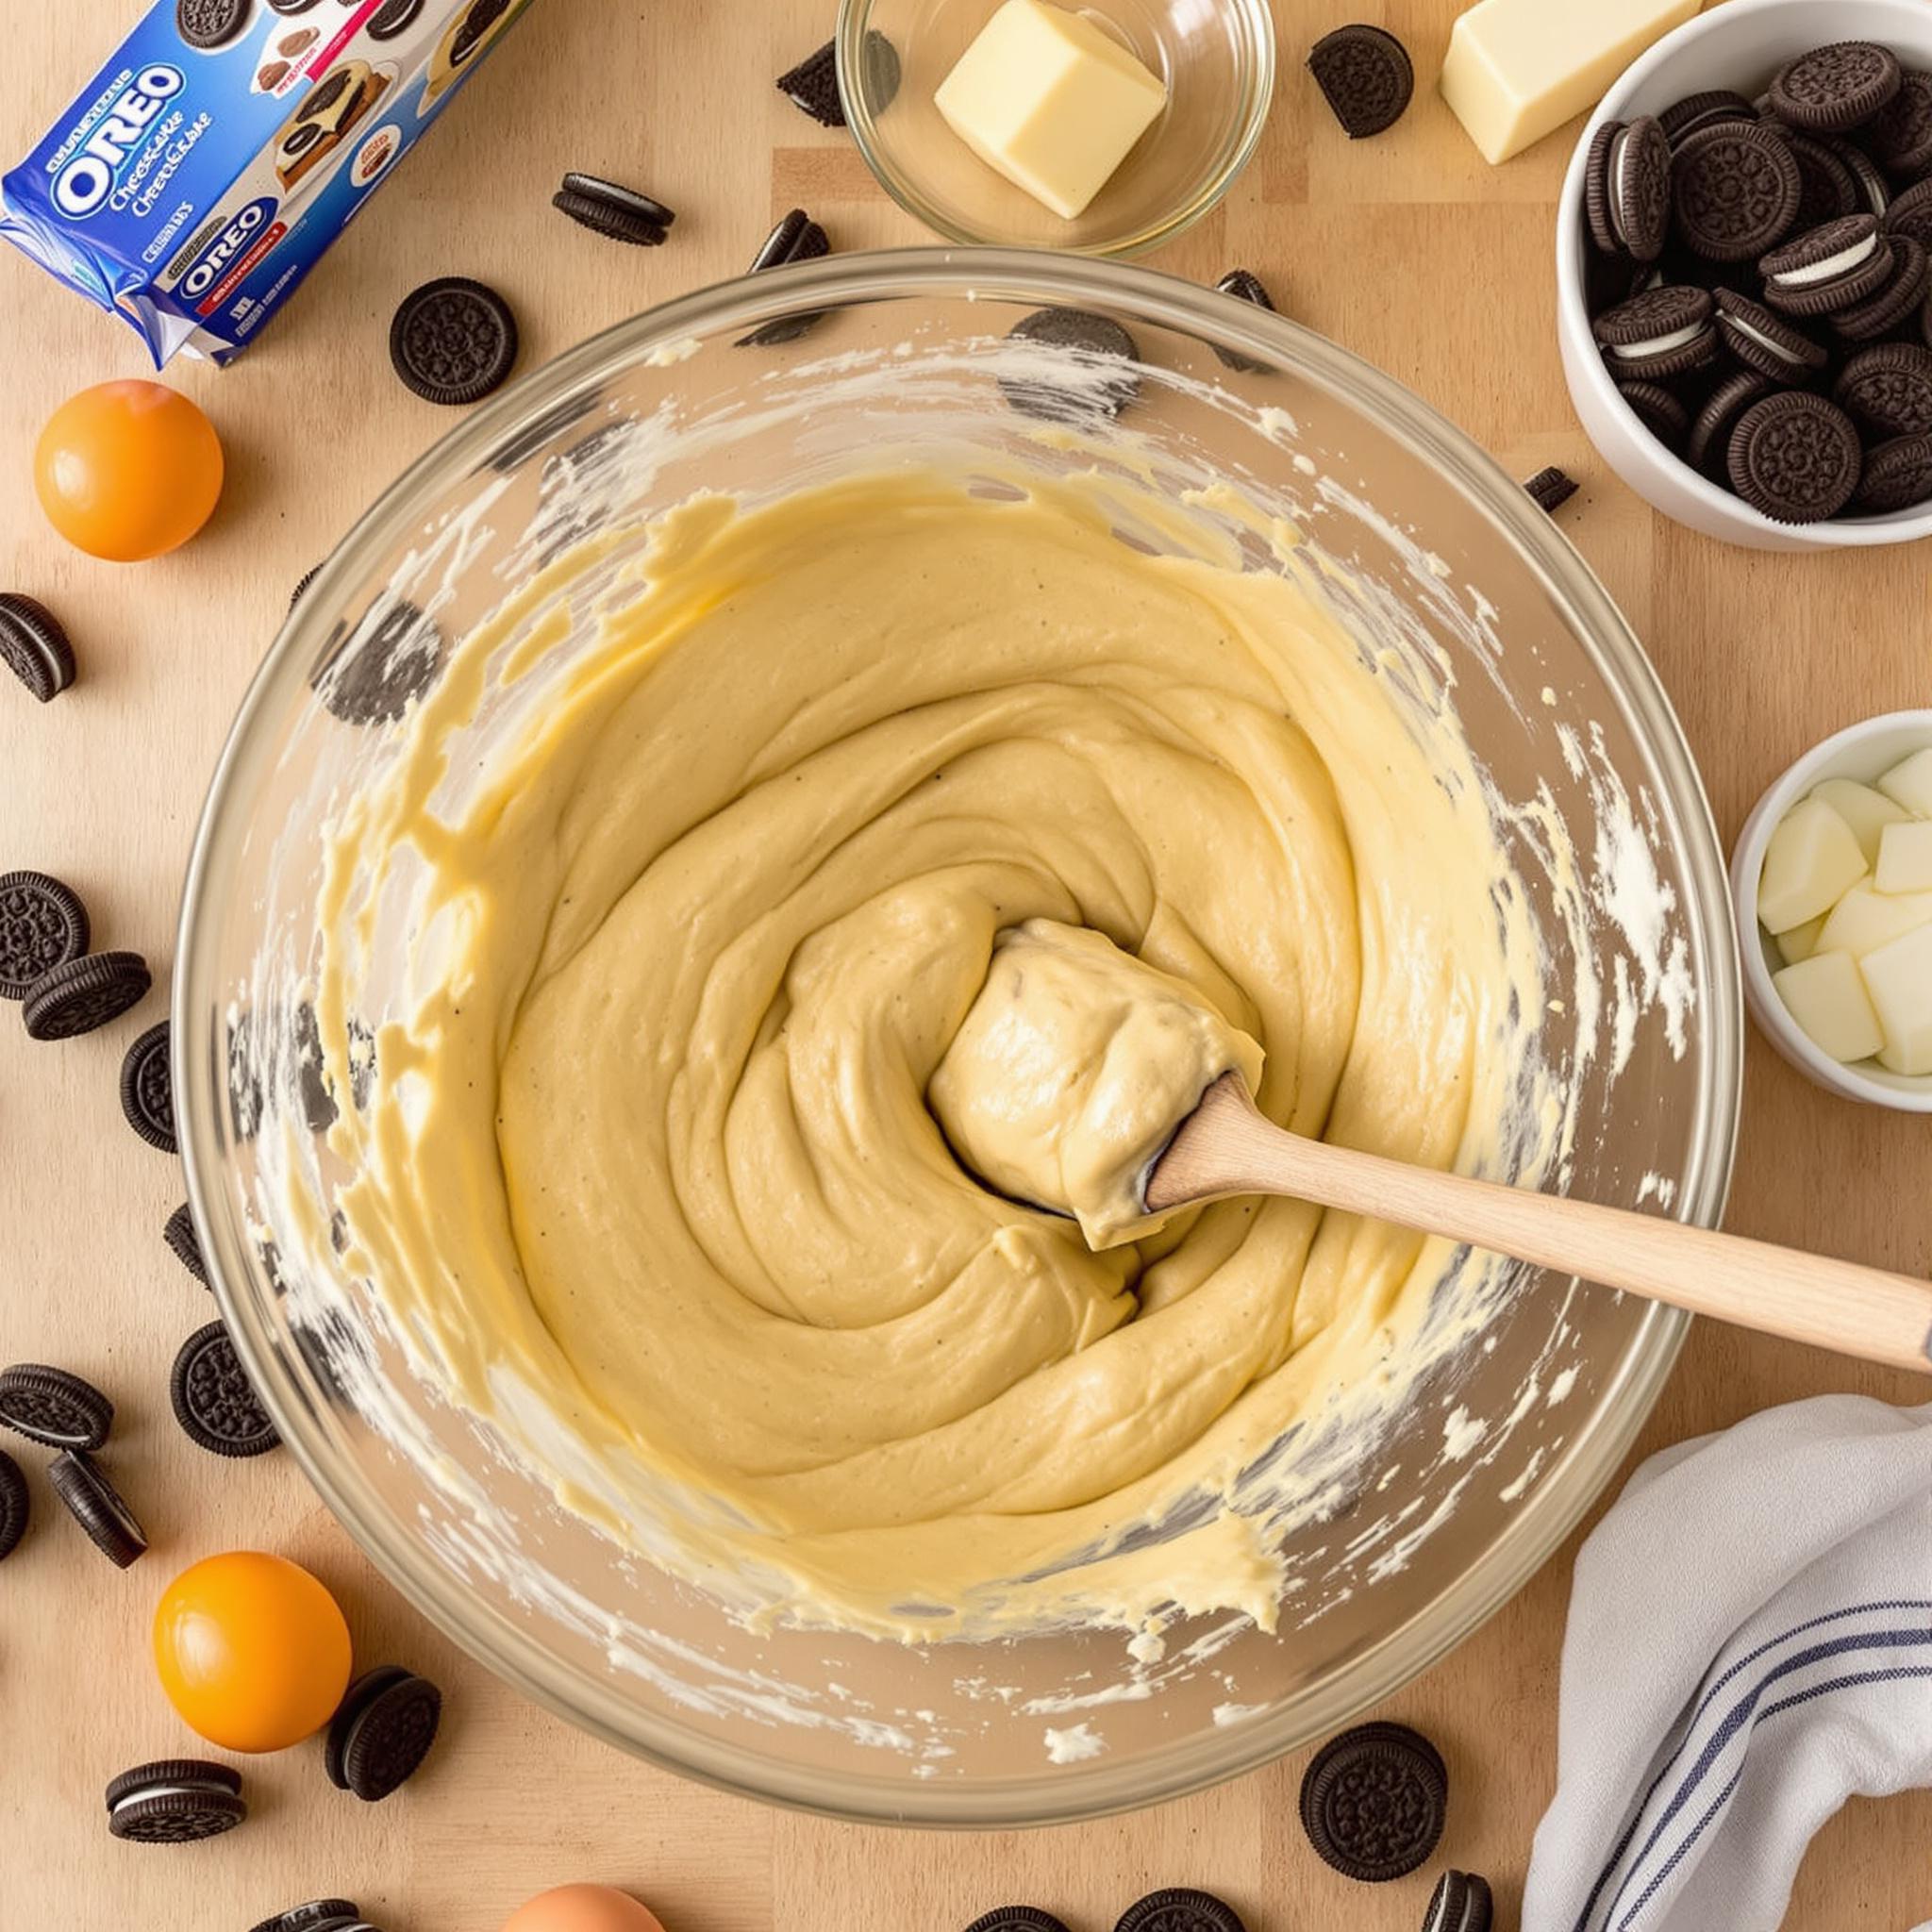
Step 2: Prepare the Cheesecake Filling
In a mixing bowl, beat the softened cream cheese until smooth and creamy. Add the sugar, vanilla extract, and eggs one at a time, ensuring each egg is fully incorporated before adding the next. Finally, fold in the heavy whipping cream gently to keep the batter light and airy. The aroma of vanilla combined with the tangy scent of cream cheese is simply irresistible!
Step 3: Assemble and Bake
Pour the cheesecake filling over the chilled Oreo crust, spreading it evenly with a spatula. Crush the remaining 6 Oreos coarsely and sprinkle them on top for added crunch. Bake in a preheated oven at 325°F (165°C) for 30 minutes or until the center is set but still slightly jiggly. Let it cool completely before slicing into squares. Pro tip: Avoid opening the oven door during baking to prevent cracks in the cheesecake layer.
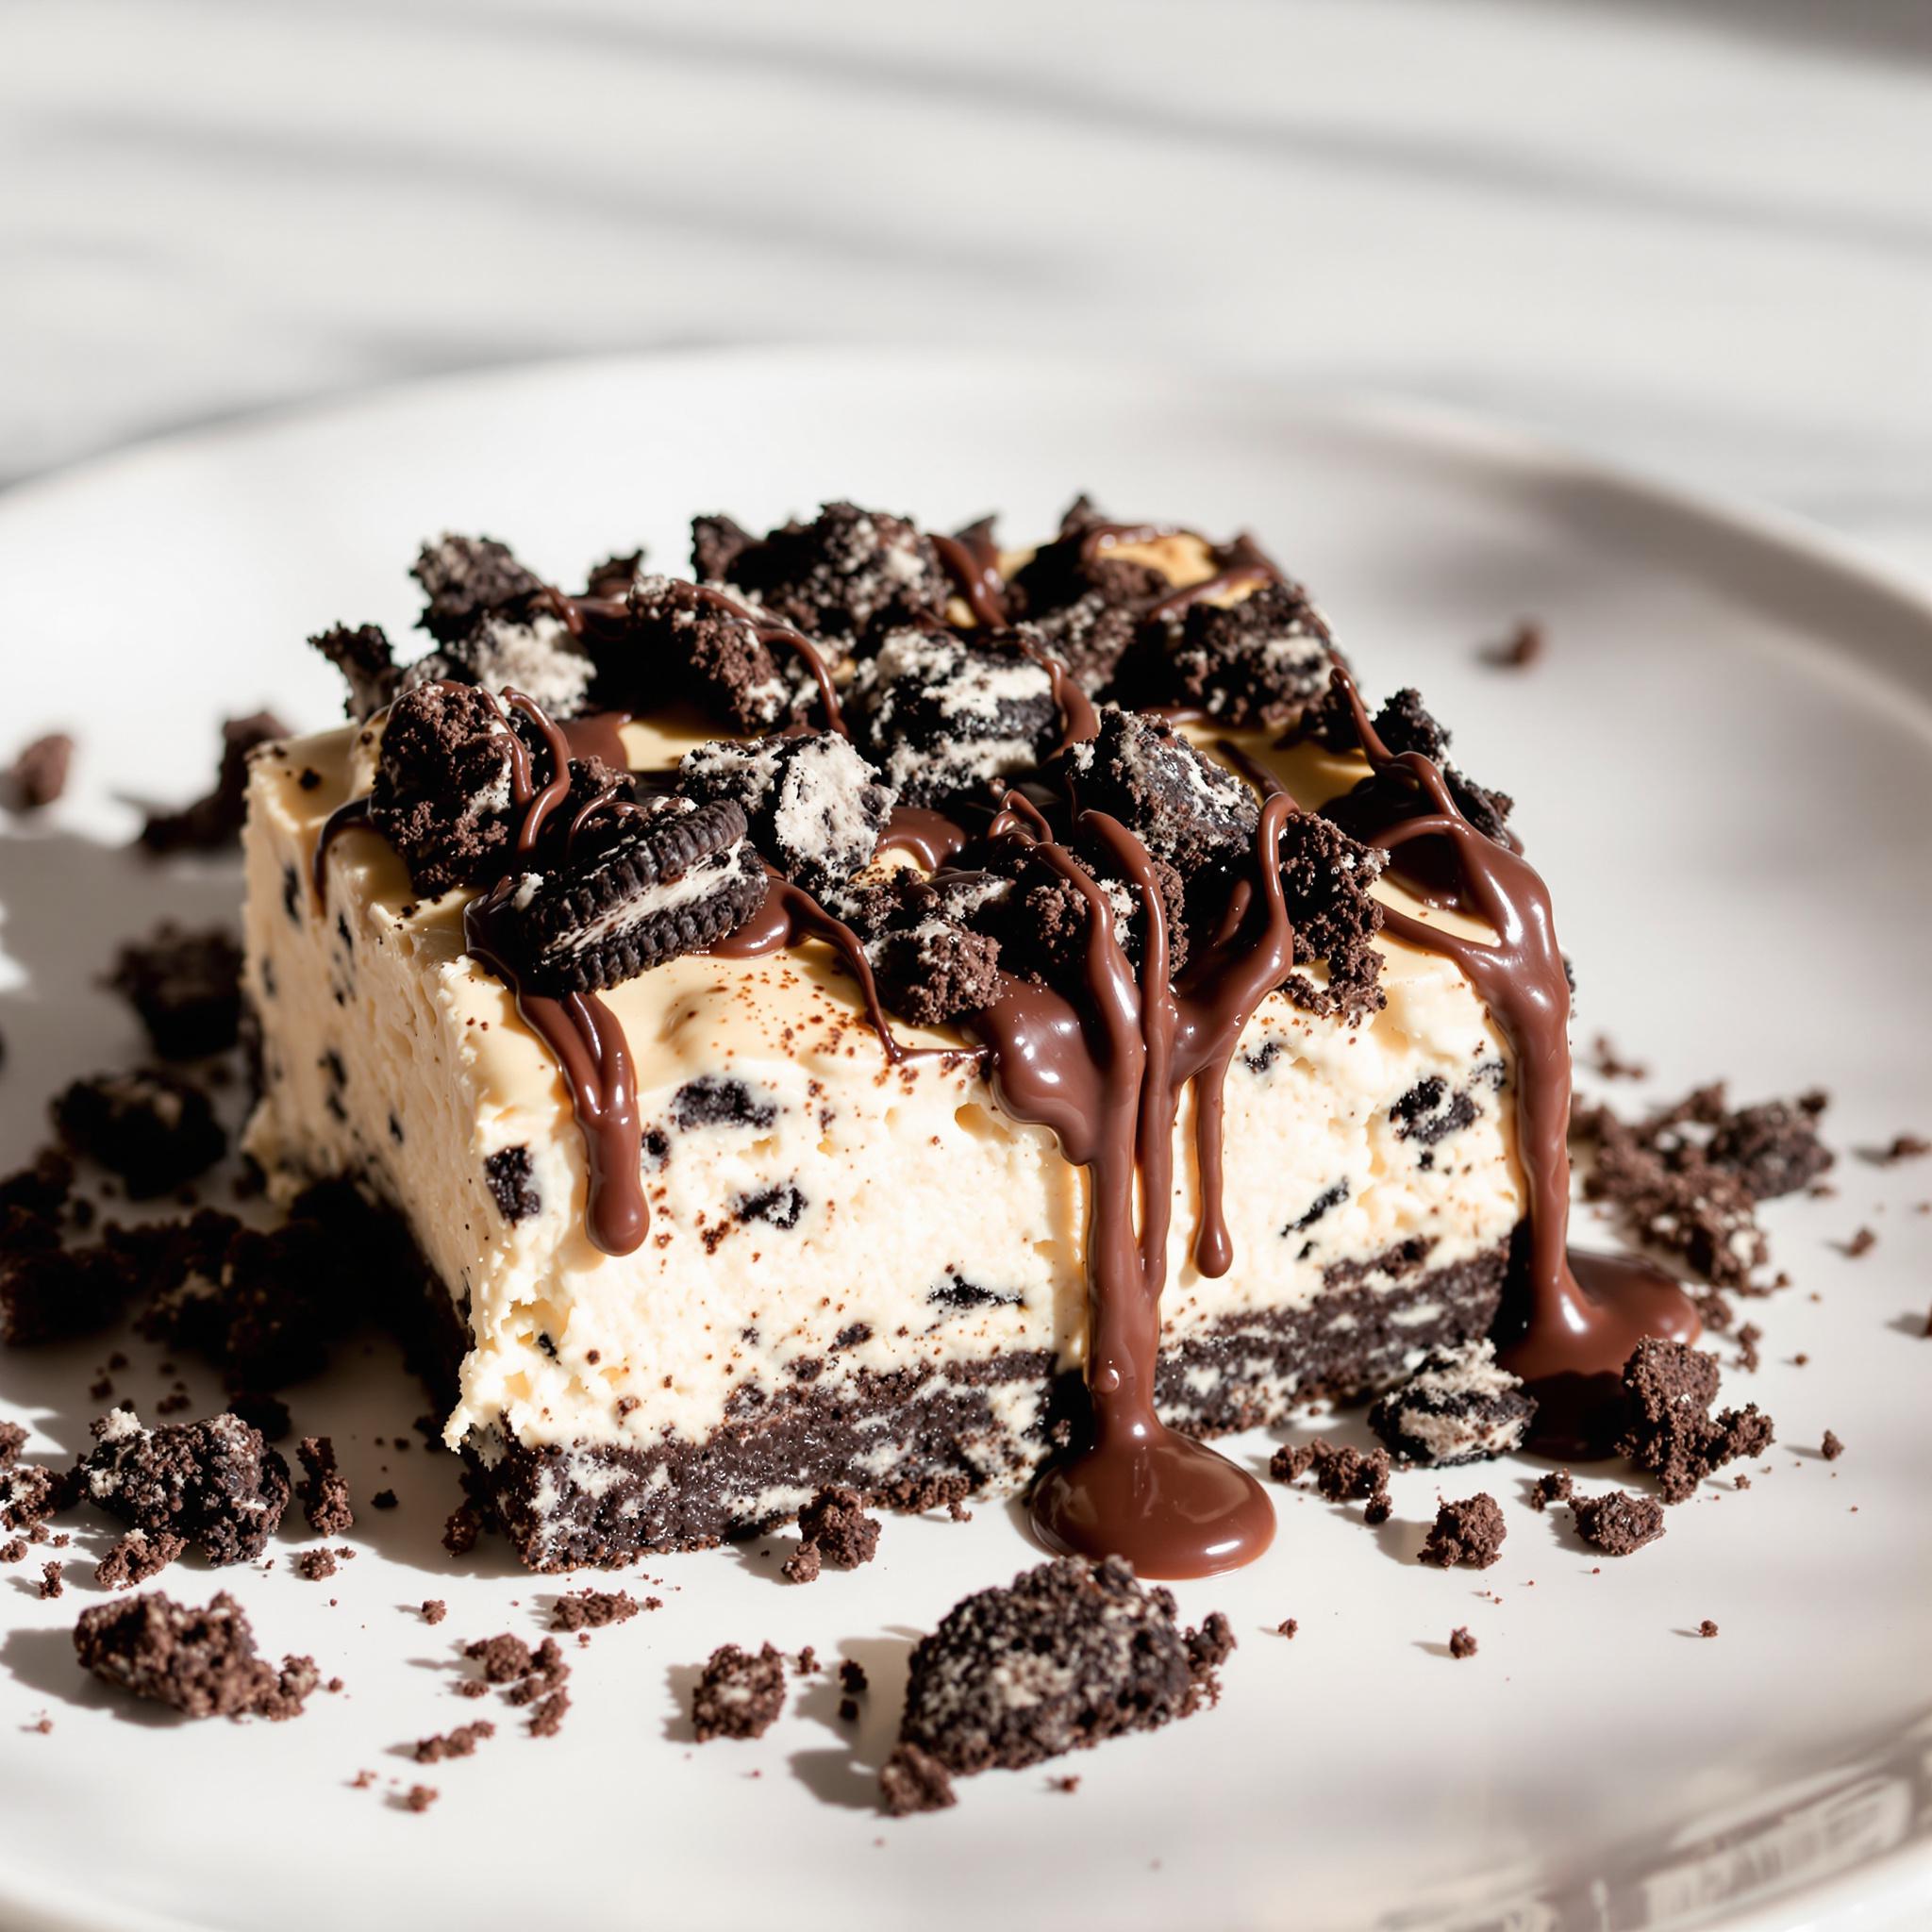
Chef’s Tip
For an extra decadent touch, drizzle melted chocolate or caramel sauce over the cooled bars. It not only enhances the flavor but also makes them look picture-perfect for special occasions!
Time Required
Here’s a quick breakdown of the time needed:
- Prep Time: 15 minutes
- Cooking Time: 30 minutes
- Resting/Cooling Time: 1 hour
- Total Time: 1 hour 45 minutes
Nutritional Information
Per serving (1 bar):
- Calories: 320
- Protein: 4g
- Fat: 20g
- Carbohydrates: 32g
- Sugar: 22g
Extra Information
Did you know that Oreos were first introduced in 1912? They’ve since become one of the world’s best-selling cookies, making them a staple in countless recipes like these Oreo Cheesecake Bars.
Necessary Tools
- Food processor or zip-top bag and rolling pin
- 8×8-inch baking pan
- Mixing bowls
- Electric mixer or whisk
- Spatula
Storage Instructions
Once cooled, store the bars in an airtight container in the refrigerator. They’ll stay fresh for up to 5 days. For longer storage, wrap individual portions in plastic wrap and freeze for up to 2 months. To serve, let frozen bars thaw in the fridge overnight. If you’re taking them to a party, pack them in a cooler to maintain their creamy texture.
Tips and Tricks
Here are some tricks to elevate your Oreo Cheesecake Bars:
- Use room-temperature ingredients for smoother batter.
- Chill the bars thoroughly before slicing for clean cuts.
- Experiment with different Oreo flavors like peanut butter or mint for variety.
Serving Suggestions
Serve these bars chilled alongside a scoop of vanilla ice cream for a delightful contrast. Alternatively, pair them with a hot cup of coffee or tea for an afternoon treat.
Healthier Alternatives for Oreo Cheesecake Bars
Looking for healthier options? Here are six variations:
- Low-Sugar Version: Replace granulated sugar with a low-calorie sweetener like stevia.
- Vegan Option: Use vegan cream cheese and substitute eggs with flaxseed meal mixed with water.
- Gluten-Free Twist: Opt for gluten-free Oreos and ensure all other ingredients are certified gluten-free.
- Reduced-Fat Recipe: Swap full-fat cream cheese with reduced-fat versions.
- Dairy-Free Delight: Use coconut cream instead of heavy whipping cream.
- Fruit-Infused Bars: Add a layer of fresh berries between the crust and filling for a fruity kick.
Common Mistakes to Avoid
Mistake 1: Overmixing the Batter
Overmixing can lead to dense bars instead of light and fluffy ones. Be gentle when folding in the whipped cream and stop mixing as soon as everything is combined. Pro tip: Use a spatula rather than an electric mixer for the final steps.
Mistake 2: Skipping the Cooling Step
Rushing the cooling process can cause the bars to fall apart. Always allow them to cool completely at room temperature before refrigerating. Patience pays off here!
Mistake 3: Not Lining the Pan
Forgetting to line the pan with parchment paper makes removing the bars difficult. Take the extra minute to prep your pan properly for hassle-free slicing.
Frequently Asked Questions
Can I use homemade Oreos?
Absolutely! Homemade Oreos work beautifully, though they may alter the texture slightly. Just ensure they’re crisp before crushing.
How do I prevent cracks in the cheesecake layer?
Cracks often occur due to sudden temperature changes. Bake the bars in a water bath or avoid opening the oven door during baking.
Can I double the recipe?
Yes, simply double all ingredients and use a larger pan, such as a 9×13-inch dish.
What if I don’t have heavy whipping cream?
You can substitute with equal parts sour cream or Greek yogurt for similar richness.
Is it okay to add mix-ins?
Definitely! Try sprinkling chocolate chips, nuts, or even caramel bits into the filling for added flair.
Can I make these bars ahead of time?
Yes, they’re perfect for making ahead. Store them in the fridge and bring them out just before serving.
Do I need to toast the Oreo crust?
No, toasting isn’t necessary, but chilling ensures it holds together well.
Can I freeze these bars?
Yes, they freeze beautifully. Wrap tightly and label with the date for future enjoyment.
Why does my cheesecake taste eggy?
This usually happens if the eggs aren’t fully incorporated. Beat them thoroughly before adding to the batter.
Can I use flavored Oreos?
Of course! Flavored Oreos add unique twists, from golden Oreos to limited-edition varieties.
Conclusion
These Oreo Cheesecake Bars are more than just a dessert—they’re a celebration of flavors and textures that everyone will love. With their easy preparation, endless customization options, and undeniable charm, they’re bound to become a staple in your baking repertoire. So grab those Oreos and get ready to wow your friends and family with this irresistible treat!
Equipment
- Mixing bowl
- Electric mixer
- Spatula
- 8x8-inch baking pan
- Food processor or rolling pin and zip-top bag
Ingredients
- 24 Oreos (divided)
- 6 tbsp unsalted butter, melted
- 16 oz cream cheese, softened
- 0.5 cup granulated sugar
- 1 tsp vanilla extract
- 2 large eggs
- 0.5 cup heavy whipping cream
Instructions
- To start, crush 18 Oreos into fine crumbs using a food processor or zip-top bag and rolling pin. Mix the crumbs with melted butter until they resemble wet sand. Press this mixture firmly into the bottom of an 8x8-inch baking pan lined with parchment paper. Pop it in the fridge while you prepare the filling.
- In a mixing bowl, beat the softened cream cheese until smooth and creamy. Add the sugar, vanilla extract, and eggs one at a time, ensuring each egg is fully incorporated before adding the next. Finally, fold in the heavy whipping cream gently.
- Pour the cheesecake filling over the chilled Oreo crust, spreading it evenly with a spatula. Crush the remaining 6 Oreos coarsely and sprinkle them on top for added crunch. Bake in a preheated oven at 325°F (165°C) for 30 minutes or until the center is set but still slightly jiggly. Let it cool completely before slicing into squares.