
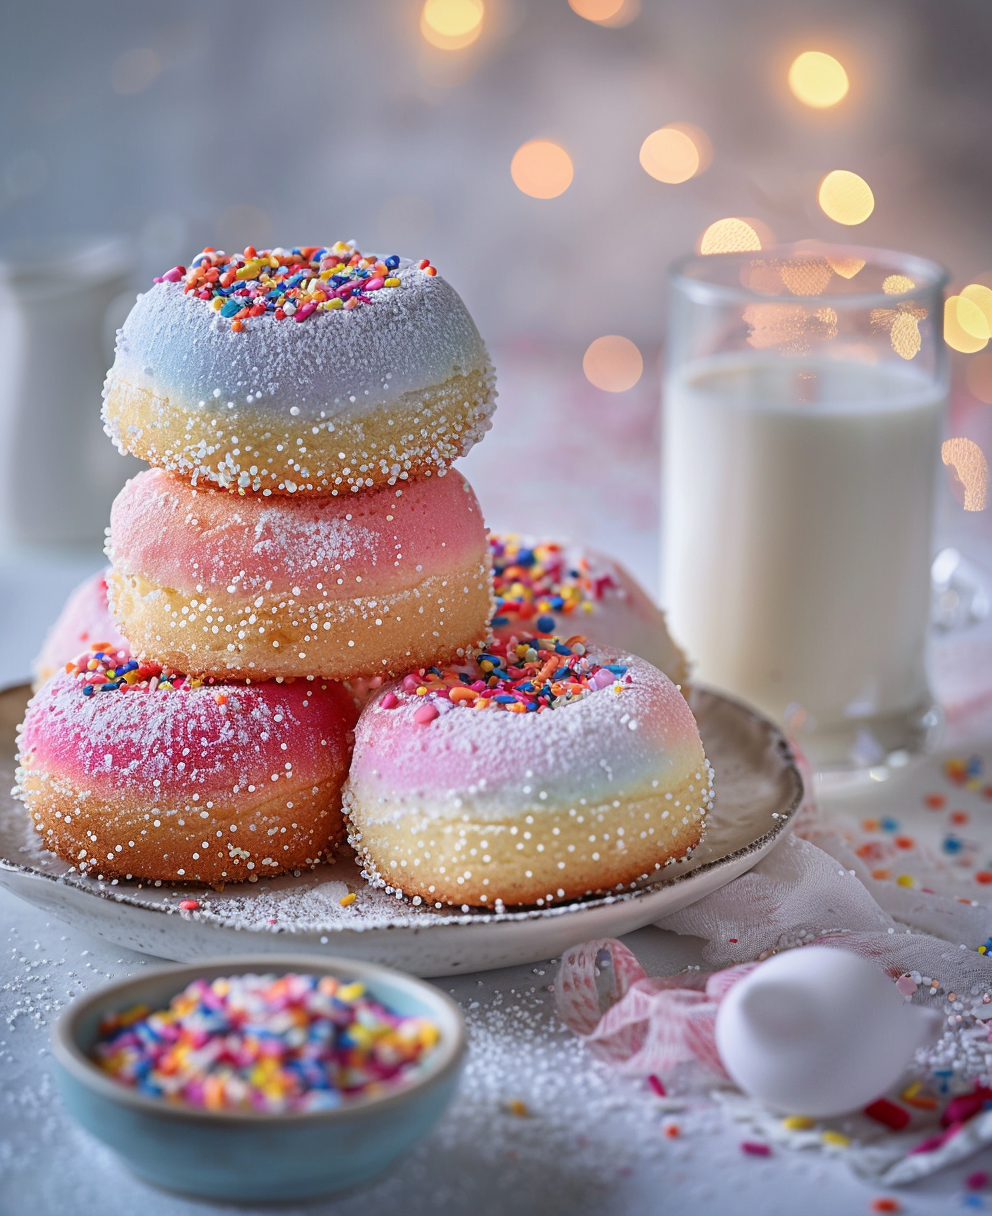
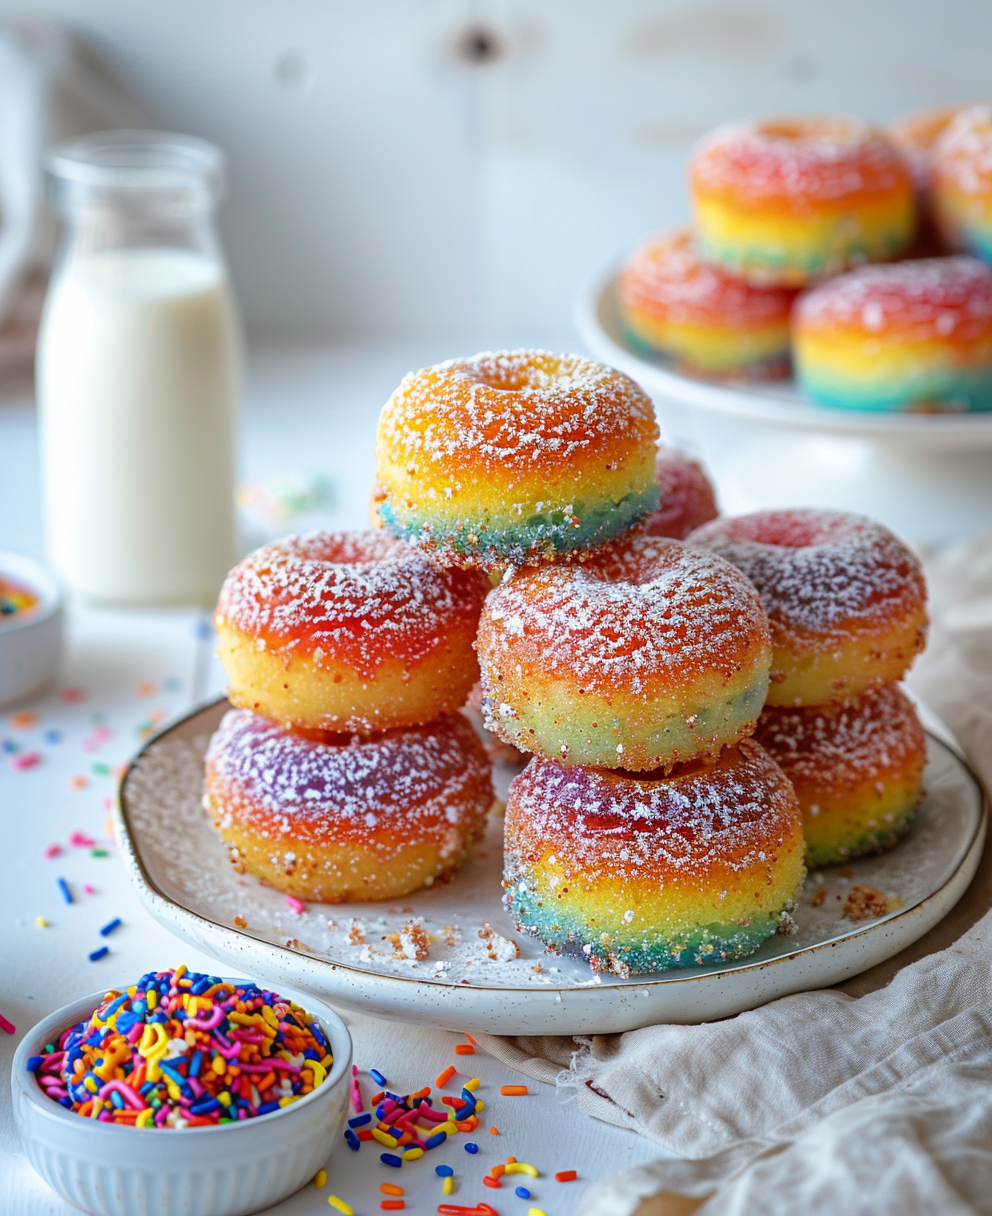
Why Rainbow Cakes Are My Happy Place
Picture this: It’s my niece’s 8th birthday, and she walks into the room to see a towering rainbow cake sitting on the table. Her eyes lit up like fireworks, and I swear, that moment made all the effort worth it. Rainbow cakes are more than just dessert—they’re joy in edible form. They’re colorful, fun, and perfect for any celebration. Whether you’re making a homemade rainbow birthday cake or experimenting with rainbow cake ideas for birthdays, this recipe will bring smiles to everyone at the table.
A Little History of Rainbow Cakes
Rainbow cakes didn’t just pop out of nowhere—they’ve been around for decades, gaining popularity in the U.S. during the 1970s. People loved how vibrant and playful they were. Fast forward to today, and these cakes are still stealing the show at parties. I remember trying my first slice at a friend’s wedding—it was a rainbow swirl cake, and I couldn’t believe how something so simple could feel so magical. Now, I bake them for every special occasion, and trust me, they never disappoint!
Why You’ll Love This Recipe
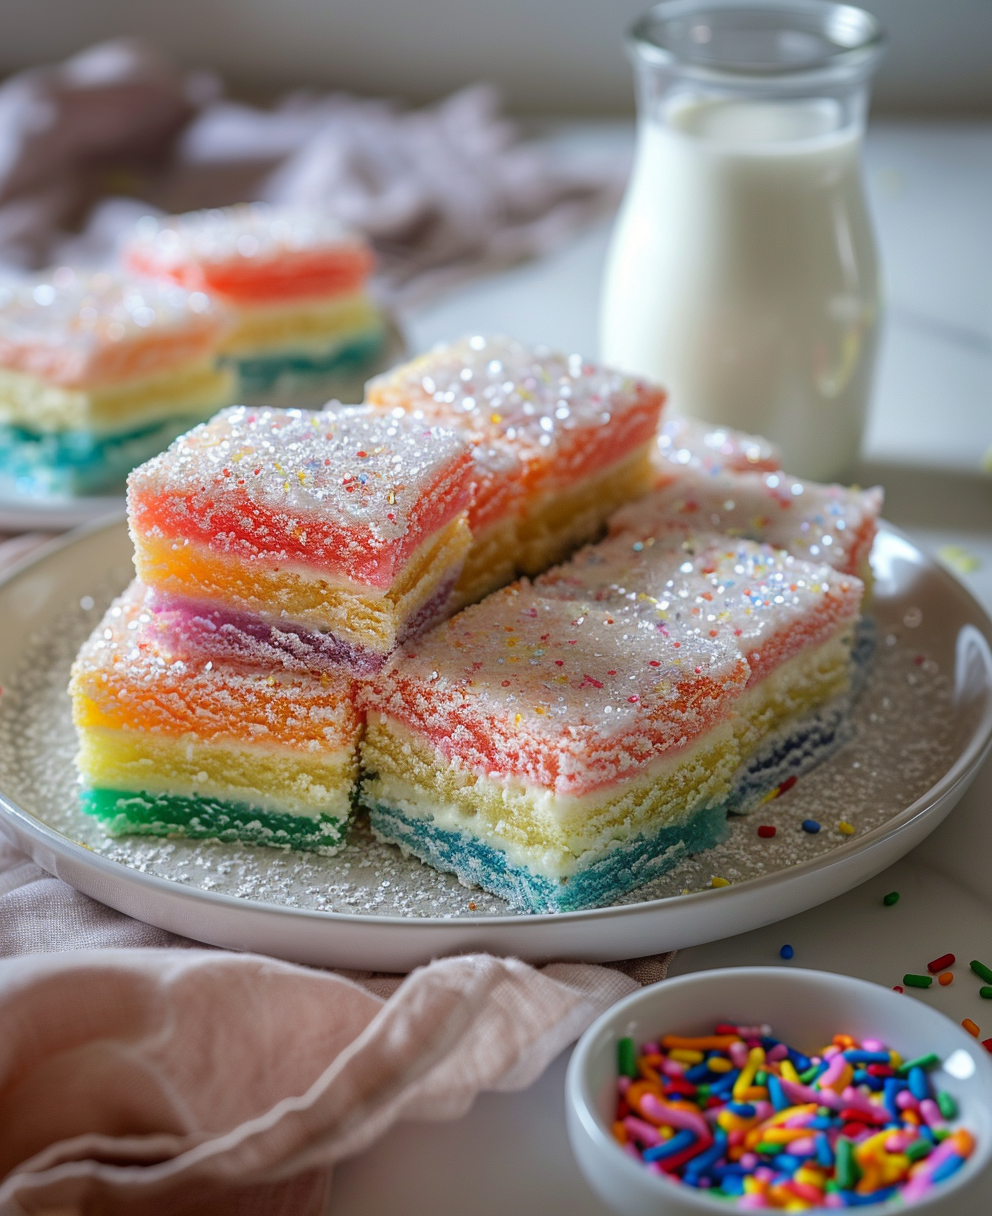
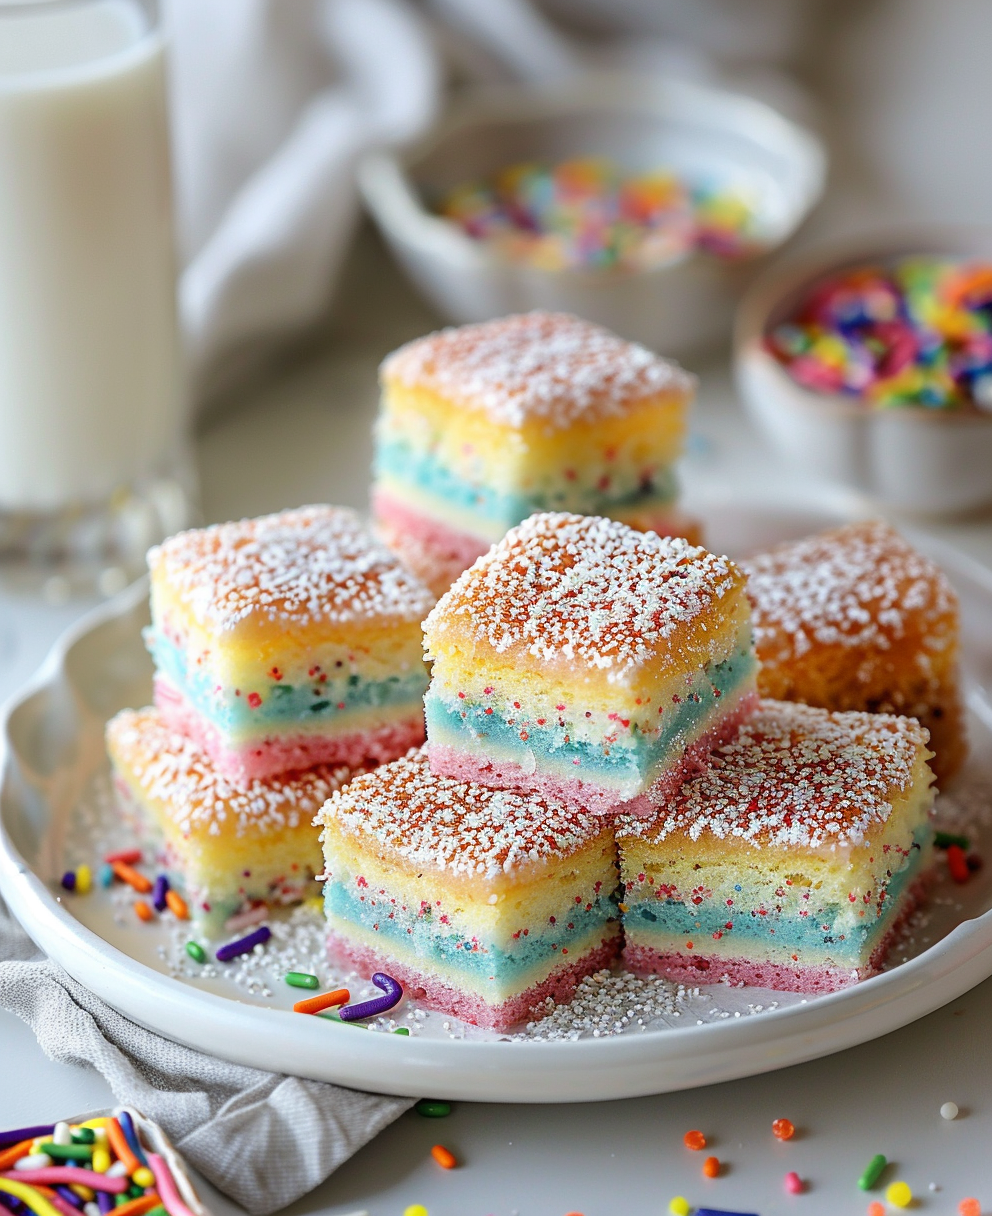
This rainbow cake recipe from scratch is easy enough for beginners but impressive enough for pros. The layers are soft, moist, and bursting with color. Plus, you can customize it however you want—add sprinkles, switch up the frosting, or even make it gluten-free. And let’s not forget the “wow” factor when you cut into it and reveal those vibrant layers. Honestly, who doesn’t love a cake that looks as good as it tastes?
Perfect Occasions to Bake a Rainbow Cake
Rainbow cakes are versatile. They’re perfect for birthdays, baby showers, or even just because. Want to cheer someone up? Bake them a rainbow cake Makati-style (yes, Manila knows how to do desserts right!). Or maybe you’re hosting a party and need something eye-catching—a rainbow cake recipe 5 layers will do the trick. Honestly, there’s no bad time to whip one up.
Ingredients
- 2 ½ cups all-purpose flour
- 2 ½ tsp baking powder
- ½ tsp salt
- 1 cup unsalted butter, softened
- 2 cups granulated sugar
- 4 large eggs
- 1 tbsp vanilla extract
- 1 cup whole milk
- Gel food coloring (red, orange, yellow, green, blue, purple)
- For frosting: 2 cups butter, 6 cups powdered sugar, 2 tsp vanilla, ¼ cup milk
Substitution Options
- Use almond or coconut milk instead of whole milk for a dairy-free option.
- Swap butter for margarine if needed.
- Try natural food coloring like beet juice or turmeric for a healthier twist.
Step 1: Preparing Your Batter
Start by preheating your oven to 350°F. In a bowl, whisk together the flour, baking powder, and salt. In another bowl, cream the butter and sugar until fluffy. Add the eggs one at a time, mixing well after each addition. Stir in the vanilla. Alternate adding the dry ingredients and milk to the wet mixture, starting and ending with the dry mix. Pro tip: Make sure your butter is softened but not melted—it makes a world of difference!
Step 2: Adding the Colors
Divide the batter evenly into six bowls. Use gel food coloring to tint each portion—red, orange, yellow, green, blue, and purple. Gel coloring works best because it won’t thin out your batter. Mix each color thoroughly. Pro tip: If you want brighter shades, don’t be shy with the coloring!
Step 3: Baking the Layers
Pour each colored batter into greased cake pans. Pop them into the oven for about 15-20 minutes or until a toothpick comes out clean. Let the layers cool completely before assembling. Chef’s tip: Freeze the cooled layers for 10 minutes before frosting—it prevents crumbs from messing up your design.
Timing
Prep time: 30 minutes | Baking time: 20 minutes per batch | Resting time: 1 hour | Total time: About 2 hours
Chef’s Secret
To get sharp edges on your frosting, chill the frosted cake for 15 minutes before serving. This trick locks everything in place!
Extra Info
Did you know that rainbow cakes symbolize unity and diversity? Each color represents different aspects of life coming together harmoniously. How cool is that?
Necessary Equipment
- Mixing bowls
- Stand mixer or hand mixer
- Cake pans (round or square)
- Spatula
- Offset knife for frosting
Storage
Store your rainbow cake recipe 4 layers in an airtight container at room temperature for up to two days. For longer storage, keep it in the fridge. Just make sure to bring it back to room temperature before serving—it tastes better that way!
If you live in a warm climate, refrigeration is key. Frosting can soften quickly, ruining your hard work. Wrap individual slices in plastic wrap for easy grab-and-go treats.
Freezing is also an option. Wrap the cake tightly in plastic wrap and foil, then freeze for up to three months. Thaw overnight in the fridge before enjoying.
Tips and Advice
Make sure your layers are even. Uneven layers can lead to lopsided cakes. Use a kitchen scale to divide the batter equally. Also, always sift your powdered sugar before making frosting—it ensures a smooth texture.
Presentation Tips
- Add edible glitter for extra sparkle.
- Top with fresh berries for a pop of natural color.
- Use piping bags to create decorative borders.
Healthier Alternative Recipes
1. Gluten-Free Rainbow Cake: Swap regular flour for almond or oat flour.
2. Vegan Rainbow Cake: Replace eggs with flaxseed meal and butter with coconut oil.
3. Low-Sugar Option: Use monk fruit sweetener instead of sugar.
4. Paleo-Friendly Cake: Try cassava flour and honey.
5. Dairy-Free Version: Use plant-based milk and vegan butter.
6. Protein-Packed Cake: Add protein powder to the batter.
Mistake 1: Overmixing the Batter
Overmixing leads to dense cakes. Mix just until combined. A few lumps are okay—they’ll disappear during baking. Practical tip: Use a spatula for the final fold to avoid overworking the batter.
Mistake 2: Using Liquid Food Coloring
Liquid coloring can alter the batter’s consistency. Stick to gel-based options for vibrant colors without compromising texture.
Mistake 3: Skipping Cooling Time
Assembling a warm cake causes the frosting to melt. Always let your layers cool completely—or chill them briefly—for a flawless finish.
FAQ
Does Costco have a rainbow cake?
No, Costco doesn’t sell rainbow cakes. But their vanilla cakes can serve as a base if you want to DIY your own colorful creation.
What are the ingredients for rainbow cake?
The basics include flour, sugar, eggs, butter, milk, and food coloring. Check out the full list above for details!
What is the 1234 cake rule?
The 1234 rule means balancing ingredients: 1 part egg, 2 parts fat, 3 parts sugar, and 4 parts flour. It creates a stable structure for cakes.
What does a rainbow cake symbolize?
Rainbow cakes represent diversity and unity, blending different elements into one beautiful treat.
How many layers should a rainbow cake have?
Traditionally, it has six layers, but you can adjust based on preference—like a rainbow cake recipe 3 layers.
Can I make a mini rainbow cake?
Absolutely! Use smaller pans or cupcake molds for bite-sized versions.
Is rainbow cake difficult to make?
Not at all! With clear steps and patience, anyone can master this fun dessert.
What frosting goes best with rainbow cake?
Buttercream is classic, but cream cheese frosting adds a tangy twist.
Where can I find the best rainbow cake in Manila?
Check out local bakeries known for their best rainbow cake Manila creations.
Can kids help make this cake?
Yes! Kids love adding colors and decorating. It’s a great family activity.
Final Thoughts
Rainbow cakes aren’t just desserts—they’re celebrations on a plate. Whether you’re baking for a birthday or just because, this rainbow cake recipe from scratch will bring happiness to your kitchen. So grab your apron, gather your colors, and let’s spread some joy—one slice at a time!
Equipment
- Mixing Bowls
- Stand Mixer or Hand Mixer
- Cake Pans round or square
- Spatula
- Offset Knife for Frosting
Ingredients
- 2 ½ cups all-purpose flour
- 2 ½ tsp baking powder
- ½ tsp salt
- 1 cup unsalted butter softened
- 2 cups granulated sugar
- 4 large eggs
- 1 tbsp vanilla extract
- 1 cup whole milk
- various drops Gel food coloring red, orange, yellow, green, blue, purple
- 2 cups butter for frosting
- 6 cups powdered sugar for frosting
- 2 tsp vanilla for frosting
- ¼ cup milk for frosting
Instructions
- Preheat your oven to 350°F and whisk together flour, baking powder, and salt in a bowl.
- Cream the softened butter and sugar until fluffy in another bowl.
- Add the eggs one at a time, mixing well after each addition, and then stir in the vanilla.
- Alternate adding the dry ingredients and milk to the wet mixture, starting and ending with the dry mix.
- Divide the batter evenly into six bowls and tint each with gel food coloring: red, orange, yellow, green, blue, and purple.
- Pour each colored batter into greased cake pans and bake for 15-20 minutes or until a toothpick comes out clean.
- Let the layers cool completely before assembling the cake.