
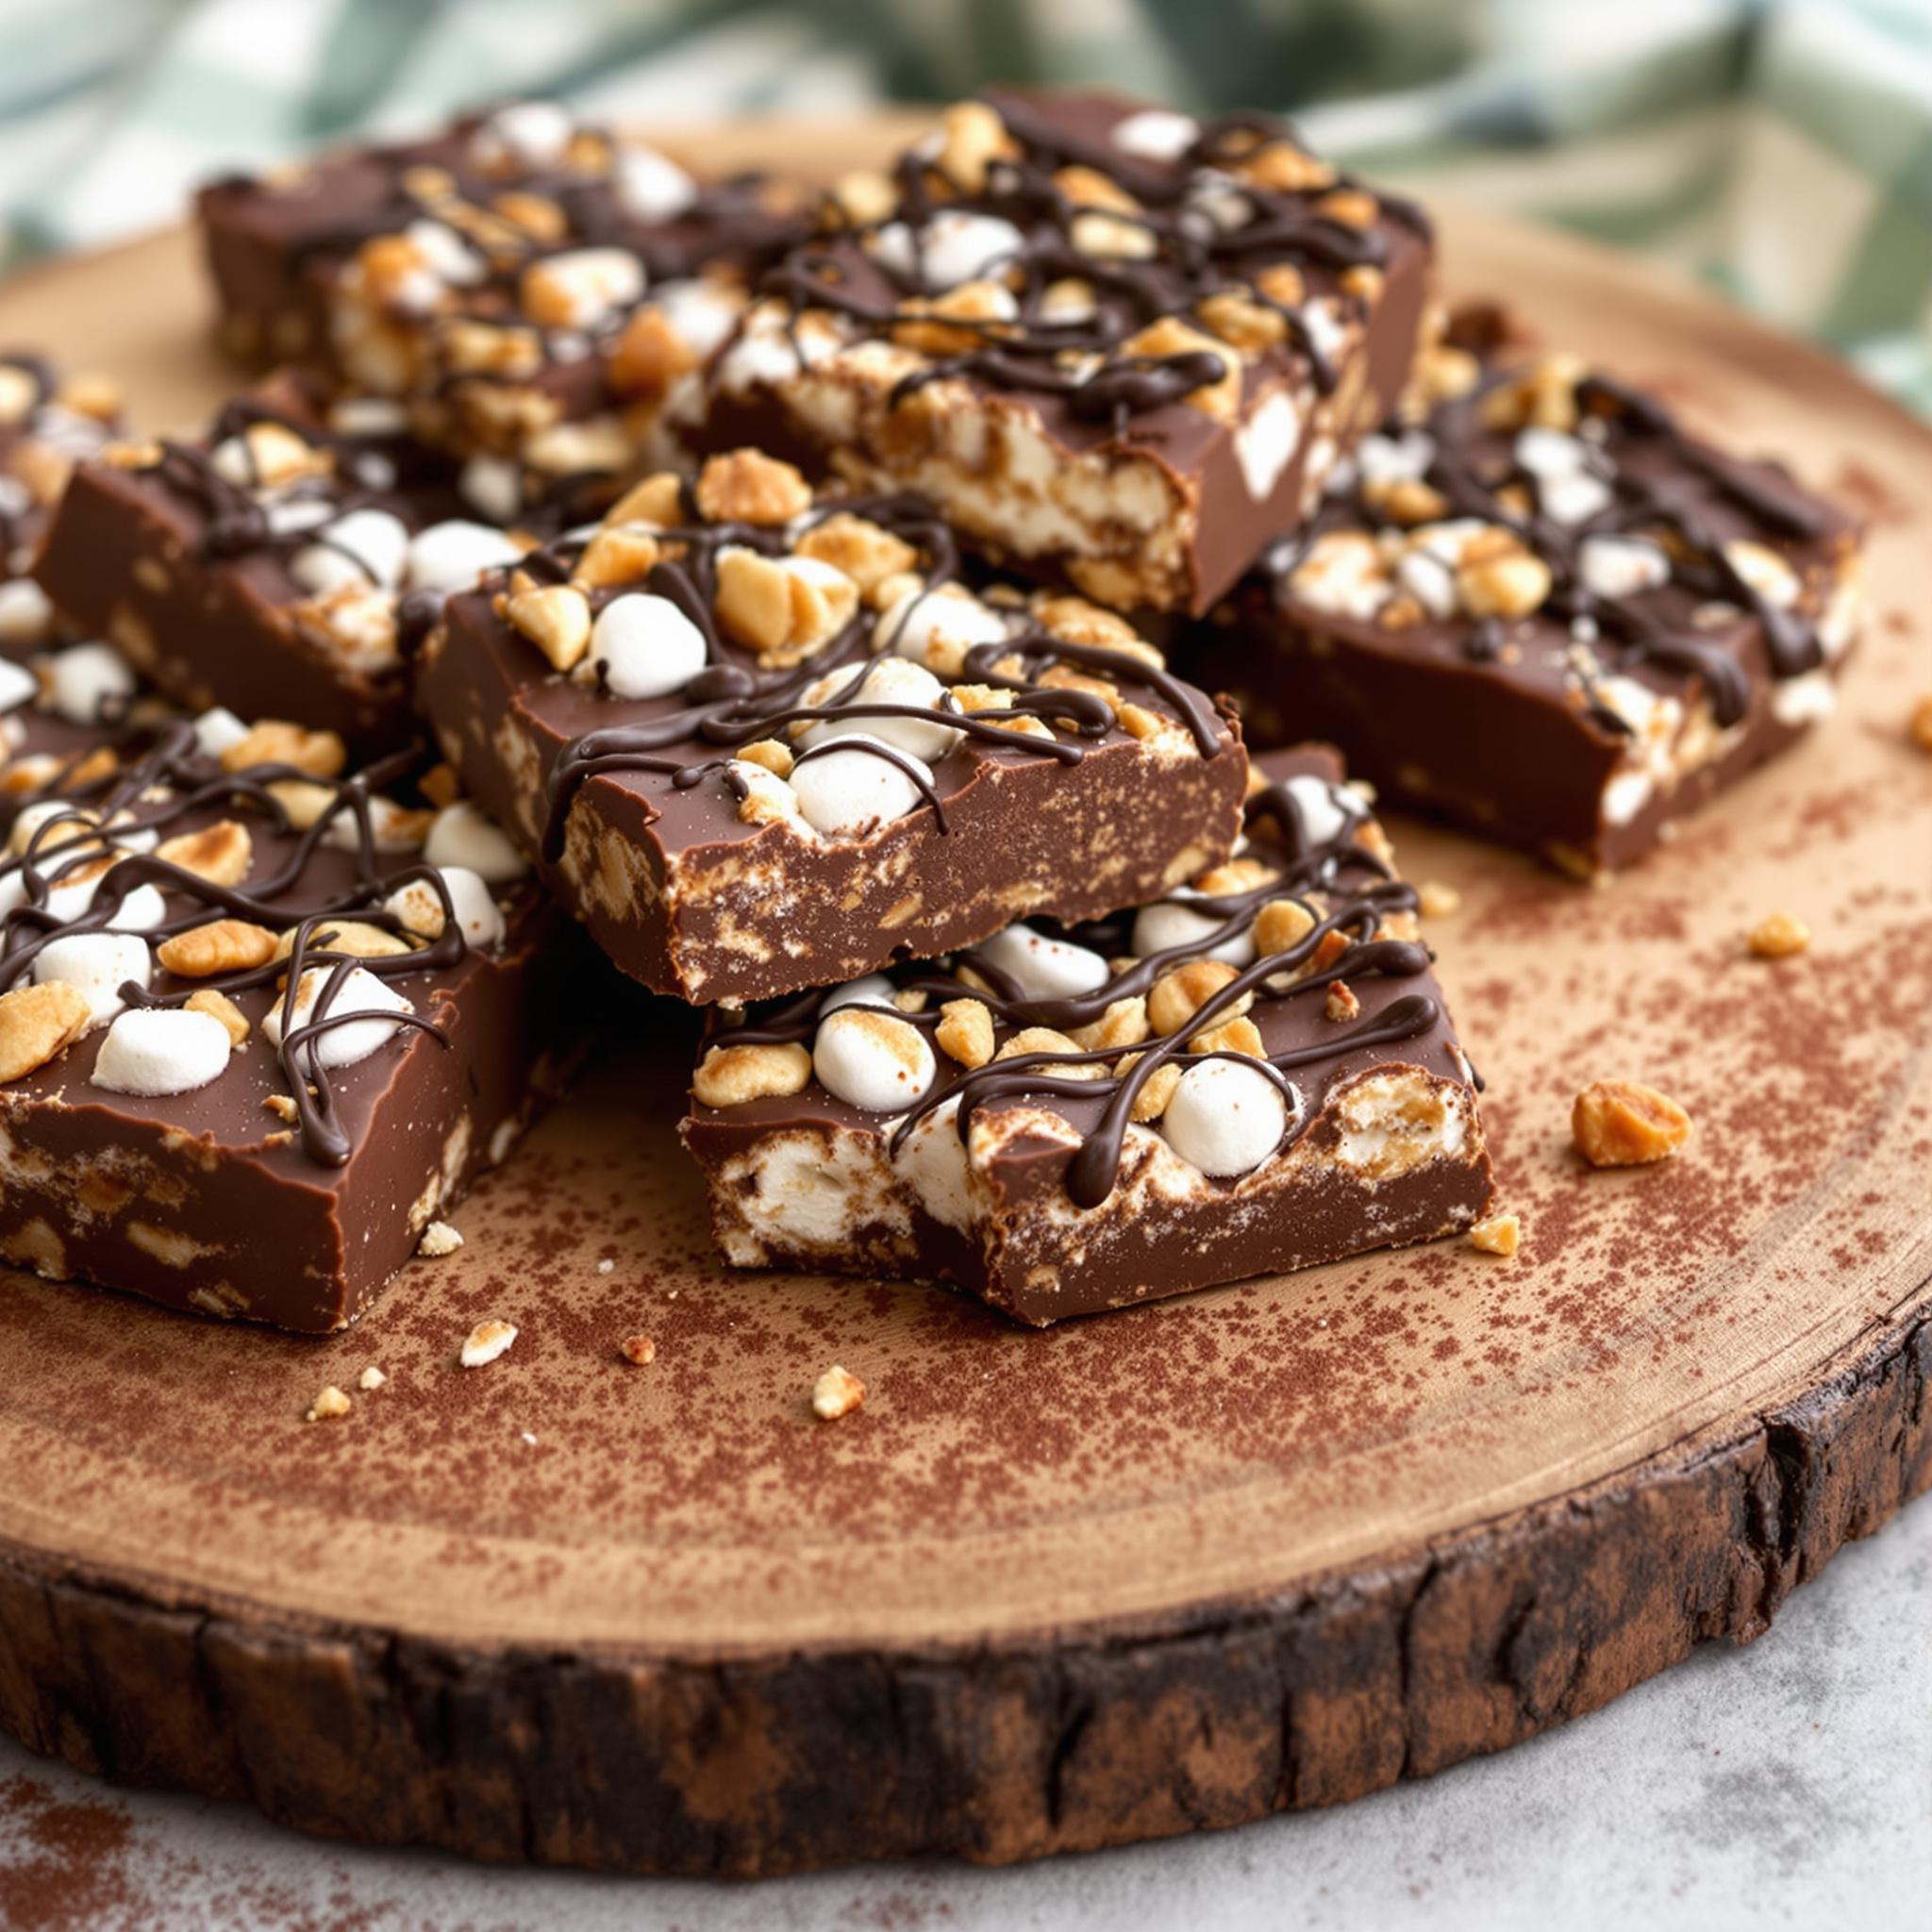
Delicious Rocky Road Bars: A Treat for Every Occasion
There’s something magical about biting into a rich, gooey Rocky Road Bar. Whether you’re a fan of chocolate, marshmallows, or nuts, this recipe brings it all together in one irresistible treat. I first made these bars for a family gathering, and they were such a hit that I’ve been perfecting the recipe ever since. These Rocky Road Bars are not just delicious—they’re also incredibly easy to make, making them a go-to dessert for busy days or special celebrations.
The Sweet History Behind Rocky Road Bars
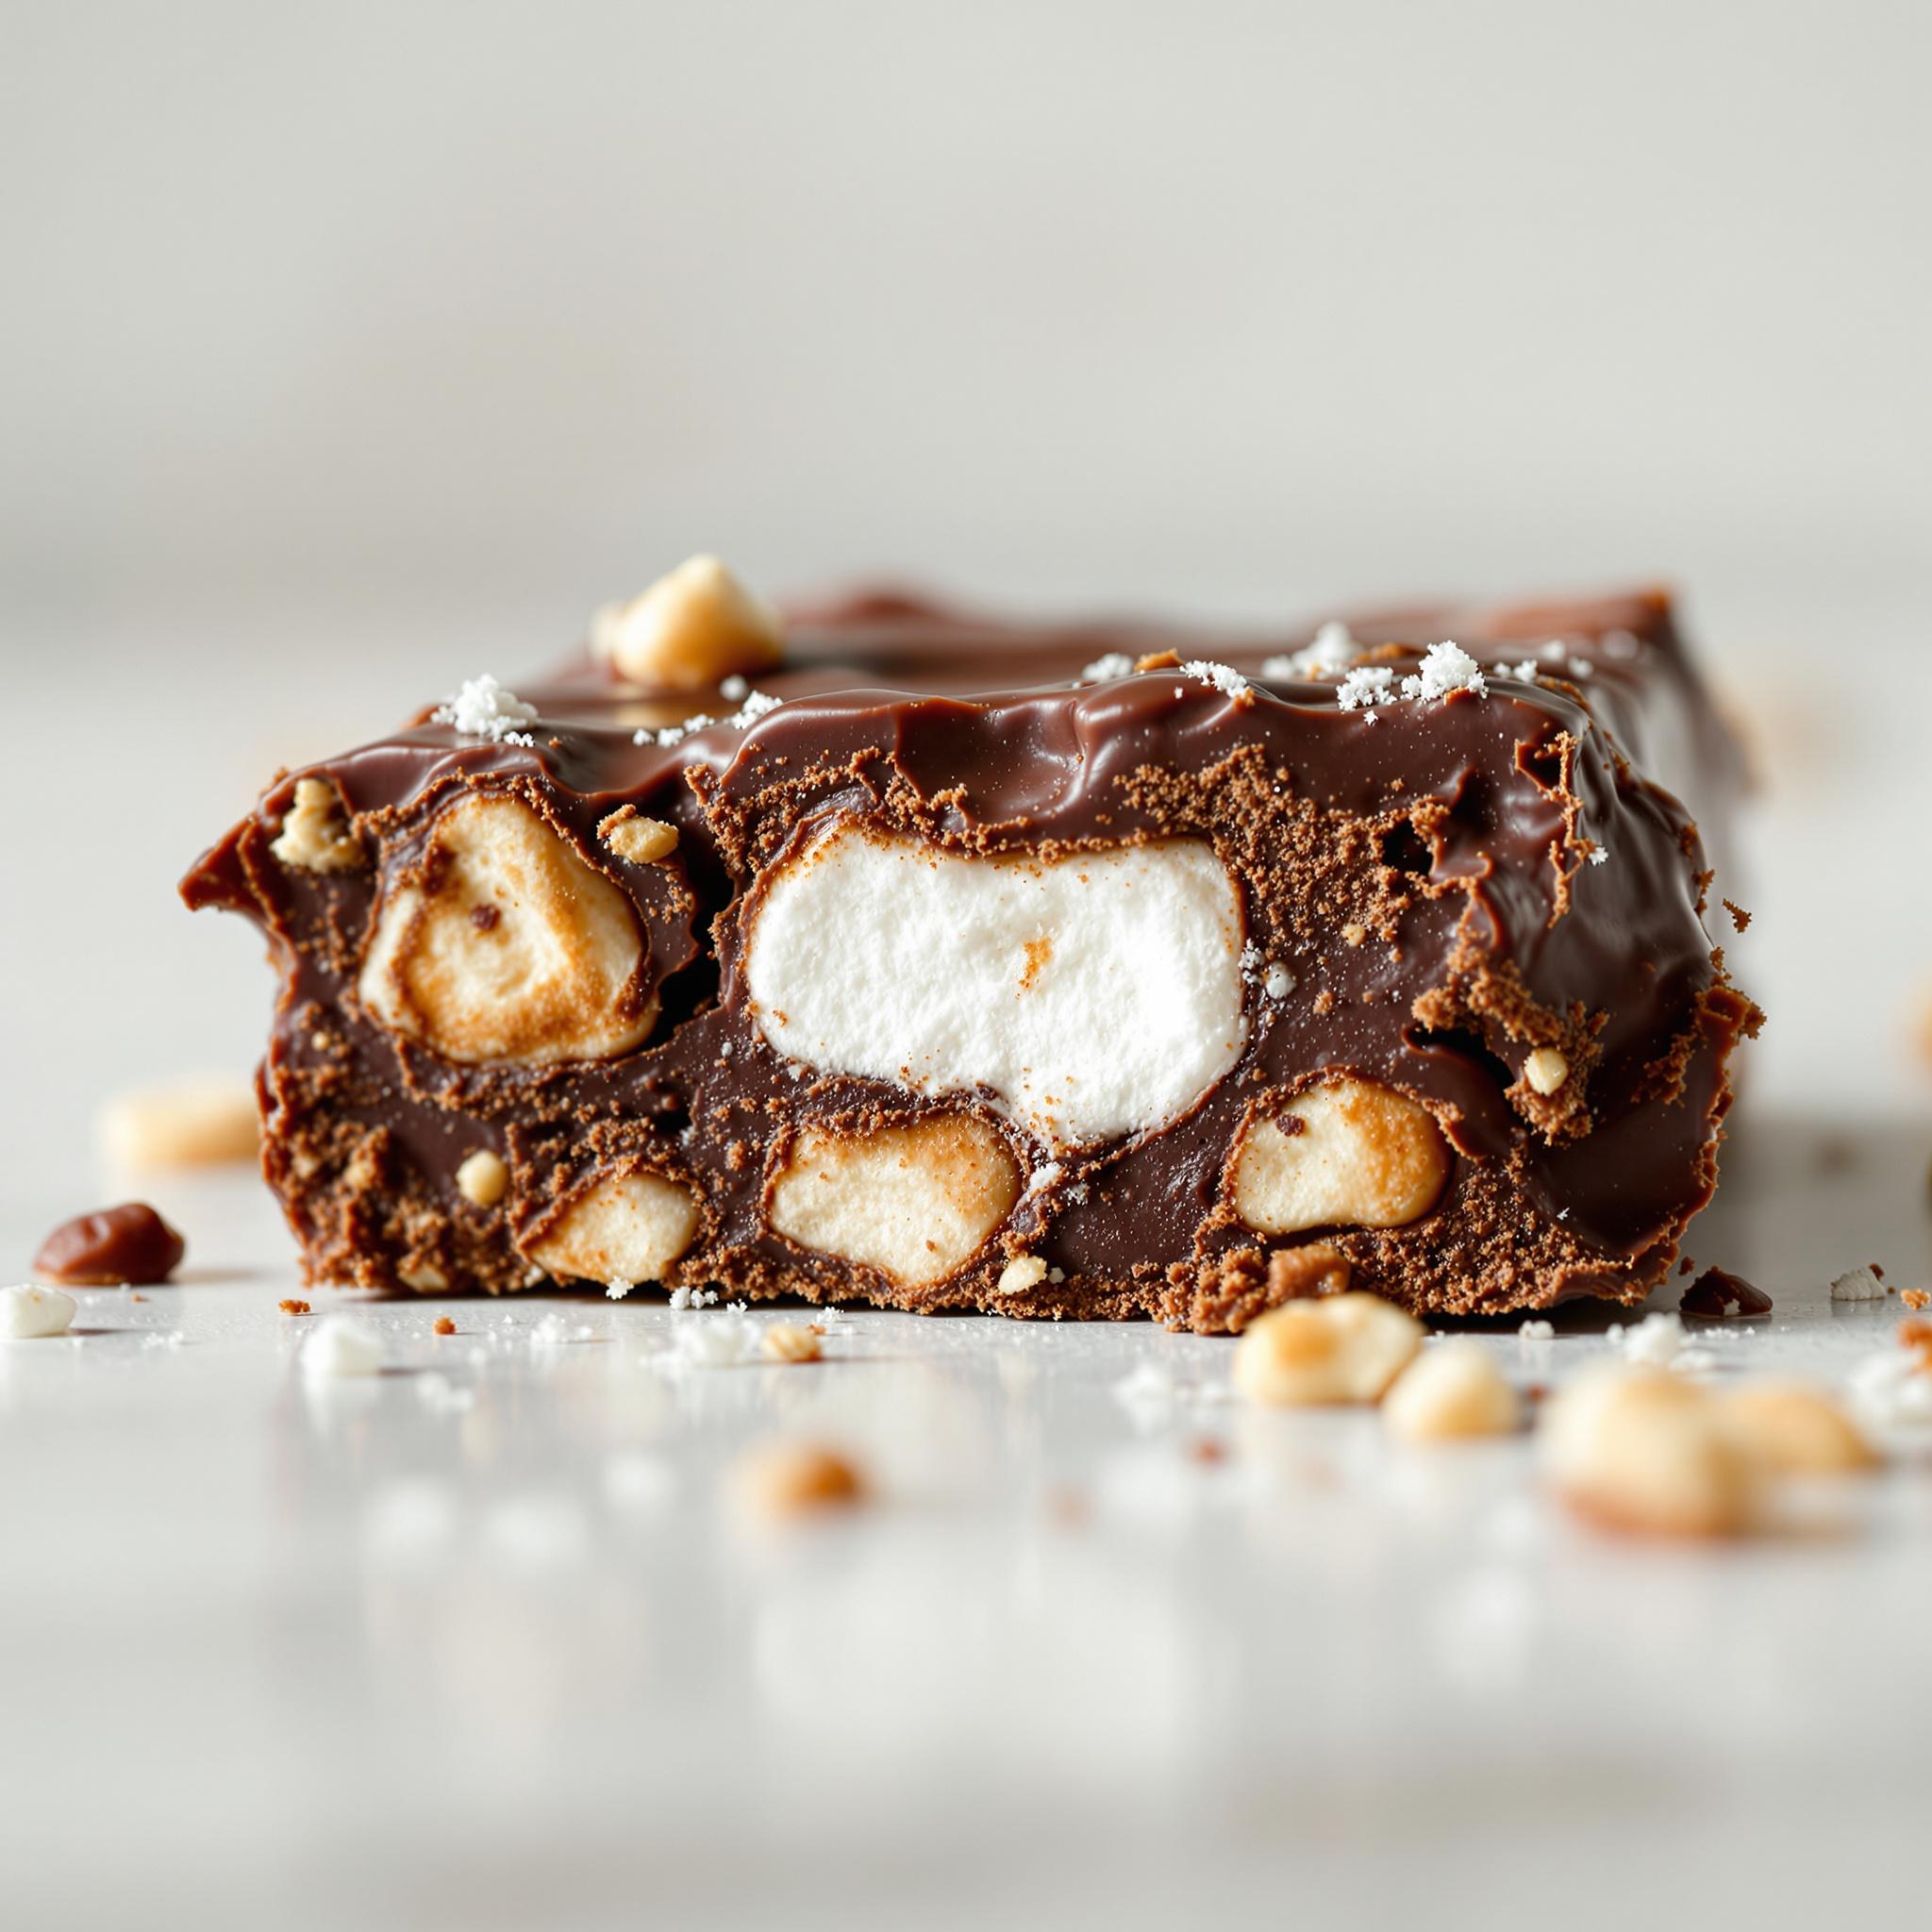
The origins of Rocky Road Bars can be traced back to the classic Rocky Road ice cream, which dates to the 1920s. Legend has it that the name “Rocky Road” was inspired by the Great Depression, symbolizing the “bumpy road” people were navigating at the time. Over the years, this delightful combination of chocolate, marshmallows, and nuts evolved into various desserts, including these decadent bars. My version adds a modern twist with a sprinkle of sea salt on top, balancing the sweetness perfectly.
Why You’ll Love This Rocky Road Bars Recipe
What makes this Rocky Road Bars recipe stand out is its simplicity and versatility. With just a handful of ingredients, you can whip up a batch in no time. The chewy marshmallows, crunchy nuts, and smooth chocolate create a symphony of textures and flavors that everyone will adore. Plus, it’s a great way to introduce kids to baking since they can help mix and assemble the layers.
Perfect Occasions to Prepare Rocky Road Bars
These chocolatey treats are perfect for any occasion! Bring them to potlucks, bake sales, or holiday gatherings. They’re also a lifesaver when you need a quick dessert for unexpected guests. Personally, I love serving them during movie nights with family or as a sweet surprise for friends who stop by unannounced.
Ingredients for Rocky Road Bars
- 1 cup unsalted butter
- 1 cup granulated sugar
- 1/4 cup cocoa powder
- 2 large eggs
- 1 teaspoon vanilla extract
- 1 1/2 cups all-purpose flour
- 1/2 teaspoon baking powder
- 1/4 teaspoon salt
- 1 cup mini marshmallows
- 1 cup chopped walnuts or almonds
- 1 cup semi-sweet chocolate chips
- Flaky sea salt (optional)
Substitution Options for Rocky Road Bars
- Use almond flour instead of all-purpose flour for a gluten-free option.
- Swap walnuts for pecans or omit nuts entirely if you prefer nut-free bars.
- Replace semi-sweet chocolate chips with dark or milk chocolate based on your preference.
- For a vegan version, substitute butter with coconut oil and use flax eggs instead of regular eggs.
Preparation Steps for Rocky Road Bars
Step 1: Preheat and Prepare
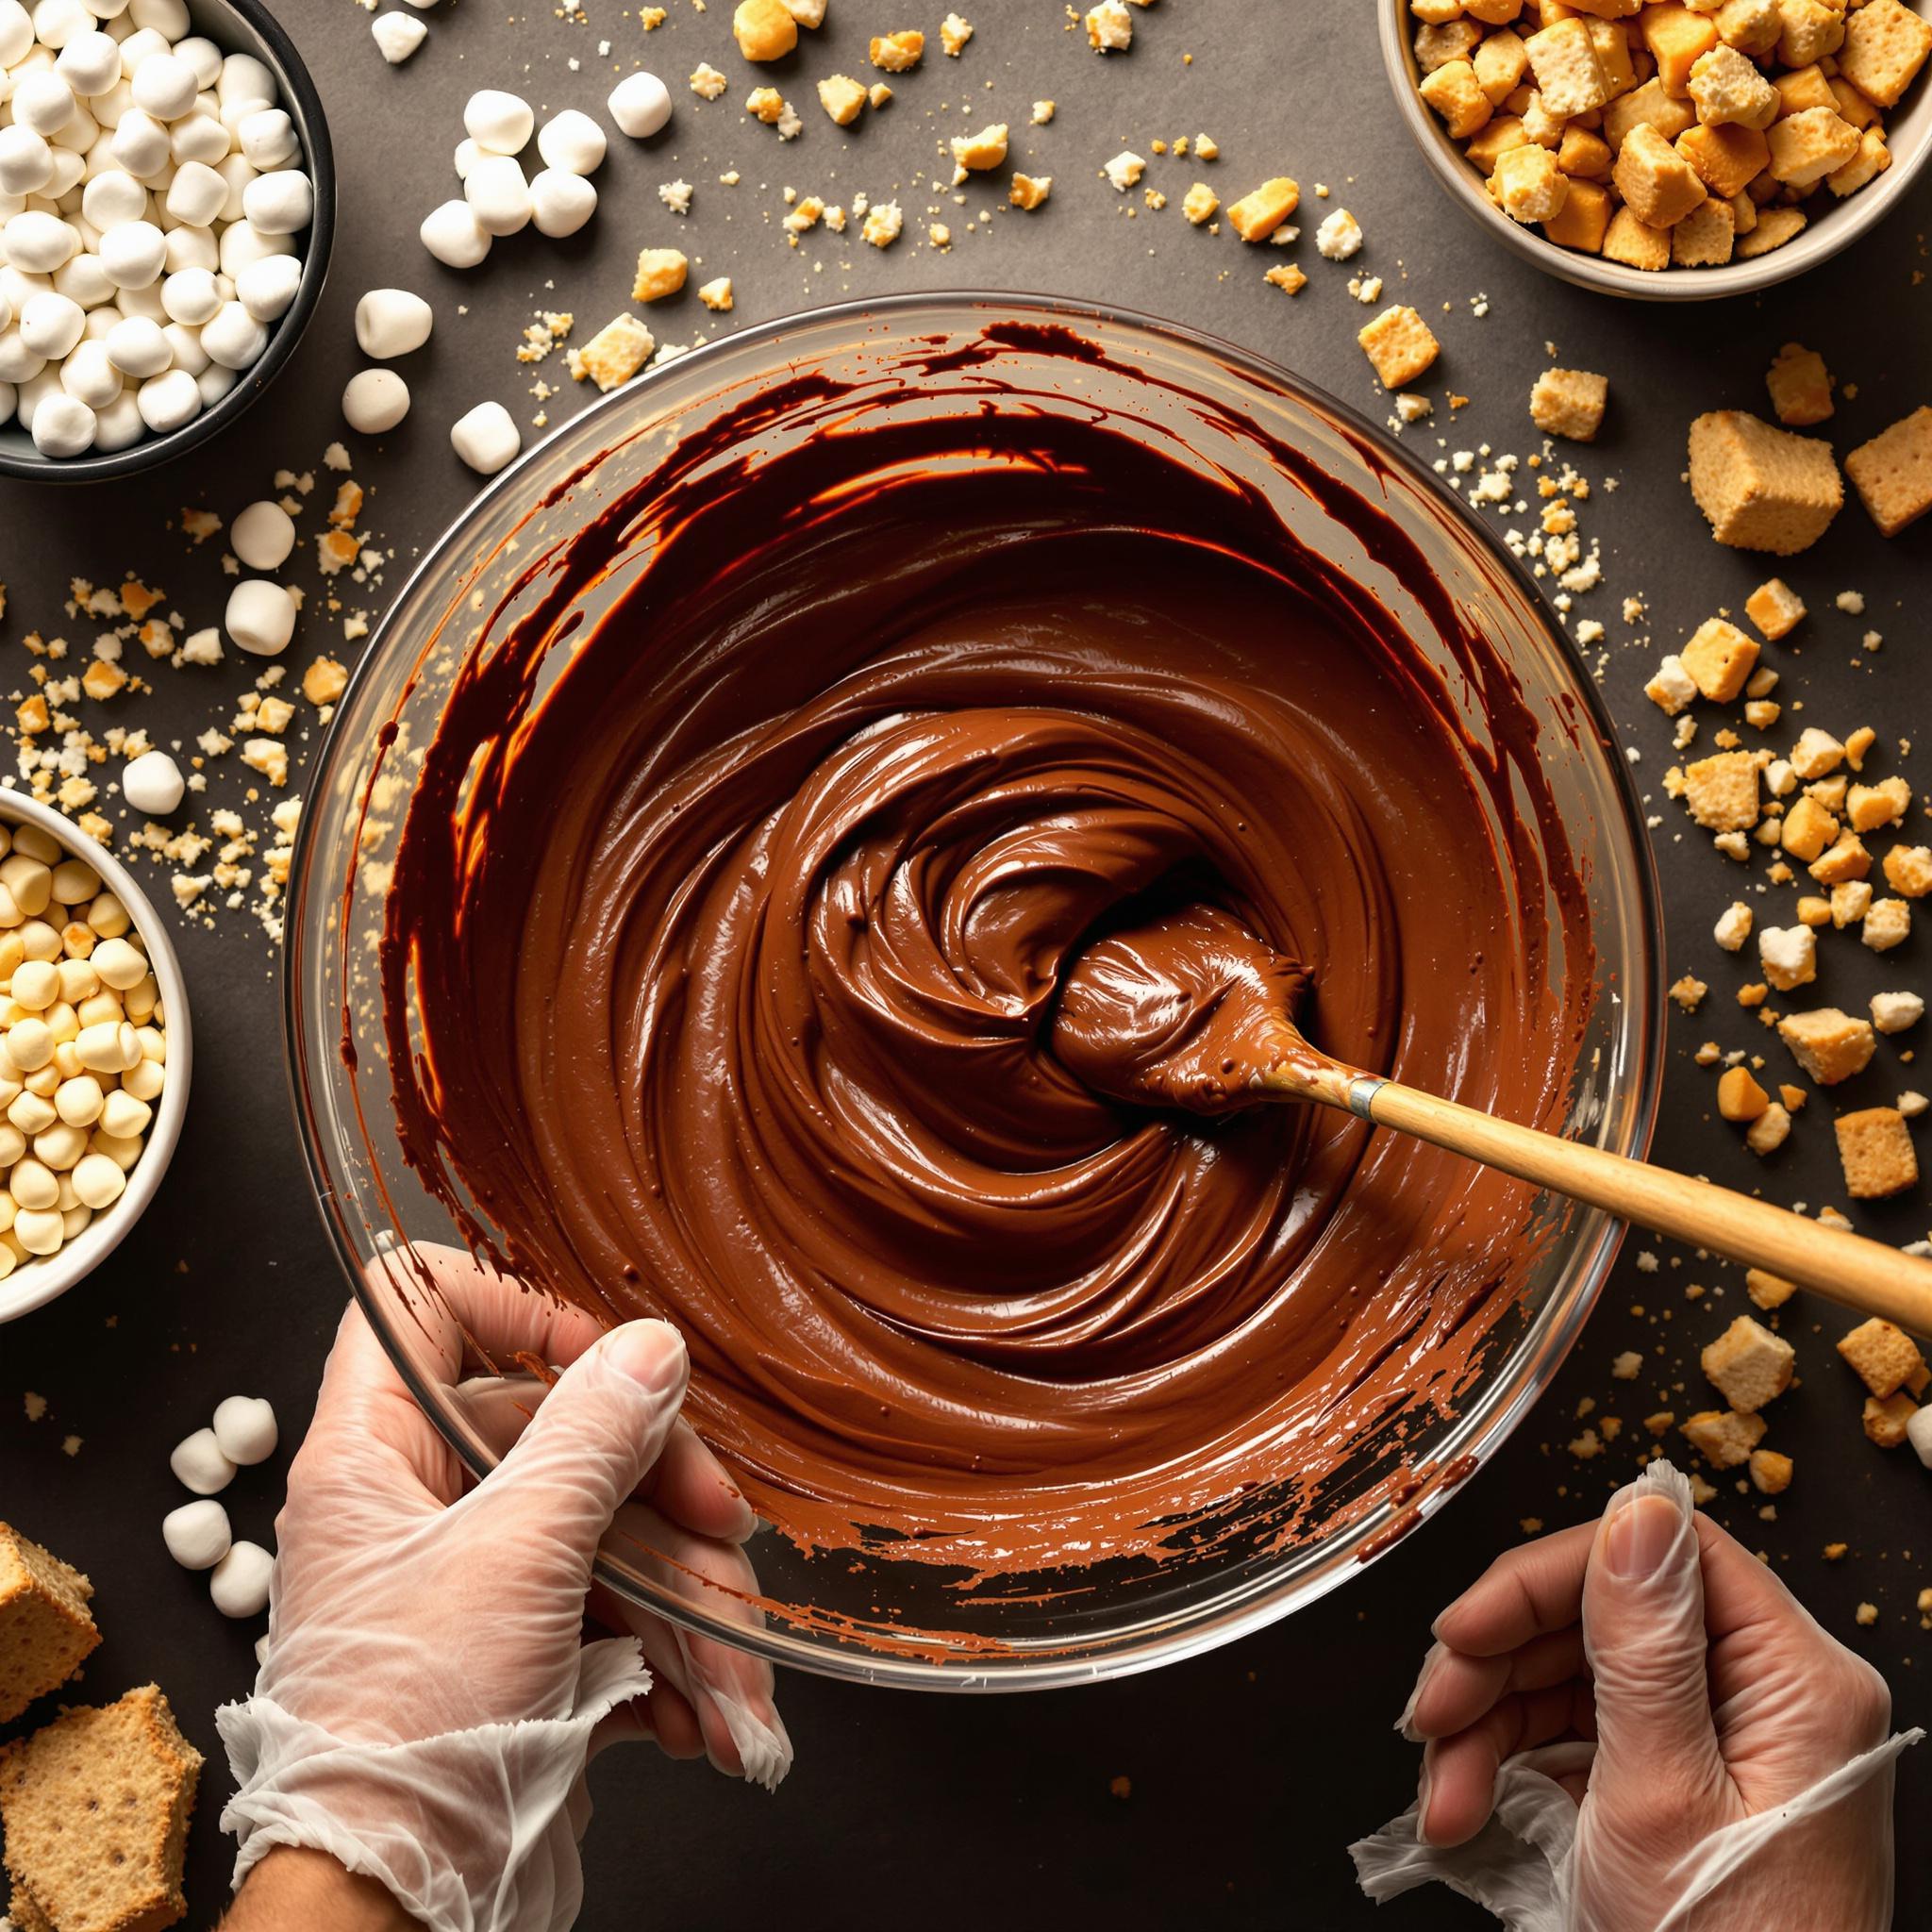
Begin by preheating your oven to 350°F (175°C). Grease an 8×8-inch baking pan and line it with parchment paper for easy removal later. In a medium saucepan over low heat, melt the butter. Once melted, remove from heat and stir in the sugar and cocoa powder until fully combined. This creates a rich, glossy base that smells absolutely divine—like a warm hug in a bowl!
Step 2: Mix the Wet Ingredients
In a separate bowl, whisk the eggs and vanilla extract until frothy. Slowly pour this mixture into the cocoa-butter blend, stirring continuously to ensure everything is well incorporated. The batter will thicken slightly, taking on a velvety texture that promises indulgence in every bite.
Step 3: Add Dry Ingredients
Sift the flour, baking powder, and salt into the wet mixture. Fold gently until no streaks of flour remain. Be careful not to overmix; doing so could make the bars dense instead of soft and chewy. Pro tip: Use a spatula to scrape the sides of the bowl to ensure even mixing.
Step 4: Assemble the Layers
Pour half of the batter into the prepared pan, spreading it evenly with a spatula. Sprinkle half of the marshmallows, nuts, and chocolate chips over the top. Repeat with the remaining batter and toppings, pressing down lightly to secure the layers. For an extra touch, sprinkle a pinch of flaky sea salt on top—it enhances the sweetness beautifully.
Step 5: Bake to Perfection
Bake the bars for 25-30 minutes, or until the edges are set but the center is still slightly soft. Avoid overbaking, as the residual heat will continue to cook the bars while they cool. Let them rest in the pan for 10 minutes before transferring to a wire rack to cool completely. The aroma wafting through your kitchen will have everyone eagerly waiting to dig in!
Chef’s Tip for Perfect Rocky Road Bars
To elevate your Rocky Road Bars, toast the nuts before adding them to the mix. Toasting enhances their flavor and adds a deeper crunch that complements the soft marshmallows and creamy chocolate. Simply spread the nuts on a baking sheet and toast them in the oven for 5-7 minutes at 350°F (175°C).
Time Required for Rocky Road Bars
- Prep Time: 15 minutes
- Cooking Time: 25-30 minutes
- Cooling Time: 30 minutes
- Total Time: Approximately 1 hour 10 minutes
Nutritional Information for Rocky Road Bars
Each serving contains approximately 250 calories, with 12g of fat, 4g of protein, and 32g of carbohydrates. Keep in mind that these numbers may vary slightly depending on substitutions or portion sizes.
Interesting Curiosity About Rocky Road Bars
Did you know that the original Rocky Road ice cream included walnuts because they were considered a luxury ingredient during the Great Depression? Today, we celebrate this humble beginning by incorporating nuts into countless variations of the classic flavor, including these scrumptious bars.
Necessary Tools for Making Rocky Road Bars
- 8×8-inch baking pan
- Parchment paper
- Medium saucepan
- Mixing bowls
- Whisk and spatula
- Measuring cups and spoons
Storage Instructions for Rocky Road Bars
To keep your Rocky Road Bars fresh, store them in an airtight container at room temperature for up to 3 days. If you live in a warm climate, consider refrigerating them to prevent the chocolate from melting. For longer storage, freeze the bars for up to 2 months. Wrap each bar individually in plastic wrap before placing them in a freezer-safe bag.
When ready to serve, let frozen bars thaw at room temperature for about 30 minutes. They’ll taste just as good as the day you made them!
Avoid exposing the bars to direct sunlight or high humidity, as this can cause the marshmallows to become sticky and lose their fluffy texture.
Tips and Tricks for Better Rocky Road Bars
- Chill the dough for 15 minutes before baking to prevent spreading.
- Use high-quality chocolate for a richer flavor.
- Experiment with different toppings like dried fruit or caramel drizzle.
Serving Suggestions for Rocky Road Bars
- Serve alongside a scoop of vanilla ice cream for a heavenly dessert combo.
- Pair with a hot cup of coffee or tea for an afternoon treat.
Healthier Alternatives for Rocky Road Bars
If you’re looking to lighten up this indulgent treat, here are six healthier alternatives:
- Gluten-Free Option: Substitute all-purpose flour with almond or oat flour.
- Reduced Sugar: Cut the sugar in half and use stevia or monk fruit sweetener.
- Vegan Version: Replace butter with coconut oil and eggs with flax eggs.
- Low-Carb Bars: Use almond flour and sugar-free chocolate chips.
- Nut-Free Bars: Omit nuts and add seeds like sunflower or pumpkin.
- Fruit-Filled Bars: Swap some marshmallows for dried cranberries or cherries.
Common Mistakes to Avoid When Making Rocky Road Bars
Mistake 1: Overbaking the Bars
Overbaking can lead to dry, crumbly bars instead of the soft, chewy texture we love. To avoid this, check for doneness around the 25-minute mark. The center should look slightly underdone but set around the edges. Remember, the bars will firm up as they cool.
Mistake 2: Skipping the Parchment Paper
Not lining your pan with parchment paper makes removing the bars a hassle. Always take the extra minute to prepare your pan properly—it ensures clean cuts and easy serving.
Mistake 3: Using Stale Marshmallows
Old marshmallows can turn hard and lose their fluffiness, ruining the texture of your bars. Check the expiration date and store leftover marshmallows in an airtight container to keep them fresh.
Frequently Asked Questions About Rocky Road Bars
Can I use dark chocolate instead of semi-sweet?
Absolutely! Dark chocolate adds a more intense flavor that pairs beautifully with the sweetness of the marshmallows and nuts. Just ensure it’s finely chopped for even melting.
How do I prevent the marshmallows from sticking to the knife?
Dip your knife in hot water and wipe it dry before slicing. This trick helps create clean cuts without tearing the marshmallows.
Can I make these bars ahead of time?
Yes, you can prepare the bars a day in advance and store them in an airtight container. They actually taste better the next day as the flavors meld together.
What if I don’t have walnuts?
No problem! You can substitute with pecans, almonds, or even omit nuts altogether for a nut-free version.
Can I double the recipe?
Definitely! Simply double all the ingredients and use a larger pan, such as a 9×13-inch dish, for baking.
Do I need to chill the dough?
While not mandatory, chilling the dough for 15 minutes can help prevent excessive spreading during baking.
Can I freeze these bars?
Yes, wrap each bar individually in plastic wrap and place them in a freezer-safe bag. They’ll stay fresh for up to 2 months.
Is there a dairy-free option?
Yes, replace butter with coconut oil and use dairy-free chocolate chips for a lactose-free version.
Why did my bars turn out too dense?
This might happen if the batter was overmixed. Gently fold the dry ingredients into the wet mixture to maintain a light, airy texture.
Can I add other mix-ins?
Of course! Try adding dried fruits, pretzels, or caramel bits for a fun twist on the classic recipe.
Conclusion
Rocky Road Bars are a timeless treat that never fails to bring joy to those who try them. With their perfect balance of flavors and textures, they’re sure to become a staple in your baking repertoire. Whether you stick to the classic recipe or experiment with healthier alternatives, these bars are bound to impress. So grab your apron, gather your ingredients, and get ready to create a dessert that everyone will rave about!
Equipment
- Grand bol
- Fouet
- Spatule
- 6 verrines
- Tamis
Ingredients
- 1 cup unsalted butter
- 1 cup granulated sugar
- 1/4 cup cocoa powder
- 2 large eggs
- 1 teaspoon vanilla extract
- 1 1/2 cups all-purpose flour
- 1/2 teaspoon baking powder
- 1/4 teaspoon salt
- 1 cup mini marshmallows
- 1 cup chopped walnuts or almonds
- 1 cup semi-sweet chocolate chips
- q.s. flaky sea salt optional
Instructions
- Begin by preheating your oven to 350°F (175°C). Grease an 8x8-inch baking pan and line it with parchment paper for easy removal later. In a medium saucepan over low heat, melt the butter. Once melted, remove from heat and stir in the sugar and cocoa powder until fully combined. This creates a rich, glossy base that smells absolutely divine—like a warm hug in a bowl!
- In a separate bowl, whisk the eggs and vanilla extract until frothy. Slowly pour this mixture into the cocoa-butter blend, stirring continuously to ensure everything is well incorporated. The batter will thicken slightly, taking on a velvety texture that promises indulgence in every bite.
- Sift the flour, baking powder, and salt into the wet mixture. Fold gently until no streaks of flour remain. Be careful not to overmix; doing so could make the bars dense instead of soft and chewy. Pro tip: Use a spatula to scrape the sides of the bowl to ensure even mixing.
- Pour half of the batter into the prepared pan, spreading it evenly with a spatula. Sprinkle half of the marshmallows, nuts, and chocolate chips over the top. Repeat with the remaining batter and toppings, pressing down lightly to secure the layers. For an extra touch, sprinkle a pinch of flaky sea salt on top—it enhances the sweetness beautifully.
- Bake the bars for 25-30 minutes, or until the edges are set but the center is still slightly soft. Avoid overbaking, as the residual heat will continue to cook the bars while they cool. Let them rest in the pan for 10 minutes before transferring to a wire rack to cool completely. The aroma wafting through your kitchen will have everyone eagerly waiting to dig in!