
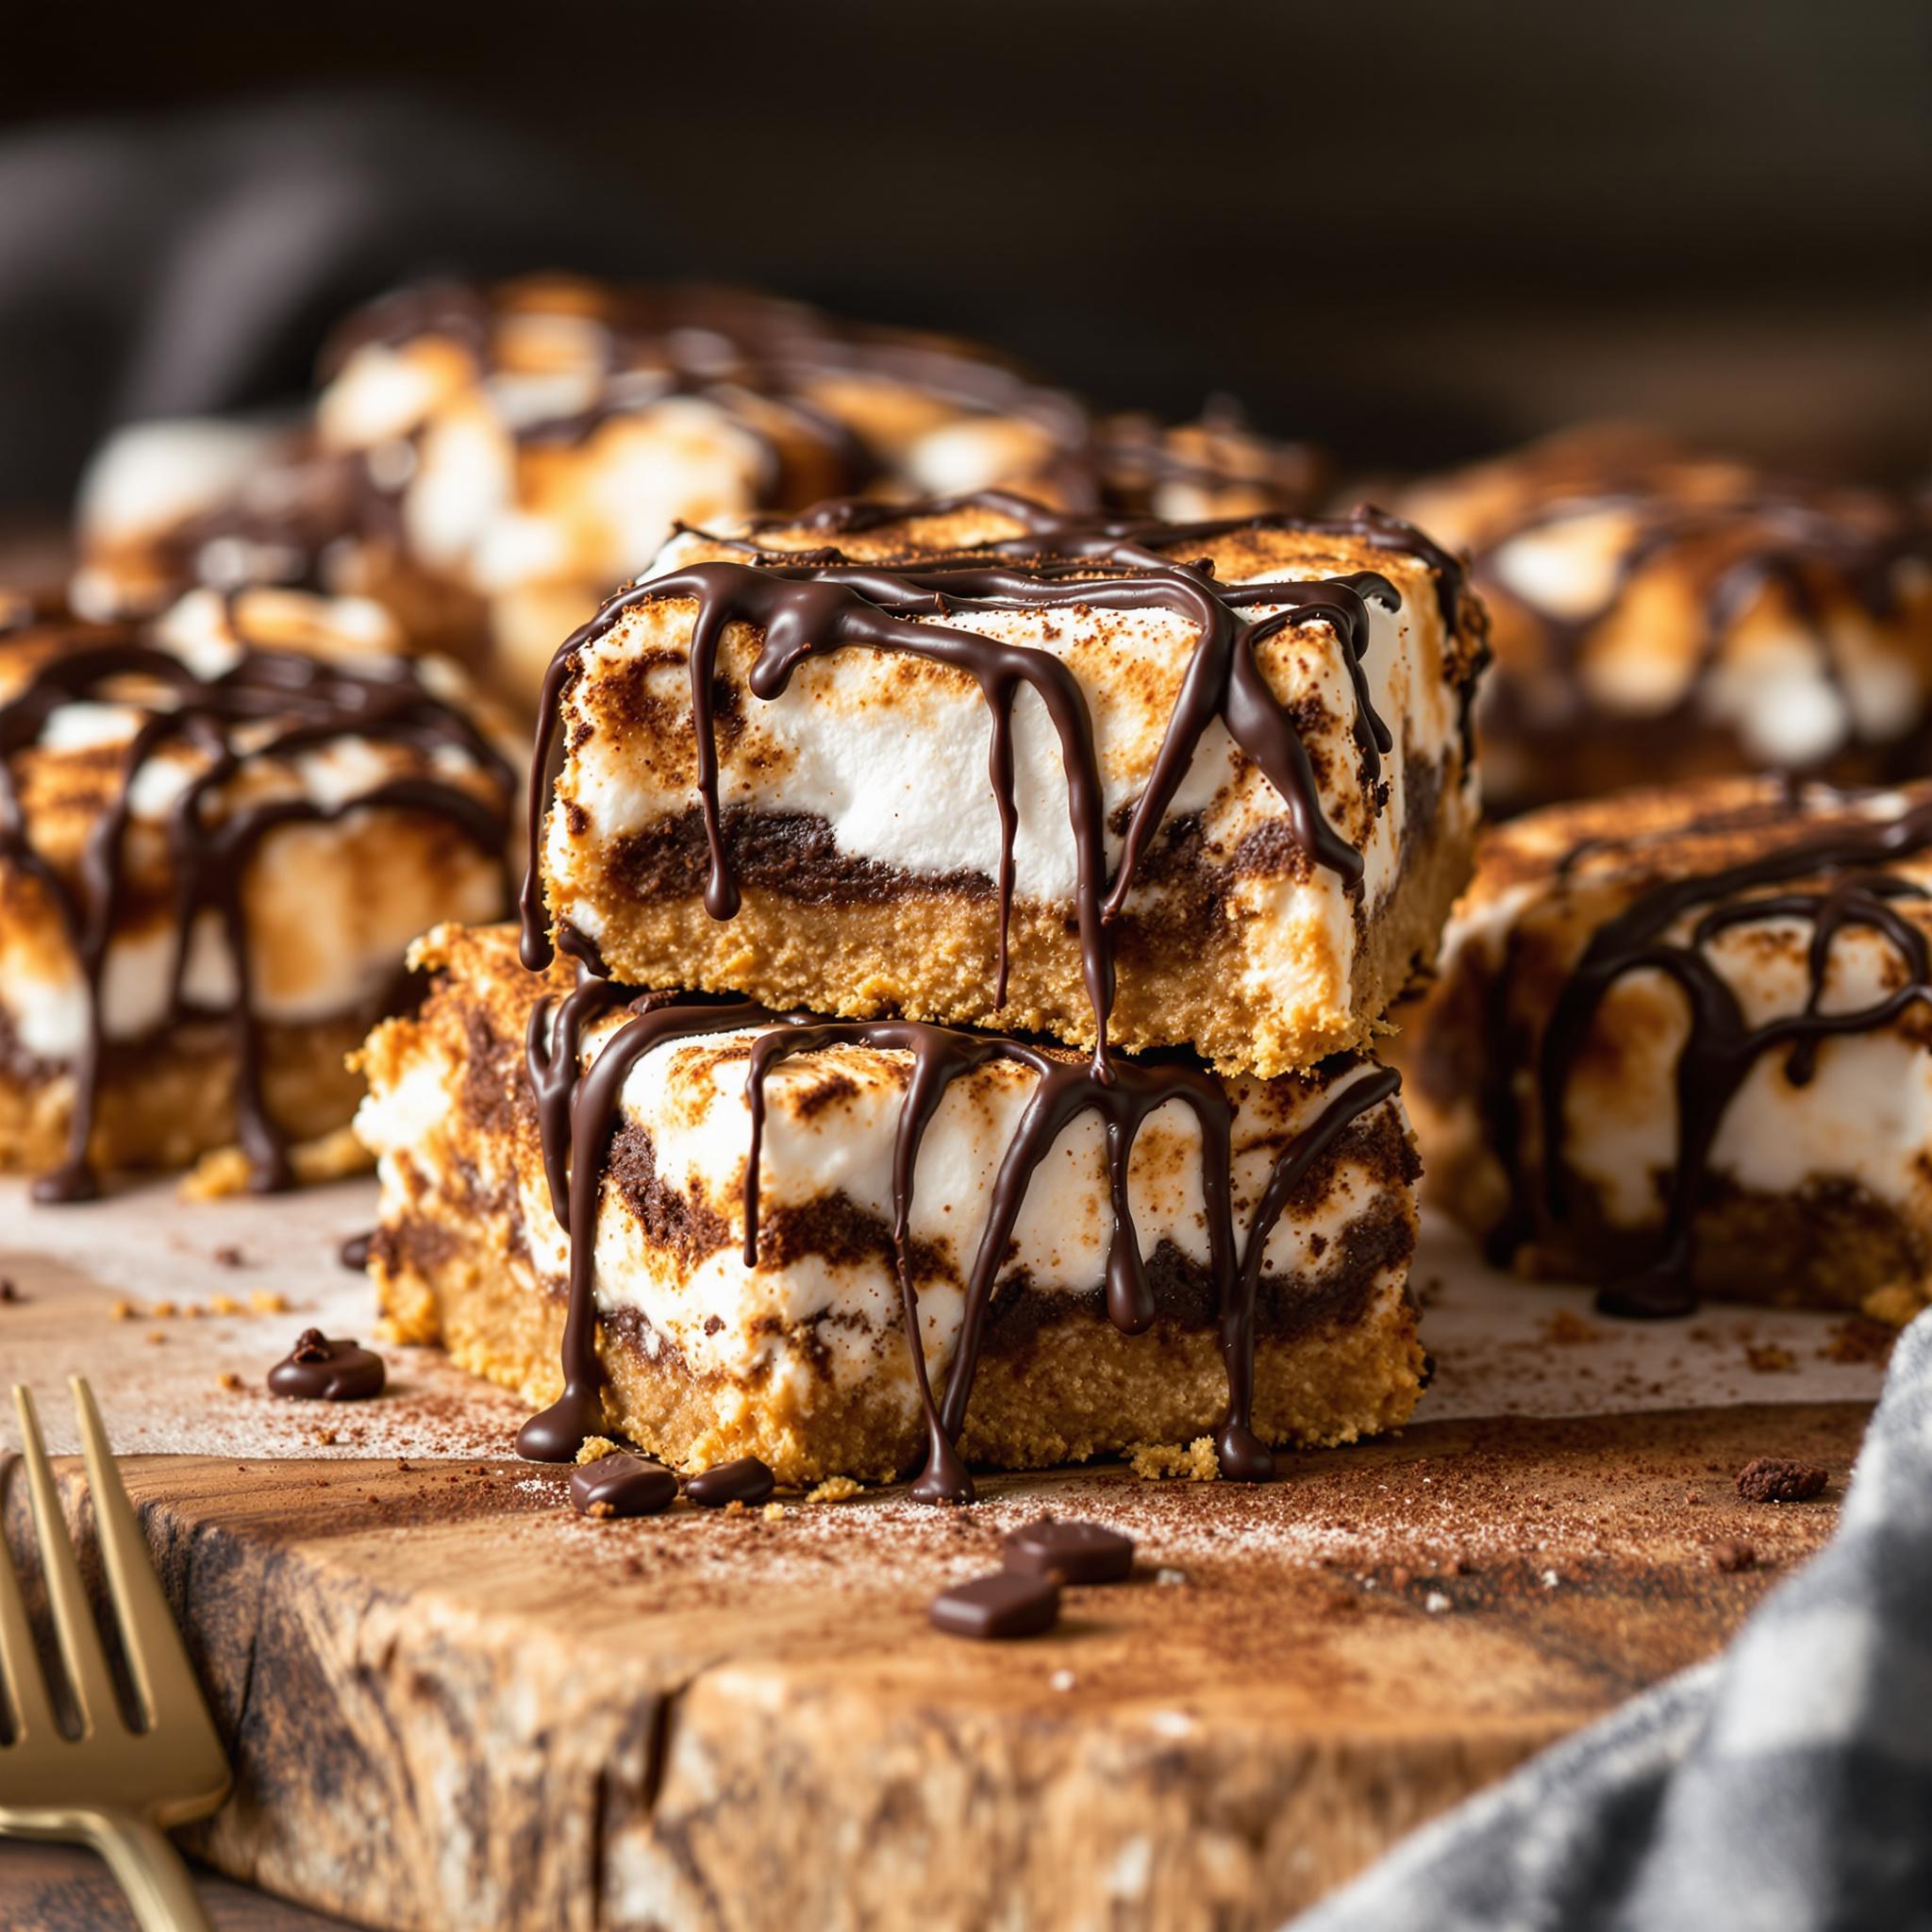
Delicious S’mores Bars: A Treat That Brings Everyone Together
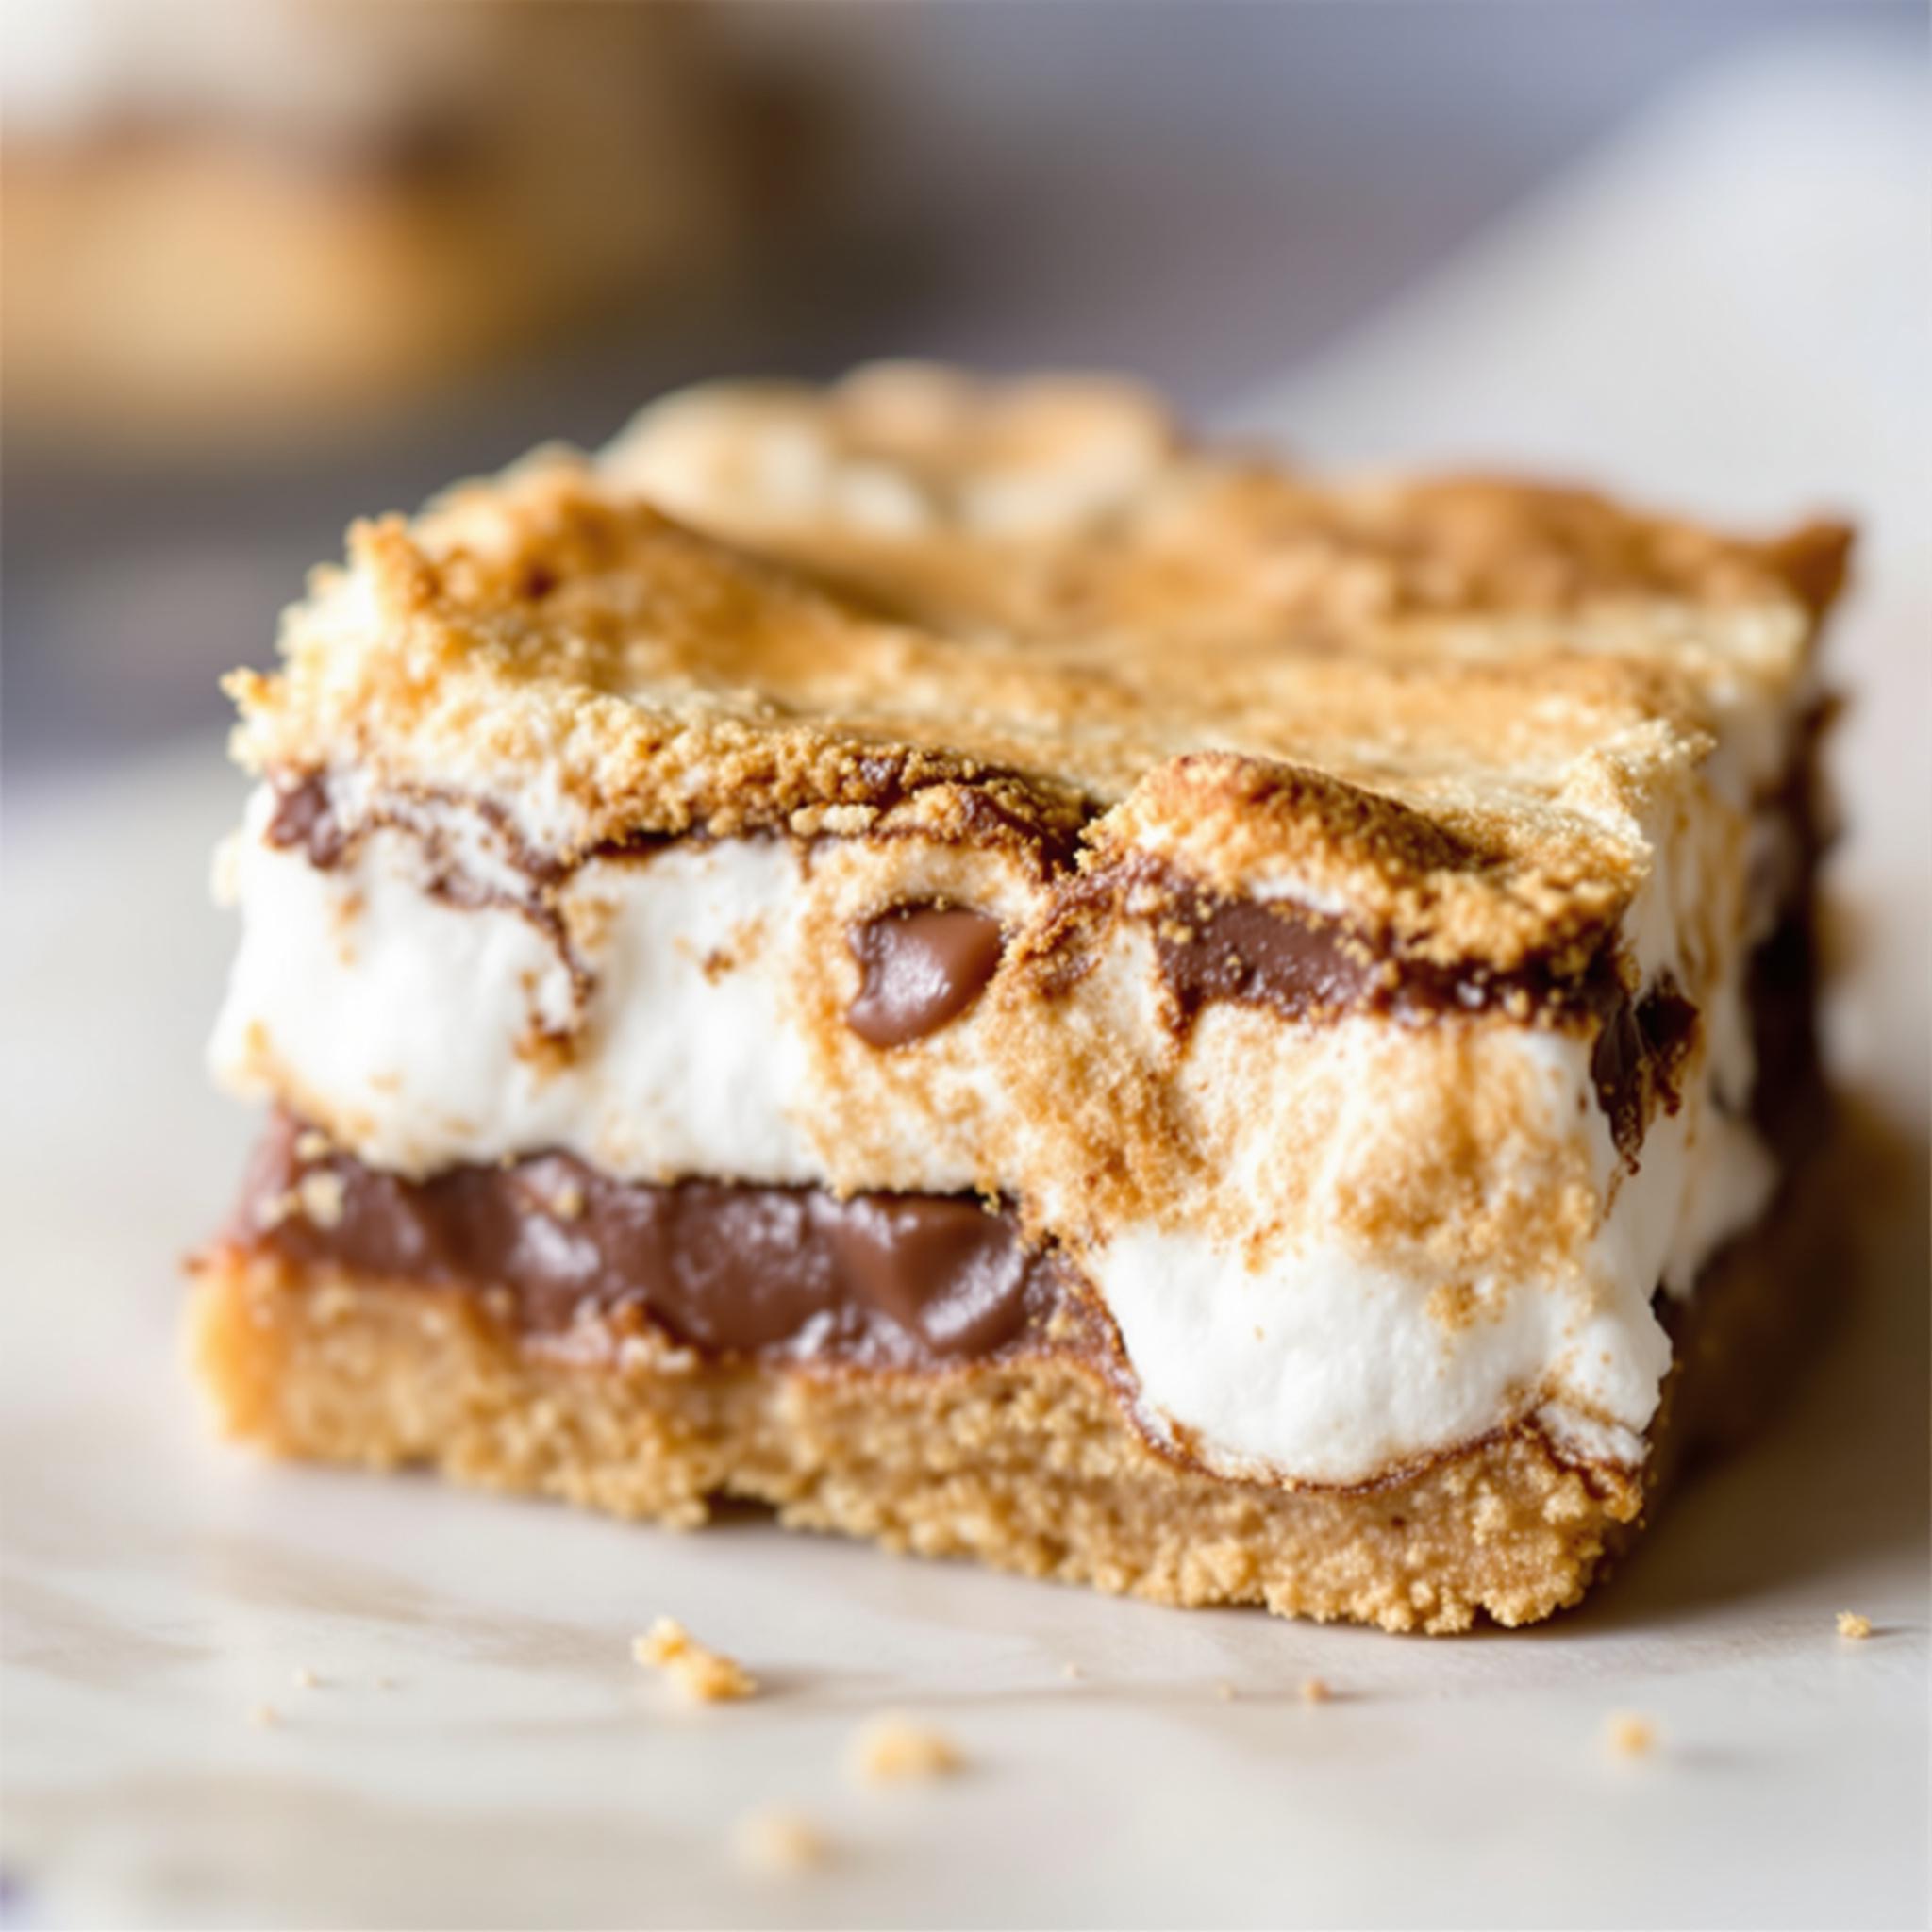
There’s something magical about the combination of gooey marshmallows, rich chocolate, and buttery graham crackers. My journey with S’mores Bars began on a summer camping trip where I discovered how this classic treat could be transformed into an easy-to-make dessert bar. Whether you’re a fan of traditional s’mores or looking for a fun twist, these bars are sure to win hearts. They’re simple, indulgent, and perfect for sharing with loved ones.
The Origins of S’mores Bars
S’mores have been a campfire favorite since the early 1900s, but their evolution into bar form is relatively modern. The original s’more was born out of necessity—a quick, portable way to enjoy melted chocolate and marshmallows sandwiched between graham crackers. Over time, creative bakers decided to bring this outdoor delight indoors by layering the ingredients into baked bars. I first tried making s’mores dessert bars during a family reunion when I needed a crowd-pleasing dessert that didn’t require constant attention. It quickly became my go-to recipe!
Why You’ll Love This Recipe
These S’mores Bars are irresistible because they combine all your favorite flavors in one compact package. They’re incredibly easy to prepare, even for beginner bakers, and the result is always impressive. Plus, there’s no need for a campfire—just your oven will do! Whether you’re craving something sweet or want to impress guests, this recipe delivers every time.
Perfect Occasions to Prepare S’mores Bars
S’mores dessert bars are versatile enough for any occasion. Whip them up for a summer barbecue, a cozy movie night, or as a holiday treat. They’re also great for potlucks, bake sales, or simply satisfying a late-night craving. Trust me; once you make them, people will start requesting them regularly!
Ingredients for S’mores Bars
- 1 cup unsalted butter, melted
- 1/2 cup granulated sugar
- 1 teaspoon vanilla extract
- 1 1/2 cups all-purpose flour
- 1 1/2 cups crushed graham crackers
- 1/2 teaspoon salt
- 1 cup semi-sweet chocolate chips
- 2 cups mini marshmallows
Substitution Options
- Use almond extract instead of vanilla for a nutty twist.
- Swap semi-sweet chocolate chips for dark or milk chocolate based on preference.
- Replace regular marshmallows with vegan ones if needed.
- Gluten-free graham crackers can substitute for traditional ones.
Preparation
Step 1: Preparing the Graham Cracker Base
To start, preheat your oven to 350°F (175°C) and line an 8×8-inch baking pan with parchment paper. In a mixing bowl, combine the melted butter, sugar, and vanilla extract until smooth. Gradually stir in the flour, crushed graham crackers, and salt until the mixture resembles coarse crumbs. Press this dough evenly into the prepared pan, creating a solid base. Pro tip: Use the back of a spoon to press down firmly for a uniform crust.
Step 2: Adding the Chocolate Layer
Once the base is ready, sprinkle the chocolate chips evenly over the top. Pop the pan into the oven for about 5 minutes to allow the chocolate to soften slightly. This step ensures the chocolate melts beautifully without becoming too runny. As the aroma of warm chocolate fills your kitchen, you’ll know you’re on the right track!
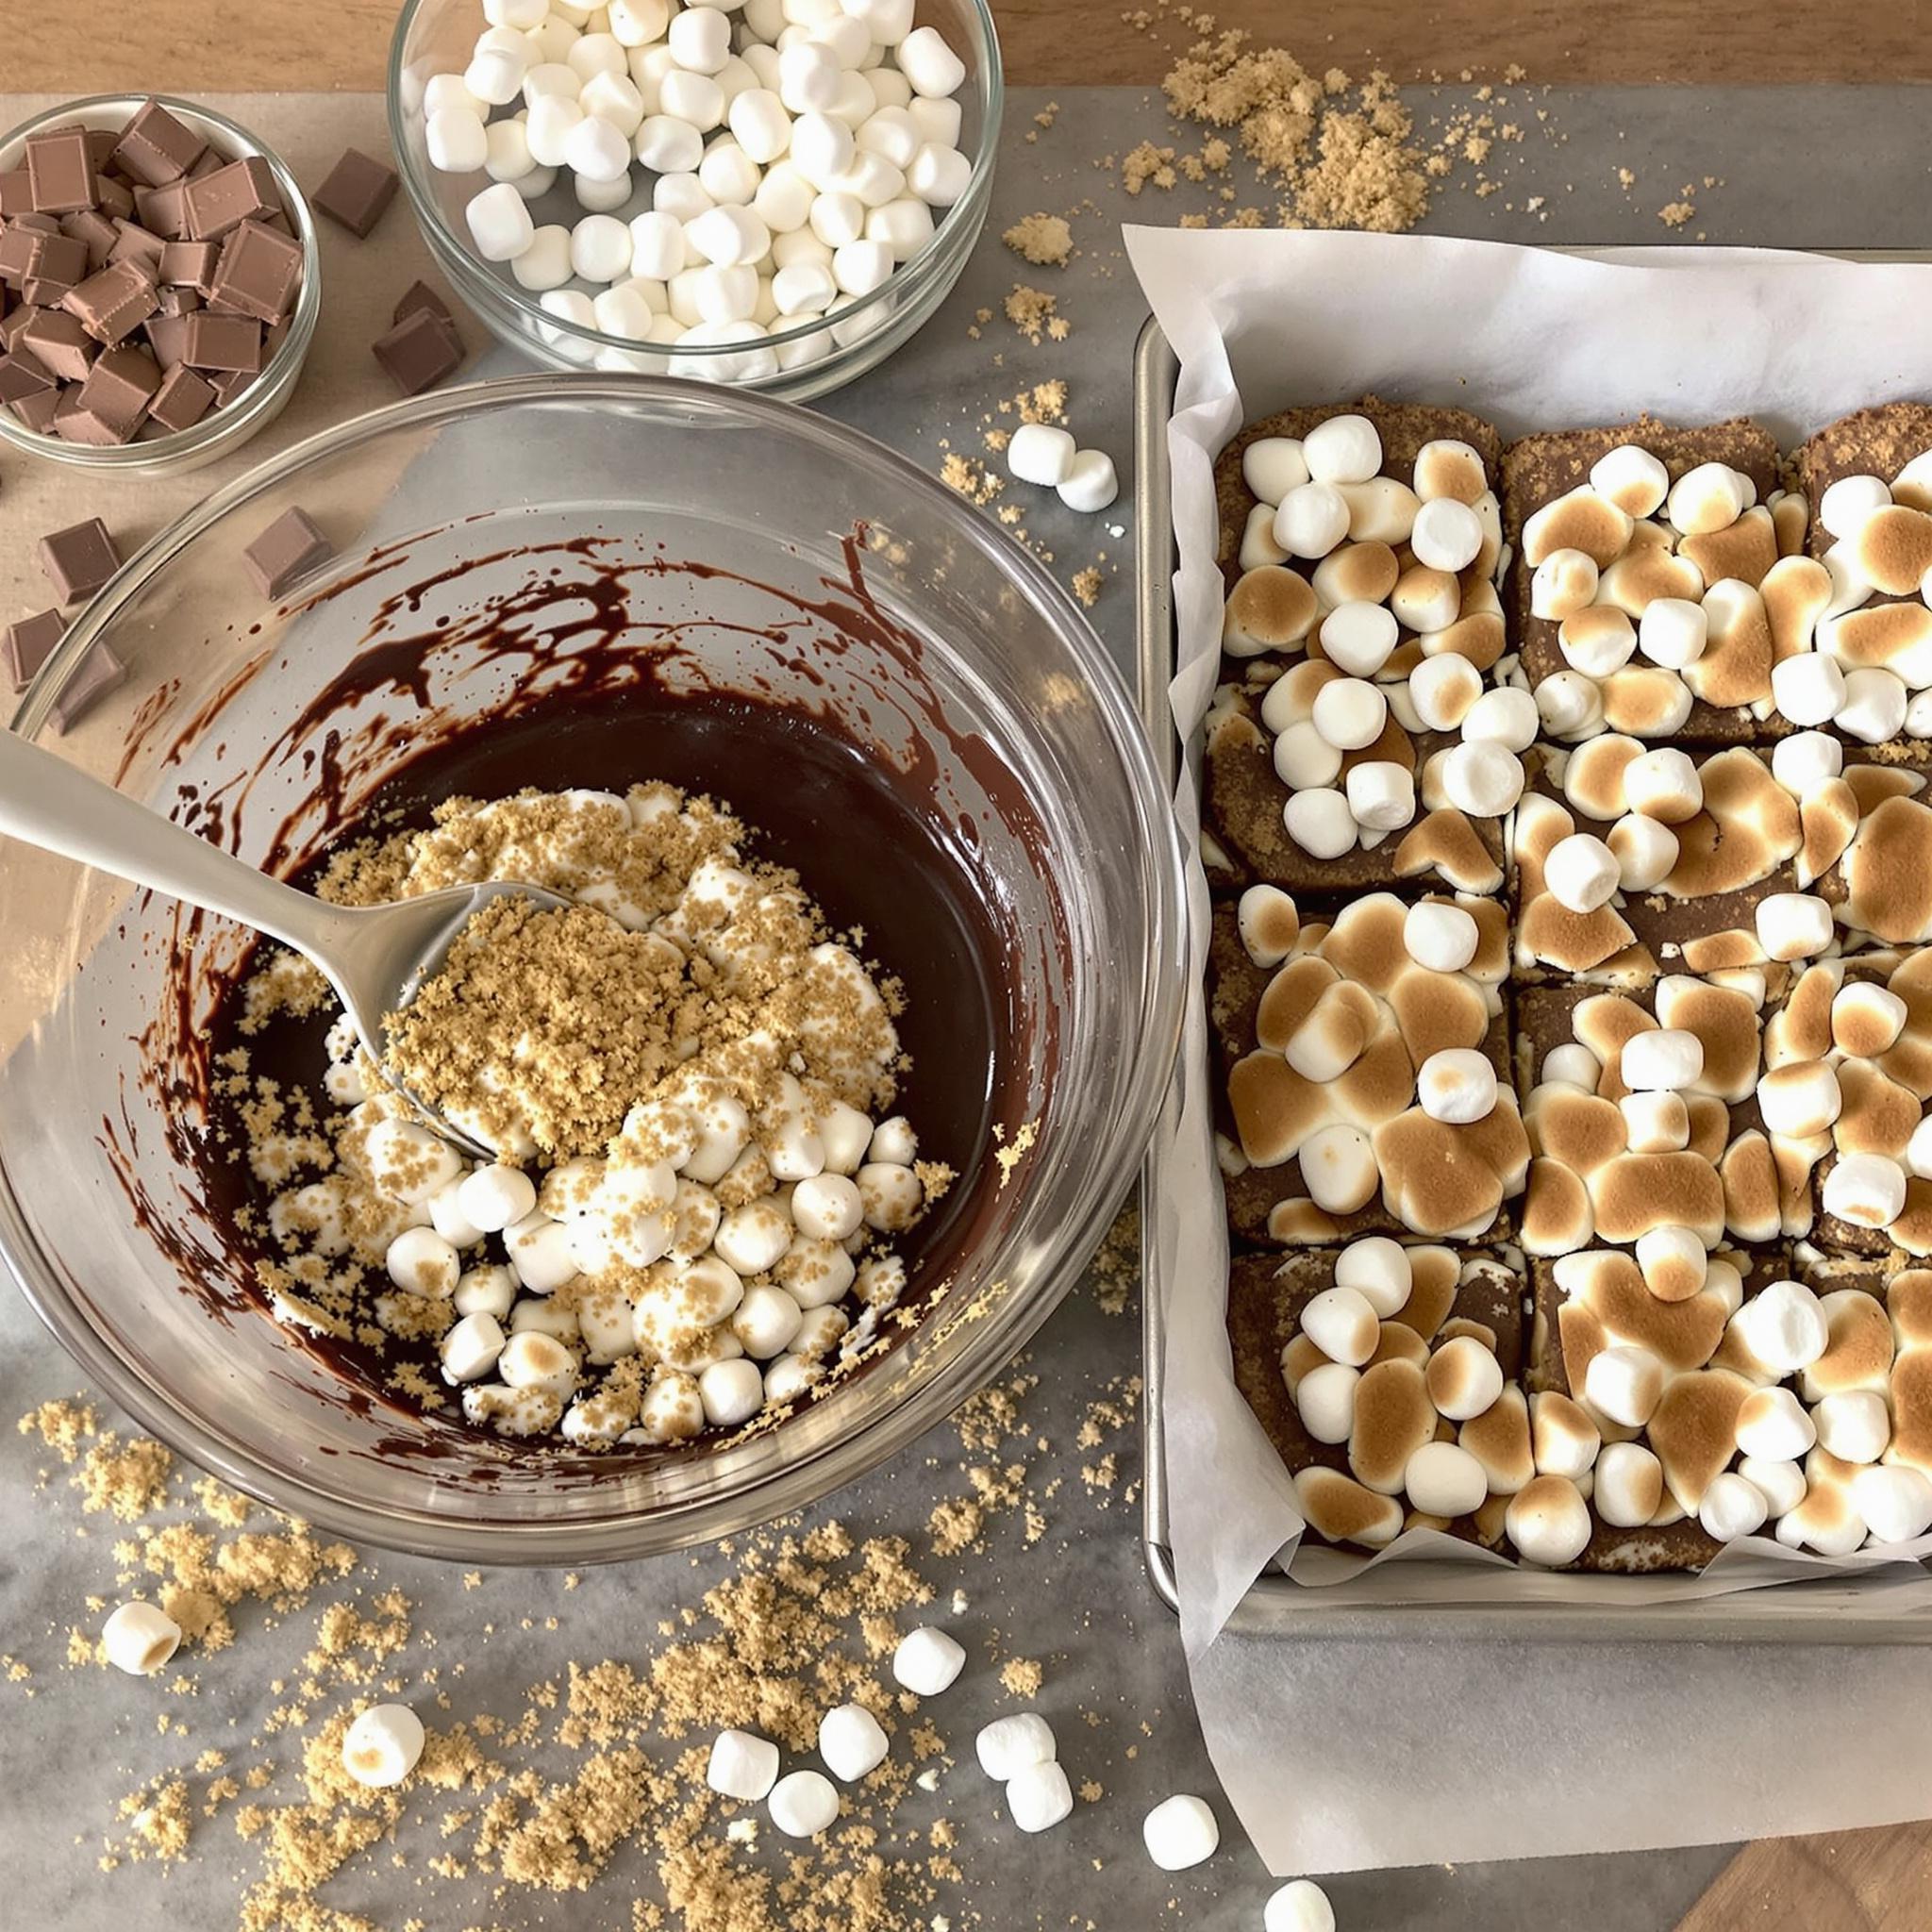
Step 3: Finishing with Marshmallows
Remove the pan from the oven and gently spread the softened chocolate across the surface using a spatula. Next, scatter the mini marshmallows over the chocolate layer, pressing them lightly so they adhere. Return the pan to the oven for another 8-10 minutes, or until the marshmallows turn golden brown and puffy. Keep an eye on them to avoid burning—the transformation is mesmerizing!
Chef’s Tip
For an extra touch of decadence, drizzle some caramel sauce over the finished bars before serving. The combination of caramel, chocolate, and toasted marshmallows takes these s’mores dessert bars to the next level!
Time Required
- Prep Time: 15 minutes
- Cooking Time: 15 minutes
- Total Time: 30 minutes
Nutritional Information
Per serving (1 bar): Calories: 250 | Protein: 3g | Fat: 12g | Carbohydrates: 32g | Fiber: 1g | Sugar: 18g
Extra Information
Did you know that National S’mores Day is celebrated on August 10th? It’s the perfect excuse to whip up a batch of these S’mores Bars and share them with friends and family!
Necessary Tools
- Mixing bowls
- Spatula
- Baking pan (8×8 inches)
- Parchment paper
- Oven
Storage Instructions
To store your S’mores Bars, let them cool completely before transferring them to an airtight container. Store at room temperature for up to 3 days to maintain their soft texture. If you live in a humid area, refrigerate the bars to prevent the marshmallows from getting sticky. For longer storage, freeze the bars wrapped individually in plastic wrap for up to 2 months. When ready to serve, thaw at room temperature for a few hours.
Tips and Tricks
- Toast the graham cracker crumbs lightly before adding them to the base for enhanced flavor.
- Use a kitchen torch to achieve perfectly golden marshmallows if your oven tends to burn them.
- Let the bars rest for 10 minutes after baking to set properly before slicing.
Serving Suggestions
- Serve with a scoop of vanilla ice cream for a delightful contrast of temperatures.
- Pair with a glass of cold milk or hot cocoa for a nostalgic experience.
Healthier Alternatives for S’mores Bars
If you’re looking to lighten up this indulgent treat, here are six variations:
- Gluten-Free Option: Use gluten-free graham crackers and flour to cater to dietary restrictions.
- Vegan Version: Substitute butter with coconut oil and use dairy-free chocolate and marshmallows.
- Low-Sugar Bars: Replace granulated sugar with a sugar substitute like stevia or monk fruit.
- Protein-Packed Bars: Add a scoop of protein powder to the base mixture for an energy boost.
- Fruit-Infused Bars: Mix dried fruits like cranberries or cherries into the chocolate layer for added sweetness.
- Nutty Delight: Sprinkle chopped nuts like almonds or pecans over the marshmallow layer for crunch.
Common Mistakes to Avoid
Mistake 1: Overbaking the Bars
Overbaking can lead to dry, crumbly bars. To avoid this, keep a close eye on the timer and remove the pan as soon as the marshmallows turn golden. Pro tip: Set your oven timer for the minimum recommended time and check frequently.
Mistake 2: Skipping the Parchment Paper
Not lining the pan with parchment paper makes it difficult to remove the bars cleanly. Always take the extra minute to prepare your pan—it’s worth it!
Mistake 3: Using Large Marshmallows Instead of Mini Ones
Large marshmallows don’t melt evenly and can overwhelm the other layers. Stick to mini marshmallows for consistent results.
Frequently Asked Questions
Can I use store-bought graham cracker crumbs?
Absolutely! Store-bought crumbs save time and work just as well. Just ensure they’re finely crushed for the best texture.
How do I prevent the chocolate from hardening too much?
Adding a tablespoon of heavy cream to the chocolate chips before melting helps keep it soft and creamy.
What if I don’t have an 8×8-inch pan?
You can use a 9×9-inch pan, but the bars will be thinner. Adjust the baking time accordingly.
Can I add other toppings?
Of course! Crushed pretzels, sprinkles, or even a drizzle of peanut butter can elevate the flavor profile.
Are these bars suitable for kids’ parties?
Definitely! Kids love the gooey, sweet combination, and they’re easy to cut into bite-sized portions.
How long can I store leftovers?
Stored properly, these bars stay fresh for up to 3 days at room temperature or 1 week in the fridge.
Do I need to chill the bars before slicing?
No chilling is required, but letting them rest for 10 minutes after baking helps them firm up slightly.
Can I make these bars ahead of time?
Yes, they can be made a day in advance and stored in an airtight container until ready to serve.
Is it possible to double the recipe?
Yes, simply double all ingredients and use a larger pan, such as a 9×13-inch dish.
What’s the best way to reheat leftover bars?
Reheat individual portions in the microwave for 10-15 seconds to restore their gooey goodness.
Conclusion
S’mores Bars are more than just a dessert—they’re a celebration of simplicity, nostalgia, and pure joy. With their irresistible layers of flavor and ease of preparation, they’re bound to become a staple in your recipe collection. So gather your ingredients, invite your loved ones, and create memories one delicious bite at a time!
Equipment
- Mixing bowls
- Spatula
- Baking pan (8x8 inches)
- Parchment paper
- Oven
Ingredients
- 1 cup unsalted butter melted
- 1/2 cup granulated sugar
- 1 teaspoon vanilla extract
- 1 1/2 cup all-purpose flour
- 1 1/2 cup crushed graham crackers
- 1/2 teaspoon salt
- 1 cup semi-sweet chocolate chips
- 2 cup mini marshmallows
Instructions
- Preheat oven to 350°F (175°C) and line an 8x8-inch baking pan with parchment paper. Combine melted butter, sugar, and vanilla extract in a mixing bowl until smooth. Stir in the flour, crushed graham crackers, and salt, creating coarse crumbs. Press dough evenly into prepared pan to form a base.
- Sprinkle chocolate chips evenly over the base. Bake for about 5 minutes until chocolate softens slightly. Spread chocolate across the surface using a spatula.
- Scatter mini marshmallows over chocolate. Press lightly to adhere. Return pan to oven for another 8-10 minutes until marshmallows turn golden brown.
Notes
Nutrition

Hi, I’m Olivia Parker, the founder of BakingSecret.com and a lifelong lover of all things sweet and homemade. I grew up in a small town in Oregon, where the smell of fresh cookies in my family’s kitchen sparked my passion for baking. Over the years, I turned that passion into a mission: to help home bakers feel confident, inspired, and creative.
After studying food science and working in several artisan bakeries across the U.S., I decided to create a space where everyone from beginners to seasoned bakers can find reliable recipes, expert tips, and a warm, welcoming community. BakingSecret.com is my way of sharing the magic of baking with the world. When I’m not testing new recipes, you’ll find me exploring farmers’ markets, collecting vintage cookbooks, or perfecting my sourdough technique.