
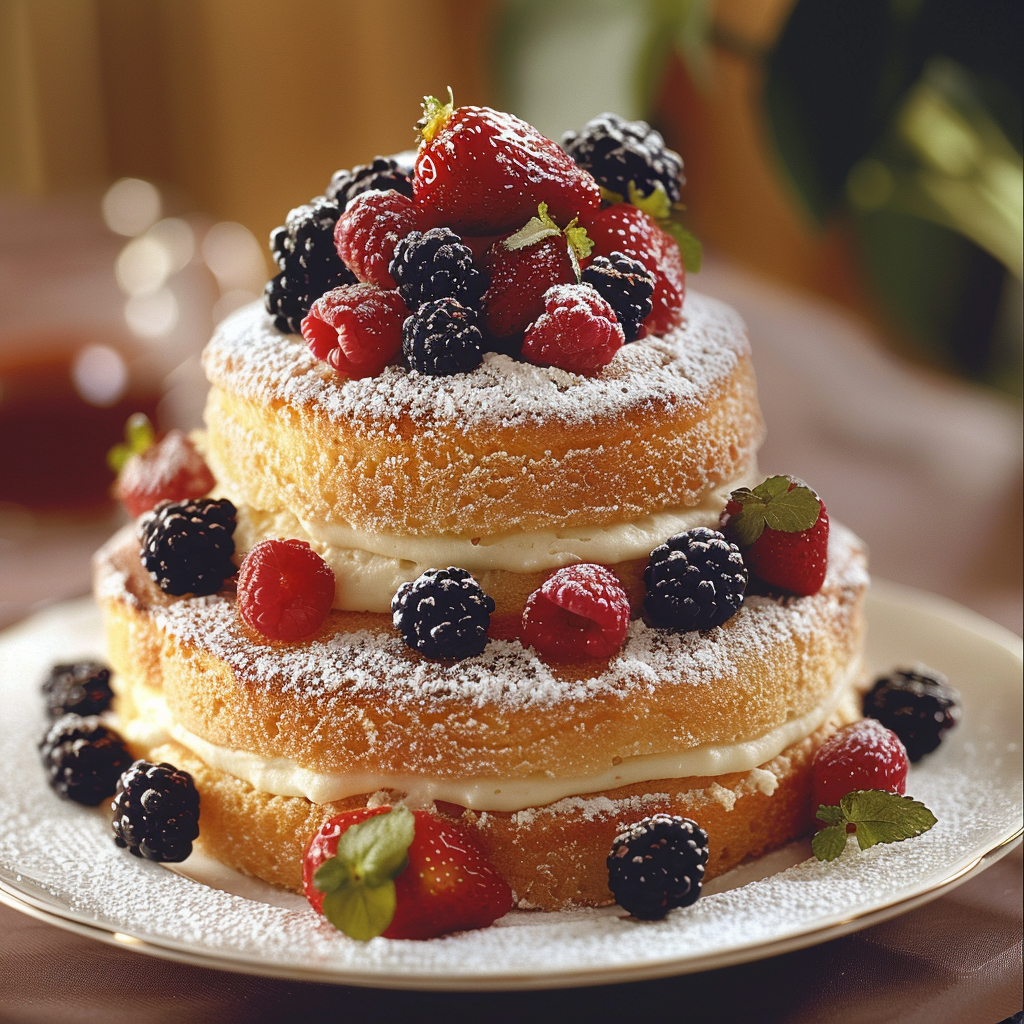
A Sweet Tower of Joy
There’s something magical about a tiered cake. It’s not just dessert; it’s a centerpiece, a showstopper, and sometimes even the star of the party. I remember the first time I made one for my niece’s birthday. She wanted a “princess castle cake,” and though I had no idea how to stack cakes without them toppling over, I dove right in. Spoiler alert: it turned out amazing! And guess what? You don’t need fancy tools or dowels to make your own masterpiece. Let me share my secrets with you.
The Story Behind the Cake
Tiered cakes have been around for centuries, often gracing royal tables and wedding celebrations. Historically, they were a symbol of wealth and craftsmanship. Today, they’re for everyone—whether it’s for a wedding, birthday, or just because you want to impress your book club. My journey into baking tiered cakes started with a simple question: “Can I do this without dowels?” Turns out, yes, you can. And once you master the basics, you’ll feel like a cake wizard.
Why You’ll Love This Recipe
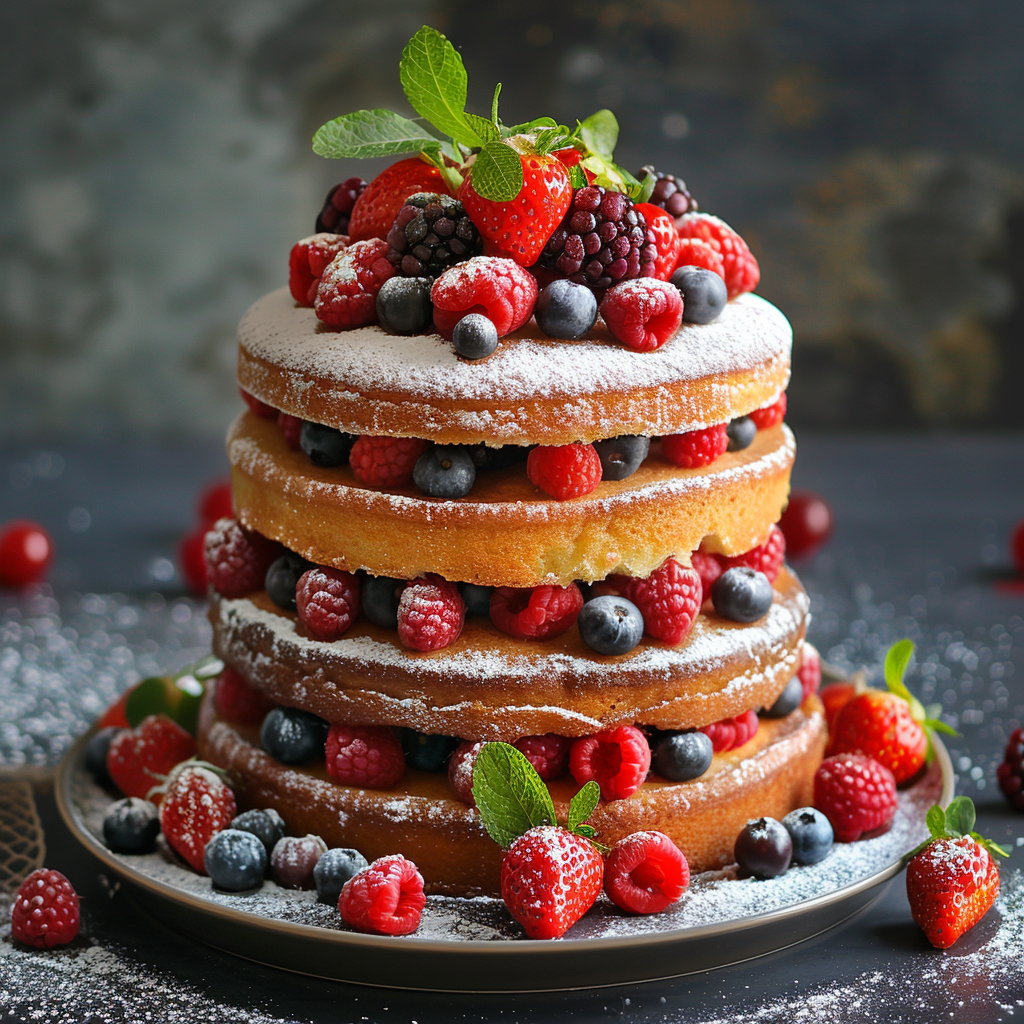
This tiered cake recipe is all about simplicity and flavor. You’ll learn how to make a two-tier cake without dowels, how to frost it beautifully with buttercream or fondant, and how to stack it securely. The best part? It’s completely customizable. Want chocolate layers? Done. Vanilla with fresh berries? Easy peasy. Plus, this method works for both two-tier and three-tier cakes, so you can scale up for bigger events.
Perfect Occasions to Make a Tiered Cake
From weddings to baby showers, tiered cakes are perfect for any celebration. They’re also great for milestone birthdays, anniversaries, or even just a cozy family dinner where you want to go the extra mile. If you’ve ever wondered, “Does Costco do tiered cakes?”—yes, they do, but nothing beats the personal touch of a homemade creation.
Ingredients
- For the cake layers: 4 cups all-purpose flour, 2 cups granulated sugar, 1 cup unsalted butter (softened), 1 cup whole milk, 4 large eggs, 2 tsp baking powder, 1 tsp vanilla extract
- For the frosting: 3 cups unsalted butter (softened), 6 cups powdered sugar, 2 tsp vanilla extract, ¼ cup heavy cream
- Optional: Fondant for decorating, food coloring, edible glitter
Substitution Options
- Swap all-purpose flour with gluten-free flour if needed.
- Use almond or coconut milk instead of whole milk for a dairy-free option.
- Replace buttercream with cream cheese frosting for a tangy twist.
Step 1: Bake Your Cake Layers
Start by preheating your oven to 350°F. Grease and line two round cake pans—one 8-inch and one 6-inch. In a large bowl, cream the butter and sugar until light and fluffy. Add the eggs one at a time, mixing well after each addition. Gradually fold in the flour, milk, baking powder, and vanilla. Divide the batter between the pans and bake for 25-30 minutes. Pro tip: Use a toothpick to check for doneness—it should come out clean. Let the cakes cool completely before assembling.
Step 2: Prepare the Frosting
In another bowl, beat the softened butter until smooth. Slowly add the powdered sugar, one cup at a time, alternating with the heavy cream. Add the vanilla extract and mix until the frosting is light and airy. If you’re using fondant, roll it out on a clean surface dusted with powdered sugar. Chef’s tip: Chill the frosting for 15 minutes before spreading—it’s easier to work with!
Step 3: Assemble the Cake
Place the larger cake layer on a sturdy plate or tiered cake stand. Spread a generous layer of frosting on top, then gently place the smaller cake layer on top. To stack without dowels, ensure the base cake is firm and level. Use a serrated knife to trim any domes from the layers for stability. Smooth the frosting around the sides and top, creating a crumb coat. Chill for 30 minutes before applying the final layer of frosting or fondant.
Timing
Prep time: 30 minutes | Baking time: 30 minutes | Cooling time: 1 hour | Assembly time: 1 hour | Total time: 2 hours 30 minutes
Chef’s Secret
For an extra-smooth finish, heat your spatula under hot water before smoothing the frosting. The warmth helps melt tiny imperfections.
Extra Info
Did you know that Kamala Harris loves carrot cake? Imagine making a tiered carrot cake for her next birthday party—you’d be the hero of the hour!
Necessary Equipment
- Round cake pans (8-inch and 6-inch)
- Electric mixer
- Serrated knife
- Offset spatula
- Rolling pin (if using fondant)
Storage
If you’re not serving the cake immediately, store it in the fridge. Cover it loosely with plastic wrap to prevent the frosting from drying out. For fondant-covered cakes, keep them at room temperature in a cool, dry place. Avoid stacking other items on top of the cake to maintain its shape. When ready to serve, let the cake sit at room temperature for 30 minutes to soften the flavors.
Tips and Advice
To avoid cracks in your fondant, knead it thoroughly before rolling. For buttercream, always chill the cake briefly between layers to lock everything in place. And remember, practice makes perfect—your second tiered cake will be even better than your first!

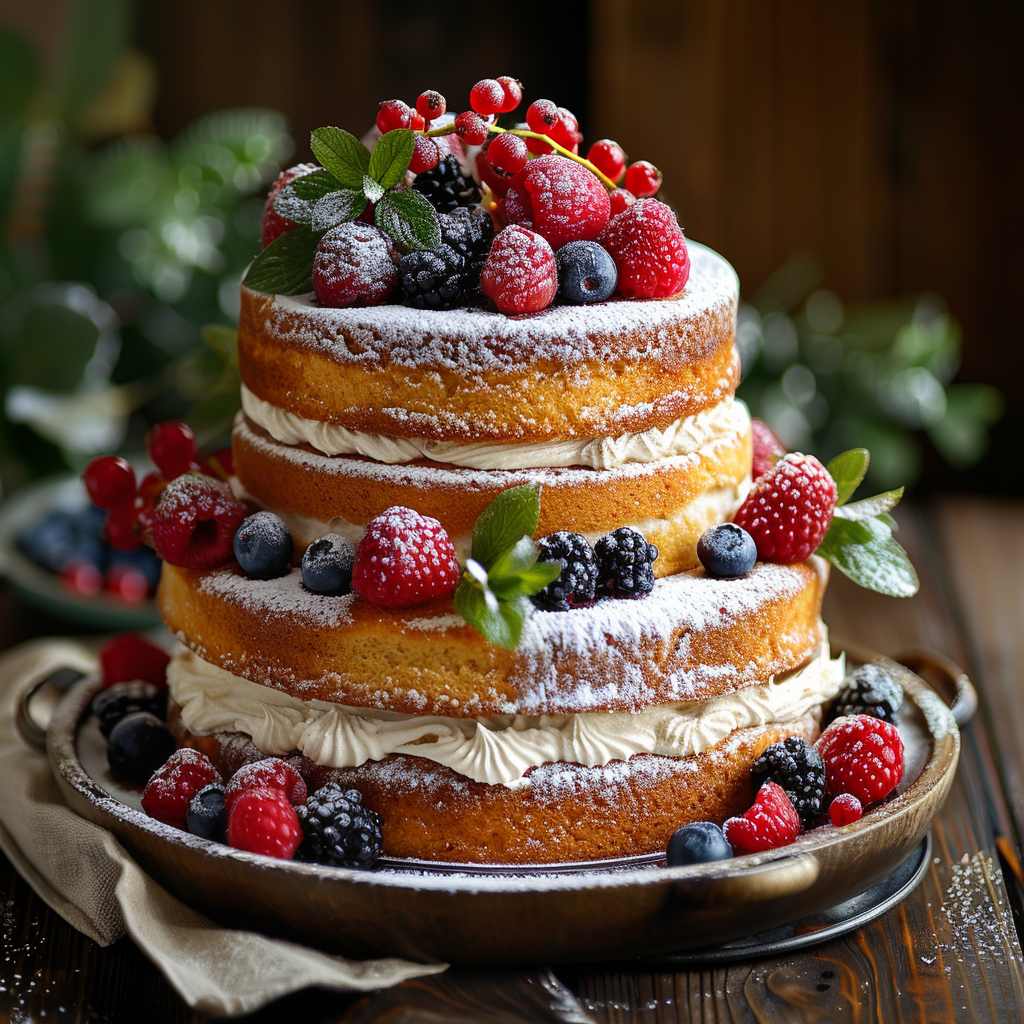
Presentation Tips
- Add fresh flowers or fruit for a pop of color.
- Use piping techniques to create elegant borders.
- Dust with powdered sugar for a rustic look.
Healthier Alternative Recipes
Looking for lighter options? Try these variations:
- Gluten-Free Tiered Cake: Use almond flour and coconut sugar.
- Vegan Tiered Cake: Substitute flax eggs and plant-based butter.
- Low-Sugar Tiered Cake: Swap sugar with stevia or monk fruit.
- Fruit-Infused Tiered Cake: Add mashed bananas or pureed berries to the batter.
- Spiced Tiered Cake: Include cinnamon, nutmeg, and cloves for warmth.
- Chocolate Lover’s Tiered Cake: Add cocoa powder and dark chocolate ganache.
Mistake 1: Skipping the Crumb Coat
Many beginners skip the crumb coat, leading to messy frosting. Always apply a thin layer of frosting first, then chill the cake. This traps crumbs and ensures a smooth finish.
Mistake 2: Overloading the Top Tier
Adding too much weight to the top tier can cause it to sink. Keep decorations light and balanced. Pro tip: Use fake flowers or lightweight toppers.
Mistake 3: Rushing the Process
Cakes need time to cool and set. Don’t rush assembly or frosting, as this can lead to meltdowns—literally and figuratively.
FAQ
What is a tiered cake?
A tiered cake consists of multiple stacked layers, typically used for special occasions. Each tier is usually a separate cake, creating height and drama.
Does Costco do tiered cakes?
Yes, Costco offers tiered cakes for various events. However, custom designs may require advance notice.
What is Kamala Harris’ favorite cake?
Kamala Harris reportedly loves carrot cake, making it a fun choice for themed gatherings.
Why are tiered cakes expensive?
Tiered cakes require more ingredients, skill, and time to assemble, which adds to their cost.
Do I need dowels for a two-tier cake?
No, you don’t need dowels if the base cake is sturdy enough. Just ensure the tiers are level and secure.
How to make a 2-tier cake with fondant?
Cover each tier individually with rolled fondant, smoothing out air bubbles for a polished look.
How to stack a two-tier cake without dowels?
Use a stable base, level the layers, and chill the cake before stacking to prevent sliding.
How to make a 3-tier cake with fondant?
Follow the same steps as a two-tier cake, adding an additional layer while ensuring stability.
Wedding cake recipes for tiered cakes?
Classic choices include vanilla sponge, chocolate fudge, and red velvet, paired with rich fillings.
How to assemble a tiered cake?
Start with the largest tier, frost generously, and stack smaller tiers carefully for balance.
A Towering Treat
Making a tiered cake might seem intimidating at first, but trust me—it’s worth every minute. Whether you’re celebrating a big day or simply indulging in some baking therapy, this recipe will guide you step-by-step to success. So grab your apron, fire up the oven, and let’s build something sweet together.
Equipment
- Large bowl
- Electric mixer
- Offset spatula
- Round cake pans (8-inch and 6-inch)
- Rolling pin if using fondant
Ingredients
- 4 cups all-purpose flour
- 2 cups granulated sugar
- 1 cup unsalted butter (softened)
- 1 cup whole milk
- 4 large eggs
- 2 tsp baking powder
- 1 tsp vanilla extract
- 3 cups unsalted butter (for frosting, softened)
- 6 cups powdered sugar
- 2 tsp vanilla extract (for frosting)
- ¼ cup heavy cream
- fondant for decorating (optional)
- food coloring (optional)
- edible glitter (optional)
Instructions
- Preheat your oven to 350°F and grease and line two round cake pans—one 8-inch and one 6-inch.
- In a large bowl, cream the butter and sugar until light and fluffy.
- Add the eggs one at a time, mixing well after each addition.
- Gradually fold in the flour, milk, baking powder, and vanilla.
- Divide the batter between the pans and bake for 25-30 minutes, checking for doneness with a toothpick.
- Let the cakes cool completely before assembling.
- In another bowl, beat the softened butter until smooth for the frosting.
- Slowly add the powdered sugar, one cup at a time, alternating with the heavy cream.
- Add the vanilla extract to the frosting and mix until light and airy.
- Roll out fondant if using, on a clean surface dusted with powdered sugar.
- Place the larger cake layer on a sturdy plate or tiered cake stand and spread a layer of frosting on top.
- Gently place the smaller cake layer on top, ensuring the base cake is firm and level.
- Trim any domes from the layers for stability using a serrated knife.
- Smooth the frosting around the sides and top, creating a crumb coat.
- Chill for 30 minutes before applying the final layer of frosting or fondant.