
Why This Red Velvet Cheesecake Delight Will Steal Your Heart
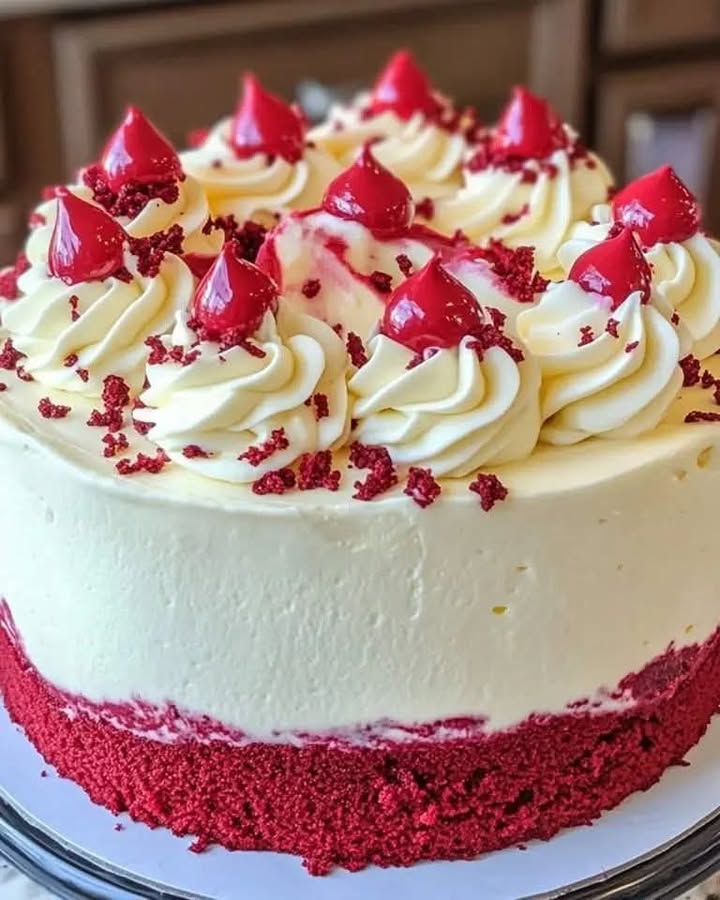
Picture this: a slice of cake so rich, so creamy, and so visually stunning that it stops conversations mid-sentence. That’s what happened when I first served my Red Velvet Cheesecake Delight at a family gathering. The vibrant red layers of cake paired with the velvety cheesecake ice cream had everyone reaching for seconds—and thirds! It’s not just a dessert; it’s an experience. Whether you’re a seasoned baker or a newbie in the kitchen, this recipe is your ticket to becoming the star of any event.
The Story Behind the Velvet Cheesecake Delight
Red velvet cake has a history as rich as its flavor. Originally called “velvet cake” in the late 1800s, it was prized for its tender crumb, thanks to buttermilk and cocoa powder. The modern version, with its signature red hue, gained popularity in the 1940s, thanks to food dyes introduced during wartime. Fast forward to today, and we’ve taken this classic to new heights by pairing it with cheesecake ice cream. I stumbled upon this idea while experimenting with leftover cheesecake filling and red velvet cake scraps. One bite, and I knew I’d struck gold!
Why You’ll Love This Recipe
This Velvet Cheesecake Delight is a showstopper for many reasons. First, the flavors are a match made in heaven—rich chocolatey cake meets tangy, creamy cheesecake ice cream. Second, it’s surprisingly simple to make, even if you’ve never baked a cake before. Third, it’s versatile. You can serve it at casual get-togethers or dress it up for fancy dinner parties. Plus, who doesn’t love a dessert that looks like it came straight from a bakery?
Perfect Occasions for This Dessert
Whether it’s Valentine’s Day, a summer barbecue, or a holiday feast, this Red Velvet Cheesecake Delight fits the bill. It’s perfect for birthdays, anniversaries, or even “just because” moments. I once made it for a friend’s surprise party, and it became the centerpiece of the dessert table. Trust me, no matter the occasion, this cake will leave a lasting impression.
Ingredients
Here’s what you’ll need to create this masterpiece:
Cheesecake Ice Cream Ingredients
- 4 oz cream cheese, softened
- 1 can (14 oz) sweetened condensed milk
- 2 cups heavy whipping cream
Red Velvet Cake Ingredients
- 2 1/4 cups all-purpose flour
- 2 tablespoons cocoa powder
- 1 teaspoon salt
- 1/2 cup butter, at room temperature
- 1 1/2 cups sugar
- 2 large eggs
- 1 cup buttermilk
- 3 tablespoons red food coloring
- 1 teaspoon vanilla extract
- 1 teaspoon distilled white vinegar
- 1 teaspoon baking soda
Substitution Options
Not everyone has every ingredient on hand, and that’s okay! Here are some swaps you can make:
- Heavy whipping cream: Use coconut cream for a dairy-free option.
- Buttermilk: Mix 1 tablespoon lemon juice or vinegar with 1 cup milk and let it sit for 5 minutes.
- Red food coloring: Substitute beetroot powder for a natural alternative.
- Cream cheese: Try vegan cream cheese if you’re avoiding dairy.
Preparation Section
Step 1: Prepare the Cheesecake Ice Cream Base
Start by beating the softened cream cheese in a large mixing bowl until it’s smooth and creamy. Add the sweetened condensed milk and mix until fully combined. This step is crucial because the cream cheese gives the ice cream its signature tangy flavor. Pro tip: Make sure your cream cheese is truly softened—it blends much easier that way!
Step 2: Whip the Cream
In a separate bowl, whip the heavy whipping cream until soft peaks form. Imagine clouds of fluffy cream—you’re almost there! Gently fold this whipped cream into the cream cheese mixture. Folding ensures the ice cream stays light and airy. Chef’s tip: Use a spatula and fold slowly to avoid deflating the whipped cream.
Step 3: Freeze the Ice Cream
Pour the cheesecake ice cream mixture into a freezer-safe container and pop it into the freezer. Let it chill for at least 4 hours, though overnight is ideal. While it freezes, you can focus on making the red velvet cake layers. Picture the anticipation as the flavors meld together, creating a luscious treat waiting to be devoured.
Step 4: Preheat Oven and Mix Dry Ingredients
Preheat your oven to 350°F (175°C) and grease two 8-inch round cake pans. In a medium bowl, whisk together the flour, cocoa powder, and salt. This dry mixture forms the backbone of your cake, giving it structure and a hint of chocolatey goodness. Pro tip: Sift the cocoa powder to avoid lumps.
Step 5: Cream the Butter and Sugar
In a large mixing bowl, cream the butter and sugar until light and fluffy. This step is where the magic begins—the butter turns pale yellow, and the sugar dissolves into a sweet symphony. Beat in the eggs one at a time, followed by the vanilla extract. The aroma alone will have your kitchen smelling heavenly.
Step 6: Prepare the Batter
Mix the red food coloring with the buttermilk in a small bowl. Gradually add the flour mixture and buttermilk mixture to the creamed butter, alternating between the two. This method ensures a smooth batter. Watch as the red color transforms the batter into a vibrant work of art.
Step 7: Activate Baking Soda
In a small bowl, mix the vinegar and baking soda—it will fizz like a science experiment! Quickly fold this mixture into the batter. This reaction helps the cake rise, creating a tender crumb. Chef’s tip: Work fast once you add the vinegar mixture to keep the bubbles intact.
Step 8: Bake the Cake
Divide the batter evenly between the prepared pans and bake for 25-30 minutes. Insert a toothpick into the center—if it comes out clean, your cakes are done. Let them cool in the pans for 10 minutes before transferring to a wire rack. As they cool, the aroma of cocoa and vanilla fills the air, teasing your taste buds.
Step 9: Assemble the Cake
Once the cake layers are completely cooled and the cheesecake ice cream is firm, it’s time to assemble. Place one layer of red velvet cake on a serving plate and spread a thick layer of cheesecake ice cream on top. Smooth it out evenly. Gently place the second cake layer on top and freeze the assembled cake for 2-3 hours. Voilà, your Velvet Cheesecake Delight is ready!
Timing
Here’s a quick breakdown of the timing:
- Prep time: 30 minutes
- Cooking time: 30 minutes
- Resting/freezing time: 6-8 hours
- Total time: Approximately 8 hours
Chef’s Secret
To take this cake to the next level, brush each cake layer with a simple syrup (equal parts sugar and water, heated until dissolved). This keeps the cake moist and adds a touch of sweetness that pairs beautifully with the tangy ice cream.
Extra Info
Did you know red velvet cake was originally dyed with beet juice? Modern versions use food coloring, but the name stuck. Fun fact: The term “velvet” refers to the cake’s soft, velvety texture, which is still true today.
Necessary Equipment
You’ll need a few tools to bring this recipe to life:
- Stand mixer or hand mixer
- Two 8-inch round cake pans
- Freezer-safe container
- Spatula
- Wire cooling rack
Storage
This cake is best stored in the freezer. Wrap it tightly in plastic wrap or store it in an airtight container to prevent freezer burn. It can last up to 1 week if stored properly. Before serving, let it sit at room temperature for 5-10 minutes to soften slightly for easier slicing. If you’re storing leftovers, cut individual slices and wrap them separately for convenience.
If you live in a humid climate, avoid leaving the cake at room temperature for too long. The moisture can affect the texture of the ice cream layer. Finally, always label your storage containers with the date to keep track of freshness.
Tips and Advice
Here are a few tips to elevate your Red Velvet Cheesecake Delight:
- Use room-temperature ingredients for smoother mixing.
- Don’t overmix the batter—it can make the cake dense.
- Chill your mixing bowls and beaters before whipping the cream for better results.
- Decorate with fresh berries or edible flowers for a pop of color.
Presentation Tips
Make your cake stand out with these ideas:
- Dust the top with cocoa powder for an elegant touch.
- Pipe whipped cream around the edges for a professional look.
- Add sprinkles or chocolate shavings for extra flair.
- Serve on a decorative cake stand to draw attention.
Healthier Alternative Recipes
Looking to lighten up this indulgent dessert? Here are six variations:
- Gluten-Free: Swap all-purpose flour with a gluten-free blend.
- Dairy-Free: Use coconut cream and vegan cream cheese.
- Low-Sugar: Replace sugar with a sugar substitute like stevia.
- Egg-Free: Use flax eggs (1 tablespoon ground flaxseed + 2.5 tablespoons water per egg).
- Vegan: Combine dairy-free and egg-free substitutions.
- Protein-Packed: Add protein powder to the cheesecake ice cream base.
Common Mistakes to Avoid
Mistake 1: Overmixing the Batter
Overmixing can lead to a dense cake instead of a light, fluffy one. To avoid this, mix just until the ingredients are combined. Pro tip: Stop mixing as soon as you no longer see streaks of flour.
Mistake 2: Skipping the Freezing Step
Skipping the freezing step can result in a messy cake that’s hard to slice. Always freeze the assembled cake for at least 2-3 hours to set the layers. Practical tip: Plan ahead and assemble the cake the night before serving.
Mistake 3: Using Cold Cream Cheese
Cold cream cheese won’t blend smoothly, leaving lumps in your ice cream. Take it out of the fridge an hour before starting. Pro tip: Microwave it for 10-15 seconds if you forget to soften it ahead of time.
Mistake 4: Overbaking the Cake
Overbaking can dry out the cake layers. Set a timer and check for doneness with a toothpick. Practical tip: Start checking the cake 5 minutes before the recommended baking time.
FAQ
Can I make this cake ahead of time?
Absolutely! This cake actually benefits from being made ahead. Assemble it the day before and freeze overnight. This allows the flavors to meld and makes serving a breeze.
How do I prevent the ice cream from melting too quickly?
Keep the cake frozen until just before serving. If you’re serving outdoors, consider keeping it on ice or in a cooler to maintain its shape.
Can I use store-bought red velvet cake?
Yes, you can save time by using store-bought cake layers. However, homemade layers tend to have a fresher flavor and better texture.
What if I don’t have buttermilk?
No worries! Mix 1 tablespoon lemon juice or vinegar with 1 cup milk and let it sit for 5 minutes to create a buttermilk substitute.
Can I freeze leftovers?
Yes, wrap individual slices in plastic wrap and store them in an airtight container in the freezer for up to 1 week.
Is this recipe kid-friendly?
Definitely! Kids love the vibrant red color and creamy cheesecake ice cream. Just supervise them while using the oven and mixer.
How do I make the cake layers even?
Use a kitchen scale to divide the batter evenly between the pans. Alternatively, measure the height of the batter in each pan to ensure consistency.
Can I use a different flavor of ice cream?
While cheesecake ice cream is ideal, you can experiment with other flavors like vanilla or chocolate. Just note that the flavor profile will change slightly.
What’s the best way to slice the cake?
Use a sharp knife dipped in hot water and wiped dry between cuts. This ensures clean, even slices without smudging the layers.
Can I decorate the cake with frosting?
Yes, cream cheese frosting pairs beautifully with this cake. Spread it on top or pipe it around the edges for a polished look.
Final Thoughts
This Red Velvet Cheesecake Delight is more than just a dessert—it’s a celebration of flavors, textures, and creativity. Whether you’re baking for a special occasion or simply treating yourself, this recipe promises to deliver joy in every bite. So grab your apron, gather your ingredients, and let’s make some magic in the kitchen. Happy baking!
Equipment
- Stand mixer or hand mixer
- Two 8-inch round cake pans
- Freezer-safe container
- Spatula
- Wire cooling rack
Ingredients
- 4 oz cream cheese, softened
- 1 can sweetened condensed milk (14 oz)
- 2 cups heavy whipping cream
- 2.25 cups all-purpose flour
- 2 tablespoons cocoa powder
- 1 teaspoon salt
- 0.5 cup butter, at room temperature
- 1.5 cups sugar
- 2 large eggs
- 1 cup buttermilk
- 3 tablespoons red food coloring
- 1 teaspoon vanilla extract
- 1 teaspoon distilled white vinegar
- 1 teaspoon baking soda
Instructions
- Beat the softened cream cheese in a large mixing bowl until smooth and creamy, then add the sweetened condensed milk and mix until combined.
- In a separate bowl, whip the heavy whipping cream until soft peaks form, then gently fold it into the cream cheese mixture.
- Pour the cheesecake ice cream mixture into a freezer-safe container and freeze for at least 4 hours, preferably overnight.
- Preheat your oven to 350°F (175°C) and grease two 8-inch round cake pans. In a medium bowl, whisk together the flour, cocoa powder, and salt.
- Cream the butter and sugar in a large mixing bowl until light and fluffy, then beat in the eggs one at a time, followed by the vanilla extract.
- Mix the red food coloring with the buttermilk in a small bowl, then gradually add this to the creamed butter, alternating with the flour mixture.
- In a small bowl, mix the vinegar and baking soda, and quickly fold this into the batter.
- Divide the batter evenly between the prepared pans and bake for 25-30 minutes, until a toothpick comes out clean. Let them cool in the pans for 10 minutes before transferring to a wire rack to cool completely.
- Once cooled, assemble the cake by placing one layer on a serving plate, spreading a thick layer of cheesecake ice cream on top, then adding the second layer. Freeze the assembled cake for 2-3 hours before serving.
Notes
Nutrition

Hi, I’m Olivia Parker, the founder of BakingSecret.com and a lifelong lover of all things sweet and homemade. I grew up in a small town in Oregon, where the smell of fresh cookies in my family’s kitchen sparked my passion for baking. Over the years, I turned that passion into a mission: to help home bakers feel confident, inspired, and creative.
After studying food science and working in several artisan bakeries across the U.S., I decided to create a space where everyone from beginners to seasoned bakers can find reliable recipes, expert tips, and a warm, welcoming community. BakingSecret.com is my way of sharing the magic of baking with the world. When I’m not testing new recipes, you’ll find me exploring farmers’ markets, collecting vintage cookbooks, or perfecting my sourdough technique.