
Why Vintage Cakes Bring Back Memories
There’s something magical about the smell of butter and sugar wafting through the air, isn’t there? It takes me back to my grandma’s kitchen, where her vintage cakes were the star of every family gathering. One bite of her moist, rich cake felt like a warm hug. Recently, I decided to recreate one of her recipes—a 1950s classic—and it was like stepping into a time machine. The flavors were just as comforting, and the nostalgia hit hard. If you’ve ever wondered what makes vintage cakes so special, you’re in for a treat. Let’s dive into the world of old-fashioned baking and bring some charm to your table.
The Sweet History Behind Vintage Cakes
Vintage cakes have been around for generations, each era leaving its mark on the recipes we love today. In the 1930s, cakes were simple yet hearty, often made with pantry staples during tough economic times. By the 1950s, things got fancier—think layered sponge cakes with creamy frostings, perfect for vintage wedding cakes. These days, places like vintage cake shops in Atlantic Highlands, NJ, or Karachi keep the tradition alive, offering everything from rustic cakes to retro designs. My favorite part? They remind us of simpler times when baking was all about sharing love.
Why You’ll Love This Recipe
This vintage cake recipe is a crowd-pleaser for many reasons. First, it’s packed with flavor—rich vanilla, hints of almond, and a touch of citrus make it unforgettable. Second, it’s easy to make, even if you’re new to baking. Plus, the texture is divine: soft, fluffy, and oh-so-moist. Whether you’re hosting a party or craving a slice of comfort, this cake delivers. And trust me, once you try it, you’ll see why old-fashioned cakes never go out of style.
Perfect Occasions for Vintage Cakes
From birthdays to bridal showers, vintage cakes are versatile enough for any celebration. Imagine serving a beautifully decorated retro cake at a themed party or using a vintage cake stand to showcase your creation at a family dinner. I recently baked one for a friend’s baby shower, and everyone raved about how it looked and tasted. It’s also perfect for holidays like Christmas or Easter when nostalgia runs high. Whatever the occasion, this cake will steal the show.
Ingredients

- 2 cups all-purpose flour
- 1 ½ cups granulated sugar
- ½ cup unsalted butter, softened
- 3 large eggs
- 1 cup whole milk
- 2 teaspoons vanilla extract
- 1 teaspoon almond extract
- 2 ½ teaspoons baking powder
- ½ teaspoon salt
- Zest of 1 lemon
Substitution Options
- Use almond milk instead of whole milk for a dairy-free option.
- Swap almond extract for more vanilla if you prefer a classic taste.
- Replace lemon zest with orange zest for a sweeter twist.
Preparation Section
Step 1: Preheat and Prep
Start by preheating your oven to 350°F (175°C). Grease and flour two round cake pans—I like to line the bottoms with parchment paper for easy release. Pro tip: Make sure your butter is softened but not melted; it blends better with the sugar that way. As you prep, imagine the cozy aroma that will soon fill your kitchen!
Step 2: Cream the Butter and Sugar
In a large mixing bowl, cream the butter and sugar together until light and fluffy. This step is crucial because it creates air pockets, giving the cake its signature softness. I always take an extra minute here—it makes a huge difference. Add the eggs one at a time, beating well after each addition. The mixture should look pale and creamy, almost like sunshine in a bowl.
Step 3: Mix Dry Ingredients
In another bowl, whisk together the flour, baking powder, and salt. This ensures the leavening agents are evenly distributed. Slowly add the dry ingredients to the wet mixture, alternating with the milk. Begin and end with the dry ingredients to keep the batter smooth. Don’t overmix—just stir until everything comes together. Overmixing can lead to a dense cake, and no one wants that!
Step 4: Add Flavor
Stir in the vanilla extract, almond extract, and lemon zest. These little touches elevate the flavor profile, making it truly unforgettable. Pour the batter into your prepared pans, smoothing the tops with a spatula. Chef’s tip: Tap the pans gently on the counter to remove air bubbles before baking.
Step 5: Bake to Perfection
Bake the cakes for 25-30 minutes or until a toothpick inserted in the center comes out clean. The edges should be golden brown, and the scent will be irresistible. Let the cakes cool in the pans for 10 minutes before transferring them to a wire rack. Patience is key here—rushing can cause the layers to break.
Timing
Here’s a quick breakdown of the timing:
- Prep time: 15 minutes
- Cooking time: 30 minutes
- Resting time: 10 minutes
- Total time: About 55 minutes
Chef’s Secret
To make your cake extra moist, brush each layer with a simple syrup (equal parts sugar and water, heated until dissolved) while they’re still warm. This trick locks in moisture and adds a subtle sweetness. Trust me, it’s a game-changer!
Extra Info
Did you know that 1930s cakes often included unusual ingredients like mashed potatoes or mayonnaise? These additions helped stretch ingredients during lean times while keeping cakes tender. While I haven’t tried adding mayo yet, it’s definitely on my list!
Necessary Equipment
- Mixing bowls
- Electric mixer or whisk
- Measuring cups and spoons
- Round cake pans
- Parchment paper
- Wire cooling rack
Storage
Once your vintage cake has cooled completely, wrap it tightly in plastic wrap or store it in an airtight container. This keeps it fresh and prevents it from drying out. For longer storage, freeze the layers individually wrapped in foil for up to three months. When ready to serve, thaw overnight in the fridge.
If frosted, cover loosely with a dome or place it under a glass cloche. Avoid refrigerating unless necessary, as cold temperatures can dry out the cake. Instead, keep it at room temperature for up to three days. Just don’t forget to protect it from curious hands—or pets!
For leftovers, slice individual portions and store them in airtight containers. This way, you can grab a piece whenever a craving strikes without disturbing the rest of the cake.
Tips and Advice
- Always use room-temperature eggs and milk for smoother batter.
- Sift your flour to avoid lumps and ensure a light texture.
- Invest in quality extracts—the flavor really shines through.
Presentation Tips
- Use a vintage cake stand to display your masterpiece.
- Decorate with edible flowers for a rustic touch.
- Top with powdered sugar or a drizzle of glaze for simplicity.
Healthier Alternative Recipes
Looking for ways to lighten up your vintage cake? Here are six ideas:
- Gluten-Free Option: Swap all-purpose flour for almond or oat flour.
- Low-Sugar Version: Reduce sugar by half and add mashed bananas for natural sweetness.
- Dairy-Free Delight: Use coconut oil instead of butter and almond milk.
- Protein-Packed Cake: Add a scoop of vanilla protein powder to the batter.
- Fruit-Infused Twist: Fold in blueberries or diced apples for added nutrition.
- Vegan Treat: Replace eggs with flaxseed meal mixed with water.
Common Mistakes to Avoid
Mistake 1: Overmixing the Batter
Overmixing develops gluten, which can make your cake dense and chewy. To avoid this, mix just until the ingredients are combined. A few lumps are okay—they’ll disappear during baking.
Mistake 2: Opening the Oven Too Soon
Resist the urge to peek! Opening the oven door too early can cause the cake to sink. Set a timer and trust the process. Pro tip: Use the oven light to check progress instead.
Mistake 3: Skipping the Cooling Step
Rushing to frost a warm cake can melt the frosting and ruin the presentation. Always let the layers cool completely before assembling. Patience pays off in the end!
FAQ
What Makes a Cake “Vintage”?
A vintage cake refers to recipes popular in past decades, known for their simplicity and rich flavors. Think 1950s cake recipes or 1930s cakes, often passed down through families.
Where Can I Find a Vintage Cake Shop?
You can find charming vintage cake shops in places like Atlantic Highlands, NJ, or even internationally in cities like Karachi. Many offer custom designs inspired by retro styles.
How Do I Choose the Right Frosting?
For a true retro cake, opt for buttercream or whipped cream frosting. Both complement the light, airy texture of old-fashioned cakes.
Can I Make This Without a Stand Mixer?
Absolutely! A hand mixer or good old-fashioned elbow grease works just fine. Just be patient and take breaks if needed.
Is There a Gluten-Free Option?
Yes, substitute all-purpose flour with a gluten-free blend. Be sure to include xanthan gum if your blend doesn’t already contain it.
What Are Some Popular Vintage Wedding Cakes?
Vintage wedding cakes often feature intricate piping, lace-like details, and pastel colors. They evoke timeless elegance and charm.
Why Use Almond Extract?
Almond extract adds depth and warmth to the flavor profile, enhancing the overall richness of the cake.
How Long Does It Last?
Stored properly, your cake can stay fresh for up to three days at room temperature or several months in the freezer.
Can Kids Help With This Recipe?
Definitely! Kids love helping measure ingredients, stir the batter, and decorate the finished product. It’s a great bonding activity.
What’s the Best Way to Serve It?
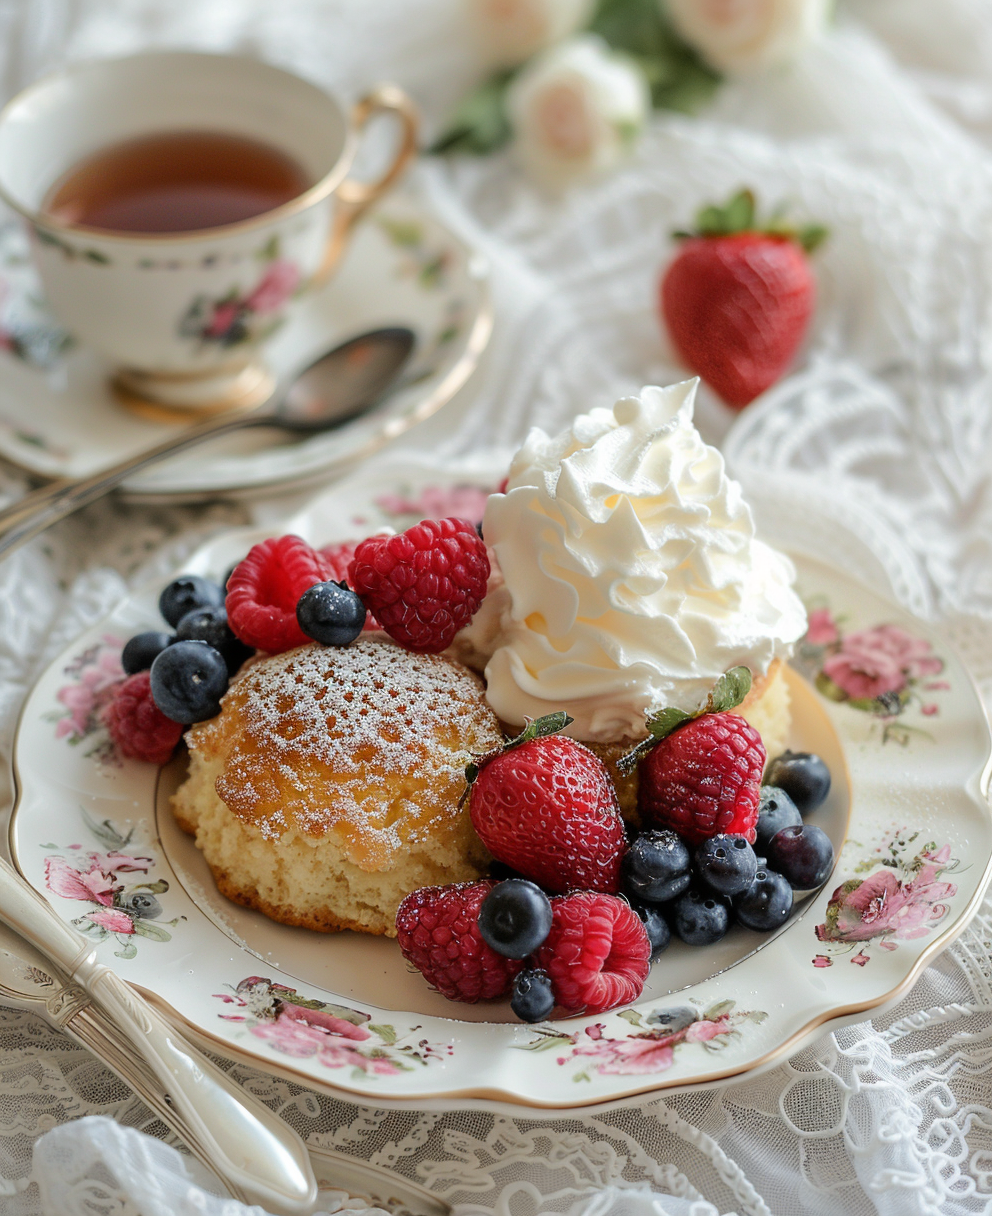
Serve slices on a vintage cake stand with a side of fresh berries or a dollop of whipped cream for an elegant touch.
Final Thoughts
Baking a vintage cake is more than just following a recipe—it’s about creating memories and savoring the past. Whether you’re whipping up a rustic cake for Sunday brunch or crafting a stunning vintage wedding cake, these timeless treats bring joy to everyone who tries them. So grab your apron, channel your inner baker, and let the magic begin. Your family and friends will thank you!
Equipment
- Mixing bowls
- Electric mixer or whisk
- Measuring cups and spoons
- Round cake pans
- Parchment paper
Ingredients
- 2 cups all-purpose flour
- 1.5 cups granulated sugar
- 0.5 cups unsalted butter, softened
- 3 large eggs
- 1 cup whole milk
- 2 teaspoons vanilla extract
- 1 teaspoon almond extract
- 2.5 teaspoons baking powder
- 0.5 teaspoon salt
Instructions
- Preheat your oven to 350°F (175°C) and grease and flour two round cake pans.
- In a large mixing bowl, cream the butter and sugar together until light and fluffy. Add the eggs one at a time, beating well after each addition.
- In another bowl, whisk together the flour, baking powder, and salt. Gradually add the dry ingredients to the wet mixture, alternating with the milk, starting and ending with the dry ingredients.
- Stir in the vanilla extract, almond extract, and lemon zest. Pour the batter into the prepared pans.
- Bake for 25-30 minutes or until a toothpick inserted in the center comes out clean. Cool the cakes in the pans for 10 minutes before transferring them to a wire rack.