
Why Vintage Wedding Cakes Are Timeless Treasures
Picture this: a towering cake adorned with intricate lace patterns, delicate pearls, and soft pastel hues that whisper elegance. That’s the magic of vintage wedding cakes. I remember my grandma pulling out her old photo albums, pointing to her own wedding cake—a simple yet stunning creation that looked like it belonged in a fairy tale. It made me wonder, what makes these cakes so special? And how can we recreate that charm today?
A Walk Through History: The Roots of Vintage Wedding Cakes
Back in the day, 1950s wedding cakes were all about opulence. They featured rich buttercream frosting, fondant drapes, and ornate decorations like fresh flowers or edible lace. But if you go further back, say to the 1920s, wedding cakes were simpler—often just white tiers with minimal embellishments. These cakes weren’t just desserts; they symbolized prosperity and love. Fast forward to today, and we see modern twists on these classics, blending rustic charm with contemporary flair. Think vintage rustic wedding cakes: wooden accents, wildflowers, and earthy tones.
Why You’ll Fall Head Over Heels for This Recipe
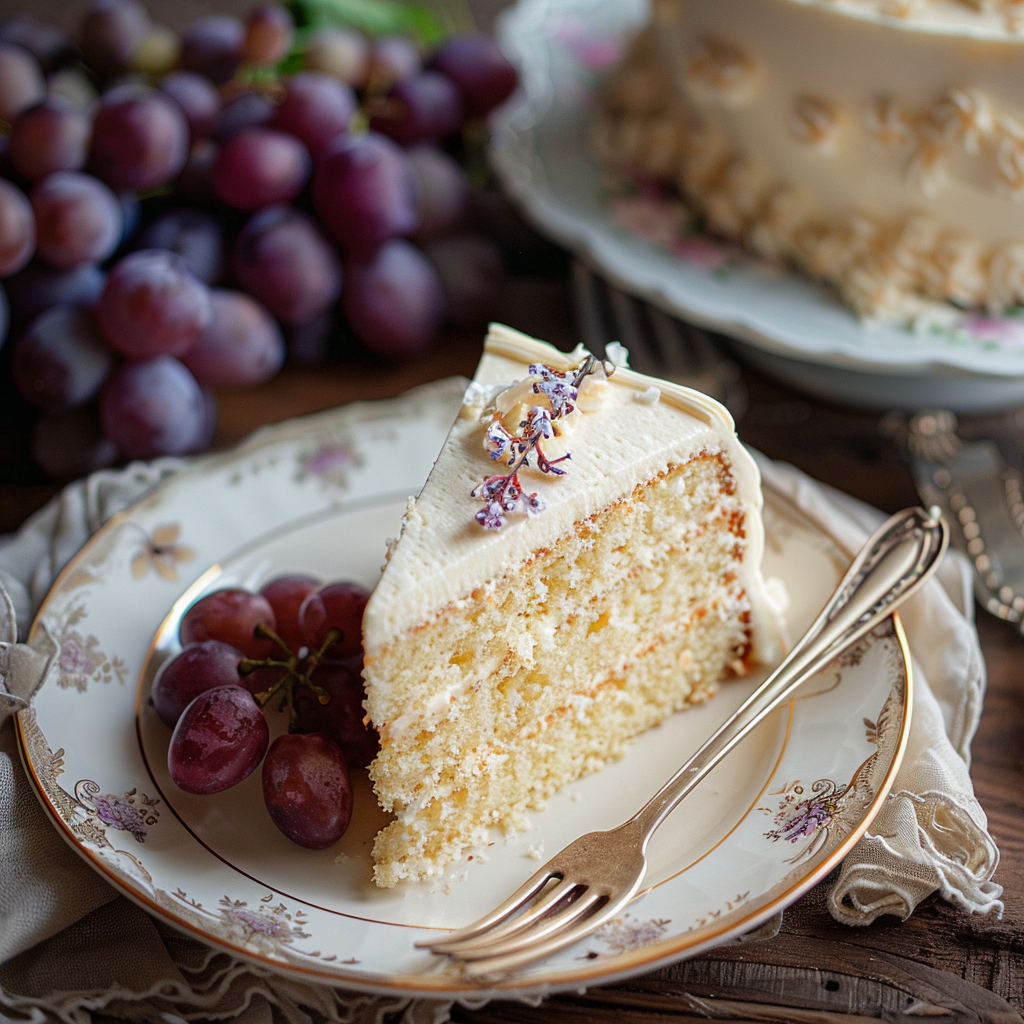
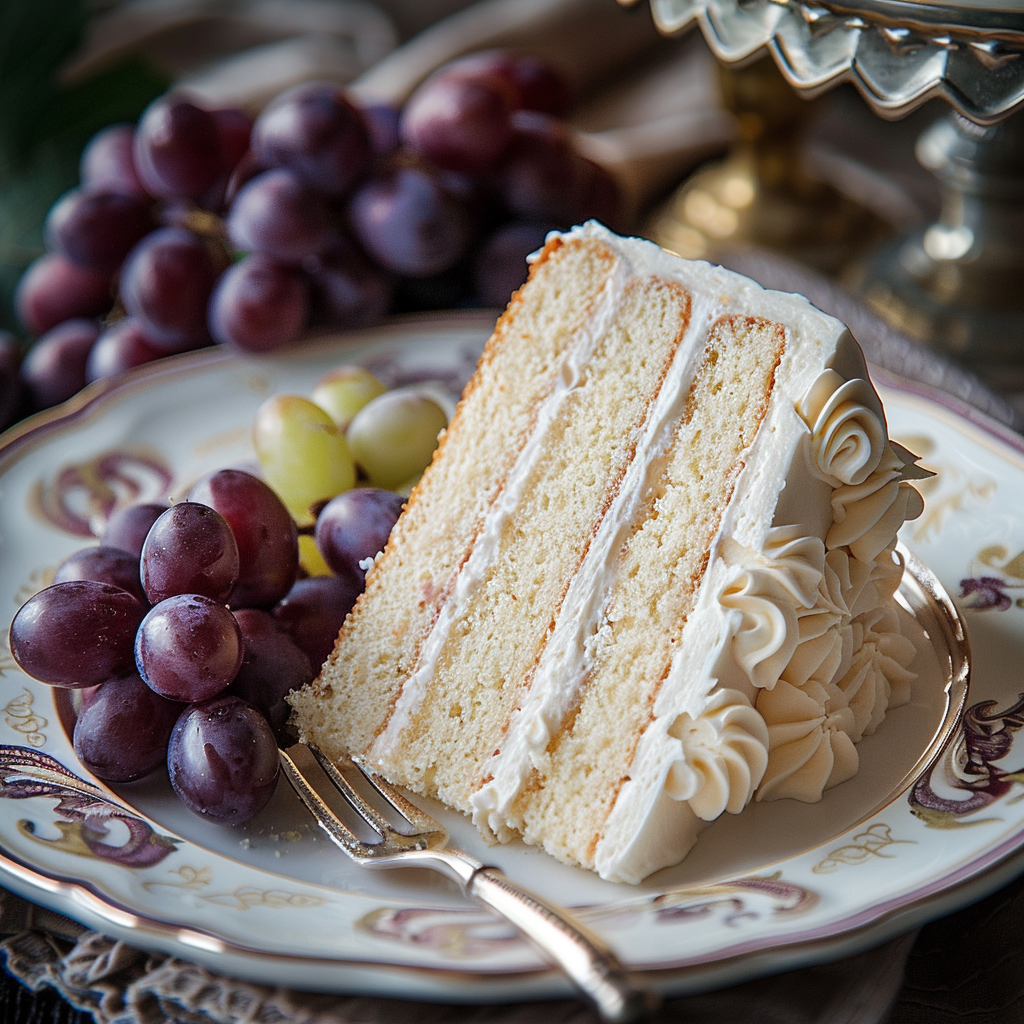
This vintage wedding cake recipe is a love letter to tradition and taste. It’s not overly complicated—perfect for home bakers who want to wow without the stress. Imagine layers of moist vanilla sponge, creamy custard filling, and smooth almond-flavored frosting. Top it off with lace-like piped designs and pearl embellishments, and you’ve got yourself a showstopper. Plus, this cake works for more than just weddings—it’s ideal for anniversaries, bridal showers, or even a fancy Sunday tea party.
Perfect Occasions to Whip Up This Masterpiece
Need an excuse to bake this beauty? Here are some ideas:
- A cozy family gathering where everyone dresses up just a little.
- An intimate engagement celebration steeped in nostalgia.
- A themed birthday bash inspired by vintage style cakes.
- A holiday feast where your dessert becomes the centerpiece.
No matter the occasion, this cake will steal the spotlight.
Ingredients You’ll Need
- 2 cups all-purpose flour
- 1 ½ cups granulated sugar
- 1 cup unsalted butter (softened)
- 4 large eggs
- 2 teaspoons baking powder
- 1 teaspoon vanilla extract
- 1 cup whole milk
- For frosting: 3 cups powdered sugar, ½ cup heavy cream, 1 teaspoon almond extract
- Decorations: edible pearls, piping gel, fondant lace appliqués
Substitution Options
If you’re missing something from the list, don’t panic! Swap out the butter for margarine, use almond milk instead of whole milk, or replace vanilla extract with lemon zest for a citrusy twist. For those avoiding dairy, coconut cream makes a fantastic alternative to heavy cream. And if edible pearls aren’t available, try silver dragées or shimmer dust for sparkle.
Preparation Section
Step 1: Preheat and Prep
Start by preheating your oven to 350°F (175°C). Grease three round cake pans and line them with parchment paper. This ensures your layers come out clean and easy to handle. Pro tip: Dusting the pans with flour after greasing helps prevent sticking.
Step 2: Mix the Batter
In a large bowl, cream the softened butter and sugar until light and fluffy. Crack in the eggs one at a time, mixing well after each addition. Add the vanilla extract for that classic aroma. In another bowl, whisk together the flour and baking powder. Gradually add the dry ingredients to the wet mixture, alternating with the milk. The batter should be thick but pourable, with a pale golden hue.
Step 3: Bake to Perfection
Pour the batter evenly into the prepared pans. Pop them into the oven and bake for 25–30 minutes, or until a toothpick inserted comes out clean. Let the cakes cool completely before frosting. Chef’s tip: Place the layers in the fridge for 15 minutes before assembling—it reduces crumbs!
Step 4: Frost Like a Pro
While the cakes chill, whip up your frosting. Combine powdered sugar, heavy cream, and almond extract in a bowl. Beat until smooth and spreadable. Spread a generous layer of frosting between each tier, then cover the entire cake with a thin crumb coat. Chill again before adding the final layer of frosting. Use a piping bag to create lace-like patterns around the edges.
Step 5: Decorate with Flair
Now for the fun part—decorating! Apply fondant lace appliqués or pipe intricate designs using royal icing. Dot edible pearls along the borders for a touch of glamour. For a truly unique look, consider adding vintage-inspired wedding cake toppers, like porcelain figurines or metallic monograms.
Timing Breakdown
Prep Time: 30 minutes
Cooking Time: 30 minutes
Resting Time: 45 minutes
Total Time: About 2 hours and 15 minutes
Chef’s Secret
To keep your frosting extra stable, chill your mixing bowl and beaters before whipping the cream. Cold tools help achieve stiff peaks faster, which is crucial for intricate piping work.
Extra Info
Did you know that Queen Victoria’s wedding cake in 1840 set the trend for multi-tiered cakes? Her frosted fruitcake was so iconic that it inspired generations of bakers worldwide. Talk about leaving a legacy!
Necessary Equipment
- Stand mixer or hand mixer
- Round cake pans (8-inch diameter)
- Piping bags and tips
- Offset spatula for smoothing frosting
- Fondant rolling pin (optional)
Storage Tips
Store your finished cake in an airtight container at room temperature for up to two days. If decorated with perishable elements like fresh flowers, refrigerate it instead. Always bring the cake back to room temperature before serving—it tastes better that way!
For longer storage, freeze individual slices wrapped tightly in plastic wrap and foil. Thaw overnight in the fridge before enjoying.
Never store your cake near strong-smelling foods, as it can absorb odors. Keep it away from direct sunlight to preserve its colors and texture.
Tips and Advice
Here are some golden rules to nail your vintage wedding cake:
- Practice your piping skills on parchment paper before tackling the real thing.
- Use a turntable for smooth frosting application—it’s a game-changer.
- Invest in quality ingredients, especially extracts and flavorings.
Healthier Alternative Recipes
Want to lighten things up? Try these variations:
- Gluten-Free Option: Replace all-purpose flour with almond or oat flour.
- Sugar-Free Delight: Use erythritol or monk fruit sweetener instead of sugar.
- Vegan Version: Substitute eggs with flaxseed meal and use plant-based butter.
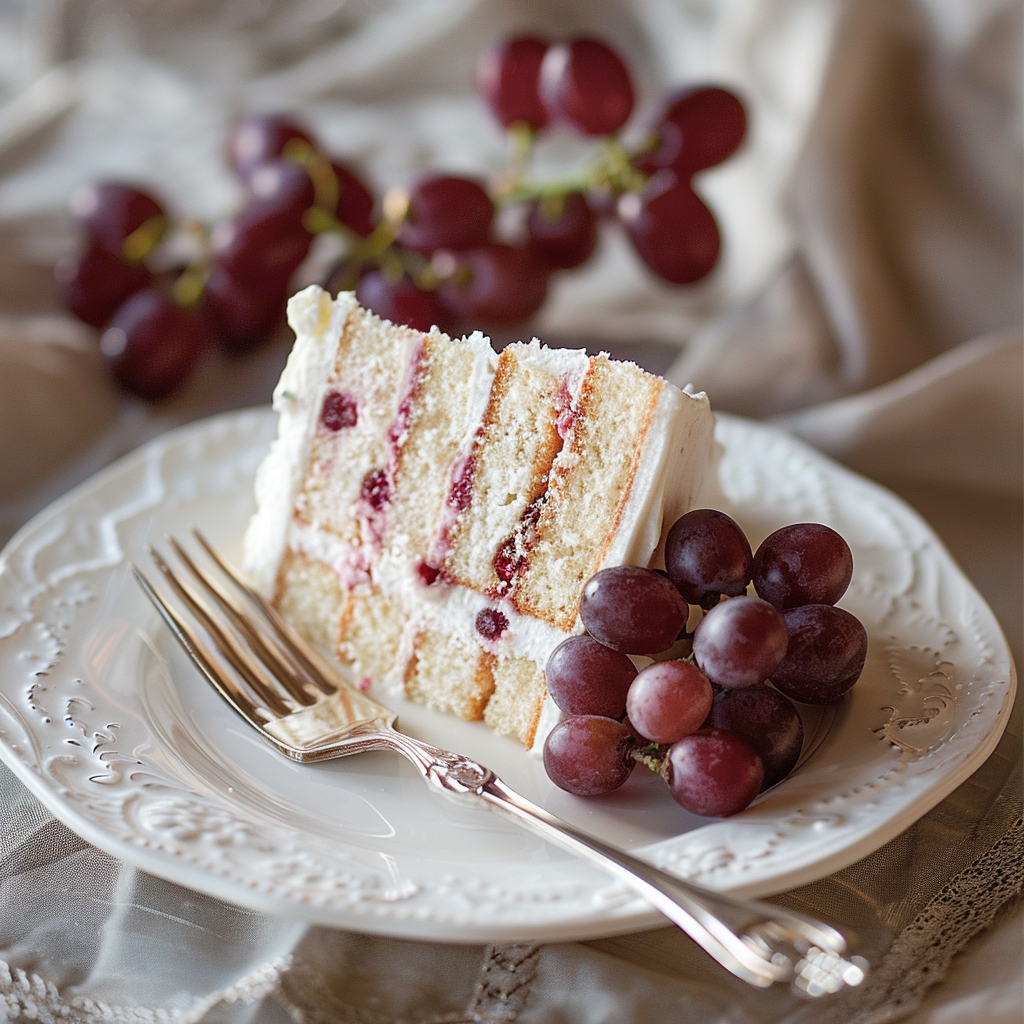
- Fruit-Infused Layers: Fold in diced strawberries or blueberries for natural sweetness.
- Low-Fat Frosting: Make whipped cream cheese frosting with Greek yogurt.
- No-Bake Cake: Layer sponge fingers with custard and top with meringue.
Common Mistakes to Avoid
Mistake 1: Skipping the Crumb Coat
Without a crumb coat, loose crumbs can ruin your frosting’s appearance. Always apply a thin base layer and chill the cake before finishing.
Mistake 2: Overloading Decorations
Less is more when it comes to decorating vintage wedding cakes. Too many embellishments can overwhelm the design. Stick to a cohesive theme.
Mistake 3: Rushing the Process
Baking and decorating take time. Don’t rush—allow enough resting periods to ensure stability and ease of handling.
FAQ
What is a vintage wedding cake?
A vintage wedding cake refers to designs inspired by past eras, often featuring intricate details like lace patterns, pearls, or floral motifs. These cakes evoke nostalgia while maintaining timeless elegance.
What did wedding cakes look like in the 1920s?
In the 1920s, wedding cakes were typically simple white tiers with minimal decoration. Some featured marzipan or fresh flowers, reflecting the era’s understated sophistication.
Can you eat a 20-year-old wedding cake?
Technically, yes—if it’s been preserved properly, such as soaked in alcohol. However, consuming aged cake isn’t recommended due to potential spoilage or loss of flavor.
What are vintage style cakes called?
Vintage style cakes are often referred to as retro cakes or heritage cakes, depending on their specific era of inspiration.
How do I choose the right topper?
Select a topper that complements your cake’s theme. For example, vintage wedding cake toppers might include porcelain figurines or metallic initials.
Where can I find lace appliqués?
Check specialty baking stores or online retailers for edible fondant lace appliqués. Silicone molds also let you create custom designs.
Is fondant necessary?
No, fondant isn’t mandatory. Buttercream works beautifully for simple wedding cakes, offering a softer finish.
What flavors pair well with vintage designs?
Classic flavors like vanilla, almond, and lemon pair wonderfully with vintage aesthetics. Consider adding hints of lavender or rosewater for extra charm.
How tall should my cake be?
Aim for at least three tiers for a traditional look. Adjust height based on guest count and venue space.
Can I make this ahead?
Absolutely! Bake and freeze the layers up to a month in advance. Assemble and decorate closer to the event date.
Final Thoughts
There’s something magical about creating a vintage wedding cake. Whether you’re honoring tradition or crafting your own spin on history, this dessert tells a story. With patience, creativity, and a sprinkle of love, you can bring timeless elegance to life—one slice at a time. So grab your apron, channel your inner baker, and let’s get started!
Equipment
- Stand mixer or hand mixer
- Round cake pans (8-inch diameter)
- Piping bags and tips
- Offset spatula
- Fondant rolling pin (optional)
Ingredients
- 2 cups all-purpose flour
- 1.5 cups granulated sugar
- 1 cup unsalted butter (softened)
- 4 large eggs
- 2 teaspoons baking powder
- 1 teaspoon vanilla extract
- 1 cup whole milk
Instructions
- Preheat your oven to 350°F (175°C) and grease three round cake pans, lining them with parchment paper.
- In a large bowl, cream the softened butter and granulated sugar until light and fluffy. Add eggs one at a time, mixing well after each addition, and then add the vanilla extract.
- In another bowl, whisk together the flour and baking powder, and gradually add this dry mixture to the wet ingredients, alternating with the milk until a thick but pourable batter forms.
- Pour the batter evenly into the prepared pans and bake for 25–30 minutes, or until a toothpick inserted comes out clean. Let the cakes cool completely.
- Prepare the frosting by combining powdered sugar, heavy cream, and almond extract in a bowl. Beat until smooth and spreadable.
- Spread a generous layer of frosting between each cake layer, then apply a thin crumb coat over the entire cake and chill.
- Apply the final layer of frosting and use a piping bag to create lace-like patterns around the edges, garnishing with edible pearls and any additional decorations.
Notes
Nutrition

Hi, I’m Olivia Parker, the founder of BakingSecret.com and a lifelong lover of all things sweet and homemade. I grew up in a small town in Oregon, where the smell of fresh cookies in my family’s kitchen sparked my passion for baking. Over the years, I turned that passion into a mission: to help home bakers feel confident, inspired, and creative.
After studying food science and working in several artisan bakeries across the U.S., I decided to create a space where everyone from beginners to seasoned bakers can find reliable recipes, expert tips, and a warm, welcoming community. BakingSecret.com is my way of sharing the magic of baking with the world. When I’m not testing new recipes, you’ll find me exploring farmers’ markets, collecting vintage cookbooks, or perfecting my sourdough technique.