
Introduction
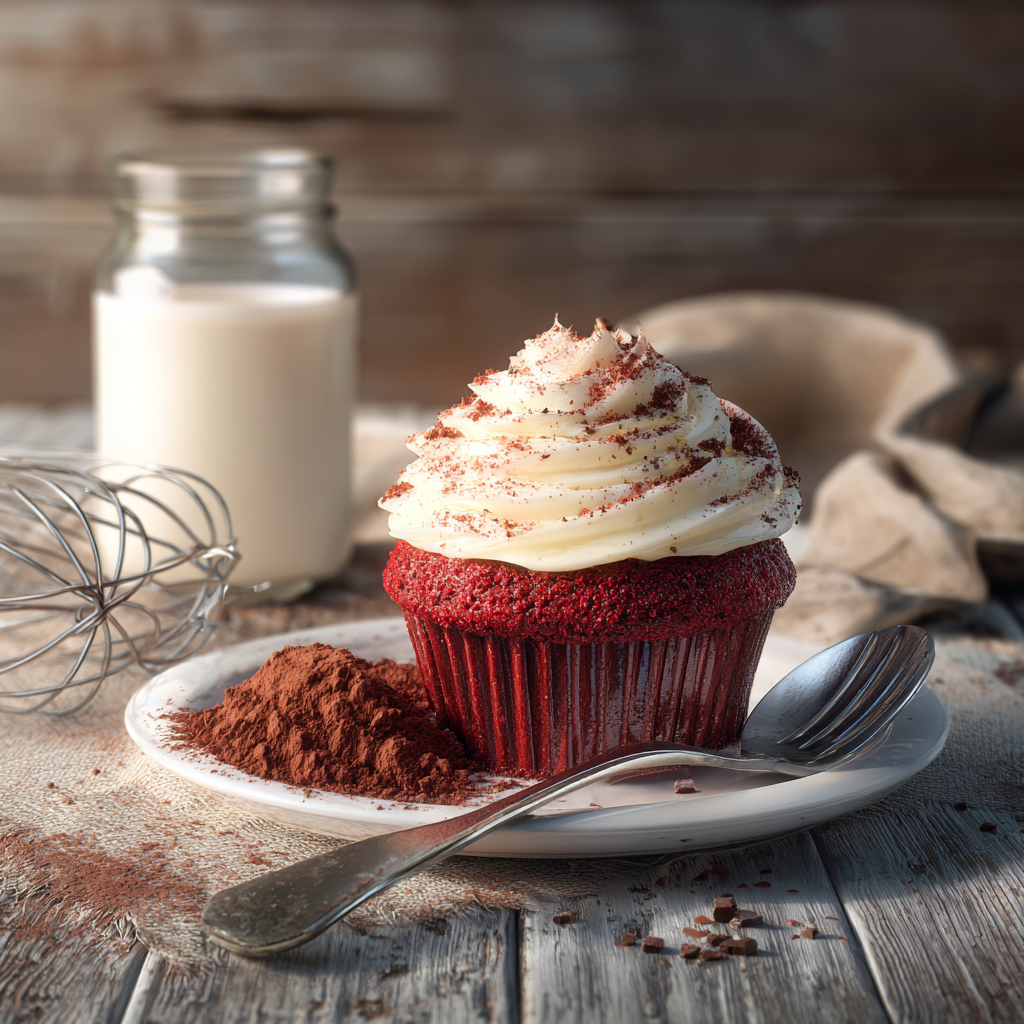
I still remember the first time I tasted a red velvet cupcake. The rich, velvety texture paired with cream cheese frosting felt like pure magic. It’s no wonder these cupcakes have earned their spot as a timeless favorite for birthdays, holidays, or just-because treats. But here’s the thing: most classic recipes call for buttermilk, and if you’re anything like me, there’s a good chance you don’t always have it in your fridge.
Finding yourself out of buttermilk can feel like hitting a roadblock when you’re craving something sweet. Trust me, I’ve been there. But guess what? You don’t need to let that stop you from baking up a batch of moist red velvet cupcakes. Today, I’m sharing a red velvet cupcake recipe without buttermilk that’s simple, delicious, and perfect for any occasion. Let’s dive in!
Why Skip Buttermilk? Is It Necessary?
Is buttermilk really necessary for cupcakes? Not at all. While traditional recipes often include it, you can absolutely make amazing red velvet cupcakes without vinegar or buttermilk. So, what does buttermilk do anyway? In red velvet cake, it adds a touch of tenderness and enhances the flavor profile by reacting with other ingredients like baking soda. This reaction helps the cupcakes rise and stay soft.
But don’t worry—skipping buttermilk doesn’t mean sacrificing quality. With a few smart tweaks, you can create a simple red velvet cupcake recipe without buttermilk that delivers the same moist texture and rich taste. Whether you’re baking for a party or just treating yourself, this recipe has got you covered.
Substitutes for Buttermilk in Red Velvet Cake
What is a substitute for buttermilk in red velvet cake? There are plenty of options, and they work beautifully. Here’s a quick rundown:
- Yogurt: Greek yogurt or plain yogurt mixed with a little milk mimics buttermilk’s creaminess.
- Sour Cream: Its tangy flavor and thick texture make it an excellent stand-in.
- Milk + Lemon Juice: Add a tablespoon of lemon juice to one cup of milk, let it sit for five minutes, and voilà—you’ve got a DIY alternative.
These substitutes work because they replicate buttermilk’s acidity and richness. This acidity interacts with baking soda to give your cupcakes lift and fluffiness. Plus, they keep your red velvet cupcakes moist without requiring you to buy an entire carton of buttermilk you might not use again.
If you’re wondering about recipes from pros like Paula Deen or Nigella Lawson, they often rely on buttermilk for depth. But even they would agree that creativity in the kitchen means finding solutions that work for you. That’s why this red velvet cupcake recipe UK-friendly version uses everyday pantry staples instead.
So go ahead and try making these cupcakes with one of these easy swaps. By the time you pull them out of the oven, no one will guess you didn’t use buttermilk. And who knows? You might just prefer this method moving forward.
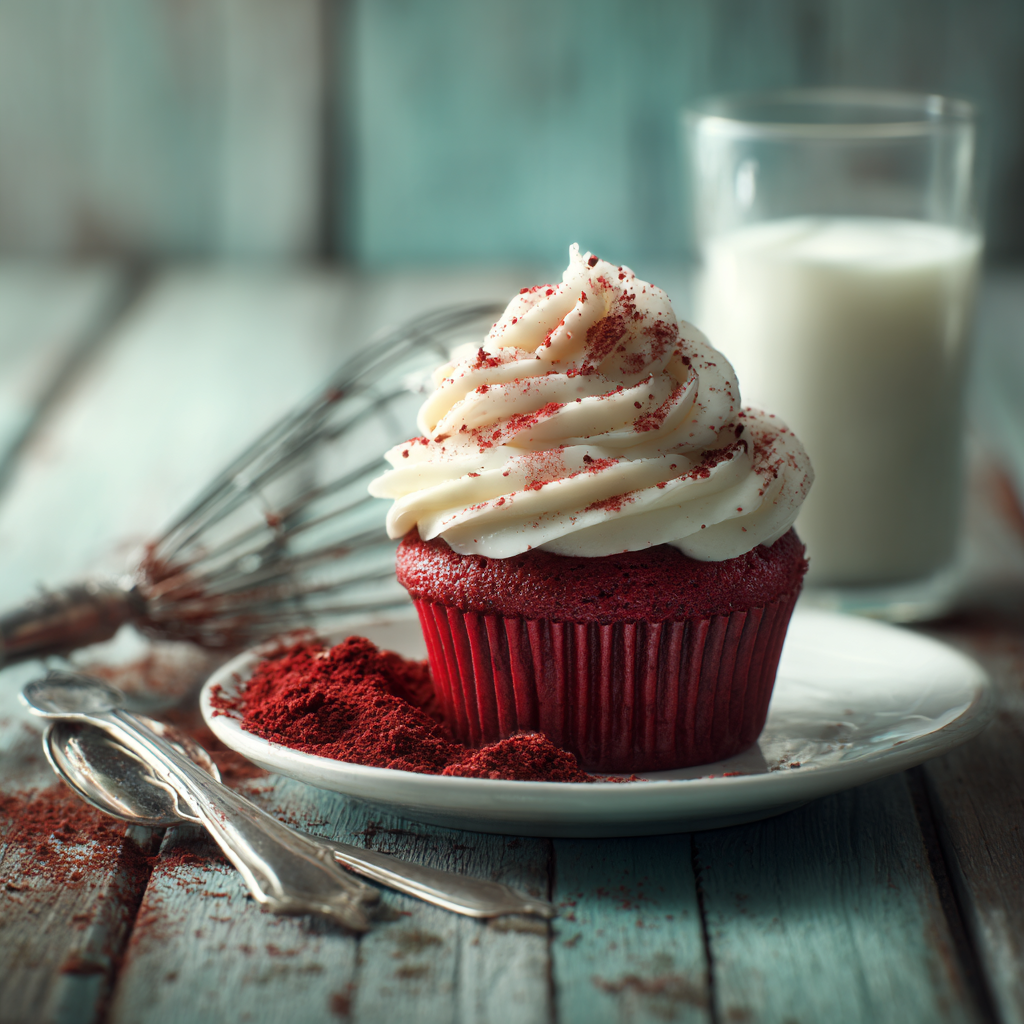
My Go-To Red Velvet Cupcake Recipe Without Buttermilk
Alright, let’s get into the good stuff. Now that we’ve covered why buttermilk isn’t a dealbreaker and what you can use instead, it’s time to roll up our sleeves and bake. I’ve made this recipe countless times—whether for birthday parties or just because I needed a little pick-me-up—and it never disappoints. Trust me, these cupcakes are so moist and flavorful, they’ll have your friends asking for the secret ingredient. Spoiler alert: there isn’t one. It’s just smart baking.
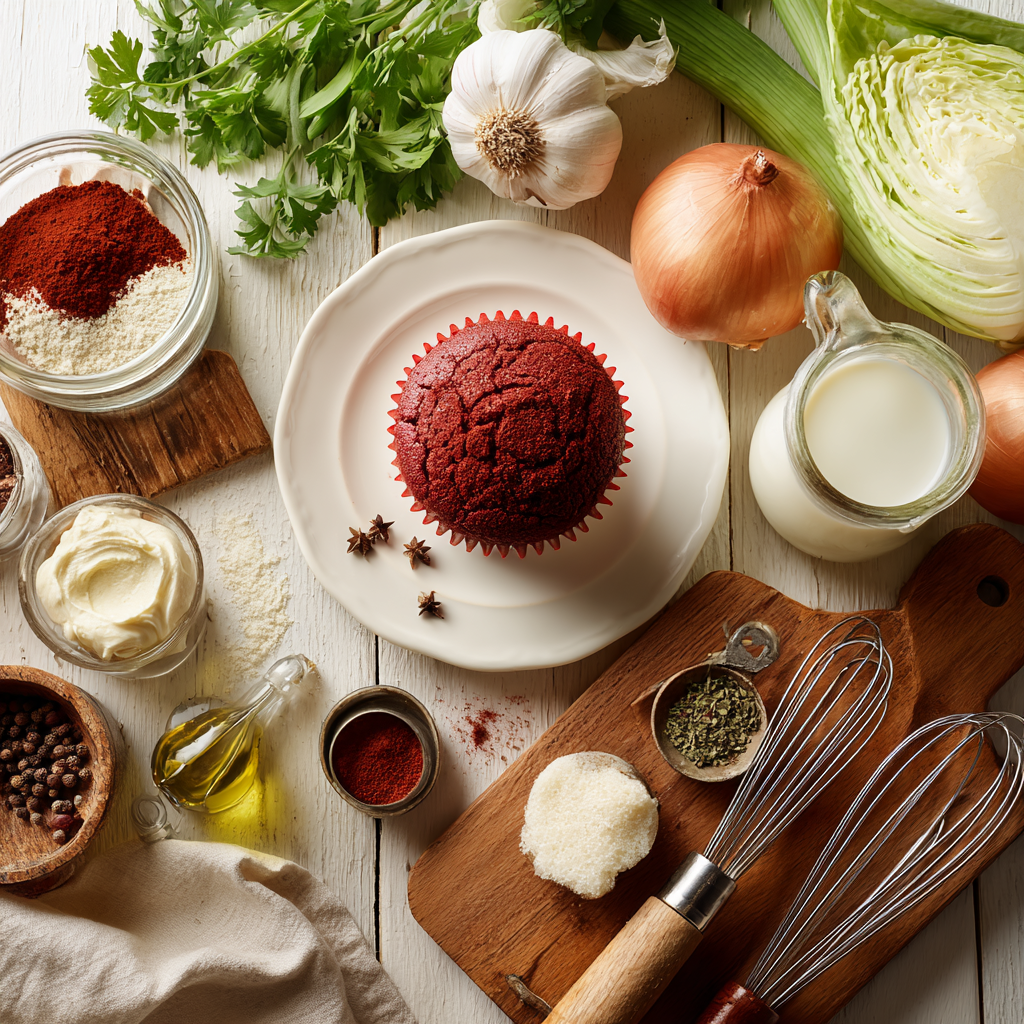
Ingredients You’ll Need
So, here’s the lineup. All of these are super easy to find, and chances are, you’ve got most of them in your pantry already. If not, a quick trip to the store will do the trick. No fancy ingredients required!
– 1 and 1/2 cups all-purpose flour
– 1 cup granulated sugar
– 1 teaspoon baking soda
– 1/2 teaspoon salt
– 1 tablespoon unsweetened cocoa powder
Wet Ingredients:
– 1 cup whole milk (or any milk you prefer)
– 1 tablespoon lemon juice (this acts as our DIY acid substitute!)
– 1/2 cup vegetable oil
– 2 large eggs
– 1 teaspoon vanilla extract
– 1 tablespoon red food coloring (gel works best, but liquid is fine too)
For the Frosting:
– 8 ounces cream cheese, softened
– 1/2 cup unsalted butter, softened
– 4 cups powdered sugar
– 1 teaspoon vanilla extract
See? Nothing crazy here. And if you’re worried about finding red food coloring, don’t stress—I’ve been there too. Most grocery stores stock it year-round near the baking aisle. Oh, and if you’re looking for other fun flavors to experiment with, check out this purple yam cupcake recipe. It’s a total game-changer.
Step-by-Step Instructions
Let’s break this down step by step. Baking might seem intimidating if you’re new to it, but trust me, this recipe is foolproof. Plus, I’ll share some tips along the way to keep your cupcakes extra moist and delicious.
First things first, preheat your oven to 350°F (175°C). Line a muffin tin with cupcake liners—I always go for the cute ones because presentation matters, right?
Step 1: Prep Your “Buttermilk” Substitute
In a small bowl, mix the milk and lemon juice together. Let it sit for about five minutes while you gather everything else. This little trick mimics buttermilk perfectly, giving your cupcakes that tender crumb we all love. Funny enough, I used to think this was cheating until I realized how many pro bakers swear by it.
Step 2: Combine Dry Ingredients
Grab a medium-sized mixing bowl and whisk together the flour, sugar, baking soda, salt, and cocoa powder. Make sure everything is evenly distributed. By the way, don’t skip the cocoa powder—it adds depth to the flavor without overpowering the signature red velvet taste.
Step 3: Mix Wet Ingredients
In another bowl, combine the milk mixture, vegetable oil, eggs, vanilla extract, and red food coloring. Give it a good stir until everything looks smooth and vibrant. Pro tip: if you want a deeper red color, use gel food coloring. Liquid works fine, but sometimes it takes more than expected to get that classic shade.
Step 4: Bring It All Together
Now comes the fun part. Slowly pour the wet ingredients into the dry ones, mixing gently as you go. Be careful not to overmix—that’s a rookie mistake that leads to dense cupcakes. A few lumps are totally okay. Once combined, divide the batter evenly among the cupcake liners, filling each about 2/3 full.
Step 5: Bake and Cool
Pop those babies in the oven for 18–20 minutes. To check if they’re done, insert a toothpick into the center of a cupcake. If it comes out clean, you’re golden. Let them cool completely before frosting—I know it’s tempting to dive in early, but patience pays off here.
Tips for Keeping Them Moist
Here’s the thing: no one likes a dry cupcake. To ensure yours stay soft and dreamy, make sure you measure your flour correctly. Too much flour equals dense cupcakes, and nobody wants that. Also, resist the urge to open the oven door while they’re baking. Heat loss can mess with the rise.
If you’re feeling adventurous, try swapping out half the flour for almond flour. It’s a trick I picked up from a friend who shared her milk-free cupcake recipe, and it works wonders for adding moisture. Just saying!
Comparing Recipes: UK vs. USA Style
By the way, did you know there’s a slight difference between American-style red velvet cupcakes and those popular in the UK? In the US, recipes tend to lean sweeter and richer, often using cream cheese frosting like mine. Over in the UK, though, some bakers opt for a lighter touch, sometimes even skipping frosting altogether. Personally, I’m team frosting every day of the week.
Famous chefs like Paula Deen and Nigella Lawson have their own spins on red velvet. Paula’s version is decadent and indulgent, which makes sense given her Southern roots. Meanwhile, Nigella brings an elegant simplicity to hers, focusing on the cake’s natural flavors. Both approaches are fantastic, but I wanted to create something inspired by both styles—a happy medium, if you will.
Speaking of twists, if you’re ever in the mood to switch things up, give taro cupcakes a shot. They’re a unique take on purple desserts and pair beautifully with cream cheese frosting. Seriously, it’s like red velvet’s exotic cousin.
At the end of the day, whether you’re baking for a crowd or just treating yourself, this red velvet cupcake recipe without buttermilk has got you covered. It’s simple, reliable, and oh-so-delicious. So grab your apron, crank up the music, and let’s get baking!
Tips for Perfect Red Velvet Cupcakes Every Time
Alright, let’s get into the nitty-gritty of making your red velvet cupcakes absolutely flawless. Sure, you’ve got the recipe down, but there are a few tricks I’ve picked up over the years that can take your baking game to the next level. These tips aren’t groundbreaking, but they’re little things that make a big difference.
First off, avoid overmixing your batter. I know it’s tempting to keep stirring until everything looks perfectly smooth, but resist the urge. Overmixing develops gluten, which makes your cupcakes tough instead of tender. Think of it like this: your batter should look slightly lumpy, like cookie dough—not pancake batter. If you’re worried about undermixing, just scrape the bowl a couple of times and call it good.
Another pro tip? Use room-temperature eggs. This might sound like a small detail, but it matters. Cold eggs don’t incorporate as well into the batter, and you want everything to blend seamlessly for that velvety texture. Funny enough, I used to skip this step all the time until one day I forgot to take my eggs out of the fridge early enough. The difference was noticeable—trust me.
Oh, and here’s something I learned the hard way: always preheat your oven properly. You’d think this goes without saying, but we’ve all been guilty of sliding our cupcakes in before the oven hits the right temperature. It messes with the rise and can leave you with uneven baking. Set a timer if you need to—it’s worth the extra minute or two.
Get Creative with Add-Ins
While the classic red velvet cupcake is perfection on its own, sometimes it’s fun to jazz things up. For instance, have you ever tried adding mini chocolate chips to the batter? They melt slightly during baking and create these gooey pockets of chocolate goodness. Or, if you’re feeling adventurous, fold in some finely chopped white chocolate chunks for a sweet twist.
Cream cheese frosting is pretty much non-negotiable for red velvet, but why not take it up a notch? Swirl a teaspoon of lemon zest into the frosting for a zingy kick, or mix in a splash of almond extract for a subtle nutty flavor. Personally, I love piping the frosting high and topping it with a sprinkle of cocoa powder or crushed freeze-dried raspberries. It adds a pop of color and an extra layer of taste.
And hey, if you’re experimenting, check out this collection of cake and cupcake recipes. There’s inspiration galore for anyone looking to branch out beyond the basics.
Moisture Matters: Keep Those Cupcakes Dreamy
Let’s talk moisture again because, honestly, no one wants a dry cupcake. One trick I swear by is brushing the cooled cupcakes lightly with simple syrup before frosting them. Sounds fancy, right? All you do is dissolve equal parts sugar and water over low heat, then let it cool. A light brush of this syrup locks in moisture and gives your cupcakes a bakery-worthy finish.
If you’re aiming for super-moist results, try swapping out half the granulated sugar for brown sugar. The molasses in brown sugar adds a hint of richness and helps retain moisture. Plus, it complements the cocoa powder beautifully. By the way, did you catch how we skipped buttermilk entirely and still nailed that moist texture? Pretty cool, huh?
Lastly, don’t skimp on the oil. Vegetable oil might seem basic, but it’s what keeps these cupcakes so soft. Butter has its place, but in red velvet, oil is king. It distributes evenly throughout the batter, ensuring every bite is tender and rich.
Frequently Asked Questions (FAQ)
What is a substitute for buttermilk in red velvet cake?
You’ve got options! Yogurt, sour cream, or even a milk-and-lemon-juice combo works wonders. Each adds acidity and creaminess, mimicking buttermilk’s role in creating fluffy cupcakes. Greek yogurt is my personal favorite—it’s thick and tangy, just like buttermilk.
Can you make red velvet cupcakes without buttermilk?
Absolutely! As long as you use a suitable substitute, your cupcakes will turn out moist and delicious. In fact, many bakers prefer alternatives because they’re easier to have on hand. Try it—you won’t miss the buttermilk at all.
Is buttermilk necessary for cupcakes?
Not really. While it helps with tenderness and rise, you can achieve similar results with other ingredients. Substitutes like yogurt or sour cream work just as well, proving that flexibility in baking is key.
What does buttermilk do in red velvet?
Buttermilk reacts with baking soda to help the cupcakes rise and stay soft. Its acidity also balances the sweetness and enhances the cocoa flavor. That said, substitutes perform the same magic, so don’t stress if you don’t have it.
Why is my red velvet cupcake dry?
Dry cupcakes usually happen when too much flour is used or the batter is overmixed. Measure your flour carefully and stop mixing once the ingredients are combined. Adding a bit of oil or brown sugar can also prevent dryness.
Can I use boxed cake mix for red velvet cupcakes?
Sure thing! Boxed mixes are convenient and can still yield tasty results. Just doctor it up with extra vanilla, a splash of milk, or even melted chocolate to elevate the flavor. Frosting makes all the difference too!
How do I store red velvet cupcakes?
Keep them in an airtight container at room temperature for up to two days. For longer storage, refrigerate them—but bring them back to room temp before serving for the best texture.
What food coloring is best for red velvet?
Gel food coloring gives the deepest, most vibrant red. Liquid works fine, but you’ll need more of it to achieve the same intensity. Start small and adjust as needed.
Can I freeze red velvet cupcakes?
Yes! Freeze them unfrosted in a single layer, then wrap tightly in plastic wrap and foil. Thaw overnight in the fridge and frost before serving. They’ll taste just as fresh.
Why is red velvet red anyway?
The red comes from the reaction between cocoa powder and acidic ingredients like vinegar or buttermilk. Historically, natural cocoa contained anthocyanins that turned reddish when mixed with acid. Nowadays, we add food coloring for that iconic hue.
Final Thoughts
Baking is more than just following a recipe—it’s about creativity, experimentation, and enjoying the process. With this red velvet cupcake recipe without buttermilk, you’ve got the tools to whip up something truly special. Whether you stick to the classic version or throw in some fun twists, remember that the joy is in the journey.
So grab your apron, crank up your favorite playlist, and bake with confidence. And hey, if you nail it—or even if you don’t—I’d love to hear about it. Share your stories, tips, or questions in the comments below. Happy baking! 🧁❤️
Equipment
- Muffin Tin
- Mixing Bowls
- Whisk
- Measuring Cups and Spoons
- Cupcake Liners
- Toothpick
Ingredients
- 1 and 1/2 cups all-purpose flour
- 1 cup granulated sugar
- 1 teaspoon baking soda
- 1/2 teaspoon salt
- 1 tablespoon unsweetened cocoa powder
- 1 cup whole milk (or any milk you prefer)
- 1 tablespoon lemon juice
- 1/2 cup vegetable oil
- 2 large eggs
- 1 teaspoon vanilla extract
- 1 tablespoon red food coloring (gel preferred)
- 8 ounces cream cheese, softened
- 1/2 cup unsalted butter, softened
- 4 cups powdered sugar
- 1 teaspoon vanilla extract (for frosting)
Instructions
- Preheat your oven to 350°F (175°C) and line a muffin tin with cupcake liners.
- In a small bowl, mix the milk and lemon juice together and let it sit for about five minutes.
- In a medium-sized mixing bowl, whisk together the flour, sugar, baking soda, salt, and cocoa powder.
- In another bowl, combine the milk mixture, vegetable oil, eggs, vanilla extract, and red food coloring, and stir until smooth.
- Gradually pour the wet ingredients into the dry ingredients, mixing gently until combined (don’t overmix).
- Divide the batter evenly among the cupcake liners, filling each about 2/3 full.
- Bake for 18–20 minutes, or until a toothpick inserted into the center comes out clean. Let them cool completely before frosting.
Notes
Nutrition

Hi, I’m Olivia Parker, the founder of BakingSecret.com and a lifelong lover of all things sweet and homemade. I grew up in a small town in Oregon, where the smell of fresh cookies in my family’s kitchen sparked my passion for baking. Over the years, I turned that passion into a mission: to help home bakers feel confident, inspired, and creative.
After studying food science and working in several artisan bakeries across the U.S., I decided to create a space where everyone from beginners to seasoned bakers can find reliable recipes, expert tips, and a warm, welcoming community. BakingSecret.com is my way of sharing the magic of baking with the world. When I’m not testing new recipes, you’ll find me exploring farmers’ markets, collecting vintage cookbooks, or perfecting my sourdough technique.