
Introduction
I still remember the first time I tried a cheesecake factory red velvet cupcake recipe. It was love at first bite. The rich, velvety cake paired perfectly with the smooth cream cheese frosting. I knew I had to recreate it at home. These cupcakes are more than just dessert—they’re an experience. If you’ve ever wondered what makes them so special, you’re in for a treat.
Red velvet cupcakes have become a fan favorite for good reason. Their striking color and unique flavor make them stand out. In this article, you’ll learn how to make these iconic cupcakes step by step. I’ll also share tips on getting the texture and taste just right. Whether you’re a seasoned baker or a beginner, you’ll find this guide easy to follow.
What Makes the Cheesecake Factory Red Velvet Cupcakes Special?
The magic of these cupcakes lies in their balance. The cake is soft, moist, and slightly chocolatey, thanks to a hint of cocoa powder. Topped with a generous swirl of tangy cream cheese frosting, every bite feels indulgent yet not overly sweet. The bright red color adds a festive touch that makes them perfect for any occasion.
So, what gives these cupcakes their signature flavor? Let’s break it down:
- Cocoa Powder: A small amount adds depth without overpowering the sweetness.
- Buttermilk: This ingredient keeps the cake tender and moist while adding a subtle tang.
- Vinegar: Combined with buttermilk, it creates a chemical reaction that enhances the texture.
- Red Food Coloring: The vibrant hue is iconic and sets red velvet apart from other cakes.
- Cream Cheese Frosting: Rich, creamy, and slightly tangy, it ties everything together.
If you’ve ever asked yourself, “What are the ingredients in Cheesecake Factory red velvet cake?”—you now have your answer. These simple yet carefully chosen components work together to create something unforgettable.
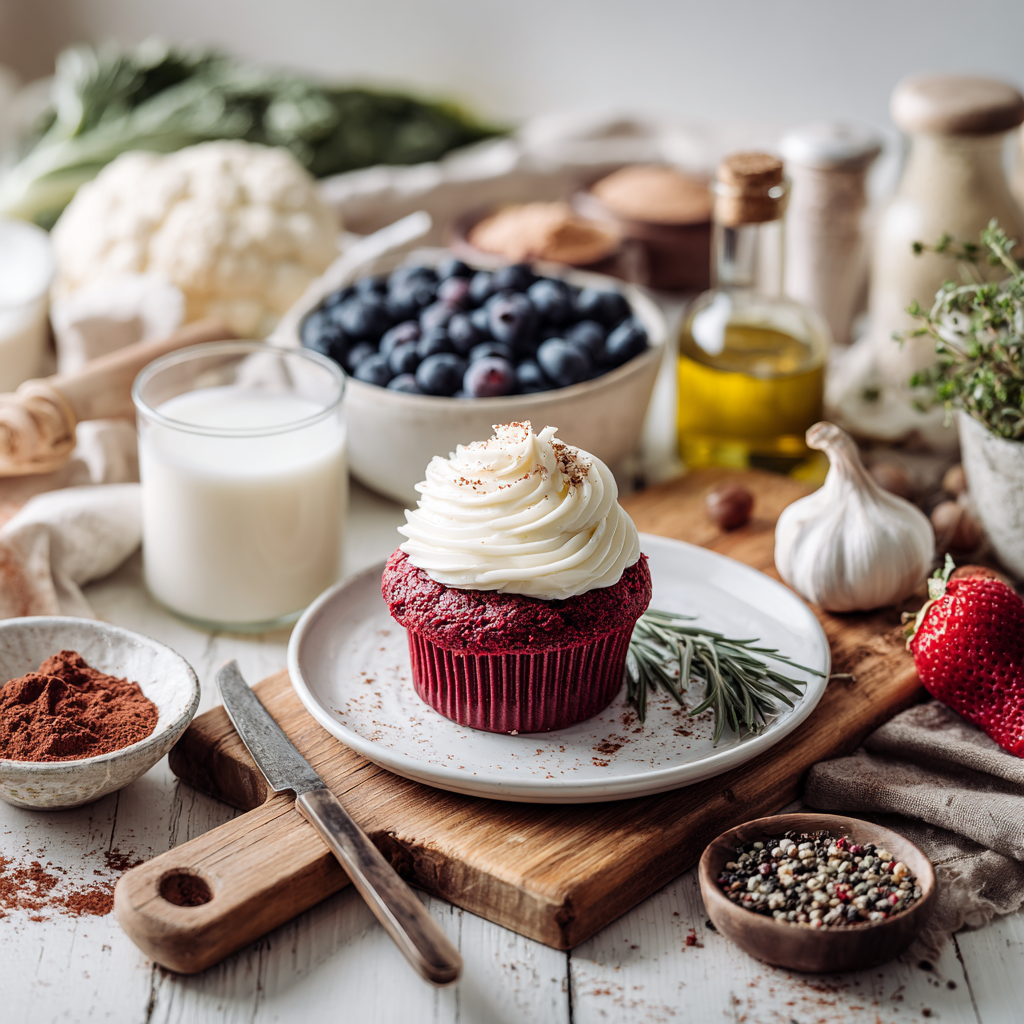
Key Ingredients You’ll Need
Before diving into the recipe, let’s talk about the essentials. Knowing what goes into your cupcakes ensures success. Here’s a list of basic ingredients you’ll need:
- Flour: All-purpose flour provides structure for the cake.
- Sugar: Adds sweetness and helps keep the cupcakes moist.
- Eggs: Bind the ingredients and add richness.
- Buttermilk: Keeps the crumb tender and balances the flavors.
- Cocoa Powder: Just enough to give a hint of chocolate.
- Red Food Coloring: For that classic red velvet look.
- Vinegar: Helps activate the leavening agents for a light texture.
While these basics will get you started, there are ways to take your cupcakes up a notch. Consider using premium vanilla extract instead of artificial flavoring. Or try swapping regular cream cheese for full-fat mascarpone in the frosting for an extra luxurious finish.
Answering another common question—”What are the ingredients in red velvet cupcakes?”—is straightforward. At their core, they’re made with simple pantry staples. But don’t underestimate the power of quality ingredients. Fresh buttermilk and real butter can make all the difference in taste and texture.
For those wondering if the Cheesecake Factory bakes their cheesecakes (and presumably their cupcakes), the answer is yes. Everything is baked fresh, which is one reason their desserts shine. Bringing that same care into your kitchen means paying attention to details like mixing times and oven temperature.
By now, you’re probably eager to start baking. With these key ingredients ready, you’re well on your way to making show-stopping cheesecake factory red velvet cupcake recipe treats. Keep reading for step-by-step instructions and pro tips to nail the process.
Step-by-Step Guide to Making the Cupcakes
Alright, let’s dive into the fun part—actually making these cheesecake factory red velvet cupcake recipe gems. Trust me, once you get the hang of it, you’ll be whipping these up for every occasion. Or maybe just because you’re craving something sweet (no judgment here!).
First things first: gather your ingredients. You already know the basics from earlier, but now it’s time to put them to work. Start by preheating your oven to 350°F. Grab a muffin tin and line it with cupcake liners. I like using parchment liners because they make cleanup a breeze.
To prepare the batter, start by mixing your dry ingredients in one bowl—flour, sugar, cocoa powder, baking soda, and a pinch of salt. In another bowl, whisk together the wet ingredients: eggs, buttermilk, oil, vanilla extract, vinegar, and that all-important red food coloring. Now, here’s where things get interesting. The amount of food coloring is key to achieving that iconic red color. Some people skimp on it, but if you want bold, vibrant cupcakes, don’t hold back. Use gel-based coloring for a more concentrated hue—it’s what the pros use!
Once your wet and dry mixtures are ready, gently combine them. Here’s the thing about red velvet batter: overmixing is the enemy. Stir just until everything comes together. Overmixing can lead to dense cupcakes, and nobody wants that. Think of it like folding dough for biscuits—you want to handle it as little as possible to keep things light and airy. By the way, this is also why I recommend using a stand mixer only for the wet ingredients; switch to a spatula when combining everything.
Now, onto baking. Spoon the batter into your prepared muffin tin, filling each liner about two-thirds full. This gives the cupcakes room to rise without spilling over. Pop them into the oven and set a timer for 18–20 minutes. To check if they’re done, insert a toothpick into the center of a cupcake. If it comes out clean or with just a few crumbs, you’re golden. Let them cool completely before frosting—this is crucial. Warm cupcakes will melt your frosting faster than you can say “red velvet.”
Funny enough, I’ve had friends ask me, “Do Cheesecake Factory bake their cheesecakes?” Yes, they do. Everything is baked fresh, which is part of their charm. But hey, we’re focusing on their red velvet cupcakes today, so let’s get back to business.
Crafting the Perfect Cream Cheese Frosting
Let’s talk frosting because, honestly, it’s what makes these cupcakes shine. Sure, the cake is amazing, but that tangy-sweet cream cheese frosting? That’s the star of the show. Here’s how I nail it every time:
Start with softened cream cheese and butter. Don’t microwave them to soften—just leave them out on the counter for an hour or so. Beat them together until smooth and fluffy. Then, gradually add powdered sugar, a little at a time, while mixing on low speed. Once all the sugar is incorporated, crank up the speed and whip it until it’s light and airy. Add a splash of vanilla extract for extra flavor. If you want to go the extra mile, swap half the cream cheese for mascarpone like I mentioned earlier. It adds a luxurious richness that’s hard to beat.
Now, here’s where the magic happens. Piping the frosting onto the cupcakes gives them that bakery-worthy finish. Use a piping bag fitted with a large star tip for those classic swirls you see at the Cheesecake Factory. Hold the bag perpendicular to the cupcake and apply even pressure as you move in a circular motion. It takes a bit of practice, but even messy swirls taste just as good. Pro tip: chill the frosted cupcakes for 15–20 minutes before serving. This helps the frosting set and makes them easier to transport.
Speaking of other recipes, have you ever tried Just Desserts red velvet cupcakes? People often wonder what sets them apart. Honestly, the differences are subtle. Both use similar base ingredients, but Just Desserts tends to lean heavier on the cocoa powder, giving their cupcakes a slightly deeper chocolate flavor. Personally, I prefer the balance of the biscoff cupcakes recipe, but that’s just me.
Tips for Success and Common Mistakes to Avoid
Even the best bakers run into hiccups sometimes, so let’s chat about troubleshooting. One common issue? Dry cupcakes. Nobody likes biting into a crumbly mess. The culprit is usually overbaking. Keep an eye on your timer and avoid leaving the cupcakes in the oven longer than necessary. Another trick? Don’t skip the buttermilk. It keeps the crumb tender and moist. If you don’t have buttermilk on hand, you can DIY it by adding a tablespoon of lemon juice or vinegar to regular milk and letting it sit for five minutes.
Here’s the thing about frosting—it can go wrong too. Runny frosting is often caused by warm cream cheese or butter. Make sure everything is properly softened but not melted. Also, sift your powdered sugar before adding it. Lumps are no fun, trust me.
Tools matter more than you might think. A stand mixer is a game-changer for both the batter and frosting. If you don’t have one, a hand mixer works fine, but you’ll need some elbow grease. For piping, invest in reusable piping bags—they’re eco-friendly and durable. And if you’re feeling fancy, try experimenting with different tips. For instance, a round tip gives a sleek, minimalist look, while a petal tip creates ruffled designs.
Oh, and here’s a random thought—I recently made boston cream cupcakes recipe alongside these red velvets for a party, and they were a hit. The contrast between the creamy filling and the rich red velvet was unreal. If you’re looking for variety, pair these with pumpkin cheesecake cupcake recipe for fall-themed desserts. Seriously, your guests will think you’re a pro.
Lastly, don’t stress too much about perfection. Baking is supposed to be fun! Whether you’re making these cheesecake factory red velvet cupcake recipe treats for a special occasion or just because, remember that homemade goodies always taste better. So grab your apron, turn on some music, and enjoy the process. Happy baking!
How to Serve and Enjoy Your Cheesecake Factory Red Velvet Cupcake Recipe
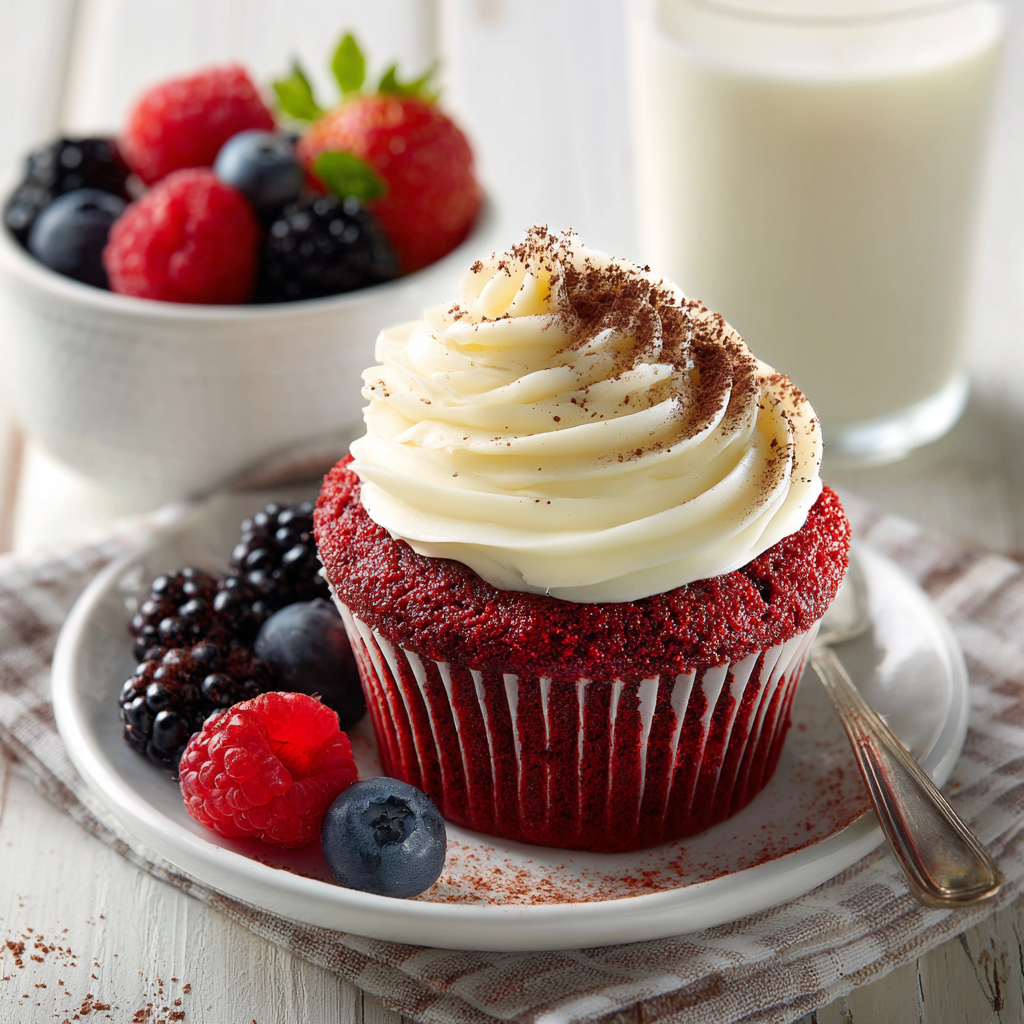
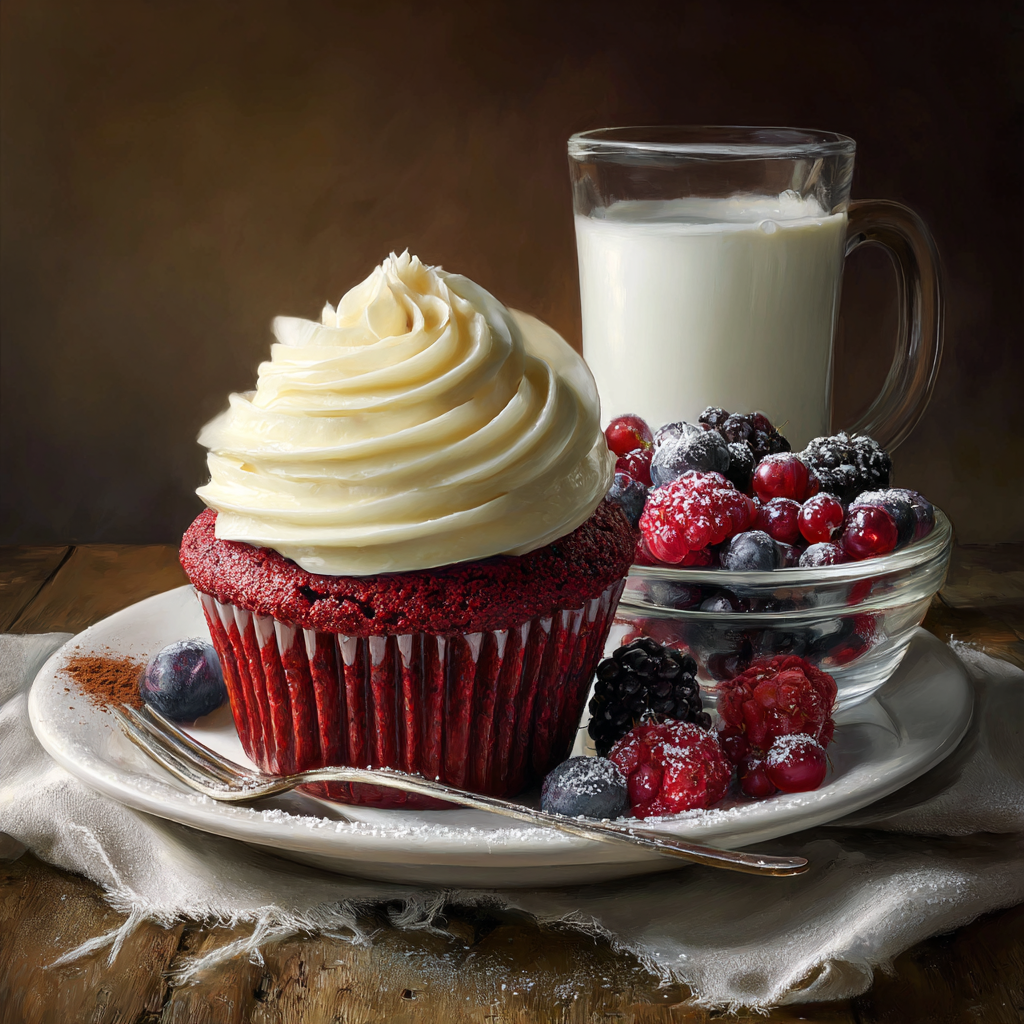
So, you’ve baked these beauties. Now comes the fun part—serving them up in style. Funny enough, I didn’t realize how much of a difference serving temperature makes until one summer afternoon when my kitchen was sweltering. I popped the cupcakes in the fridge for an hour before serving, and wow, the flavors were next level. The cold enhances the cream cheese frosting’s tanginess while keeping the cake soft and moist. If you’re looking to mimic the Cheesecake Factory experience, chilled is the way to go.
Here’s a little tip: pair your red velvet cupcakes with something unexpected. A glass of cold milk is classic, sure, but have you tried them with a hot cup of coffee or even a fruity iced tea? The contrast between the rich dessert and a refreshing drink is unreal. One time, I served them at a brunch alongside mimosas, and it was a total hit. People couldn’t stop talking about how the citrusy notes of the mimosa complemented the sweet-tart frosting.
Storing Your Cupcakes So They Stay Fresh
Let’s talk storage because nobody likes stale cupcakes. Once frosted, these babies can stay fresh for up to three days if stored properly. Pop them in an airtight container to keep them from drying out. If you live in a warm or humid climate, you might want to store them in the fridge. Just remember to bring them back to room temperature before serving—cold cake isn’t everyone’s jam.
By the way, freezing is totally an option if you need to extend their shelf life. Wrap each cupcake individually in plastic wrap and then place them in a freezer-safe bag. They’ll keep for up to two months. Thaw them overnight in the fridge before serving, and honestly, they taste almost as good as fresh-baked. Pro tip: freeze them unfrosted if you’re planning to gift them later. You can whip up a fresh batch of frosting right before serving for that just-baked feel.
Why Recreate the Cheesecake Factory Experience at Home?
There’s something magical about baking treats yourself. Sure, grabbing a box of cupcakes from the store is convenient, but there’s no comparison to the pride of pulling a tray of homemade goodies out of the oven. Every time I bake these cheesecake factory red velvet cupcake recipe treats, I’m reminded of why I fell in love with baking in the first place. It’s not just about the end result—it’s about the process, the smells, the mess, and the joy of sharing something you made with your own hands.
Once you’ve nailed the base recipe, don’t be afraid to experiment. Try swapping half the flour for almond flour to make them gluten-free. Or toss some white chocolate chips into the batter for added texture. Last Christmas, I folded crushed candy canes into the frosting, and it was such a festive twist. If you’re feeling adventurous, check out other recipes like the classic vanilla cupcake variations here. Inspiration is everywhere!
FAQ Section
Q: What are the ingredients in Cheesecake Factory red velvet cake?
A: At its core, it’s a mix of flour, sugar, cocoa powder, buttermilk, eggs, red food coloring, vinegar, and vanilla extract. The magic happens when these simple ingredients come together to create that signature soft, moist crumb. Oh, and let’s not forget the cream cheese frosting—that’s where the real indulgence lies.
Q: What are the ingredients in red velvet cupcakes?
A: Pretty similar to the cake version! You’ll need flour, sugar, cocoa powder, buttermilk, eggs, oil, red food coloring, vinegar, and vanilla extract. These ingredients work in harmony to create that iconic flavor and texture. Just remember, quality matters—fresh buttermilk and real butter can elevate your results significantly.
Q: Do Cheesecake Factory bake their cheesecakes?
A: Yes, absolutely! Everything at the Cheesecake Factory is baked fresh daily, which explains why their desserts taste so incredible. This attention to detail is what sets them apart. When making your own cheesecake factory red velvet cupcake recipe, aim for that same level of care and freshness.
Q: What are the ingredients in Just Desserts red velvet cupcakes?
A: Their version leans a bit heavier on the cocoa powder, giving it a deeper chocolate flavor compared to the lighter balance in our recipe. Both are delicious, though! If you’re a fan of richer chocolate notes, you might prefer theirs. But personally, I think the brighter red hue and tangy frosting of this recipe steal the show.
Q: Can I use liquid food coloring instead of gel?
A: You can, but gel-based coloring is more concentrated, so you’ll get a bolder red color without thinning out the batter. Liquid coloring might require double or triple the amount, which could affect the texture slightly. For best results, stick with gel.
Q: How do I prevent my cupcakes from sinking in the middle?
A: Sinking usually happens due to underbaking or opening the oven door too early. Make sure your oven is fully preheated before baking, and avoid peeking until at least halfway through the cooking time. Also, don’t overfill the liners—two-thirds full is ideal.
Q: Can I make these cupcakes vegan?
A: Absolutely! Swap the eggs for flax eggs (1 tablespoon ground flaxseed mixed with 3 tablespoons water per egg), use plant-based milk instead of buttermilk, and opt for dairy-free cream cheese and butter in the frosting. They’ll still turn out amazing.
Q: Why does my frosting taste grainy?
A: Grainy frosting often means the powdered sugar wasn’t sifted before mixing. Always sift your sugar to avoid lumps. Another culprit could be softened cream cheese or butter—if they’re too warm, the texture won’t be smooth. Chill the frosting briefly if needed.
Q: Can I bake these as mini cupcakes?
A: Yes! Mini cupcakes are adorable and perfect for parties. Reduce the baking time to about 10–12 minutes. Keep an eye on them, as they bake faster than regular-sized ones. Use a toothpick to test for doneness.
Q: What’s the best piping tip for swirls?
A: A large star tip (like Wilton 1M) is my go-to for those bakery-style swirls. Hold the piping bag perpendicular to the cupcake and apply steady pressure while moving in a circular motion. Practice makes perfect, so don’t stress if your first attempt isn’t flawless.
A Final Note
Baking these cheesecake factory red velvet cupcake recipe treats is more than just following steps—it’s about creating moments. Whether it’s a quiet evening at home or a lively gathering with friends, these cupcakes bring people together. So grab your whisk, crank up your favorite playlist, and let the magic happen. Trust me, the smiles on your loved ones’ faces will make every minute worth it.
And hey, once you’ve mastered this recipe, branch out! There’s a whole world of baking waiting for you. From decadent cakes to creative cupcake ideas, the possibilities are endless. Happy baking!
Equipment
- Mixing bowls
- Whisk
- Piping bag with star tip
- Muffin tin
- Cupcake liners
Ingredients
- 1.5 cups all-purpose flour
- 1 cups granulated sugar
- 1 tablespoon cocoa powder
- 1 teaspoon baking soda
- 0.5 teaspoon salt
- 1 large egg
- 1 cup buttermilk
- 0.5 cup vegetable oil
- 1 teaspoon vanilla extract
- 1 teaspoon white vinegar
- 2 tablespoons red food coloring preferably gel-based
Instructions
- Preheat your oven to 350°F (175°C).
- Line a muffin tin with cupcake liners.
- In a bowl, mix together flour, sugar, cocoa powder, baking soda, and salt in one bowl.
- In another bowl, whisk together the eggs, buttermilk, vegetable oil, vanilla extract, vinegar, and red food coloring.
- Gently combine the wet and dry ingredients until just mixed—do not overmix.
- Fill each cupcake liner about two-thirds full with batter.
- Bake for 18–20 minutes, or until a toothpick inserted into the center comes out clean.
- Let the cupcakes cool completely before frosting.
Notes
Nutrition

Hi, I’m Olivia Parker, the founder of BakingSecret.com and a lifelong lover of all things sweet and homemade. I grew up in a small town in Oregon, where the smell of fresh cookies in my family’s kitchen sparked my passion for baking. Over the years, I turned that passion into a mission: to help home bakers feel confident, inspired, and creative.
After studying food science and working in several artisan bakeries across the U.S., I decided to create a space where everyone from beginners to seasoned bakers can find reliable recipes, expert tips, and a warm, welcoming community. BakingSecret.com is my way of sharing the magic of baking with the world. When I’m not testing new recipes, you’ll find me exploring farmers’ markets, collecting vintage cookbooks, or perfecting my sourdough technique.