
Introduction to Oreo Icebox Cake
There’s something magical about a dessert that requires no baking yet tastes like a million bucks. Enter the Oreo Icebox Cake, a delightful no-bake treat that combines creamy layers with crunchy cookies for an unforgettable experience. This recipe has been my go-to for family gatherings and lazy Sunday afternoons. What makes it truly special is how simple it is to prepare, yet it feels indulgent enough for a celebration. Whether you’re a seasoned baker or just starting out, this Oreo Icebox Cake will quickly become your favorite dessert.
The Origins of Oreo Icebox Cake
The Oreo Icebox Cake is a modern twist on the classic icebox cakes that originated in the early 20th century. These desserts were designed to be made without ovens, relying on refrigeration to set the layers. Back then, they often featured graham crackers and whipped cream. The addition of Oreos adds a chocolatey twist that’s hard to resist. I first tried making this version when I wanted to impress my friends at a summer barbecue. The combination of rich chocolate cookies and light, fluffy cream was an instant hit!
Why You’ll Love This Oreo Icebox Cake Recipe
This Oreo Icebox Cake is a winner for so many reasons. First, it’s incredibly easy to make—no fancy techniques or equipment required. Second, the balance of textures is divine: the creamy filling contrasts beautifully with the crisp cookies. Plus, it’s versatile! You can customize it to suit your taste, whether you’re a fan of dark chocolate or prefer a lighter touch. And let’s not forget how impressive it looks when served, making it perfect for both casual and formal occasions.
Perfect Occasions to Prepare an Oreo Icebox Cake
This dessert shines during warm weather when turning on the oven feels unbearable. It’s also ideal for potlucks, birthday parties, or holiday feasts. I’ve even made mini versions of this Oreo Icebox Cake for baby showers, and they were a huge success. Its simplicity means you can whip it up last minute, while its elegance ensures it fits right into any celebration.
Ingredients for Oreo Icebox Cake
- 1 package (36 count) Oreo cookies
- 2 cups heavy whipping cream
- 1 package (8 oz) cream cheese, softened
- 1/2 cup powdered sugar
- 1 teaspoon vanilla extract
Substitution Options for Flexibility
If you’re looking to tweak this Oreo Icebox Cake, here are some ideas:
- Swap Oreos for Golden Oreos for a buttery twist.
- Use coconut cream instead of heavy whipping cream for a tropical flair.
- Replace cream cheese with mascarpone for a richer texture.
- Add cocoa powder to the cream mixture for extra chocolate goodness.
Preparation Steps for Oreo Icebox Cake
Step 1: Prepare the Cream Filling
To start, grab a large mixing bowl and combine the softened cream cheese, powdered sugar, and vanilla extract. Beat these ingredients together until smooth and creamy. Next, whip the heavy cream separately until stiff peaks form. Gently fold the whipped cream into the cream cheese mixture, ensuring not to deflate the airy texture. Pro tip: Chill the bowl and beaters before whipping the cream—it helps achieve those perfect peaks faster!
Step 2: Assemble the Layers
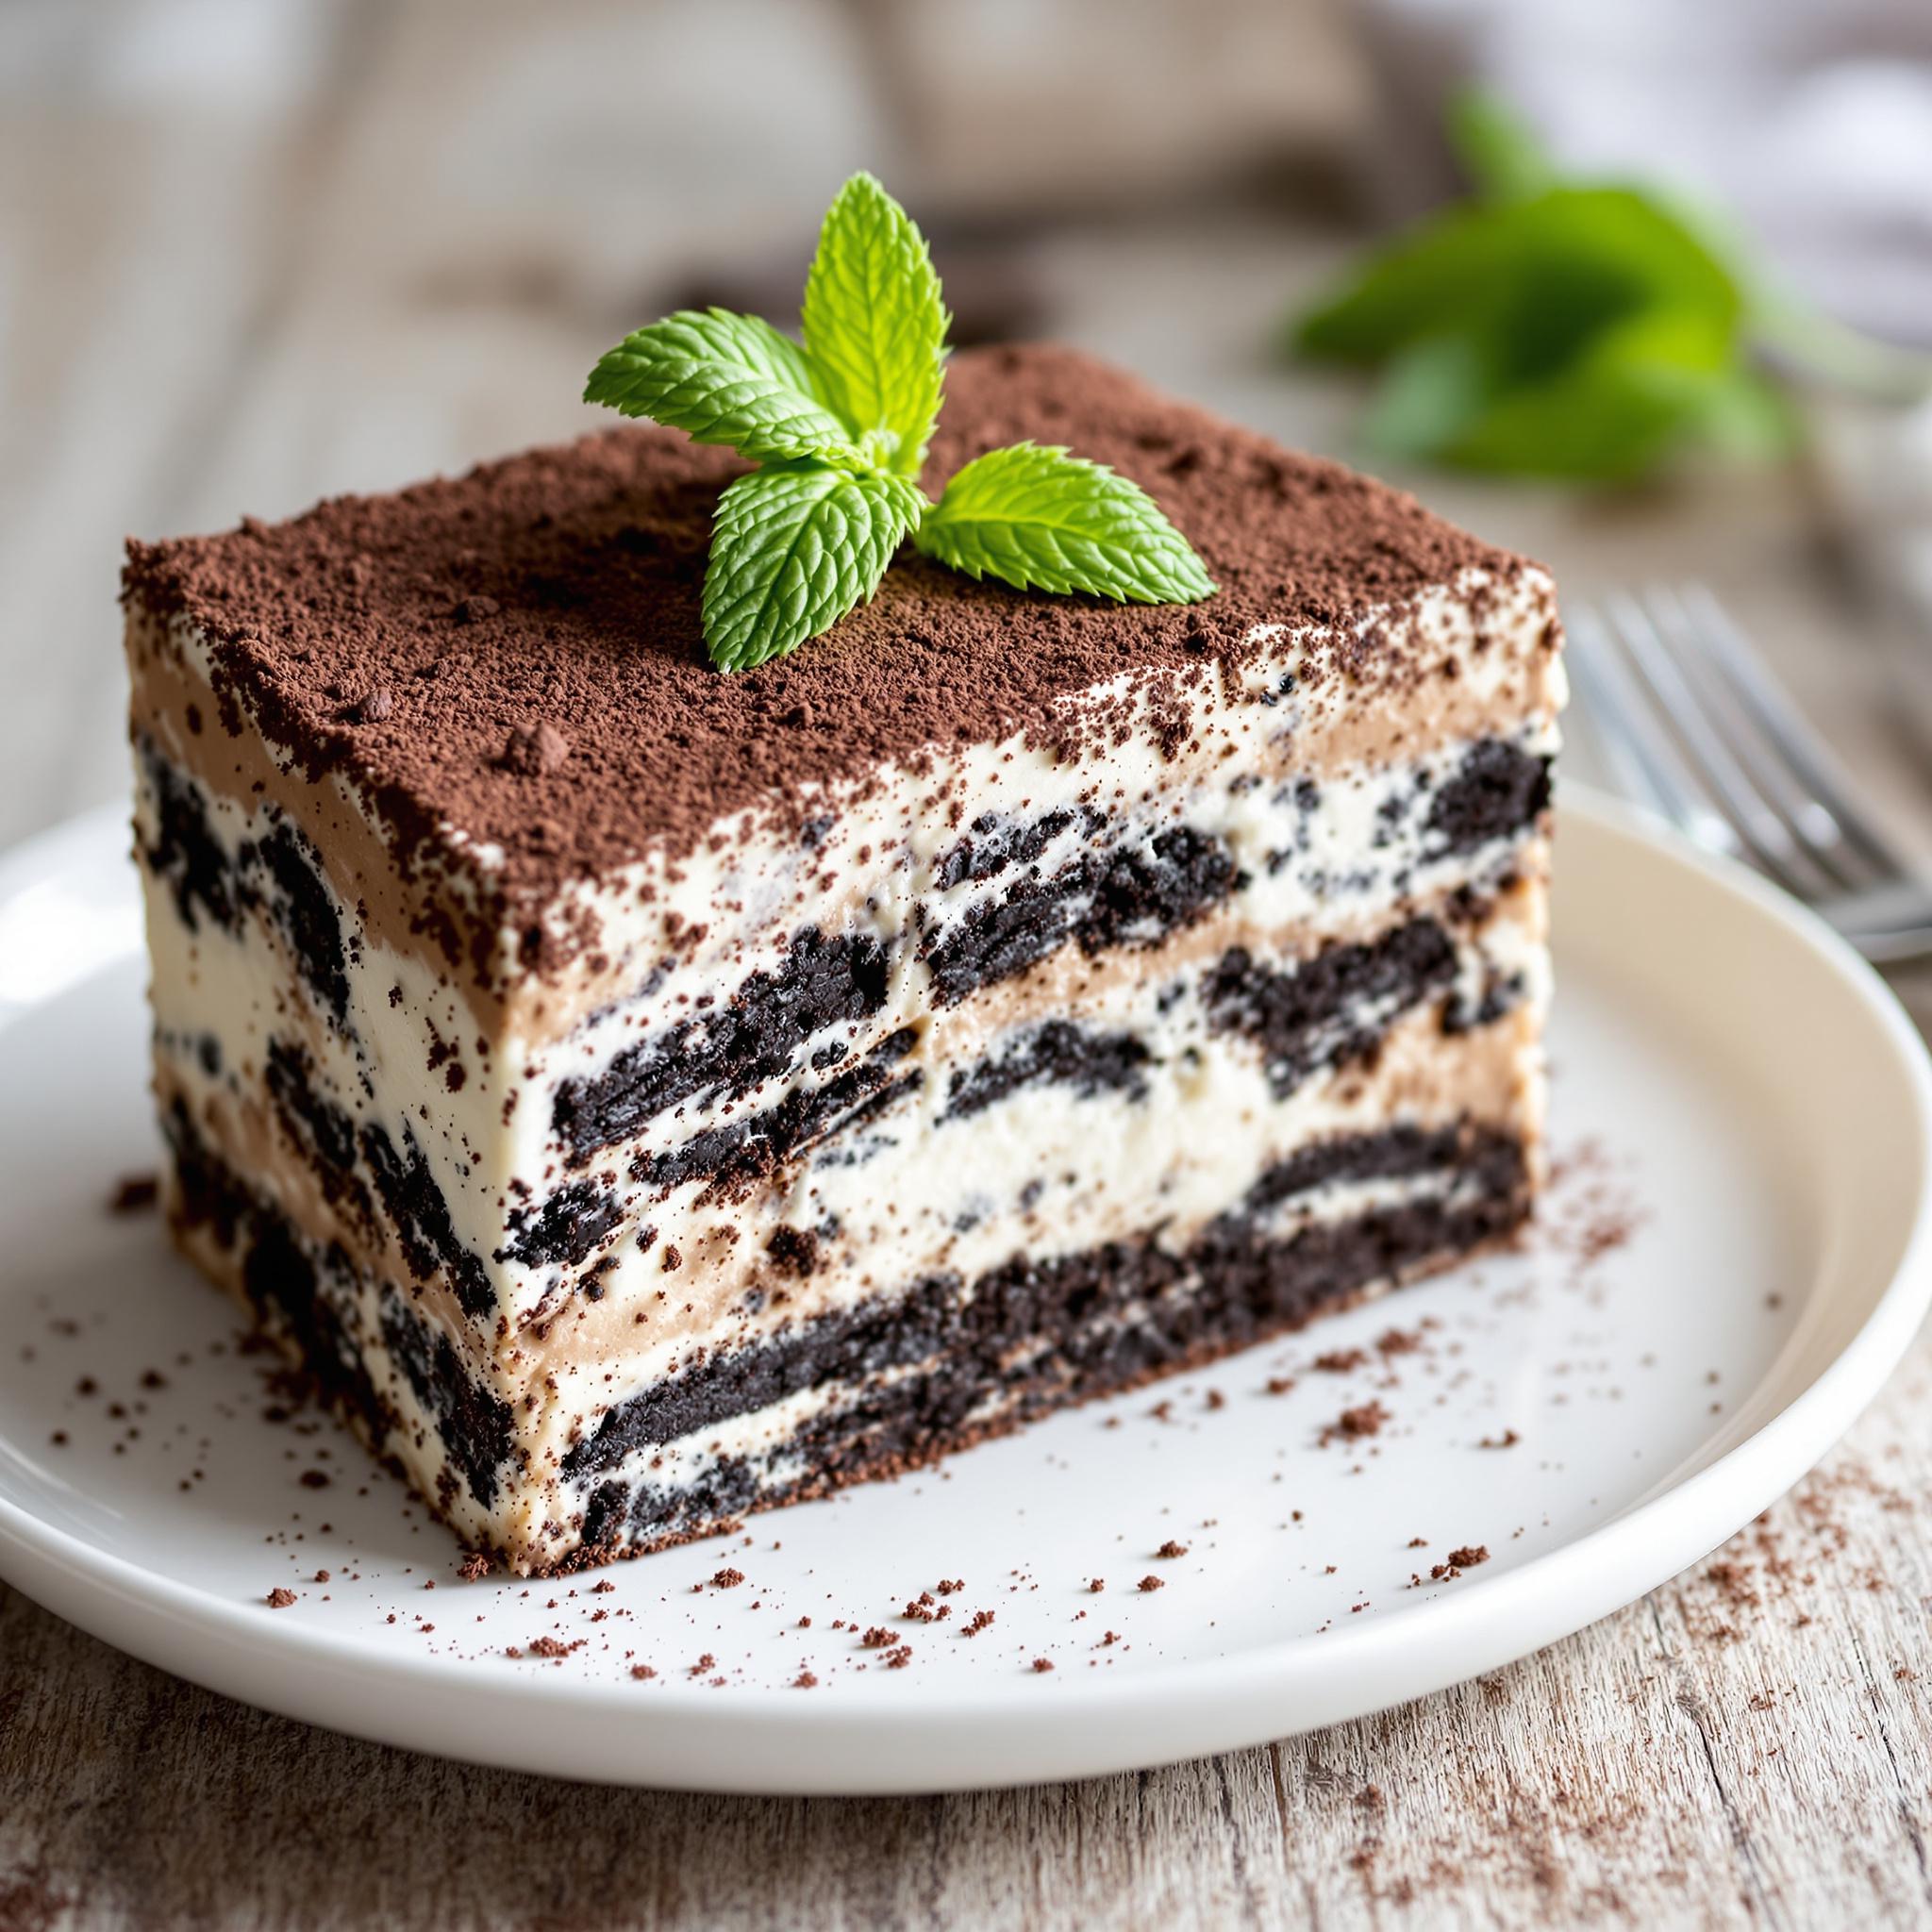
Now comes the fun part! Take a rectangular dish and line the bottom with a single layer of Oreo cookies. Spread a generous amount of the cream filling over the cookies, smoothing it out evenly. Repeat this process, alternating between cookie layers and cream layers, until all ingredients are used. The topmost layer should be cream, which gives the cake a polished look once chilled. As you work, notice how the dark chocolate cookies contrast beautifully against the pale cream—almost too pretty to eat!
Step 3: Chill and Set
Once assembled, cover the Oreo Icebox Cake with plastic wrap and place it in the refrigerator. Let it chill for at least 4-6 hours, or preferably overnight. This resting period allows the cookies to soften slightly, creating a luscious, cake-like texture. When ready, slice into squares and marvel at the layers of creamy goodness and crunchy chocolate.

Chef’s Tip for Elevating Your Oreo Icebox Cake
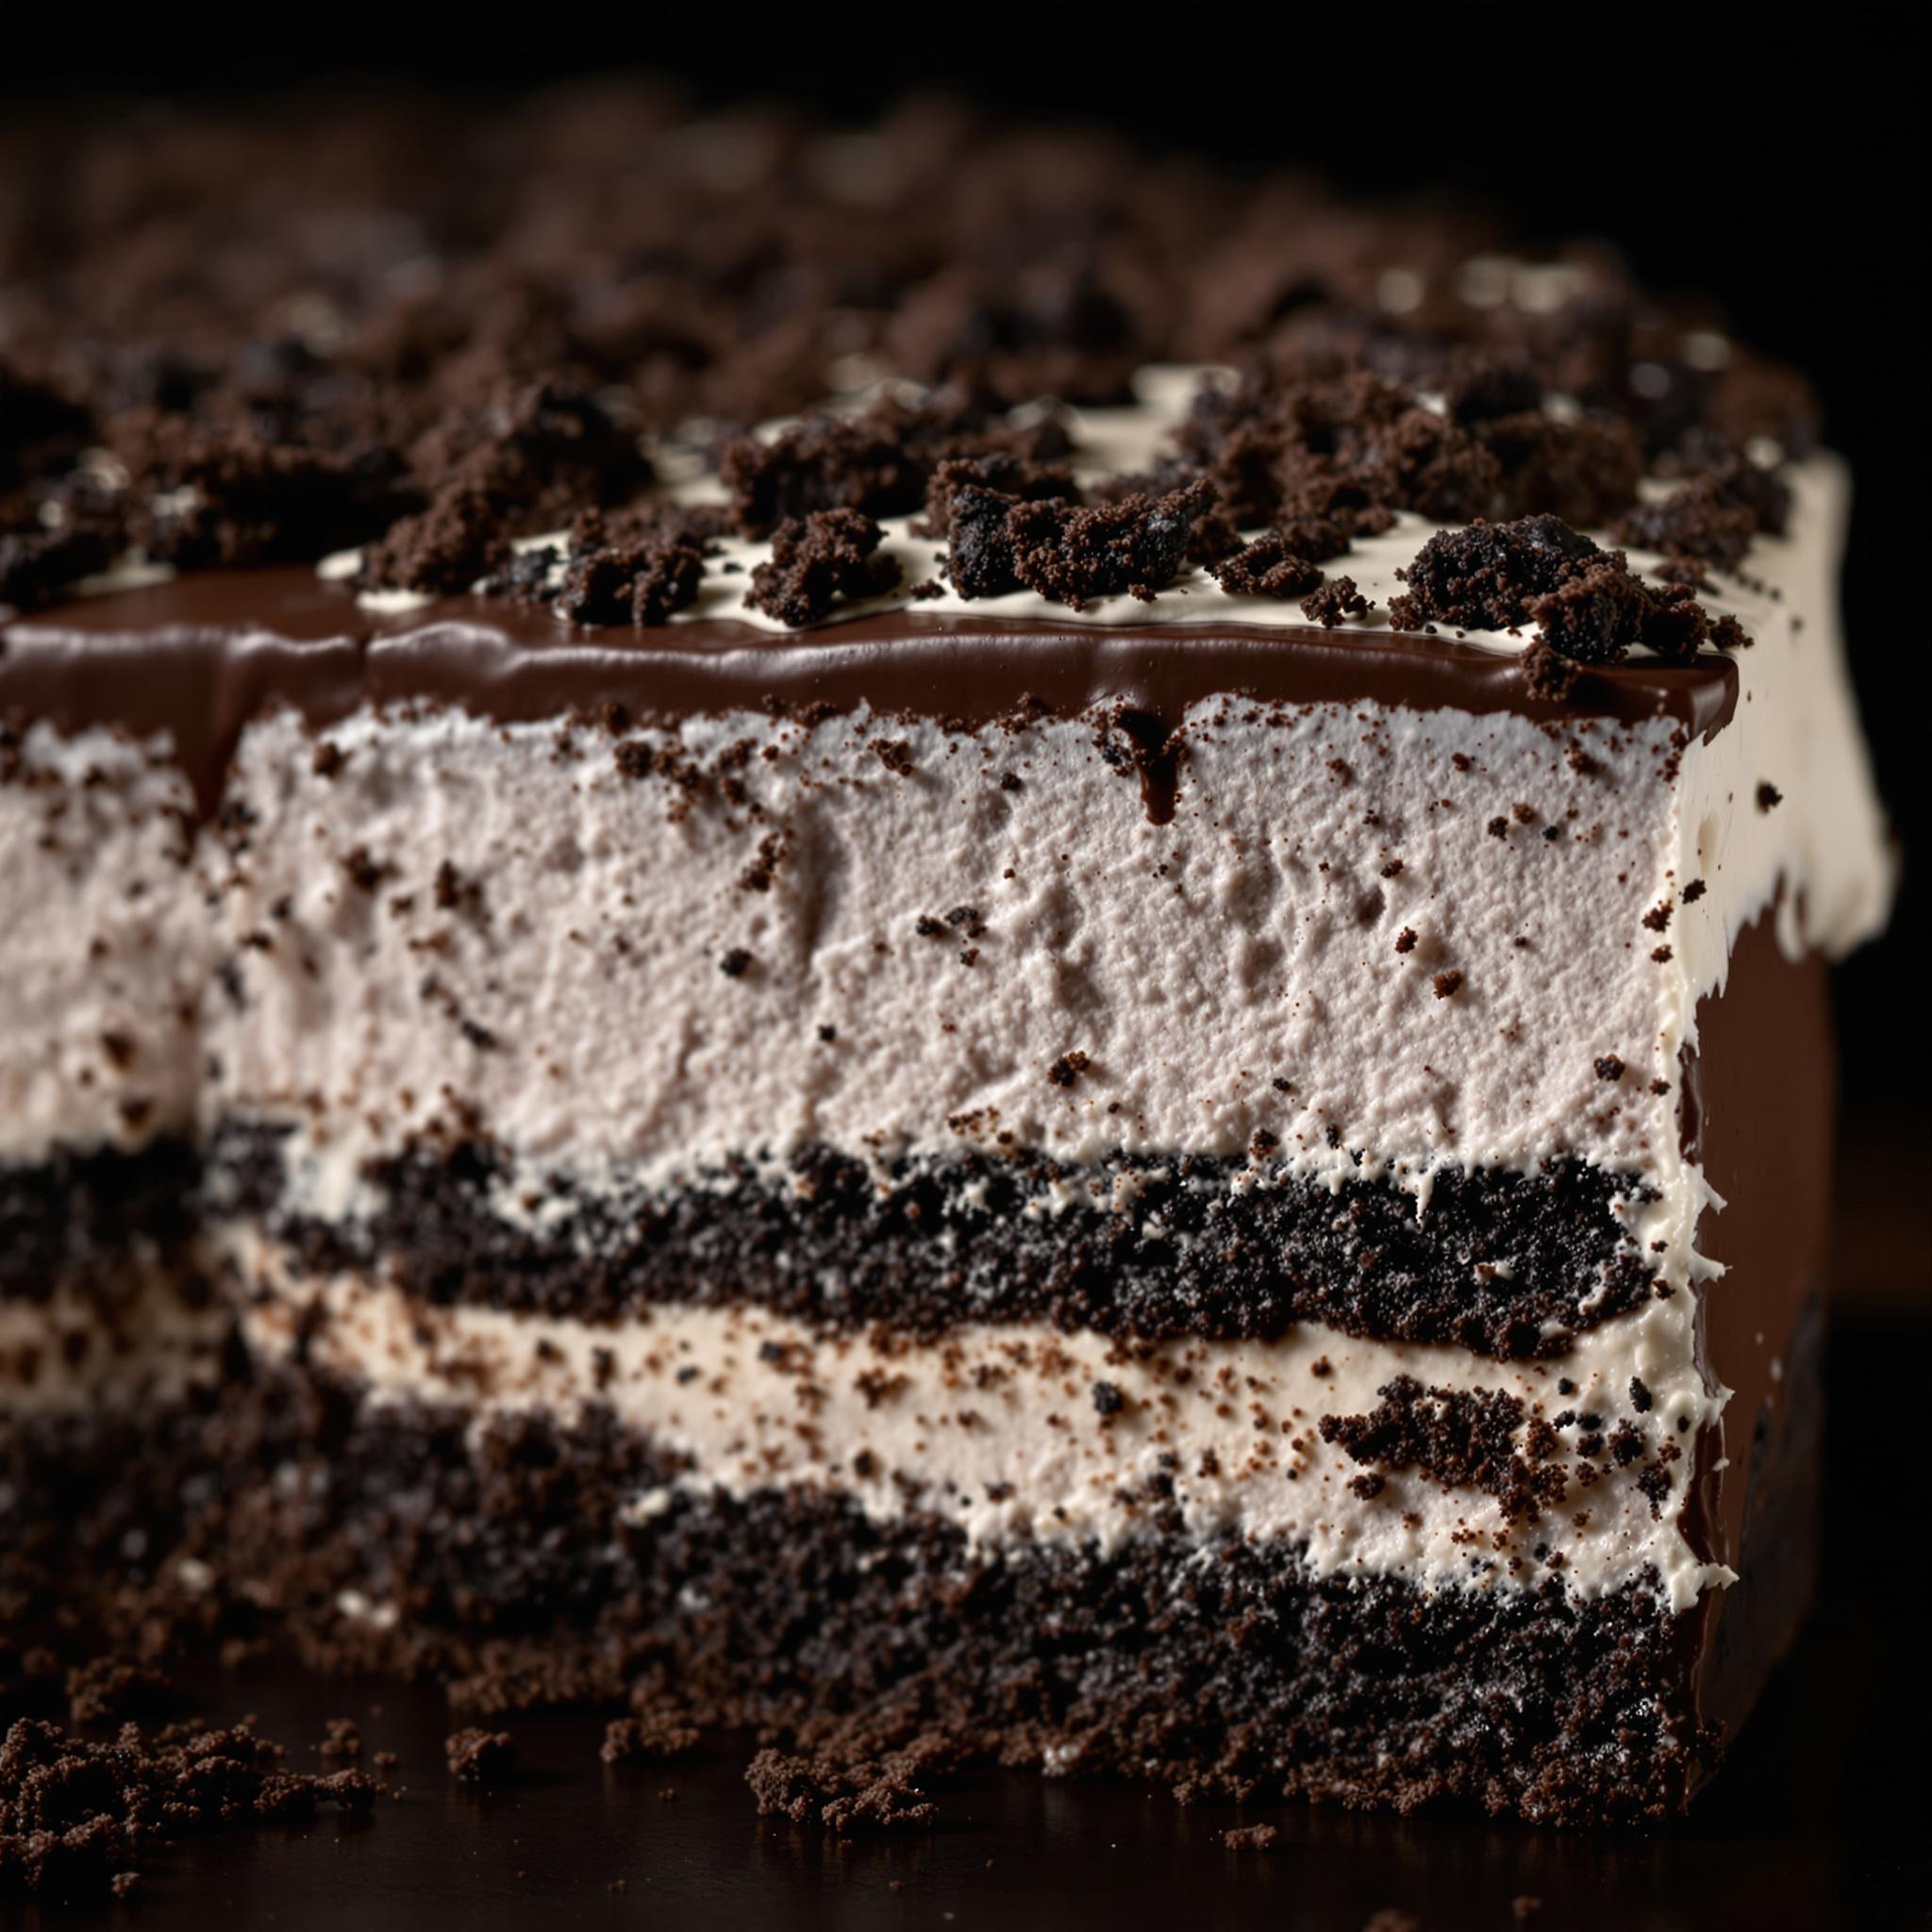
For an extra touch of decadence, drizzle melted chocolate over the top of your chilled cake. Not only does it add visual appeal, but it also enhances the chocolate flavor. Another secret? Crush a few Oreos and sprinkle them on top for added crunch and presentation points.
Time Required to Make Oreo Icebox Cake
- Prep Time: 20 minutes
- Chilling Time: 4-6 hours
- Total Time: Approximately 5 hours
Nutritional Information for Oreo Icebox Cake
Per serving (assuming 12 servings):
- Calories: 320
- Protein: 4g
- Fat: 20g
- Carbohydrates: 34g
- Sugar: 22g
An Interesting Curiosity About Oreo Icebox Cake
Did you know that Oreos are one of the best-selling cookies worldwide? Their popularity makes them a staple in countless recipes, including this Oreo Icebox Cake. Fun fact: The original Oreo design featured a wreath around the edge, symbolizing unity—a fitting detail for a dessert meant to bring people together!
Necessary Tools for Making Oreo Icebox Cake
- Mixing bowls
- Electric mixer or whisk
- Spatula
- Rectangular baking dish
- Plastic wrap
Storage Instructions for Oreo Icebox Cake
Storing your Oreo Icebox Cake properly ensures it stays fresh and delicious. Keep it covered in the refrigerator for up to 3 days. Avoid freezing, as the texture of the cream may change upon thawing. If you need to transport it, use a sturdy container to prevent shifting. Lastly, always serve chilled for the best flavor and consistency.
When storing leftovers, ensure they are tightly sealed to avoid absorbing odors from the fridge. Portioning the cake ahead of time can make serving easier later on. Remember, the longer it sits, the softer the cookies become, enhancing the overall texture.
If you find yourself with extra cream or cookies, store them separately. The cream can be kept in an airtight container for up to two days, while the cookies remain fresh in their original packaging or a ziplock bag.
Tips and Tricks for Perfecting Your Oreo Icebox Cake
- Use room-temperature cream cheese for smoother blending.
- Don’t rush the chilling process—it’s key to achieving the right texture.
- Experiment with flavored Oreos like peanut butter or mint for variety.
Serving Suggestions for Oreo Icebox Cake
Pair slices of this Oreo Icebox Cake with a hot cup of coffee or tea for a cozy afternoon treat. For a more festive vibe, serve it alongside fresh berries or a dollop of whipped cream. Kids especially love it when topped with colorful sprinkles!
Healthier Alternatives for Oreo Icebox Cake
Looking to lighten up this dessert? Here are six healthier variations:
- Low-Fat Version: Substitute low-fat cream cheese and reduced-fat whipped topping.
- Dairy-Free Option: Use coconut cream and dairy-free cookies.
- Reduced Sugar: Cut the powdered sugar in half and opt for unsweetened whipped cream.
- Gluten-Free Twist: Choose gluten-free Oreos or similar cookies.
- Fruit Infusion: Add layers of sliced strawberries or bananas between the cookie layers.
- Protein Boost: Incorporate Greek yogurt into the cream mixture for added protein.
Common Mistakes to Avoid When Making Oreo Icebox Cake
Mistake 1: Skipping the Chilling Process
Rushing through the chilling step can leave your Oreo Icebox Cake with hard cookies and uneven layers. Patience pays off here; allow ample time for the cookies to soften and meld with the cream. Pro tip: Plan ahead by starting the night before if serving the next day.
Mistake 2: Overmixing the Cream
Overmixing the whipped cream can cause it to lose its airy texture, resulting in a dense filling. Fold gently and stop once everything is combined. Remember, less is more when working with whipped cream!
Mistake 3: Using Stale Cookies
Always check the freshness of your Oreos before assembling the cake. Stale cookies won’t soften properly, affecting the final texture. Fresh cookies provide the perfect crunch and melt-in-your-mouth quality.
Frequently Asked Questions About Oreo Icebox Cake
Can I use Cool Whip instead of whipped cream?
Absolutely! Cool Whip works wonderfully as a substitute for homemade whipped cream. Just fold it into the cream cheese mixture as directed.
How far in advance can I make this cake?
You can prepare this Oreo Icebox Cake up to two days in advance. Store it covered in the fridge until ready to serve.
Is it possible to freeze this dessert?
While freezing isn’t recommended due to changes in texture, you can freeze individual portions wrapped tightly in plastic wrap for up to a month.
Graham crackers, shortbread cookies, or even chocolate wafer cookies work well as alternatives.
Can I add alcohol to the cream filling?
Yes! A splash of rum, Kahlúa, or Baileys adds a sophisticated twist to the cream mixture.
How do I know when the cake is ready to serve?
The cookies should feel soft and the layers should hold together firmly. Test by inserting a knife—if it comes out clean, it’s ready.
Can I double the recipe for a larger crowd?
Definitely! Simply double all ingredients and use a larger dish to accommodate the increased volume.
What if I don’t have a rectangular dish?
A square or round dish works fine too. Adjust the layering accordingly based on the shape.
Can kids help with this recipe?
Absolutely! Kids love helping assemble the layers and crushing cookies for toppings.
How can I make this vegan-friendly?
Opt for vegan cookies and coconut cream, and ensure your powdered sugar doesn’t contain animal-derived ingredients.
Conclusion
The Oreo Icebox Cake is a timeless dessert that proves simplicity can still be spectacular. With its creamy layers and crunchy cookies, it’s a crowd-pleaser that never disappoints. Whether you stick to the classic version or experiment with healthier alternatives, this recipe is sure to become a cherished favorite in your kitchen. So grab your ingredients, gather your loved ones, and enjoy the magic of this no-bake wonder!
Equipment
- Large Mixing Bowl
- Electric Mixer
- Spatula
- Rectangular Dish
- Plastic Wrap
Ingredients
- 1 package Oreo cookies 36 count
- 2 cups heavy whipping cream
- 1 package cream cheese, softened 8 oz
- 1/2 cup powdered sugar
- 1 teaspoon vanilla extract
Instructions
- To start, grab a large mixing bowl and combine the softened cream cheese, powdered sugar, and vanilla extract. Beat these ingredients together until smooth and creamy.
- Whip the heavy cream separately until stiff peaks form. Gently fold the whipped cream into the cream cheese mixture, ensuring not to deflate the airy texture.
- Take a rectangular dish and line the bottom with a single layer of Oreo cookies. Spread a generous amount of the cream filling over the cookies, smoothing it out evenly.
- Repeat this process, alternating between cookie layers and cream layers, until all ingredients are used. The topmost layer should be cream.
- Once assembled, cover the Oreo Icebox Cake with plastic wrap and place it in the refrigerator. Let it chill for at least 4-6 hours, or preferably overnight.
- When ready, slice into squares and serve. Enjoy the layers of creamy goodness and crunchy chocolate.
Notes
Nutrition

Hi, I’m Olivia Parker, the founder of BakingSecret.com and a lifelong lover of all things sweet and homemade. I grew up in a small town in Oregon, where the smell of fresh cookies in my family’s kitchen sparked my passion for baking. Over the years, I turned that passion into a mission: to help home bakers feel confident, inspired, and creative.
After studying food science and working in several artisan bakeries across the U.S., I decided to create a space where everyone from beginners to seasoned bakers can find reliable recipes, expert tips, and a warm, welcoming community. BakingSecret.com is my way of sharing the magic of baking with the world. When I’m not testing new recipes, you’ll find me exploring farmers’ markets, collecting vintage cookbooks, or perfecting my sourdough technique.