

Why This Cake with Reese’s Is a Game-Changer
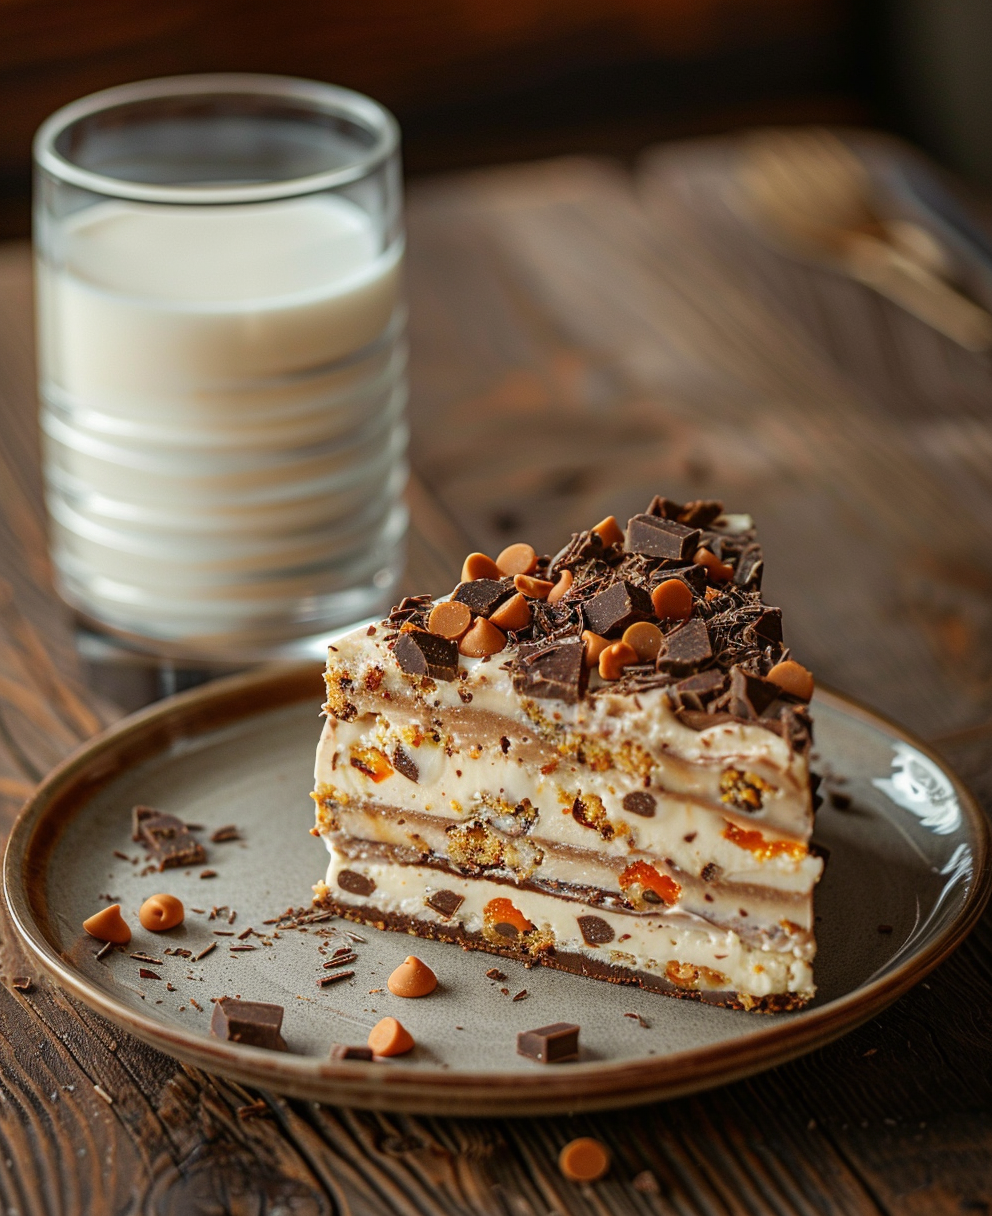
Picture this: It’s a rainy Saturday afternoon, and I’m craving something sweet but not too fussy. My kids are bouncing off the walls, and my husband is giving me that “feed me or else” look. That’s when I stumbled upon the idea of making a cake with Reese’s. Oh boy, did it turn out to be a hit! The rich chocolate cake paired with gooey peanut butter cups felt like a warm hug for the soul. If you’ve ever wondered how to elevate your dessert game without spending hours in the kitchen, this recipe is for you.
The Sweet History Behind This Treat
Now, let’s talk about Reese’s Peanut Butter Cups. These little nuggets of joy were first created in 1928 by H.B. Reese. A former dairy farmer turned candy genius, he combined peanut butter and chocolate into what we now consider a match made in heaven. Over the years, people have been sneaking these treats into all kinds of desserts, from cookies to brownies. But trust me, a cake with Reese’s takes things to a whole new level. I remember the first time I tried this combo—it was at a friend’s birthday party, and her mom had baked a similar cake. One bite, and I was hooked!
Why You’ll Love This Recipe
First off, this cake is ridiculously easy to make. No fancy techniques or hard-to-find ingredients here. Second, who can resist the combination of chocolate and peanut butter? It’s like the dynamic duo of desserts. And finally, it’s versatile. Whether you’re baking for a crowd or just treating yourself, this cake with Reese’s fits the bill perfectly.
Perfect Occasions to Bake This Cake
This cake is perfect for birthdays, potlucks, or even as a weekend treat. I’ve served it at family gatherings, and everyone always asks for seconds. It’s also great for holidays like Halloween or Christmas when you have leftover Reese’s cups lying around. Trust me, no matter the occasion, this cake will steal the show.
Ingredients
- 1 box of chocolate cake mix (or your favorite homemade recipe)
- 3 large eggs
- 1/2 cup vegetable oil
- 1 cup water
- 1 cup creamy peanut butter
- 1/2 cup unsalted butter, softened
- 4 cups powdered sugar
- 1 teaspoon vanilla extract
- 12 mini Reese’s Peanut Butter Cups, unwrapped
- 1/2 cup semi-sweet chocolate chips (optional, for drizzling)
Substitution Options
- If you don’t have peanut butter, almond butter works well too.
- Swap the chocolate cake mix for devil’s food or even vanilla if you prefer.
- Use coconut oil instead of vegetable oil for a hint of tropical flavor.
Preparation Steps
Step 1: Preheat and Prep
Start by preheating your oven to 350°F (175°C). Grease a 9×13-inch baking pan and line it with parchment paper. This step ensures your cake doesn’t stick, making cleanup a breeze. Pro tip: Dust a little cocoa powder on the parchment for extra chocolatey goodness.
Step 2: Mix the Batter
In a large mixing bowl, combine the chocolate cake mix, eggs, oil, and water. Use a whisk or electric mixer to blend until smooth. The batter should be thick and glossy, almost like melted chocolate. Imagine the smell—rich and inviting, already teasing your taste buds.
Step 3: Add the Reese’s Magic
Gently fold in half of the mini Reese’s cups into the batter. Be careful not to overmix; you want those chunks of peanut buttery goodness to stay intact. Pour the batter into the prepared pan and spread it evenly. Pro tip: Save the remaining Reese’s cups for decorating later.
Step 4: Bake to Perfection
Bake the cake for 25-30 minutes or until a toothpick inserted in the center comes out clean. While it bakes, your kitchen will fill with the heavenly aroma of chocolate and peanut butter. Let the cake cool completely before moving on to the frosting.
Chef’s Tip
To make the frosting extra smooth, soften the butter and peanut butter slightly in the microwave before mixing them with powdered sugar and vanilla. This trick ensures a silky texture that spreads like a dream.
Timing
Prep Time: 15 minutes | Cooking Time: 25-30 minutes | Resting Time: 30 minutes (for cooling) | Total Time: About 1 hour and 10 minutes.
Chef’s Secret
For an extra layer of indulgence, melt some chocolate chips and drizzle them over the frosted cake. Not only does it look stunning, but it adds a touch of elegance to your dessert table.
Extra Info
Did you know that Reese’s Peanut Butter Cups come in over 20 flavors worldwide? From dark chocolate to white chocolate raspberry, there’s a version for every palate. Personally, I stick to classic milk chocolate for this cake, but feel free to experiment!
Necessary Equipment
- 9×13-inch baking pan
- Mixing bowls
- Whisk or electric mixer
- Parchment paper
- Spatula
Storage Tips
Store your cake with Reese’s in an airtight container at room temperature for up to 3 days. If you live in a warm climate, refrigerate it to keep the frosting firm. Just bring it back to room temperature before serving for the best flavor and texture.
If you need to freeze the cake, wrap individual slices in plastic wrap and place them in a freezer-safe bag. They’ll last up to 3 months. Thaw overnight in the fridge before enjoying.
Pro tip: Label your storage containers with the date so you don’t forget how long it’s been sitting there. Nobody likes stale cake!
Tips and Advice
Always use room-temperature eggs and butter for smoother batter and frosting. For a more intense peanut butter flavor, toast the peanut butter cups lightly before adding them to the cake. And don’t skip the resting time—it makes slicing easier and prevents crumbs everywhere.
Presentation Ideas
- Arrange whole Reese’s cups on top of the frosted cake for a dramatic effect.
- Sprinkle crushed peanuts around the edges for added crunch.
- Use edible gold dust for a festive touch during the holidays.
Healthier Alternatives
Here are six ways to lighten up this decadent dessert:
- Gluten-Free Option: Use a gluten-free cake mix and ensure your Reese’s cups are certified gluten-free.
- Low-Sugar Swap: Replace powdered sugar with a monk fruit-based sweetener.
- Vegan Version: Substitute eggs with flax eggs and use dairy-free butter and chocolate.
- Reduced Fat Frosting: Cut the butter in half and add Greek yogurt for creaminess.
- Mini Cakes: Make individual servings using muffin tins for portion control.
- Fruit Twist: Add sliced bananas between layers for natural sweetness.
Common Mistakes to Avoid
Mistake 1: Overmixing the Batter
Overmixing leads to a dense cake instead of a light and fluffy one. Mix just until the ingredients are combined. Pro tip: Stop stirring as soon as you see no streaks of flour.
Mistake 2: Skipping Cooling Time
Rushing to frost a warm cake causes the frosting to melt and slide off. Patience is key here. Let the cake cool completely on a wire rack.
Mistake 3: Using Cold Ingredients
Cold eggs and butter won’t incorporate properly, leaving lumps in your batter and frosting. Take them out of the fridge at least 30 minutes before starting.
FAQ
Can I use a different type of peanut butter?
Absolutely! Creamy, crunchy, or even natural peanut butter works fine. Just note that natural varieties might alter the texture slightly due to their oil content.
How do I prevent the Reese’s cups from sinking?
Toss the Reese’s pieces in a bit of flour before folding them into the batter. This helps them stay suspended rather than sinking to the bottom.
What if I don’t have a 9×13 pan?
You can use two round cake pans instead. Adjust the baking time to 20-25 minutes and stack the layers with frosting in between.
Can I make this cake ahead of time?
Yes! Bake it a day in advance and store it covered at room temperature. Add the frosting and decorations right before serving.
Is this cake kid-friendly?
Oh, absolutely! Kids go crazy for the combination of chocolate and peanut butter. Just double-check for allergies before serving.
Can I add other candies to the cake?
Of course! Try mixing in M&Ms, chopped Snickers, or Kit Kats for a fun twist.
How do I fix a dry cake?
If your cake turns out dry, brush each slice with simple syrup or coffee before frosting. This adds moisture and enhances the flavor.
What’s the best way to cut clean slices?
Dip your knife in hot water and wipe it dry between cuts. This trick gives you neat, restaurant-worthy slices every time.
Can I use homemade peanut butter?
Yes, but make sure it’s smooth and not too oily. Homemade versions can sometimes separate, affecting the frosting consistency.
Can I freeze the frosted cake?
It’s better to freeze unfrosted slices. Frosting can become grainy when frozen and thawed. Simply frost after thawing for the best results.
Final Thoughts
This cake with Reese’s has become a staple in my home. It’s easy, delicious, and guaranteed to put smiles on faces. Whether you’re a seasoned baker or a beginner, this recipe is foolproof and fun. So grab those Reese’s cups and get baking—you won’t regret it!
Equipment
- Mixing bowl
- Whisk
- Spatula
- 9x13-inch baking pan
- Parchment paper
Ingredients
- 1 box chocolate cake mix
- 3 large eggs
- 1/2 cup vegetable oil
- 1 cup water
- 1 cup creamy peanut butter
- 1/2 cup unsalted butter, softened
- 4 cups powdered sugar
- 1 teaspoon vanilla extract
- 12 mini Reese’s Peanut Butter Cups unwrapped
- 1/2 cup semi-sweet chocolate chips optional, for drizzling
Instructions
- Preheat your oven to 350°F (175°C) and grease a 9x13-inch baking pan lined with parchment paper.
- In a large mixing bowl, combine the chocolate cake mix, eggs, oil, and water; mix until smooth.
- Gently fold in half of the mini Reese’s cups into the batter and pour into the prepared pan.
- Bake for 25-30 minutes or until a toothpick inserted comes out clean, then let the cake cool completely.
Notes
Nutrition

Hi, I’m Olivia Parker, the founder of BakingSecret.com and a lifelong lover of all things sweet and homemade. I grew up in a small town in Oregon, where the smell of fresh cookies in my family’s kitchen sparked my passion for baking. Over the years, I turned that passion into a mission: to help home bakers feel confident, inspired, and creative.
After studying food science and working in several artisan bakeries across the U.S., I decided to create a space where everyone from beginners to seasoned bakers can find reliable recipes, expert tips, and a warm, welcoming community. BakingSecret.com is my way of sharing the magic of baking with the world. When I’m not testing new recipes, you’ll find me exploring farmers’ markets, collecting vintage cookbooks, or perfecting my sourdough technique.