
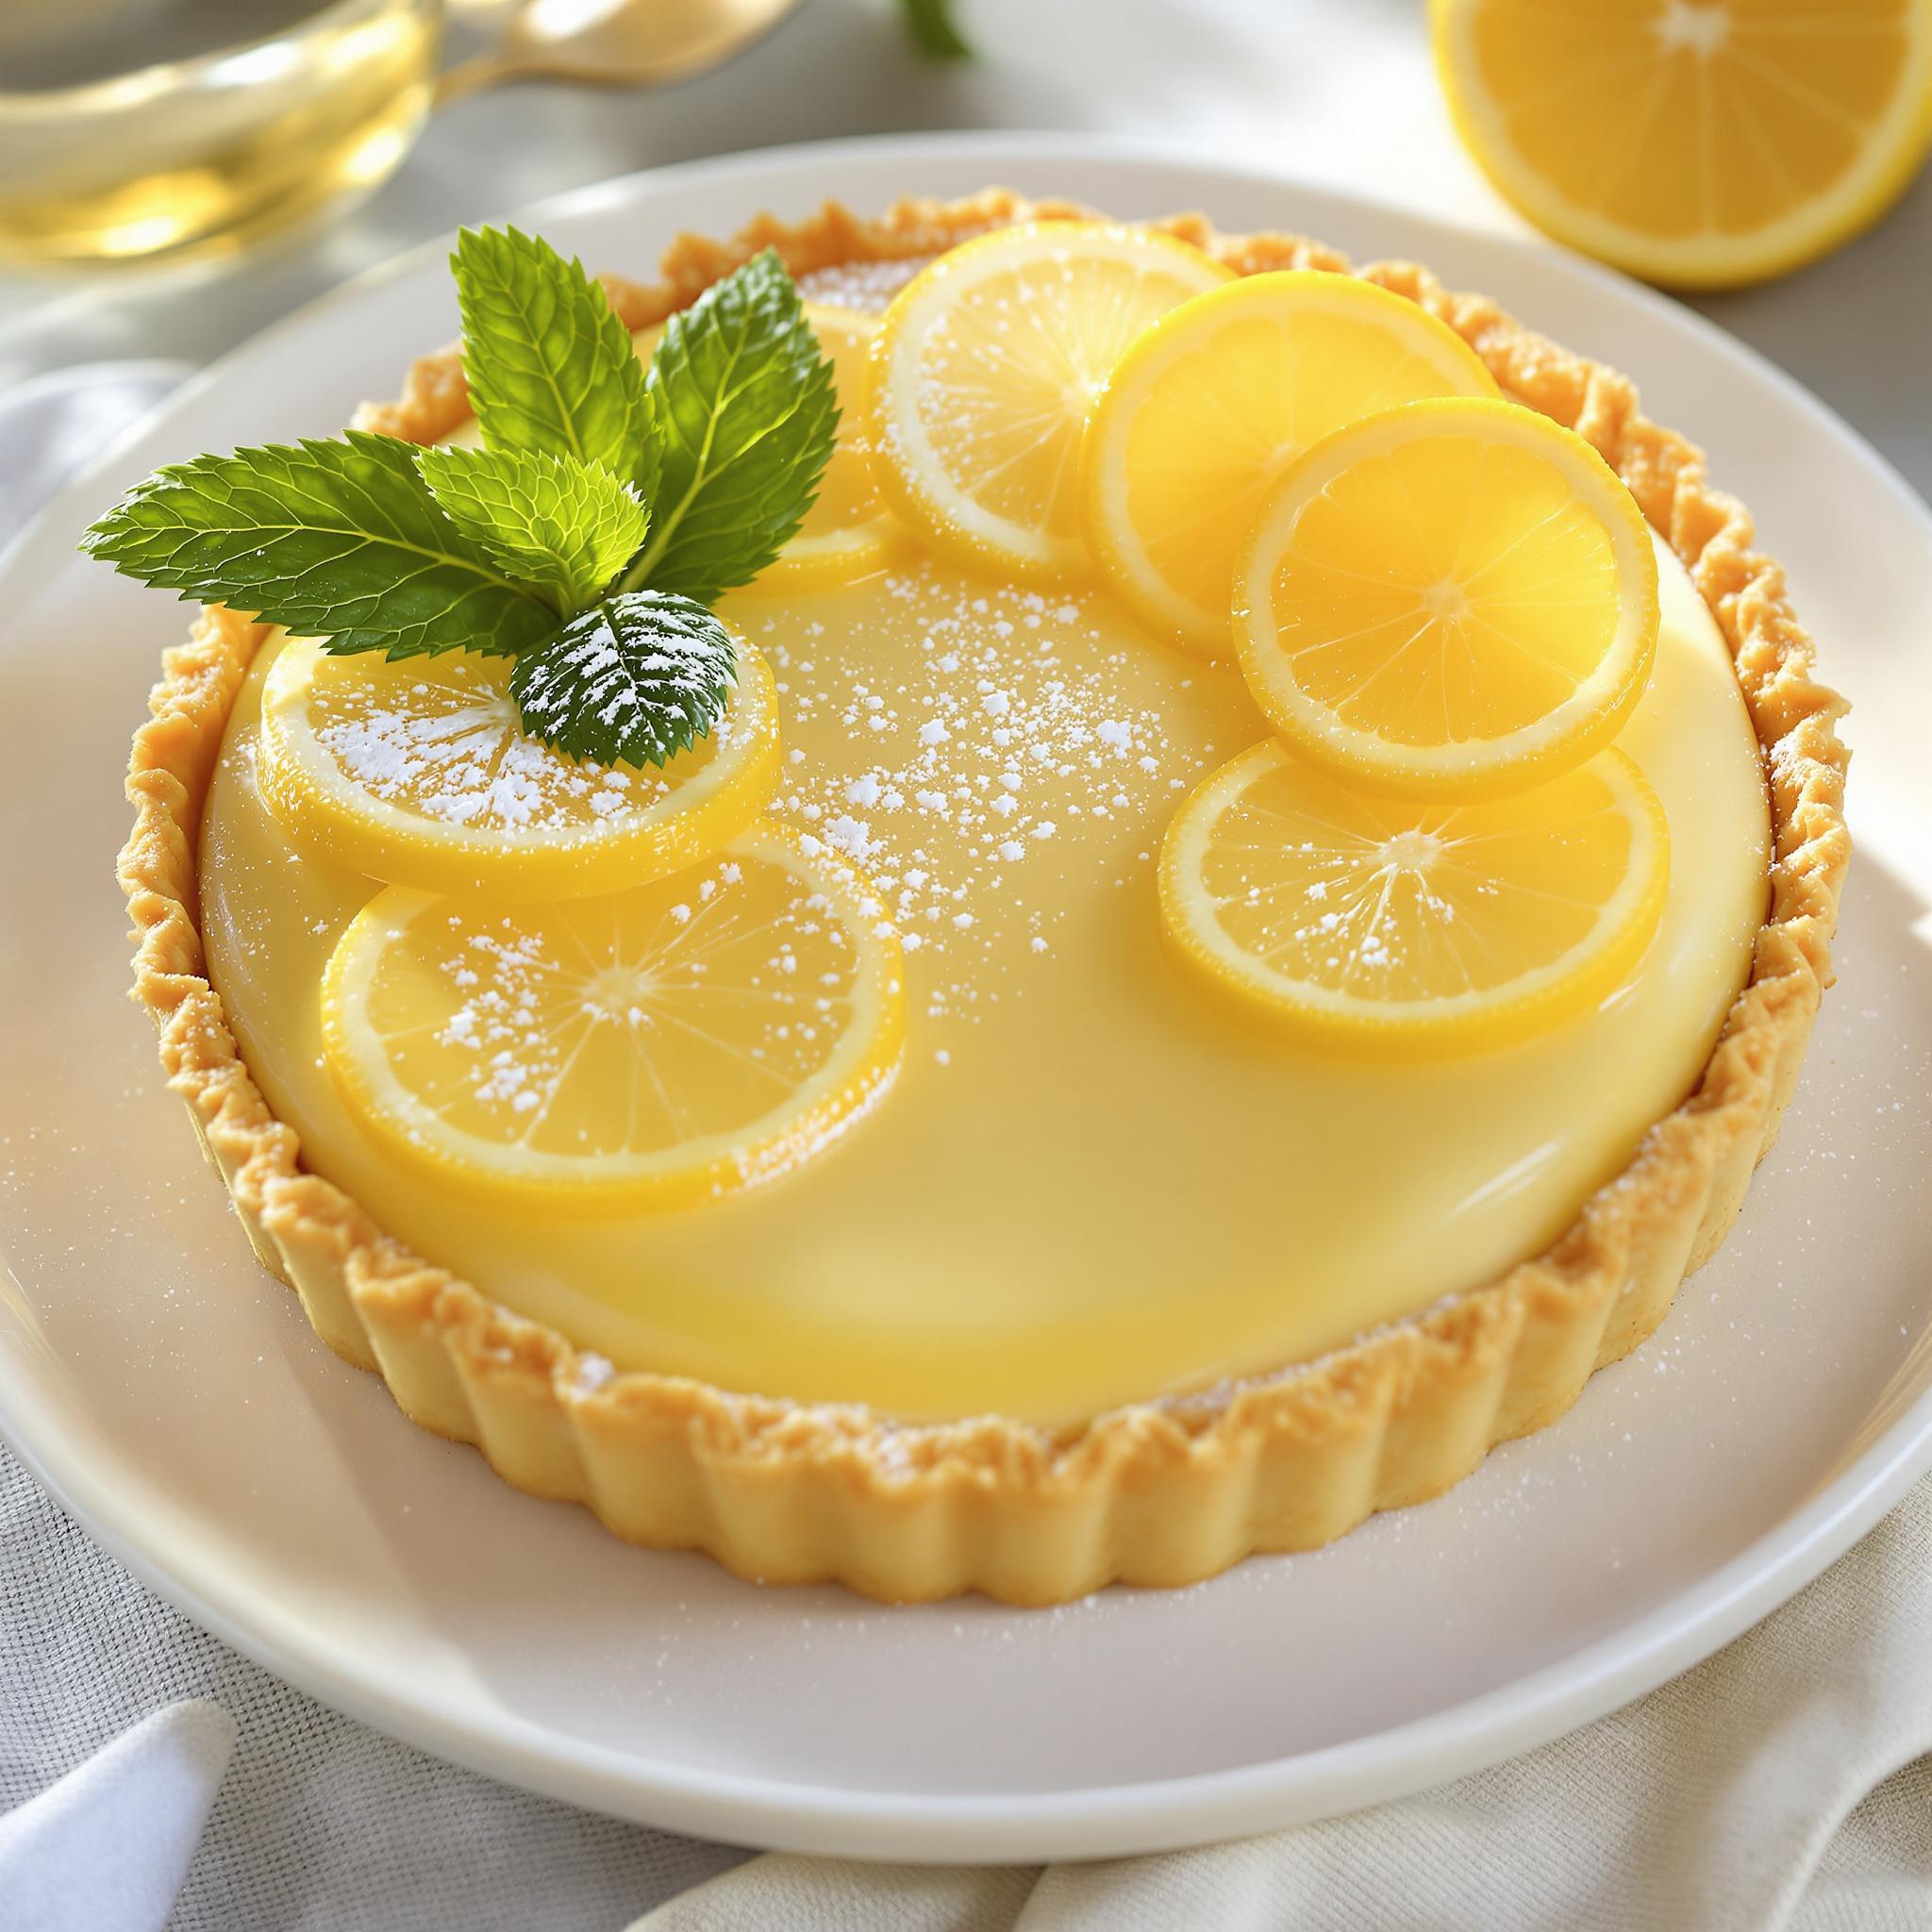
Indulge in the Zesty Delight of No-Bake Lemon Tart
There’s something magical about a dessert that’s both refreshing and rich, and this No-Bake Lemon Tart hits all the right notes. Imagine a buttery crust filled with a creamy, tangy lemon filling that melts in your mouth. What makes it even better? You don’t need to turn on your oven! As someone who loves experimenting in the kitchen, I tested this recipe for a summer gathering, and it was an instant hit. Whether you call it a no-bake dessert, a zesty tart, or a citrus delight, this recipe is a keeper.
The Story Behind No-Bake Lemon Tarts
This delightful treat has its roots in classic French patisserie but with a modern twist. Traditionally, lemon tarts were baked to perfection, but as our lives got busier, creative bakers found ways to simplify the process without compromising flavor. I remember my grandmother making lemon desserts during family reunions—her version involved hours of baking and chilling. This No-Bake Lemon Tart, however, brings the same elegance with half the effort. It’s perfect for those who want to enjoy a homemade dessert without spending hours in the kitchen.
Why You’ll Love This No-Bake Lemon Tart Recipe
What’s not to love? The combination of a crunchy crust and a smooth, citrusy filling is simply irresistible. Plus, this recipe is beginner-friendly, making it ideal for anyone new to baking. The vibrant yellow hue of the filling adds a pop of color to your table, while the zesty aroma of fresh lemons will have everyone eagerly waiting to dig in. Whether you’re craving a quick dessert or looking to impress guests, this zesty tart is your answer.
Perfect Occasions to Prepare This No-Bake Lemon Tart
This tart is versatile enough for any occasion. Serve it at a summer picnic, a cozy family dinner, or even a fancy dinner party. Its refreshing taste makes it a favorite during warm weather, but trust me, it’s just as comforting in winter. I once made this for a friend’s birthday, and it was such a hit that she requests it every year now!
Ingredients for Your No-Bake Lemon Tart
- 1 ½ cups crushed graham crackers (or digestive biscuits)
- 6 tablespoons unsalted butter, melted
- ¼ cup granulated sugar
- 1 can (14 oz) sweetened condensed milk
- ½ cup freshly squeezed lemon juice
- 1 tablespoon lemon zest
- 1 teaspoon vanilla extract
- 1 cup whipped cream (optional, for topping)
Substitution Options
- Instead of graham crackers, use crushed cookies like shortbread or Oreos for a different flavor profile.
- If you’re out of fresh lemons, bottled lemon juice works in a pinch, though fresh is always best for flavor.
- For a dairy-free version, swap the butter with coconut oil and use a plant-based whipped cream.
Preparation: Let’s Get Started!
Step 1: Make the Crust
To begin, mix the crushed graham crackers, melted butter, and sugar in a bowl until the mixture resembles wet sand. Press this into the bottom of a tart pan, ensuring it’s evenly distributed. Use the back of a spoon or a measuring cup to press it down firmly. Pro tip: Chill the crust in the refrigerator for 15 minutes to help it set before adding the filling.
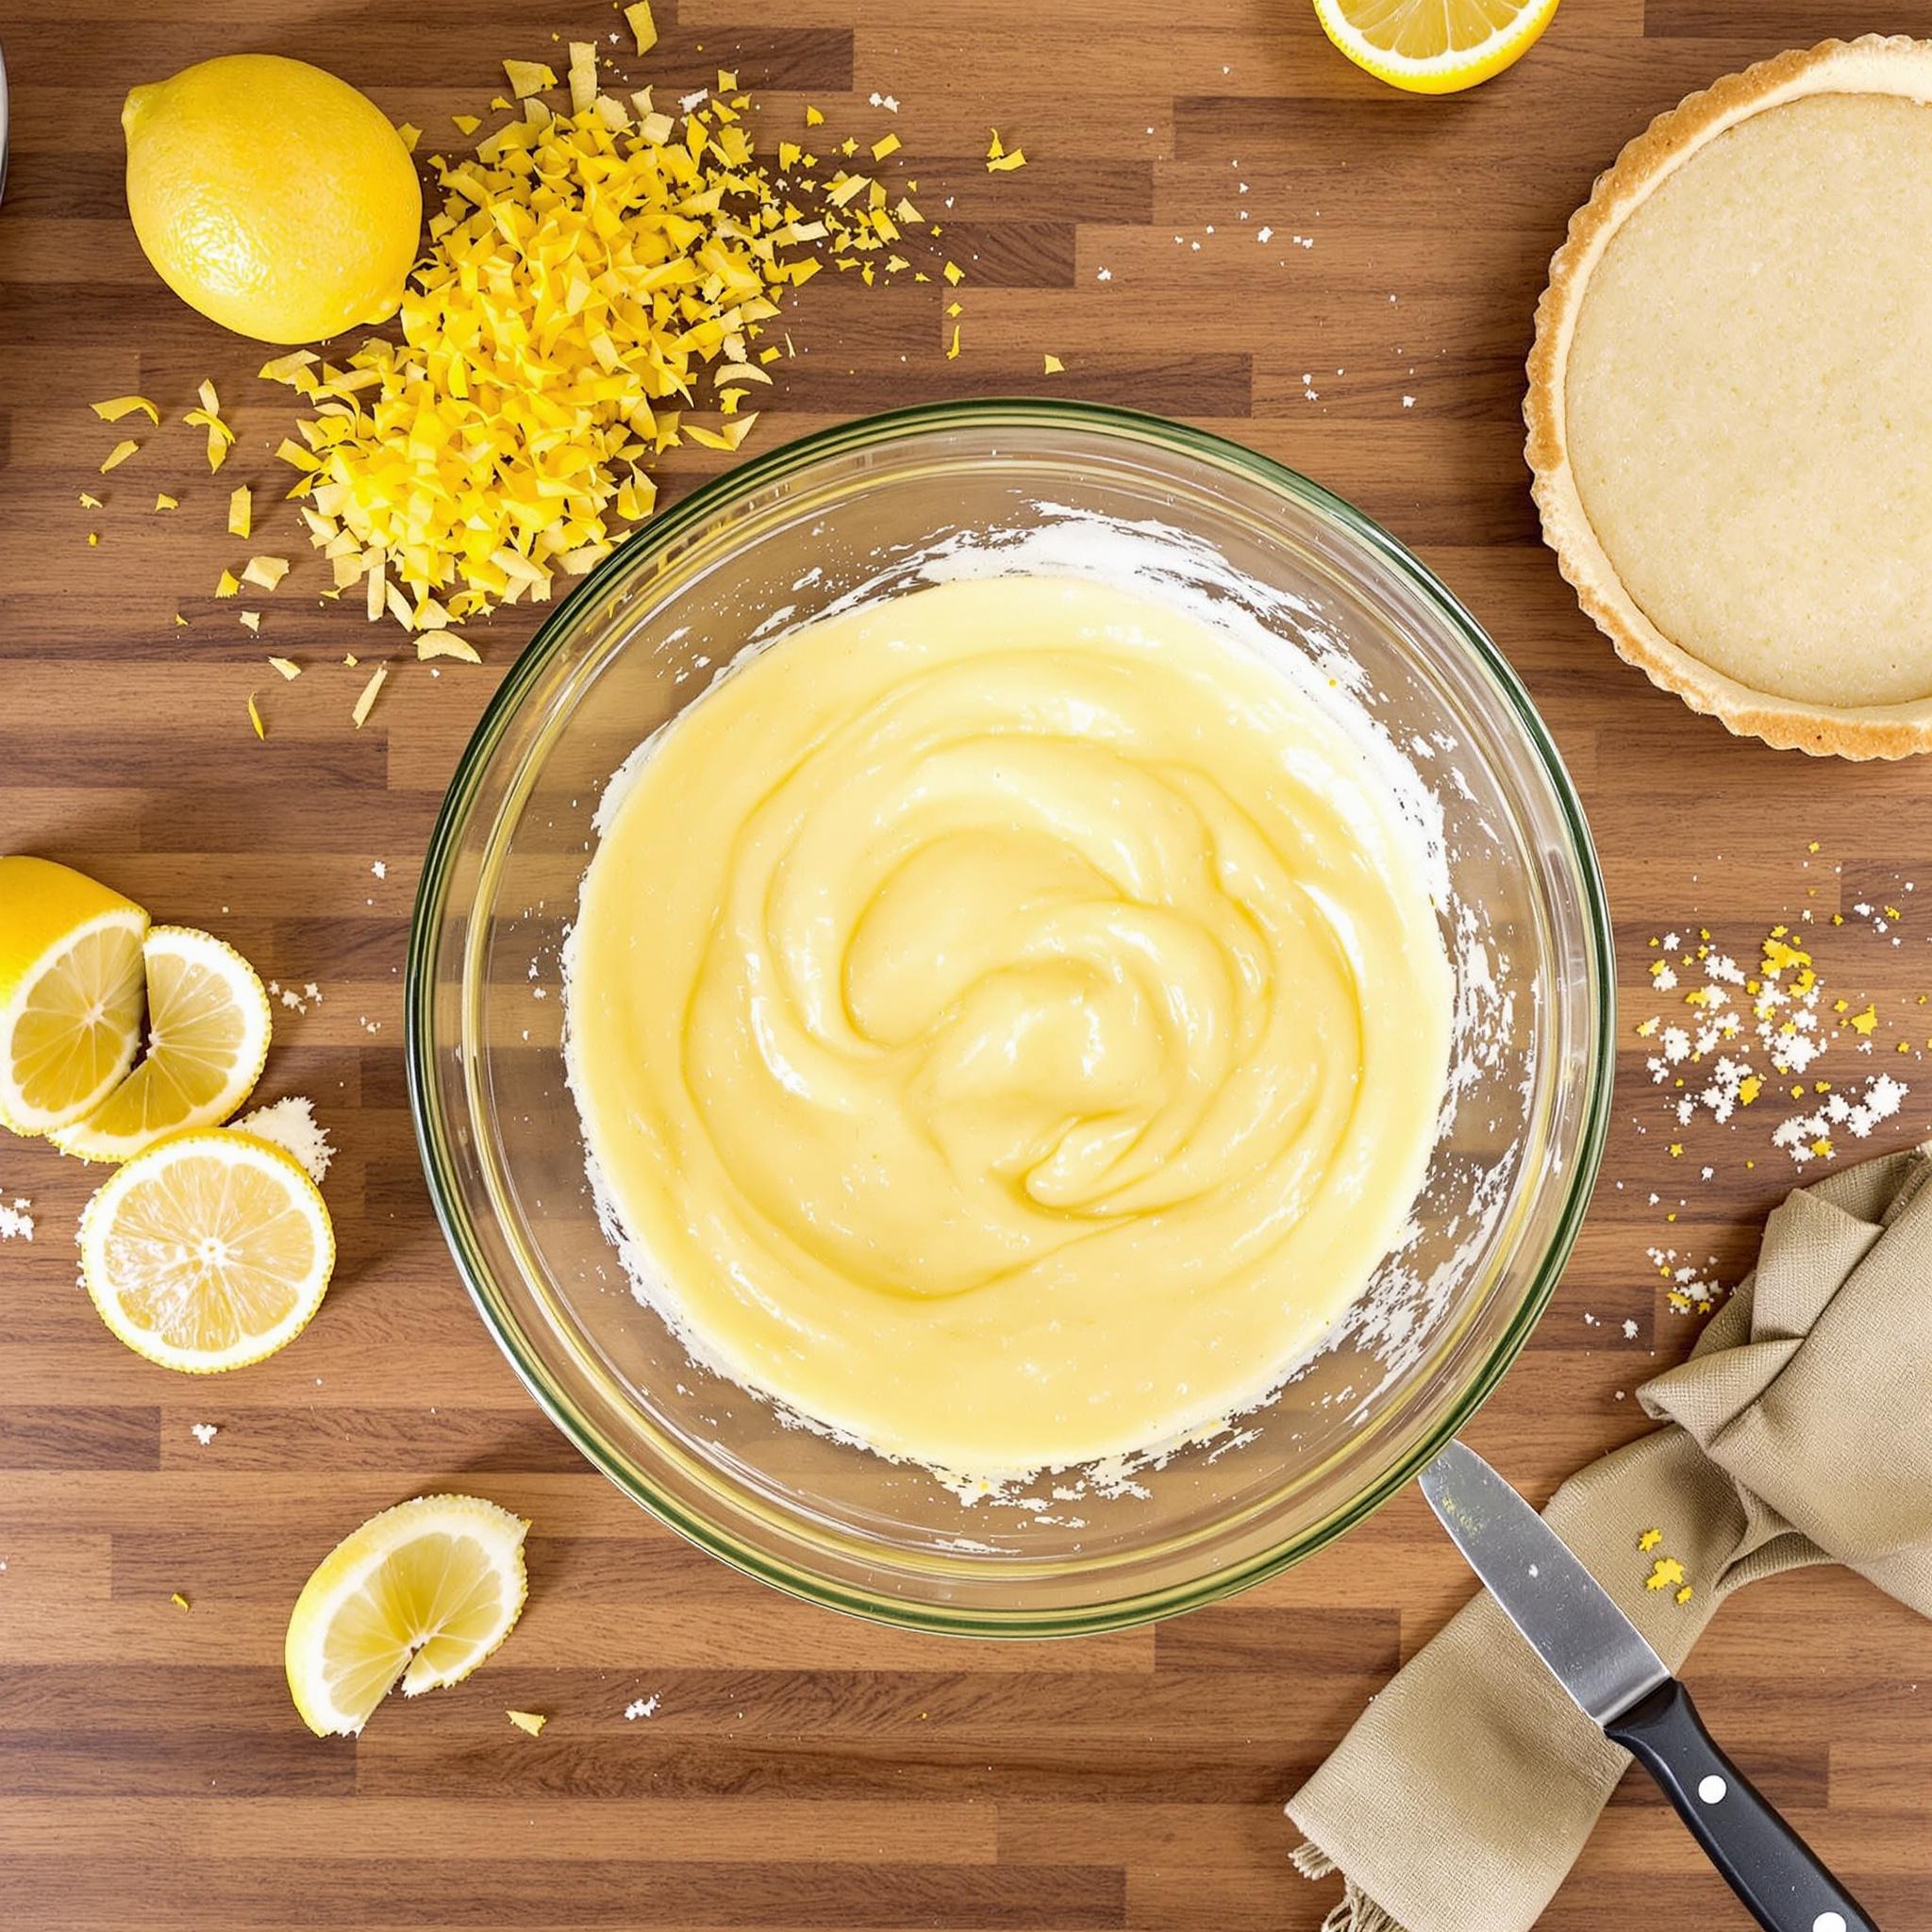
Step 2: Prepare the Lemon Filling
In a separate bowl, whisk together the sweetened condensed milk, lemon juice, lemon zest, and vanilla extract. Watch as the mixture thickens slightly—it’s like magic! The bright yellow color and fresh citrus scent will make your kitchen feel like a sunny orchard. Pour this luscious filling over the chilled crust, smoothing it out with a spatula for a polished look.
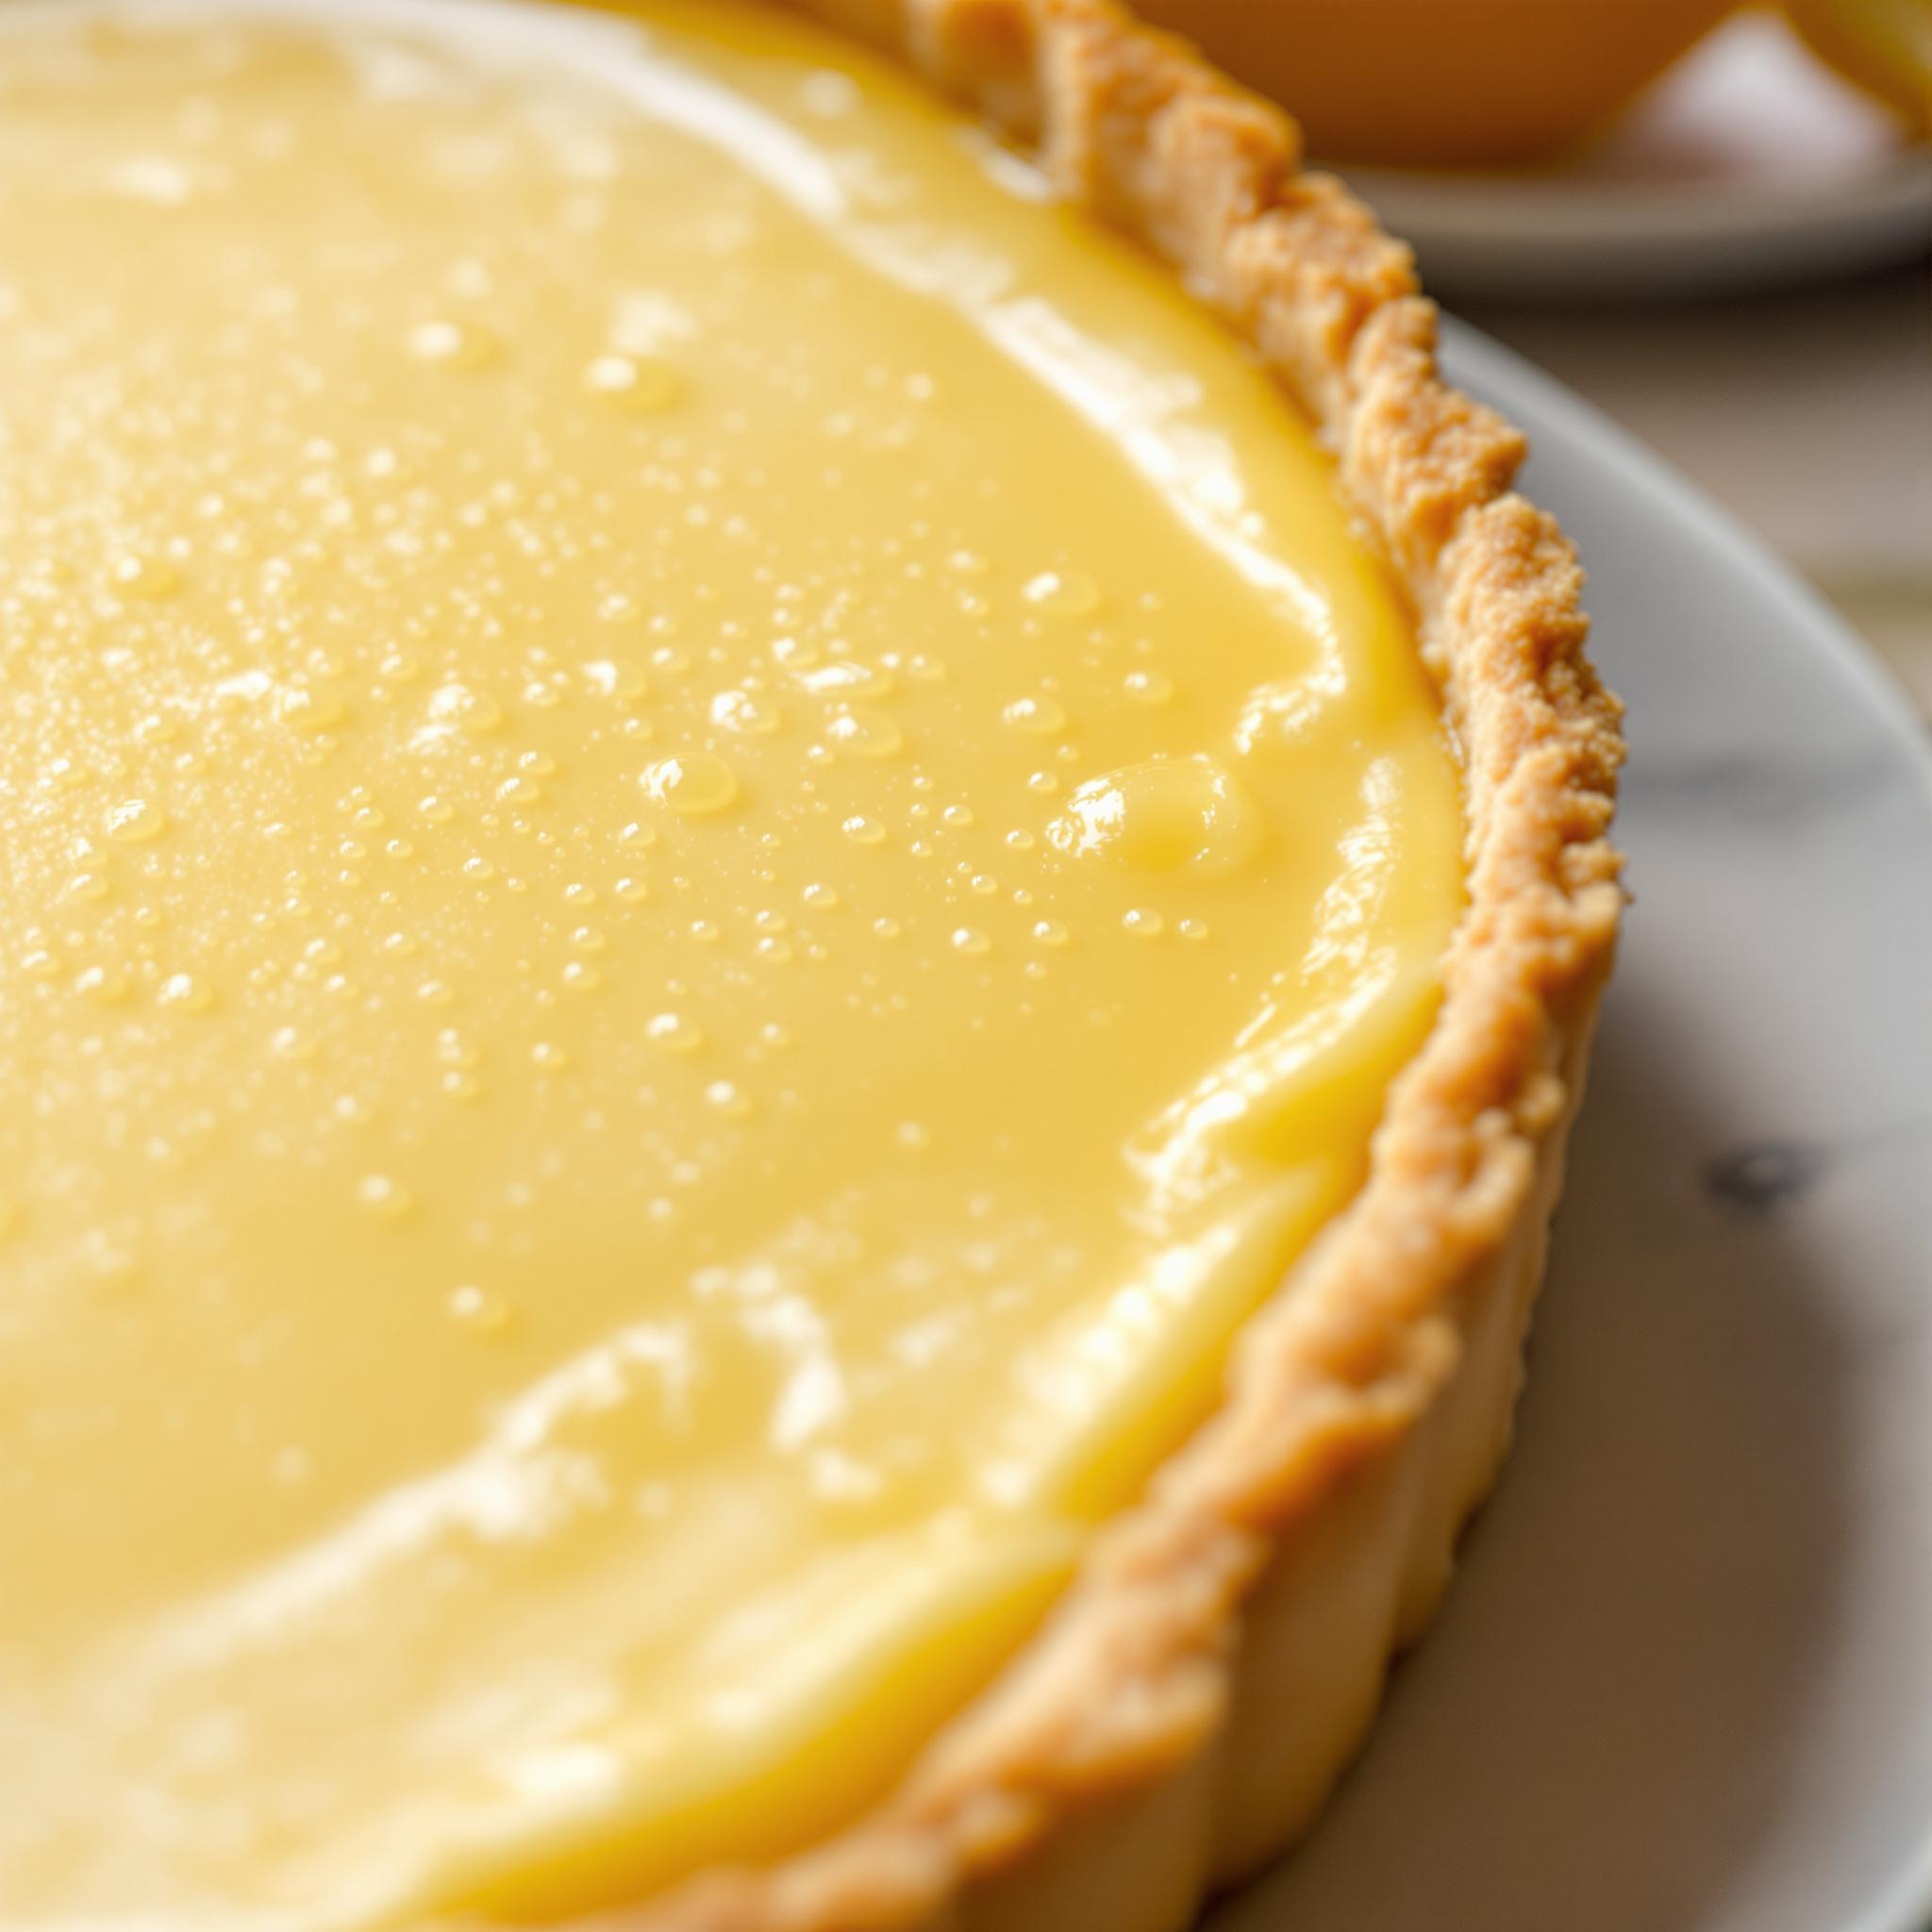
Step 3: Chill and Serve
Once assembled, refrigerate the tart for at least 4 hours, or overnight if you can. This resting time allows the flavors to meld and the filling to firm up. When ready to serve, add a dollop of whipped cream on top for an extra touch of indulgence. Slice into wedges and enjoy the creamy, zesty goodness!
Chef’s Tip
For an extra burst of flavor, sprinkle some toasted coconut flakes or crushed pistachios on top of the tart before serving. It adds texture and a hint of sophistication that your guests will adore.
Time Breakdown
- Prep Time: 15 minutes
- Chilling Time: 4 hours
- Total Time: 4 hours 15 minutes
Nutritional Information
Per serving (1 slice): Calories: 280 | Protein: 4g | Fat: 12g | Carbohydrates: 38g | Sugar: 25g
Extra Information
Did you know that lemons are packed with vitamin C and antioxidants? Not only does this No-Bake Lemon Tart taste amazing, but it also offers a boost of health benefits. It’s a guilt-free way to indulge!
Necessary Tools
- Tart pan
- Mixing bowls
- Whisk
- Spatula
- Zester or grater
Storage Instructions
This tart is best enjoyed fresh but can be stored in the refrigerator for up to 3 days. Cover it tightly with plastic wrap to prevent it from absorbing odors. If you live in a warm climate, avoid leaving it out for too long, as the filling may soften.
For longer storage, freeze individual slices wrapped in parchment paper and sealed in an airtight container. They’ll keep for up to a month. Simply thaw in the fridge before serving.
Pro tip: Always let the tart come to room temperature for 10-15 minutes before slicing for the best texture and flavor.
Tips and Tricks
- Use a microplane for finely grated lemon zest to avoid bitter pith.
- For a firmer crust, add a tablespoon of sugar to the graham cracker mixture.
- Don’t skip the chilling step—it’s crucial for setting the filling.
Serving Suggestions
- Serve with a side of fresh berries for a pop of color and added freshness.
- Pair with a cup of hot tea or coffee for a delightful afternoon treat.
Healthier Alternatives for the Recipe
Here are six ways to make this No-Bake Lemon Tart healthier:
- Gluten-Free Crust: Use gluten-free cookies or almond flour instead of graham crackers.
- Dairy-Free Filling: Substitute sweetened condensed milk with coconut cream blended with maple syrup.
- Lower Sugar Option: Reduce the sugar in the crust by half and use a sugar substitute in the filling.
- Vegan Whipped Cream: Top with coconut whipped cream for a plant-based option.
- Add Protein: Mix protein powder into the filling for a post-workout treat.
- Boost Fiber: Add chia seeds or flaxseeds to the crust for extra fiber.
Common Mistakes to Avoid
Mistake 1: Skipping the Chilling Step
One of the biggest mistakes people make is rushing the chilling process. Without adequate time in the fridge, the filling won’t set properly, resulting in a messy slice. To avoid this, plan ahead and allow at least 4 hours of chilling time. Pro tip: Place the tart on the lowest shelf of your fridge for optimal cooling.
Mistake 2: Overmixing the Filling
Overmixing can introduce air bubbles into the filling, affecting its smooth texture. Gently whisk the ingredients just until combined. This ensures a silky finish that’s perfect for serving.
Mistake 3: Using Bottled Lemon Juice
Bottled lemon juice lacks the fresh, vibrant flavor of real lemons. Always opt for freshly squeezed juice to achieve the authentic taste of a zesty tart.
Frequently Asked Questions
Can I Use Lime Instead of Lemon?
Absolutely! Limes work wonderfully in this recipe, offering a slightly different yet equally delicious flavor profile. Just replace the lemon juice and zest with lime equivalents.
How Do I Prevent the Crust from Sticking?
To prevent sticking, grease your tart pan lightly before pressing in the crust. Alternatively, line the pan with parchment paper for easy removal.
Can I Freeze This Tart?
Yes, you can freeze individual slices for up to a month. Wrap them tightly in plastic wrap and store in an airtight container.
What Can I Substitute for Sweetened Condensed Milk?
For a lighter option, try blending Greek yogurt with honey or using coconut cream for a dairy-free alternative.
How Long Does It Last in the Fridge?
This tart stays fresh in the fridge for up to 3 days when covered properly.
Can I Make It Ahead of Time?
Definitely! This dessert is perfect for making ahead since it requires chilling time anyway.
Is This Recipe Kid-Friendly?
Kids love the sweet-tart flavor combination, making this a crowd-pleaser at family gatherings.
Do I Need a Tart Pan?
While a tart pan gives the best shape, you can use a pie dish or even muffin tins for mini tarts.
Can I Add Other Fruits?
Yes, layer sliced strawberries or raspberries on top for a fruity twist.
What Makes This Recipe Special?
Its simplicity, vibrant flavors, and no-bake convenience make this No-Bake Lemon Tart truly special.
Conclusion
Whether you’re a seasoned baker or a beginner, this No-Bake Lemon Tart is sure to become a staple in your repertoire. With its zesty flavor, creamy texture, and ease of preparation, it’s the ultimate dessert for any occasion. So grab those lemons, roll up your sleeves, and let’s create something delicious together!
Equipment
- Tart pan
- Mixing bowls
- Whisk
- Spatula
- Zester or grater
Ingredients
- 1 ½ cups crushed graham crackers
- 6 tablespoons unsalted butter melted
- ¼ cup granulated sugar
- 1 can sweetened condensed milk (14 oz)
- ½ cup freshly squeezed lemon juice
- 1 tablespoon lemon zest
- 1 teaspoon vanilla extract
- 1 cup whipped cream (optional, for topping)
Instructions
- Mix the crushed graham crackers, melted butter, and sugar in a bowl until the mixture resembles wet sand.
- Press this mixture into the bottom of a tart pan, ensuring it's evenly distributed.
- Chill the crust in the refrigerator for 15 minutes to help it set before adding the filling.
- In a separate bowl, whisk together the sweetened condensed milk, lemon juice, lemon zest, and vanilla extract.
- Pour this filling over the chilled crust, smoothing it out with a spatula for a polished look.
- Refrigerate the tart for at least 4 hours, or overnight.
- Slice into wedges and enjoy the creamy, zesty goodness!
Notes
Nutrition

Hi, I’m Olivia Parker, the founder of BakingSecret.com and a lifelong lover of all things sweet and homemade. I grew up in a small town in Oregon, where the smell of fresh cookies in my family’s kitchen sparked my passion for baking. Over the years, I turned that passion into a mission: to help home bakers feel confident, inspired, and creative.
After studying food science and working in several artisan bakeries across the U.S., I decided to create a space where everyone from beginners to seasoned bakers can find reliable recipes, expert tips, and a warm, welcoming community. BakingSecret.com is my way of sharing the magic of baking with the world. When I’m not testing new recipes, you’ll find me exploring farmers’ markets, collecting vintage cookbooks, or perfecting my sourdough technique.