
Why This Cake is a Game-Changer
Picture this: it’s a cozy Sunday afternoon, and the house smells like butter and sugar. My niece walks in, eyes wide with excitement, holding her phone. “Auntie, have you seen the american cake queen onlyfans?” she asks. I had no idea what she was talking about, but one thing led to another, and here I am, baking this show-stopping cake that’s taken over social media. It’s rich, decadent, and just the right mix of sweet and sassy. Whether you’re a seasoned baker or a newbie, this recipe will make you feel like royalty.
The Story Behind the Cake
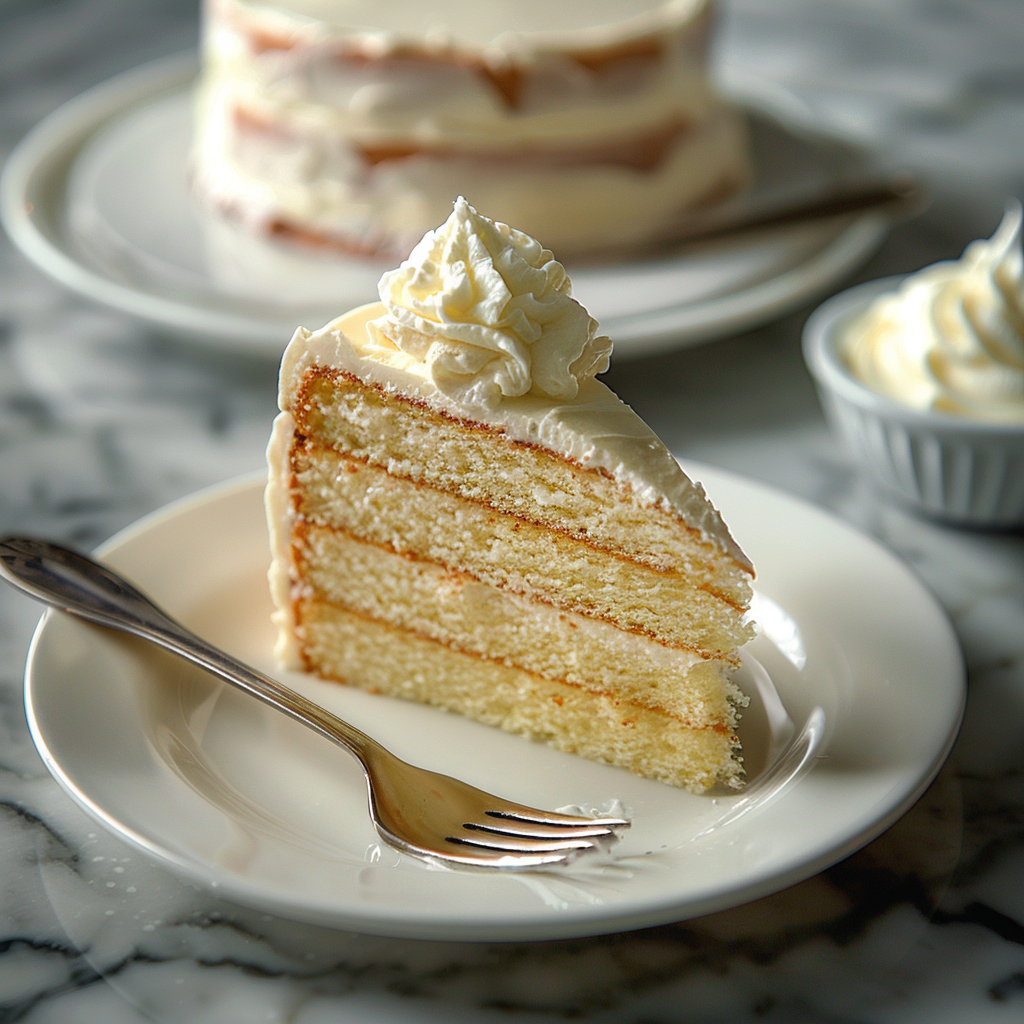
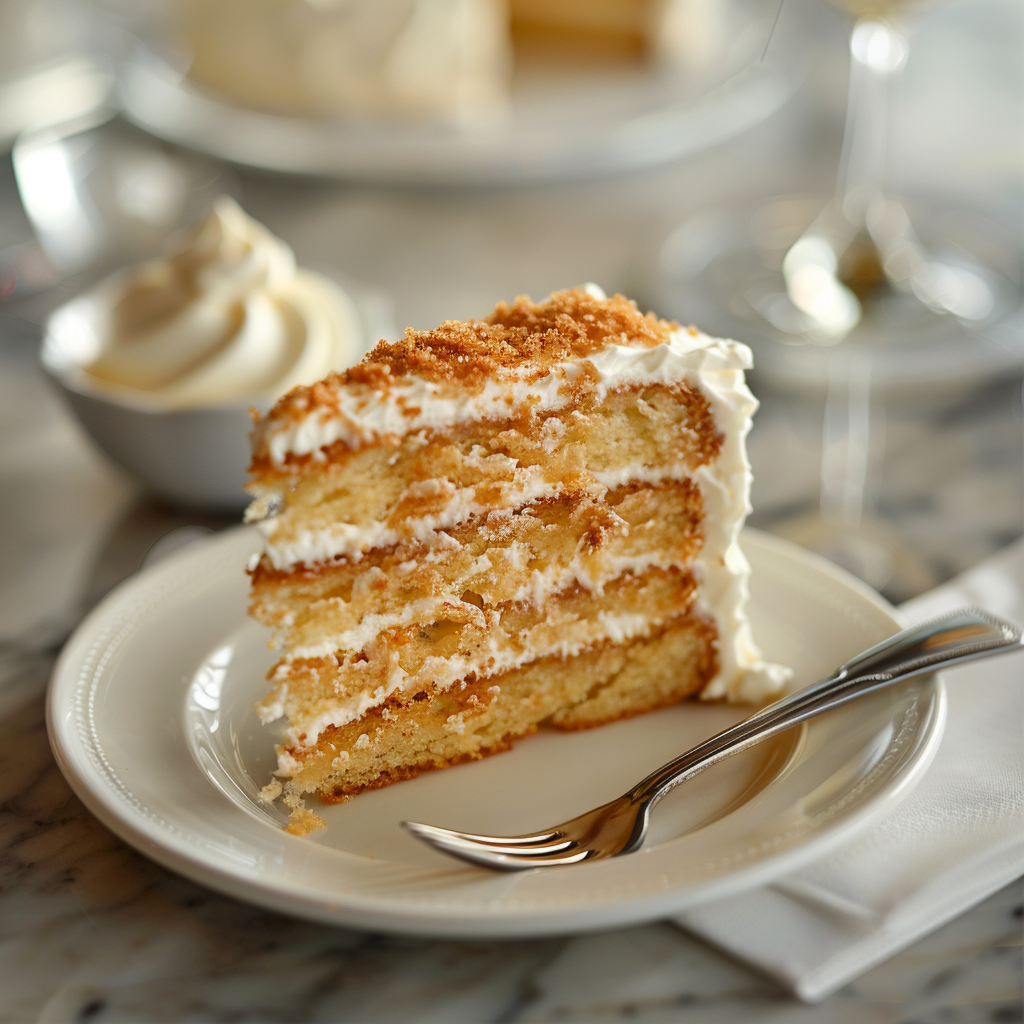
So, what’s the deal with the american cake queen onlyfans? Turns out, it’s not just a dessert—it’s a vibe. The cake gained fame thanks to its creator, whose name has sparked curiosity online (more on that later). People love how it combines classic American flavors with bold, modern twists. Think fluffy vanilla sponge layered with creamy frosting, topped with edible glitter and fresh berries. It’s become a symbol of creativity and fun in the kitchen.
I first tried making this cake for my book club. Let me tell you, they were floored. One friend even said, “This tastes like happiness.” That’s when I knew I had to share it with everyone I know.
Why You’ll Love This Recipe
This cake is all about balance. It’s indulgent without being overwhelming, and the process is straightforward enough for anyone to try. Plus, it’s customizable! Want chocolate instead of vanilla? Go for it. Prefer a tangy cream cheese frosting? Perfect. The american cake queen onlyfans inspires you to get creative while keeping things simple.
Perfect Occasions to Make This Cake
This cake isn’t just for birthdays or holidays—it’s versatile. Serve it at brunches, baby showers, or even as a treat for yourself on a random Tuesday. Trust me, life is too short to save cake for special occasions.
Ingredients
- 2 cups all-purpose flour
- 1 ½ cups granulated sugar
- 1 cup unsalted butter, softened
- 4 large eggs
- 1 tablespoon vanilla extract
- 2 teaspoons baking powder
- ½ teaspoon salt
- 1 cup whole milk
- 2 cups whipped cream frosting
- Fresh berries and edible glitter for decoration
Substitution Options
- Use almond or oat milk instead of whole milk for a dairy-free option.
- Swap granulated sugar for coconut sugar if you want a deeper flavor.
- Try gluten-free flour if you need to avoid gluten.
Preparation Section
Step 1: Preheat and Prep
Start by preheating your oven to 350°F (175°C). Grease three 8-inch round cake pans and line them with parchment paper. This ensures your cakes don’t stick and come out perfectly smooth. Pro tip: Dusting the pans lightly with flour adds an extra layer of protection against sticking.
Step 2: Mix Dry Ingredients
In a medium bowl, whisk together the flour, baking powder, and salt. This step might seem basic, but it’s crucial for even distribution. Imagine the texture of the mixture—soft, powdery, and ready to transform into something magical.
Step 3: Cream Butter and Sugar
In a separate large bowl, beat the softened butter and sugar until light and fluffy. This takes about 3-4 minutes with a hand mixer. You’ll notice the color changing from pale yellow to almost white—that’s how you know it’s done. The aroma alone will make your kitchen smell heavenly.
Step 4: Add Eggs and Vanilla
Crack the eggs one at a time into the butter-sugar mixture, beating well after each addition. Then stir in the vanilla extract. The batter should now look glossy and luxurious, like silk ribbons swirling together.
Step 5: Combine Wet and Dry Ingredients
Gradually add the dry ingredients to the wet mixture, alternating with the milk. Begin and end with the dry ingredients to keep the batter stable. Chef’s tip: Don’t overmix! Stop as soon as everything comes together to prevent dense layers.
Step 6: Bake to Perfection
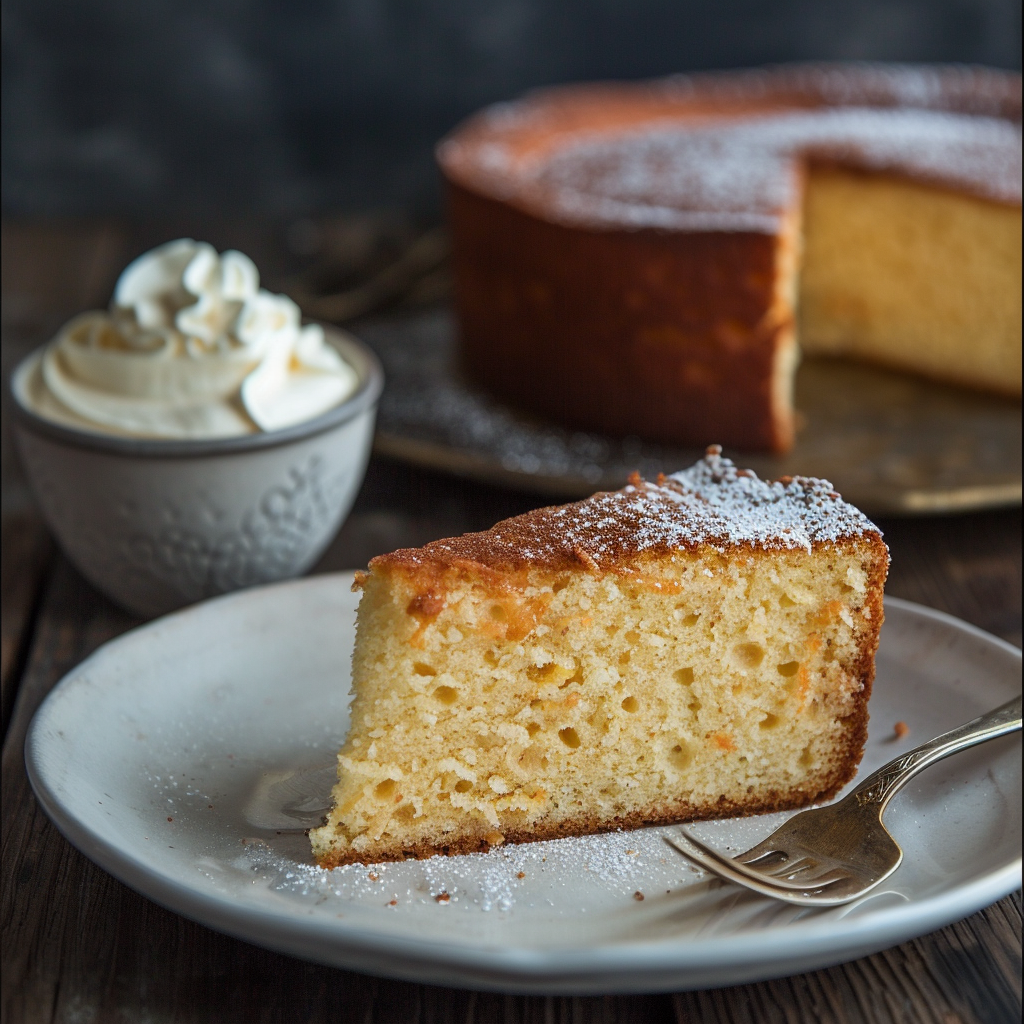
Pour the batter evenly into the prepared pans and bake for 25-30 minutes. When you insert a toothpick into the center, it should come out clean. Let the cakes cool completely before frosting—they’ll be easier to handle.
Step 7: Decorate Like a Queen
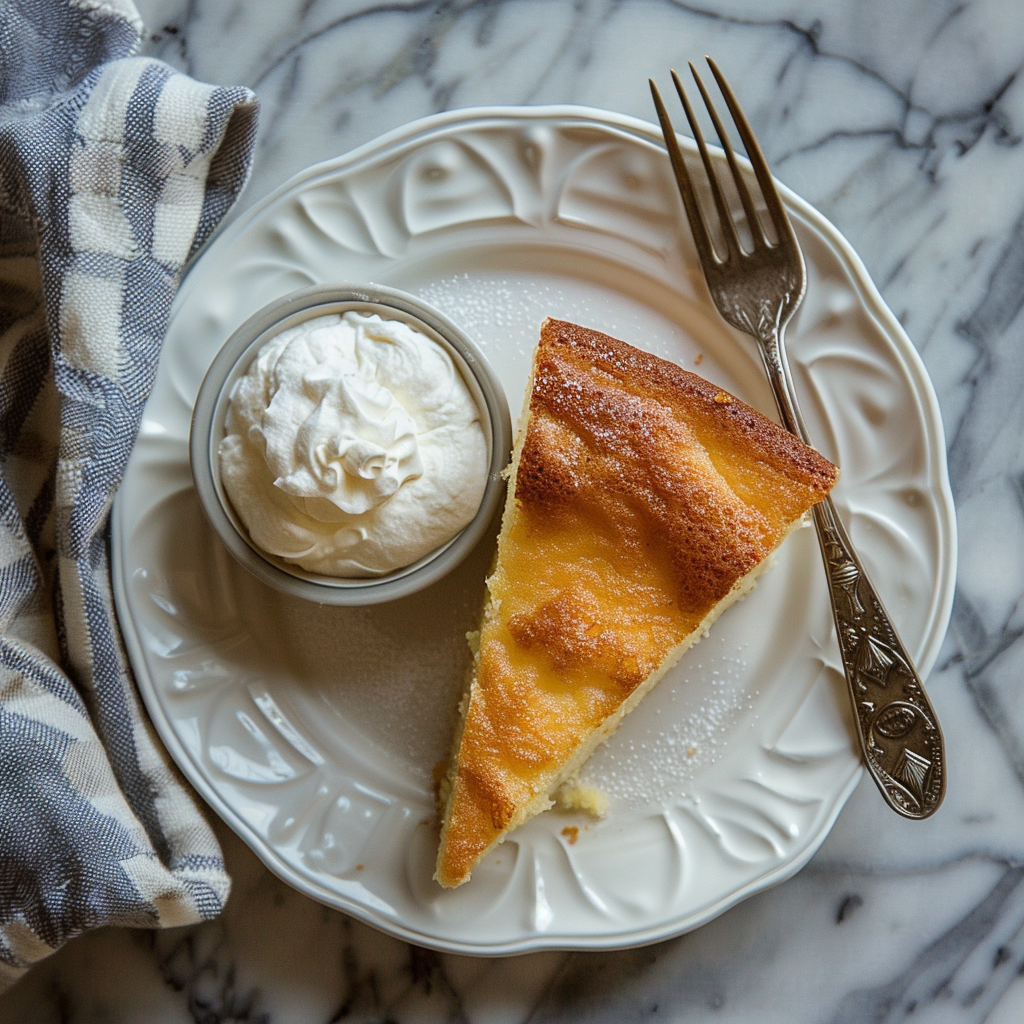
Spread the whipped cream frosting generously between the layers and around the sides. Top with fresh berries and a sprinkle of edible glitter. Voilà! Your masterpiece is ready to shine.
Timing
- Prep Time: 20 minutes
- Cooking Time: 25-30 minutes
- Resting Time: 1 hour (cooling)
- Total Time: Approximately 1 hour 50 minutes
Chef’s Secret
To elevate your cake, brush each layer with a simple syrup made from equal parts sugar and water. This keeps the cake moist and adds a hint of sweetness that pairs beautifully with the frosting.
Extra Info
Did you know that the american cake queen onlyfans trend started because fans wanted to recreate their favorite influencer’s recipes? It’s proof that good food brings people together, whether online or offline.
Necessary Equipment
- Stand mixer or hand mixer
- Measuring cups and spoons
- Three 8-inch round cake pans
- Spatula
- Cooling rack
Storage
Store the cake in an airtight container at room temperature for up to two days. If you live in a warm climate, refrigerate it instead. Just remember to let it sit at room temp for 30 minutes before serving to bring back its softness.
If you’ve frosted the entire cake but only plan to eat half, slice the leftovers and freeze them individually. Wrap each slice tightly in plastic wrap and place them in a freezer-safe bag. They’ll last up to three months.
For best results, thaw frozen slices overnight in the fridge. Give them a quick zap in the microwave for 10 seconds to restore that fresh-baked feel.
Tips and Advice
Always use room-temperature eggs and butter for smoother batters. Chill the frosted cake for 15 minutes before adding decorations—it helps everything stay in place.
Presentation Tips
- Serve on a decorative cake stand for maximum impact.
- Add a dusting of powdered sugar for a rustic touch.
- Use seasonal fruits like strawberries or figs for variety.
Healthier Alternative Recipes
Here are six ways to lighten up this delicious dessert:
- Gluten-Free Option: Substitute regular flour with almond flour or a gluten-free blend.
- Low-Sugar Version: Use stevia or monk fruit sweetener instead of granulated sugar.
- Vegan Twist: Replace eggs with flaxseed meal mixed with water, and use plant-based butter.
- Protein-Packed Cake: Add a scoop of vanilla protein powder to the batter.
- Dairy-Free Frosting: Opt for coconut cream instead of whipped cream.
- Whole Grain Goodness: Swap half the flour with whole wheat flour for added fiber.
Common Mistakes to Avoid
Mistake 1: Overmixing the Batter
Overmixing leads to tough, dense cakes. Mix just until the ingredients combine. A few lumps are okay—they’ll disappear during baking.
Mistake 2: Skipping the Cooling Step
Frosting a warm cake causes the icing to melt and slide off. Patience pays off here!
Mistake 3: Using Cold Ingredients
Cold butter won’t cream properly, and cold eggs can curdle the batter. Take everything out of the fridge ahead of time.
FAQ
What is American Cake Queen’s real name?
No one knows for sure, but rumors suggest she goes by Alex online. Whatever her name, her creations speak for themselves!
What prepaid cards does OnlyFans accept?
OnlyFans accepts most major prepaid cards, including Visa, Mastercard, and American Express. Check their website for updates.
Can I make this cake ahead of time?
Absolutely! Bake the layers up to two days in advance and store them wrapped in plastic until assembly.
How do I prevent my frosting from sliding?
Chill the cake briefly before adding the final layer of frosting. This creates a stable base.
Is this cake kid-friendly?
Yes! Kids adore the sweet flavors and colorful toppings. Just skip the alcohol-based extracts if needed.
Can I double the recipe?
Of course! Simply multiply all ingredients by two and use larger pans or multiple batches.
Why is my cake dry?
Dry cakes often result from overbaking. Set a timer and check doneness early to avoid this issue.
Do I need special tools?
Not really. While a stand mixer helps, a hand mixer works fine too. Focus on having the right pans.
Where can I find edible glitter?
Check baking supply stores or order online. It’s becoming increasingly popular for desserts.
Can I use store-bought frosting?
Yes, though homemade frosting tastes better. Store-bought is great for busy days.
Final Thoughts
Baking the american cake queen onlyfans is more than just following a recipe—it’s about creating joy. Whether you’re whipping it up for loved ones or treating yourself, this cake promises smiles all around. So grab your apron, turn on some music, and let’s bake something beautiful today.
Equipment
- Stand mixer or hand mixer
- Measuring cups and spoons
- Three 8-inch round cake pans
- Spatula
- Cooling rack
Ingredients
- 2 cups all-purpose flour
- 1.5 cups granulated sugar
- 1 cup unsalted butter softened
- 4 large eggs
- 1 tablespoon vanilla extract
- 2 teaspoons baking powder
- 0.5 teaspoon salt
- 1 cup whole milk
- 2 cups whipped cream frosting
- q.s. Fresh berries for decoration
- q.s. edible glitter for decoration
Instructions
- Preheat your oven to 350°F (175°C). Grease three 8-inch round cake pans and line them with parchment paper.
- In a medium bowl, whisk together the flour, baking powder, and salt.
- In a separate large bowl, beat softened butter and sugar until light and fluffy (about 3-4 minutes).
- Crack the eggs one at a time into the butter-sugar mixture, beating well after each addition. Stir in the vanilla extract.
- Gradually add the dry ingredients to the wet mixture, alternating with the milk, starting and ending with the dry ingredients.
- Pour the batter evenly into the prepared pans and bake for 25-30 minutes. Let cool completely before frosting.
- Spread whipped cream frosting generously between the layers and around the sides. Top with fresh berries and a sprinkle of edible glitter.
Notes
Nutrition

Hi, I’m Olivia Parker, the founder of BakingSecret.com and a lifelong lover of all things sweet and homemade. I grew up in a small town in Oregon, where the smell of fresh cookies in my family’s kitchen sparked my passion for baking. Over the years, I turned that passion into a mission: to help home bakers feel confident, inspired, and creative.
After studying food science and working in several artisan bakeries across the U.S., I decided to create a space where everyone from beginners to seasoned bakers can find reliable recipes, expert tips, and a warm, welcoming community. BakingSecret.com is my way of sharing the magic of baking with the world. When I’m not testing new recipes, you’ll find me exploring farmers’ markets, collecting vintage cookbooks, or perfecting my sourdough technique.