
Why This Black and White Cake Will Make You Smile
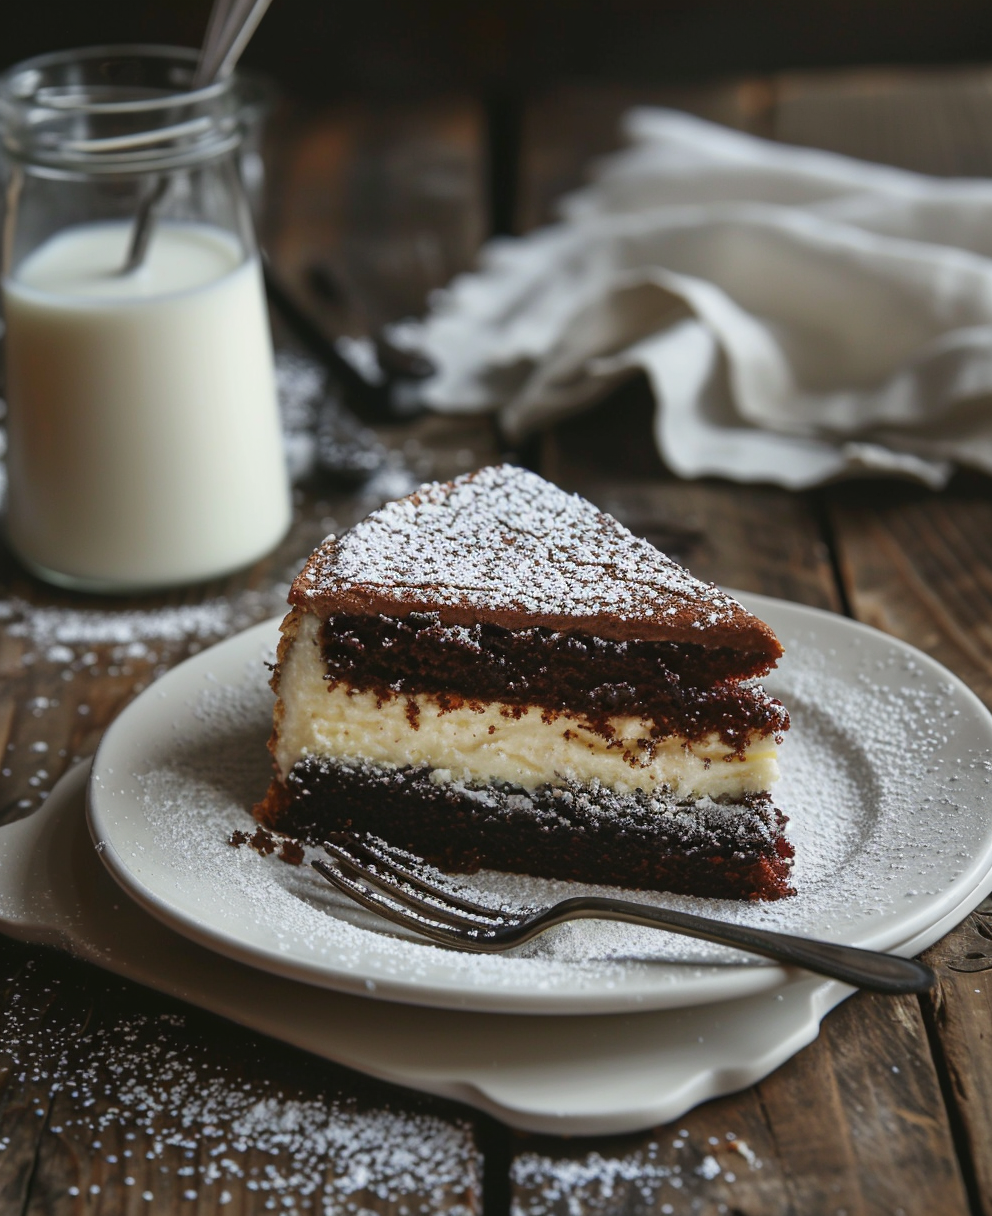
Picture this: a slice of cake so strikingly beautiful, it stops you mid-bite. That’s what happened to me the first time I made a black and white cake. The contrast of dark chocolate and creamy vanilla buttercream was not just a feast for the eyes but also for the taste buds. It’s the kind of dessert that makes people say, “Wow, did you really make this?” Spoiler alert: Yes, you can! And trust me, once you try this recipe, you’ll want to make it again and again.
A Peek into the History of Black and White Cake
The black and white cake has humble beginnings, often linked to classic American baking traditions. Some say it’s inspired by the famous black and white cookie, while others believe it’s a nod to simplicity and elegance in desserts. What I love most about this cake is how versatile it is. Whether you’re making a black and white cake design for a birthday or a black and white cake with red roses for an anniversary, it always feels special. Fun fact: Did you know Elvis Presley loved desserts? While he didn’t specifically adore this cake, I like to think he’d approve of its rich chocolate layers!
Why You’ll Fall Head Over Heels for This Recipe
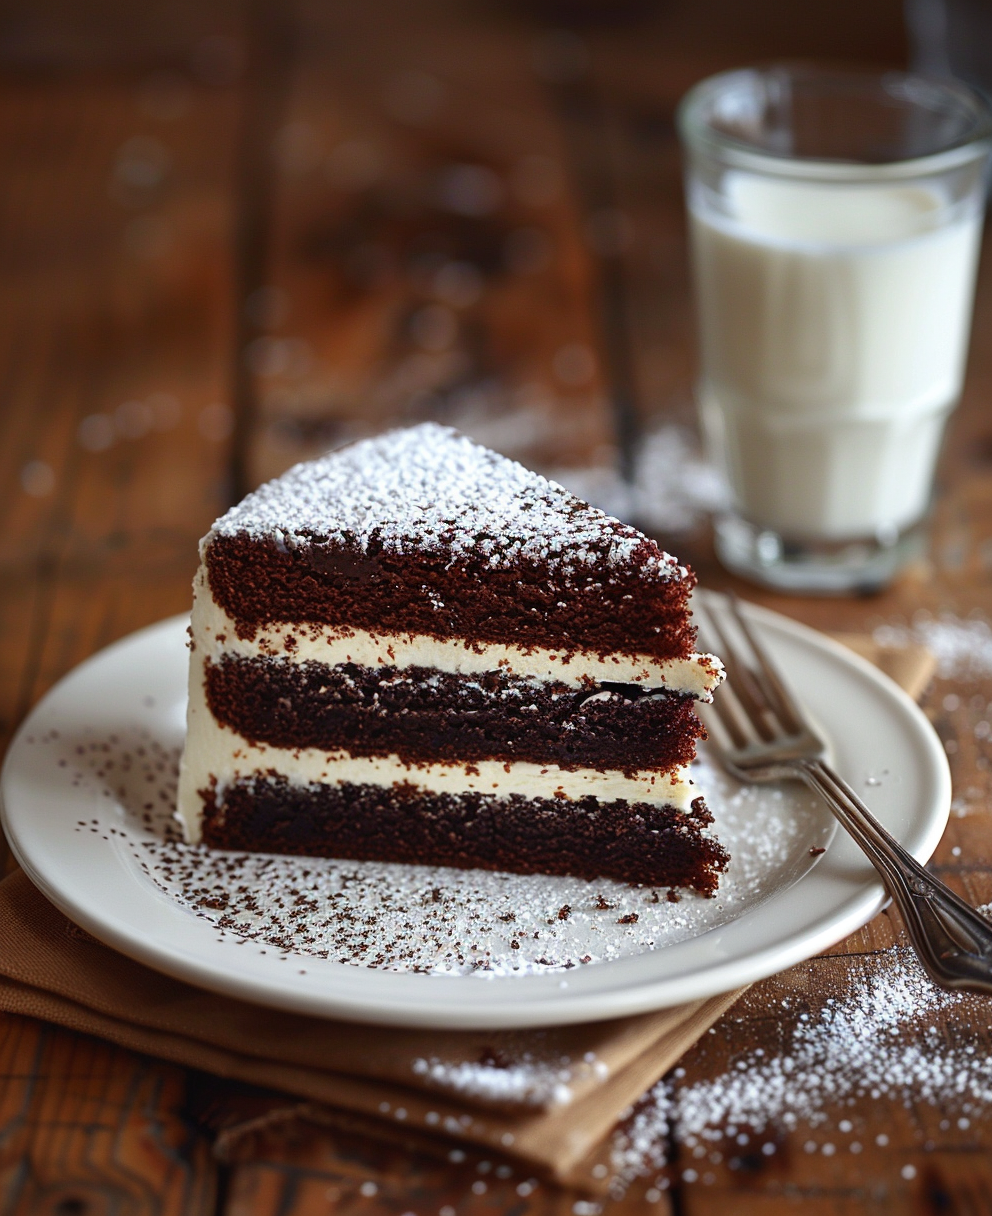
This black and white cake is all about balance. The deep, rich chocolate layers pair perfectly with the smooth, sweet vanilla buttercream. It’s not too complicated, either—perfect for home bakers who want to impress without losing their sanity. Plus, the black and white cake flavor combination is timeless. Whether you’re a fan of bold chocolate or prefer something lighter, this cake has something for everyone.
Perfect Occasions for Your Black and White Cake
You might be wondering, “When should I whip up this beauty?” Well, let me tell you—it’s perfect for almost any occasion! Birthdays, weddings, baby showers, or even a random Tuesday night (because why not?). A black and white cake for a man could feature sleek, minimalist designs, while a black and white cake drawing-inspired creation would be ideal for an art-themed party. Honestly, this cake is so versatile, you’ll find excuses to bake it.
Ingredients for Your Black and White Cake
- 1 cup unsalted butter, softened
- 1 ½ cups granulated sugar
- 4 large eggs
- 2 teaspoons vanilla extract
- 2 ¾ cups all-purpose flour
- ¾ cup cocoa powder (for the chocolate layers)
- 2 teaspoons baking powder
- ½ teaspoon baking soda
- 1 cup whole milk
- 1 teaspoon salt
- For the black and white cake buttercream: 1 cup unsalted butter, 4 cups powdered sugar, 1 teaspoon vanilla extract, ¼ cup heavy cream, and cocoa powder for half the frosting.
Substitution Options
- Use almond milk instead of whole milk for a dairy-free option.
- Swap out butter for margarine if needed.
- For a gluten-free version, use a 1:1 gluten-free flour blend.
- If you don’t have heavy cream, substitute with full-fat coconut milk.
Step 1: Preparing the Chocolate Layers
Start by preheating your oven to 350°F. Grease and flour three 8-inch round cake pans. In a large mixing bowl, cream the butter and sugar until light and fluffy. Add the eggs one at a time, mixing well after each addition. Stir in the vanilla extract. Now comes the magic: divide the batter into two bowls. To one bowl, add the cocoa powder and mix until fully incorporated. Pour this chocolate batter evenly into two of the prepared pans. Pro tip: Use a kitchen scale to ensure even layers.
Step 2: Making the Vanilla Layer
In the remaining bowl of batter, add a splash of milk to lighten the color and enhance the vanilla flavor. Pour this batter into the third pan. Pop all three pans into the oven and bake for 25-30 minutes, or until a toothpick inserted in the center comes out clean. Let the cakes cool completely before frosting. Trust me, patience pays off here!
Step 3: Crafting the Buttercream Frosting
While the cakes cool, let’s tackle the star of the show: the black and white cake buttercream. Beat the butter until creamy, then gradually add powdered sugar, alternating with heavy cream. Split the frosting into two bowls. Leave one bowl plain for the vanilla side, and add cocoa powder to the other for the chocolate side. Mix both frostings until smooth and dreamy. Chef’s tip: Chill the frosting for 10 minutes before spreading—it holds its shape better!
Step 4: Assembling the Cake
Now for the fun part! Place one chocolate layer on a cake stand or plate. Spread a generous layer of vanilla buttercream on top. Add the vanilla cake layer next, followed by more chocolate buttercream. Finish with the final chocolate layer. Cover the entire cake with alternating stripes of chocolate and vanilla frosting for that iconic black and white cake design. Stand back and admire your masterpiece.
Timing Breakdown
- Prep Time: 20 minutes
- Baking Time: 25-30 minutes
- Cooling Time: 1 hour
- Frosting and Assembly: 30 minutes
- Total Time: Approximately 2 hours and 20 minutes
Chef’s Secret
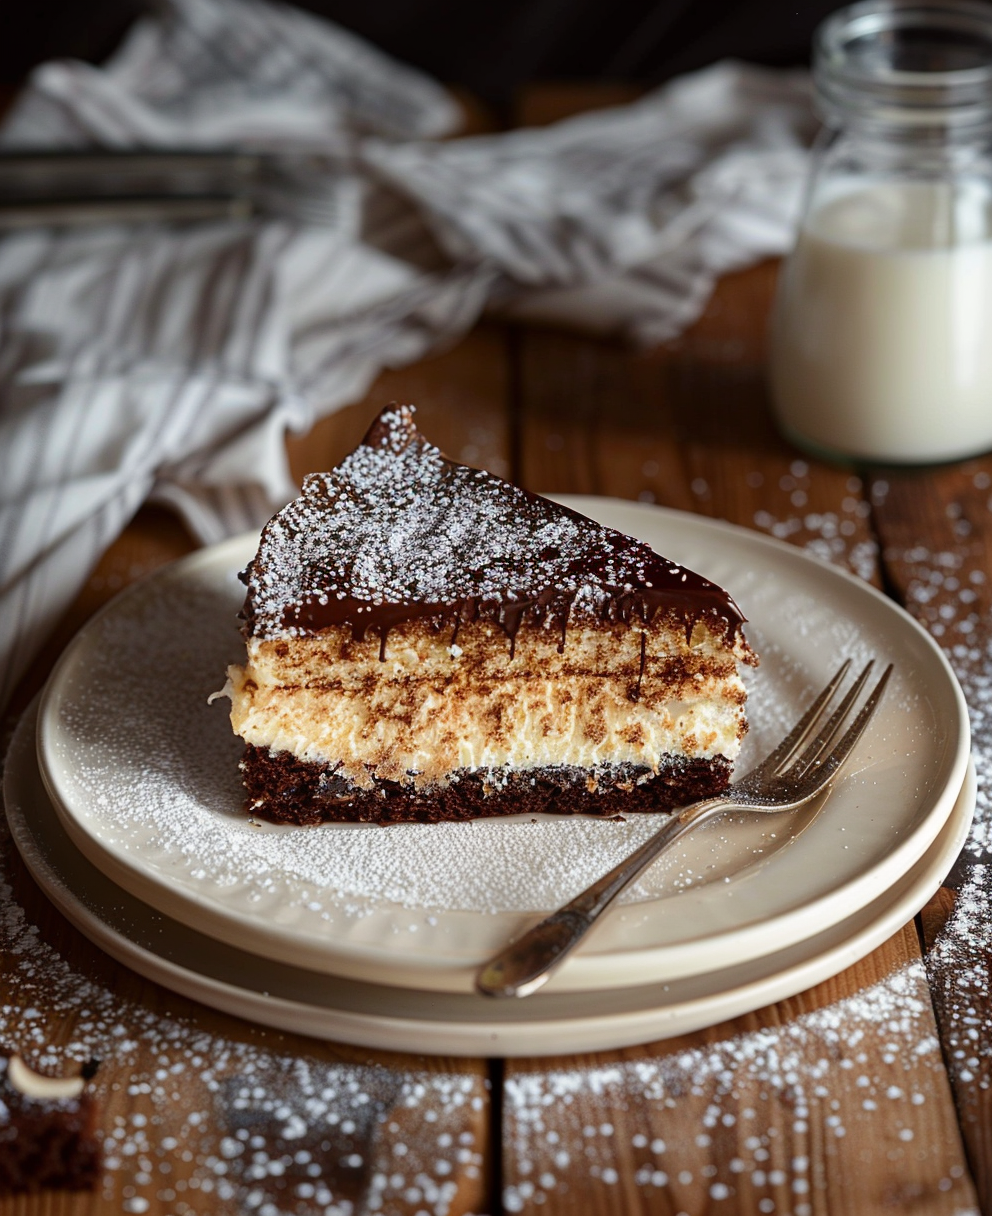
For an extra wow factor, brush each cake layer with simple syrup before frosting. It keeps the cake moist and adds a hint of sweetness that pairs beautifully with the buttercream.
Extra Info
Did you know that the black and white cake cartoon-like appearance makes it a hit at kids’ parties? My nephew once asked if it was edible because it looked “too perfect.” True story!
Necessary Equipment
- Three 8-inch round cake pans
- Stand mixer or hand mixer
- Offset spatula for frosting
- Cake turntable (optional but helpful)
- Piping bags for decorative touches
Storage Tips
To keep your black and white cake inside fresh, store it in an airtight container at room temperature for up to two days. If you live in a warm climate, refrigerate it instead. Just remember to bring it back to room temperature before serving—it tastes better that way.
For longer storage, wrap individual slices in plastic wrap and freeze them. They’ll stay good for up to three months. Simply thaw overnight in the fridge when you’re ready to indulge.
Avoid leaving the cake uncovered, as the frosting can dry out. Nobody likes a sad, crusty cake!
Tips and Advice
- Don’t overmix the batter—it can make the cake dense.
- Use gel food coloring for vibrant designs if decorating.
- Chill the frosted cake for 15 minutes before slicing for clean cuts.
Presentation Ideas
- Add edible gold leaf for a touch of luxury.
- Top with fresh berries for a pop of color.
- Create a black and white cake drawing-inspired pattern using piping techniques.
Healthier Alternatives
Looking to lighten things up? Here are six variations:
- Gluten-Free Option: Use almond flour and a gluten-free flour blend.
- Low-Sugar Version: Swap sugar for monk fruit sweetener.
- Vegan Delight: Replace eggs with flax eggs and use plant-based butter.
- Whole Wheat Goodness: Substitute half the flour with whole wheat flour.
- Fruit-Infused: Fold mashed bananas into the batter for natural sweetness.
- Protein-Packed: Add a scoop of vanilla protein powder to the batter.
Mistake 1: Skipping the Cooling Step
Rushing to frost a warm cake is a recipe for disaster. The frosting will melt right off, leaving you with a sticky mess. Always let the layers cool completely before assembling. Pro tip: Place the cakes in the fridge for 10 minutes if you’re short on time.
Mistake 2: Overloading the Frosting
While frosting is delicious, too much can overwhelm the delicate flavors of the cake. Aim for a balanced ratio of cake to frosting. A thin crumb coat works wonders before applying the final layer.
Mistake 3: Uneven Layers
No one wants a lopsided cake! Use a kitchen scale to divide the batter evenly between the pans. If your layers still come out uneven, trim them with a serrated knife before frosting.
FAQs
What is in a black and white cake?
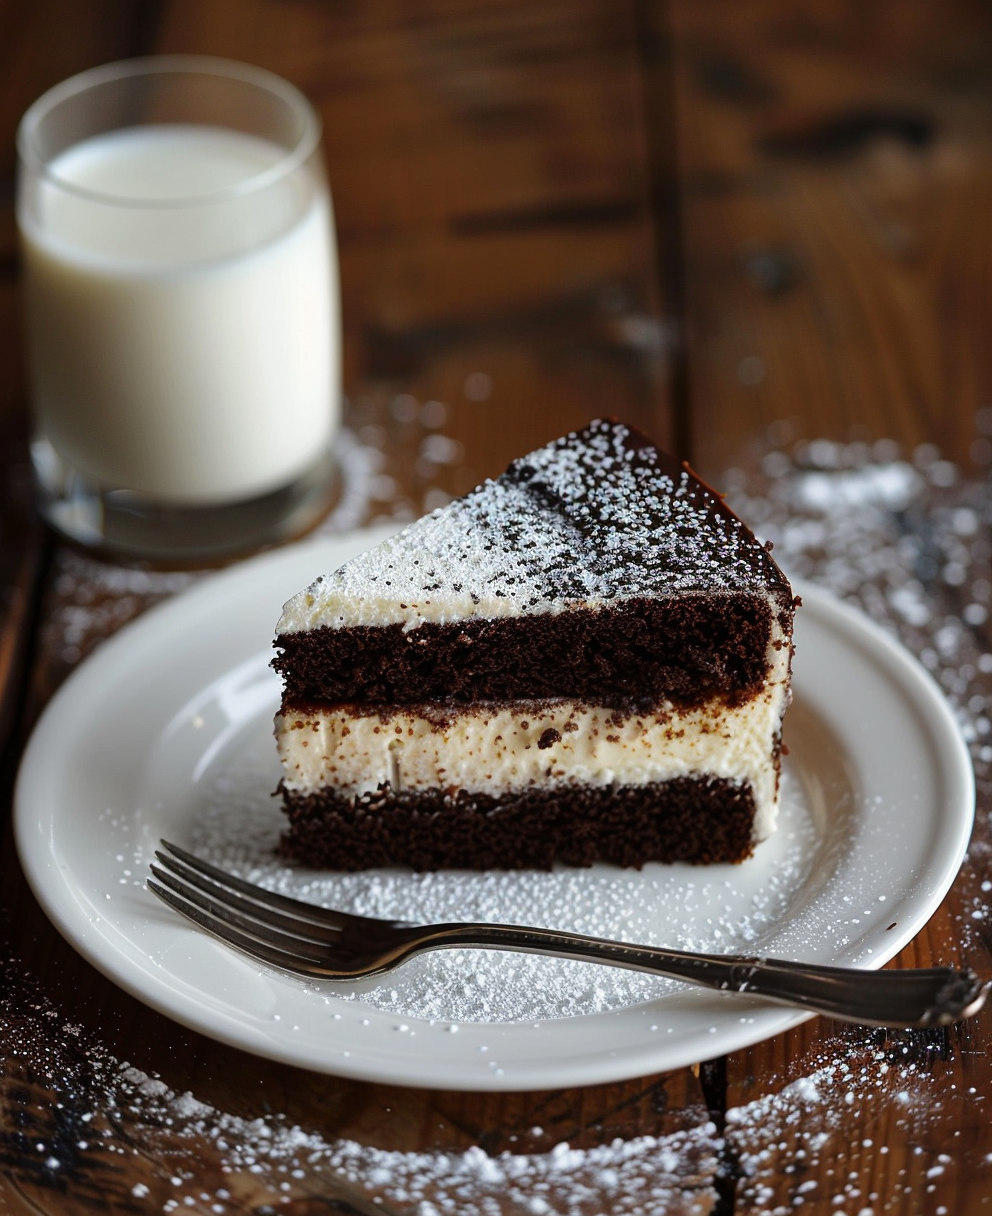
A black and white cake typically consists of alternating layers of chocolate and vanilla cake, topped with contrasting chocolate and vanilla buttercream frosting. It’s a delightful balance of flavors and textures.
What dessert is called a black and white?
The term “black and white” often refers to desserts featuring a striking contrast between dark and light elements, like the classic black and white cookie cake.
What frosting is best for black and white cake?
A combination of chocolate and vanilla buttercream creates the iconic look and taste of a black and white cake buttercream.
What kind of cake did Elvis like?
Elvis Presley famously loved peanut butter and banana sandwiches, but his sweet tooth extended to rich, indulgent cakes like pound cake and cheesecake.
Can I make this cake ahead of time?
Absolutely! Bake the layers a day in advance and store them wrapped tightly at room temperature.
How do I prevent my cake from sticking to the pan?
Grease and flour your pans thoroughly, or line them with parchment paper for added insurance.
Is this cake kid-friendly?
Yes! Kids love the playful black and white cake design and the mix of chocolate and vanilla flavors.
Can I use boxed cake mix?
Of course! Use one box of chocolate and one of vanilla mix for a quick shortcut.
What tools do I need for decorating?
An offset spatula and piping bags are essential for creating smooth finishes and intricate designs.
Where can I buy a black and white cake?
Many bakeries and stores like Whole Foods offer stunning black and white cake Whole Foods options if you’re short on time.
Final Thoughts
There you have it—a guide to mastering the art of the black and white cake. Whether you’re baking for a special occasion or just because, this cake is sure to delight. So grab your apron, preheat that oven, and get ready to create something truly unforgettable. Happy baking!
Equipment
- Stand mixer or hand mixer
- Offset spatula
- Cake turntable (optional)
- Three 8-inch round cake pans
- Piping bags
Ingredients
- 1 cup g unsalted butter, softened
- 1 ½ cups g granulated sugar
- 4 large eggs
- 2 teaspoons g vanilla extract
- 2 ¾ cups g all-purpose flour
- ¾ cup g cocoa powder for the chocolate layers
- 2 teaspoons g baking powder
- ½ teaspoon g baking soda
- 1 cup ml whole milk
- 1 teaspoon g salt
Instructions
- Preheat the oven to 350°F and grease and flour three 8-inch round cake pans.
- Cream the butter and granulated sugar in a large mixing bowl until light and fluffy.
- Add the eggs one at a time, mixing well after each addition, then stir in the vanilla extract.
- Divide the batter into two bowls; add cocoa powder to one bowl and mix until well combined.
- Pour the chocolate batter evenly into two prepared pans; pour the vanilla batter into the third pan.
- Bake all three pans for 25-30 minutes or until a toothpick inserted in the center comes out clean; let cool completely.
- For the buttercream, beat the unsalted butter until creamy, then gradually add powdered sugar alternating with heavy cream.
- Split the frosting into two bowls; leave one plain and add cocoa powder to the other.
- Assemble the cake by placing one chocolate layer on a stand, spreading vanilla buttercream on top, followed by the vanilla layer and more chocolate buttercream.
- Top with the final chocolate layer and cover the entire cake with alternating stripes of chocolate and vanilla frosting.
Notes
Nutrition

Hi, I’m Olivia Parker, the founder of BakingSecret.com and a lifelong lover of all things sweet and homemade. I grew up in a small town in Oregon, where the smell of fresh cookies in my family’s kitchen sparked my passion for baking. Over the years, I turned that passion into a mission: to help home bakers feel confident, inspired, and creative.
After studying food science and working in several artisan bakeries across the U.S., I decided to create a space where everyone from beginners to seasoned bakers can find reliable recipes, expert tips, and a warm, welcoming community. BakingSecret.com is my way of sharing the magic of baking with the world. When I’m not testing new recipes, you’ll find me exploring farmers’ markets, collecting vintage cookbooks, or perfecting my sourdough technique.