
Introduction
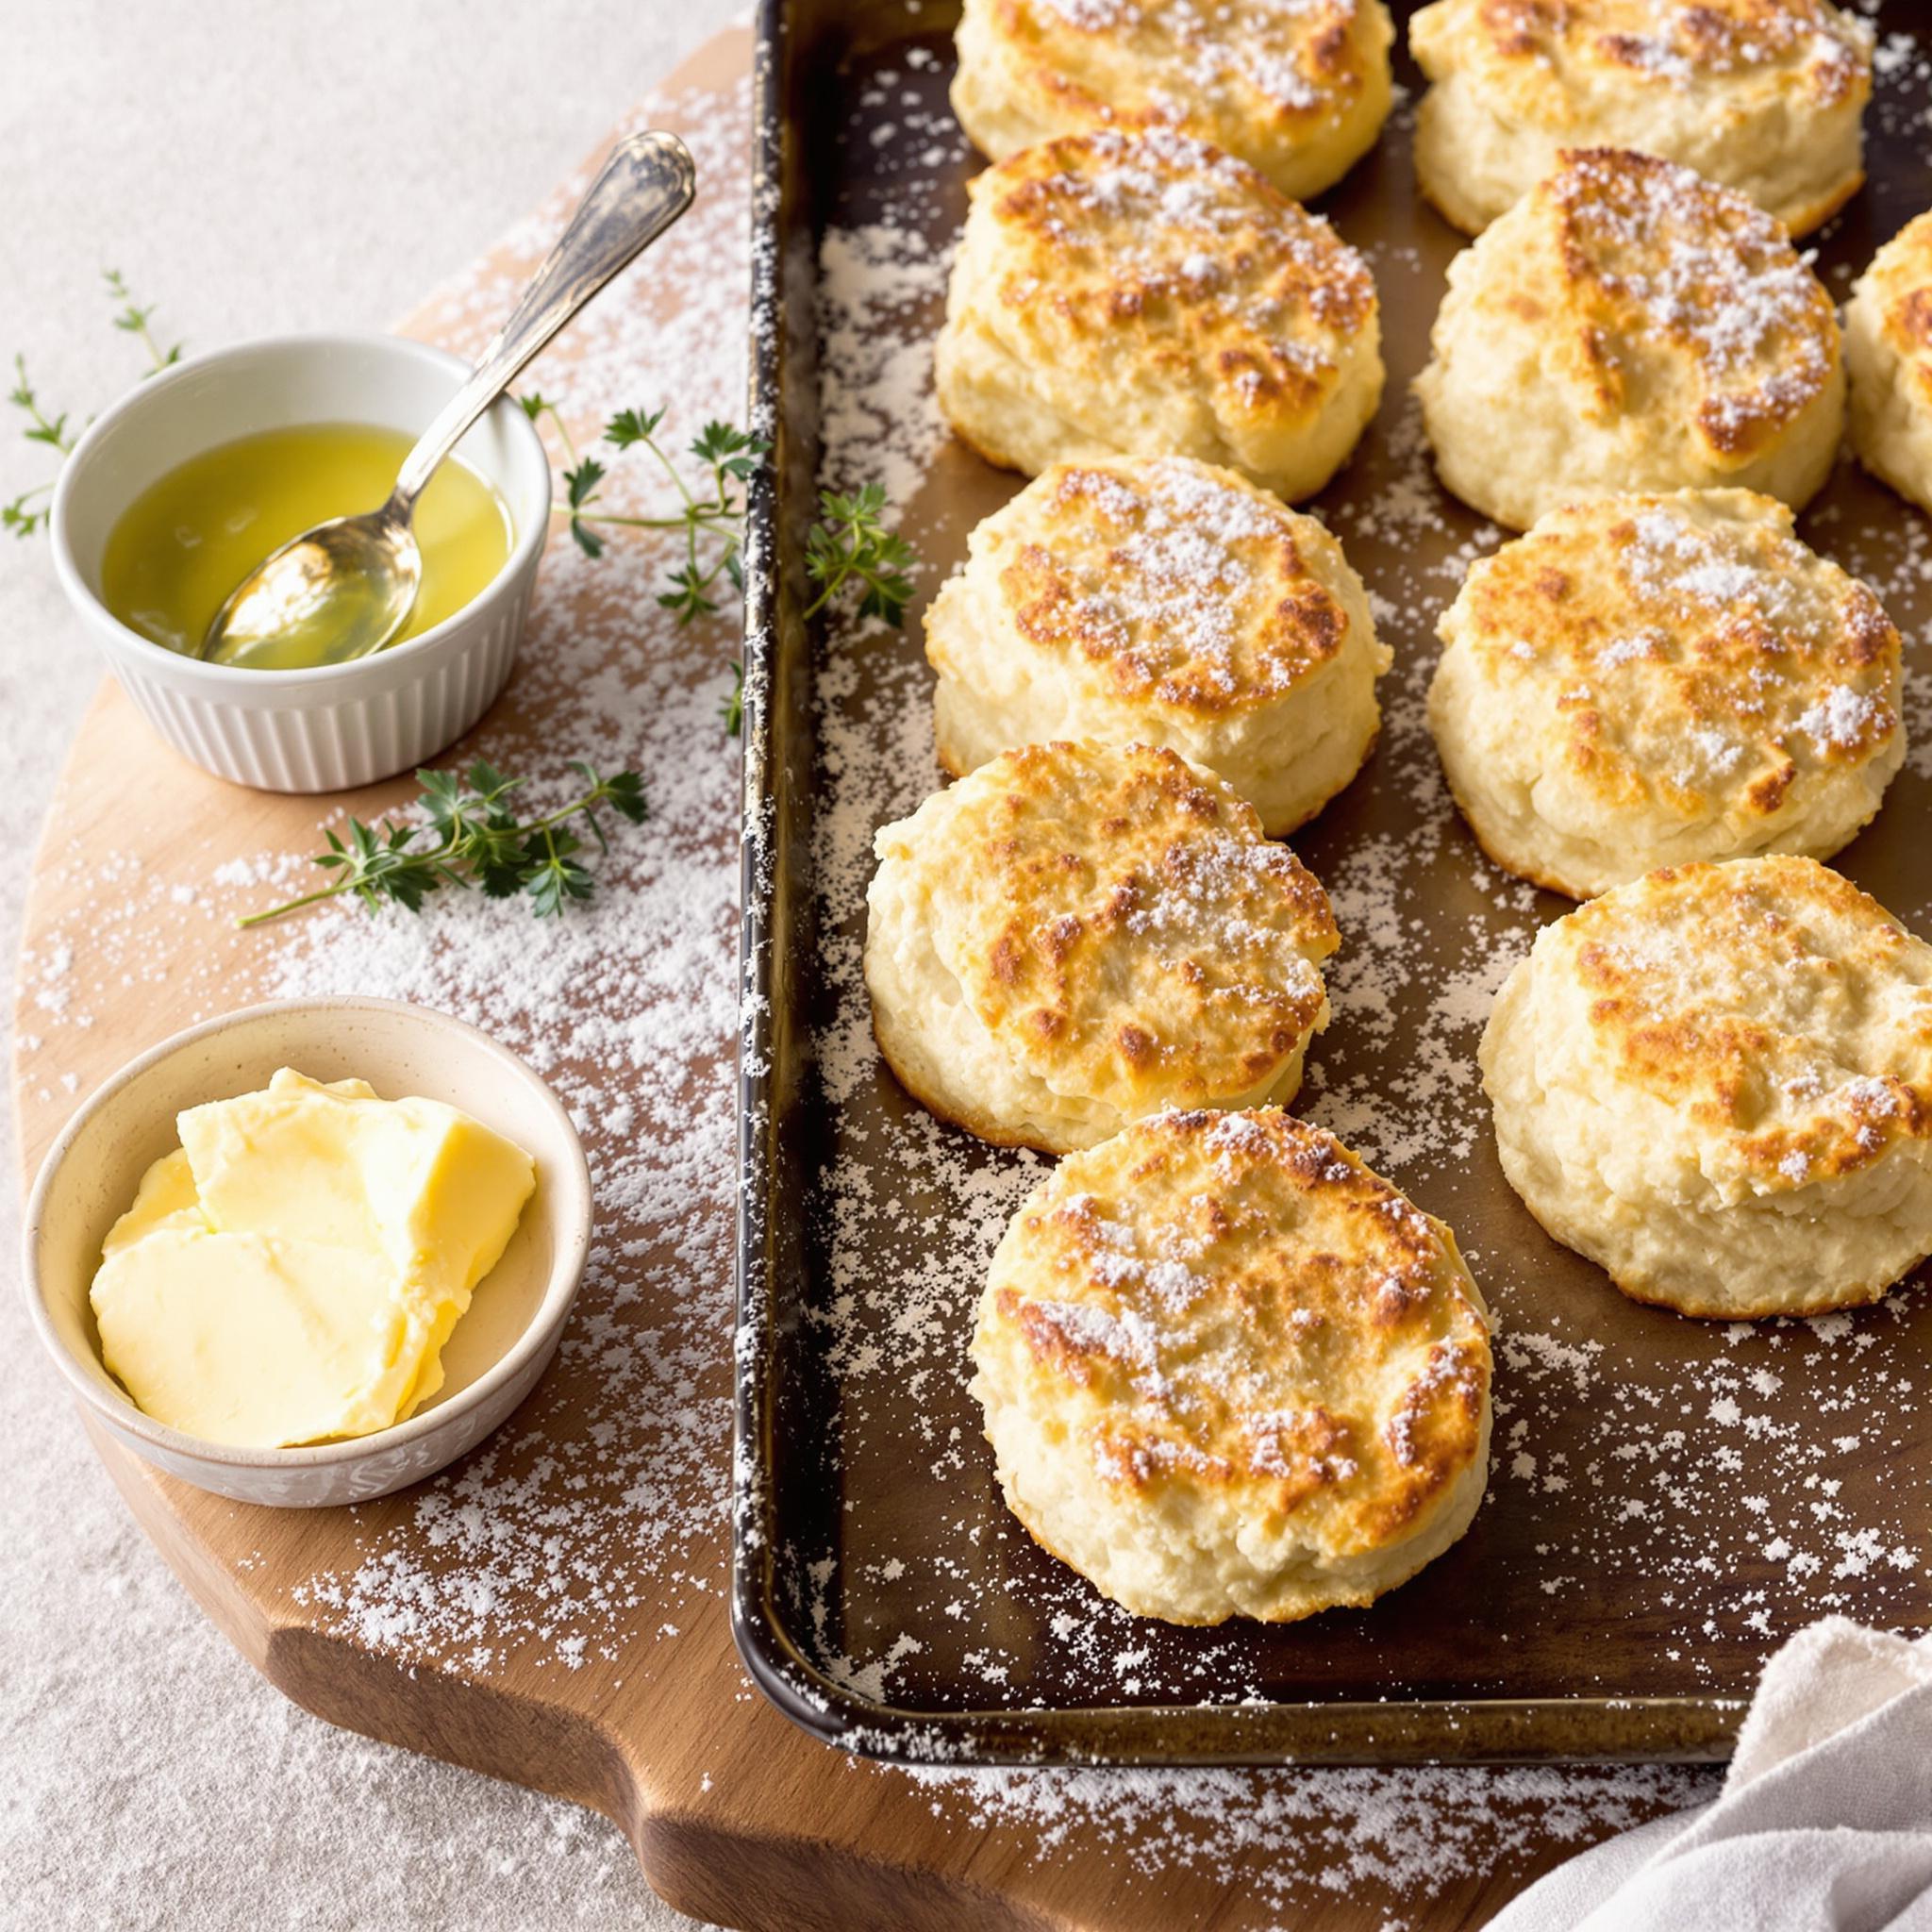
Let me tell you, there’s something magical about homemade Buttermilk Biscuit Dough. These biscuits? Light, flaky, and perfect for any meal. I made them once for a family brunch, and they disappeared fast. The buttery smell alone had everyone ready to eat.
The History of Buttermilk Biscuits
Buttermilk biscuits have deep Southern roots. They started as a side dish but have become way more versatile. Sweet or savory, they’re still a kitchen staple. My grandma swore by cold butter—her secret weapon for the best biscuits ever.
Why You Will Love This Recipe
This recipe is simple but impressive. The dough comes together fast, and the results are melt-in-your-mouth good. The buttermilk adds just enough tang to balance the rich butter flavor. Trust me, it’s a winner.
Perfect Occasions to Prepare It
These biscuits work anytime—breakfast, brunch, dinner, you name it. Pair them with soup, stew, or eat them plain. I bake them often for holidays, and they’re always a hit.
Ingredients
- 2 cups all-purpose flour
- 1 tablespoon baking powder
- 1/4 teaspoon baking soda
- 1 teaspoon salt
- 1/2 cup cold unsalted butter, cubed
- 3/4 cup buttermilk
Substitution Options
- No buttermilk? Mix whole milk with a splash of vinegar.
- Use shortening instead of butter if you want dairy-free.
- Gluten-free flour works fine if you’re avoiding gluten.
Preparation
Step 1: Preheat Your Oven
Turn your oven to 425°F (220°C). A hot oven makes the biscuits rise right and turn golden. While it heats, grab your ingredients. Cold butter is key for flakiness.
Step 2: Mix Dry Ingredients
In a big bowl, whisk the flour, baking powder, baking soda, and salt. Make sure everything’s mixed evenly. It should look powdery and uniform.
Step 3: Cut in the Butter
Add the cold butter cubes to the dry mix. Use a pastry cutter or your fingers to blend until it looks like coarse crumbs. The butter bits should be about pea-sized. This creates those flaky layers we love.
Step 4: Add Buttermilk
Pour the buttermilk in slowly. Stir gently until it just comes together. Overmixing makes the dough tough. If it feels too soft, chill it for 10 minutes.
Step 5: Shape and Cut
Turn the dough onto a floured surface. Pat it into a rectangle and fold it over itself a few times. This builds layers. Use a round cutter to shape the biscuits. Place them close on the baking sheet for soft sides.

Chef’s Tip
Brush the tops with melted butter after baking. It adds shine and boosts the flavor. Your family will love you for it.
Time
- Prep Time: 15 minutes
- Cooking Time: 12-15 minutes
- Total Time: 30 minutes
Nutritional Information
Each biscuit has about 150 calories, 8g fat, 3g protein, and 18g carbs. They’re indulgent but totally worth it.
Extra Information
Fun fact: Buttermilk used to be a byproduct of churning butter. Now it’s cultured for consistent acidity, which helps baked goods rise beautifully.
Necessary Tools
- Large mixing bowl
- Pastry cutter or fork
- Baking sheet
- Round biscuit cutter
Storage Instructions
Store leftovers in an airtight container at room temp for up to two days. For longer storage, freeze them in a zip-top bag. Reheat in the oven for best results.
To refresh stored biscuits, wrap them in foil and warm at 350°F (175°C) for 5-10 minutes. This brings back their crispness.
Don’t microwave them—it makes them soggy. Proper storage keeps them tasting fresh.
Tips and Tricks
- Keep everything cold for maximum flakiness.
- Don’t twist the cutter when shaping biscuits—it seals the edges and stops rising.
- Mix the dough lightly to avoid toughness.
Serving Suggestions
- Serve with honey and butter for a sweet treat.
- Pair with gravy for a classic Southern dish.
Healthier Alternatives for the Recipe
If you’re looking to make this healthier, try these swaps:
- Whole Wheat Flour: Replace half the all-purpose flour with whole wheat for extra fiber.
- Reduced Fat: Use low-fat buttermilk and less butter.
- Vegan Option: Swap butter with coconut oil and use plant-based milk with vinegar.
- Herb Infusion: Add chopped herbs like rosemary or thyme for extra flavor.
- Gluten-Free: Use a gluten-free flour blend.
- Low-Sodium: Cut the salt in half or skip it altogether.
Common Mistakes to Avoid
Mistake 1: Overworking the Dough
Overmixing makes biscuits dense. Stop as soon as the dough comes together. Handle it as little as possible.
Mistake 2: Using Warm Butter
Cold butter is crucial for flaky layers. If it melts while prepping, chill the dough before baking. Keep butter in the fridge until you’re ready.
Mistake 3: Twisting the Cutter
Twisting seals the edges, which stops rising. Press straight down instead. Clean the cutter between cuts for clean shapes.
Frequently Asked Questions
Can I Make These Ahead?
Yes! Prep the dough, cut the biscuits, and freeze them on a tray. Once frozen, store them in a bag. Bake straight from frozen, adding 2-3 minutes to the time.
What Can I Substitute for Buttermilk?
Mix 3/4 cup milk with 1 tablespoon vinegar or lemon juice. Let it sit for 5 minutes. This mimics buttermilk’s acidity.
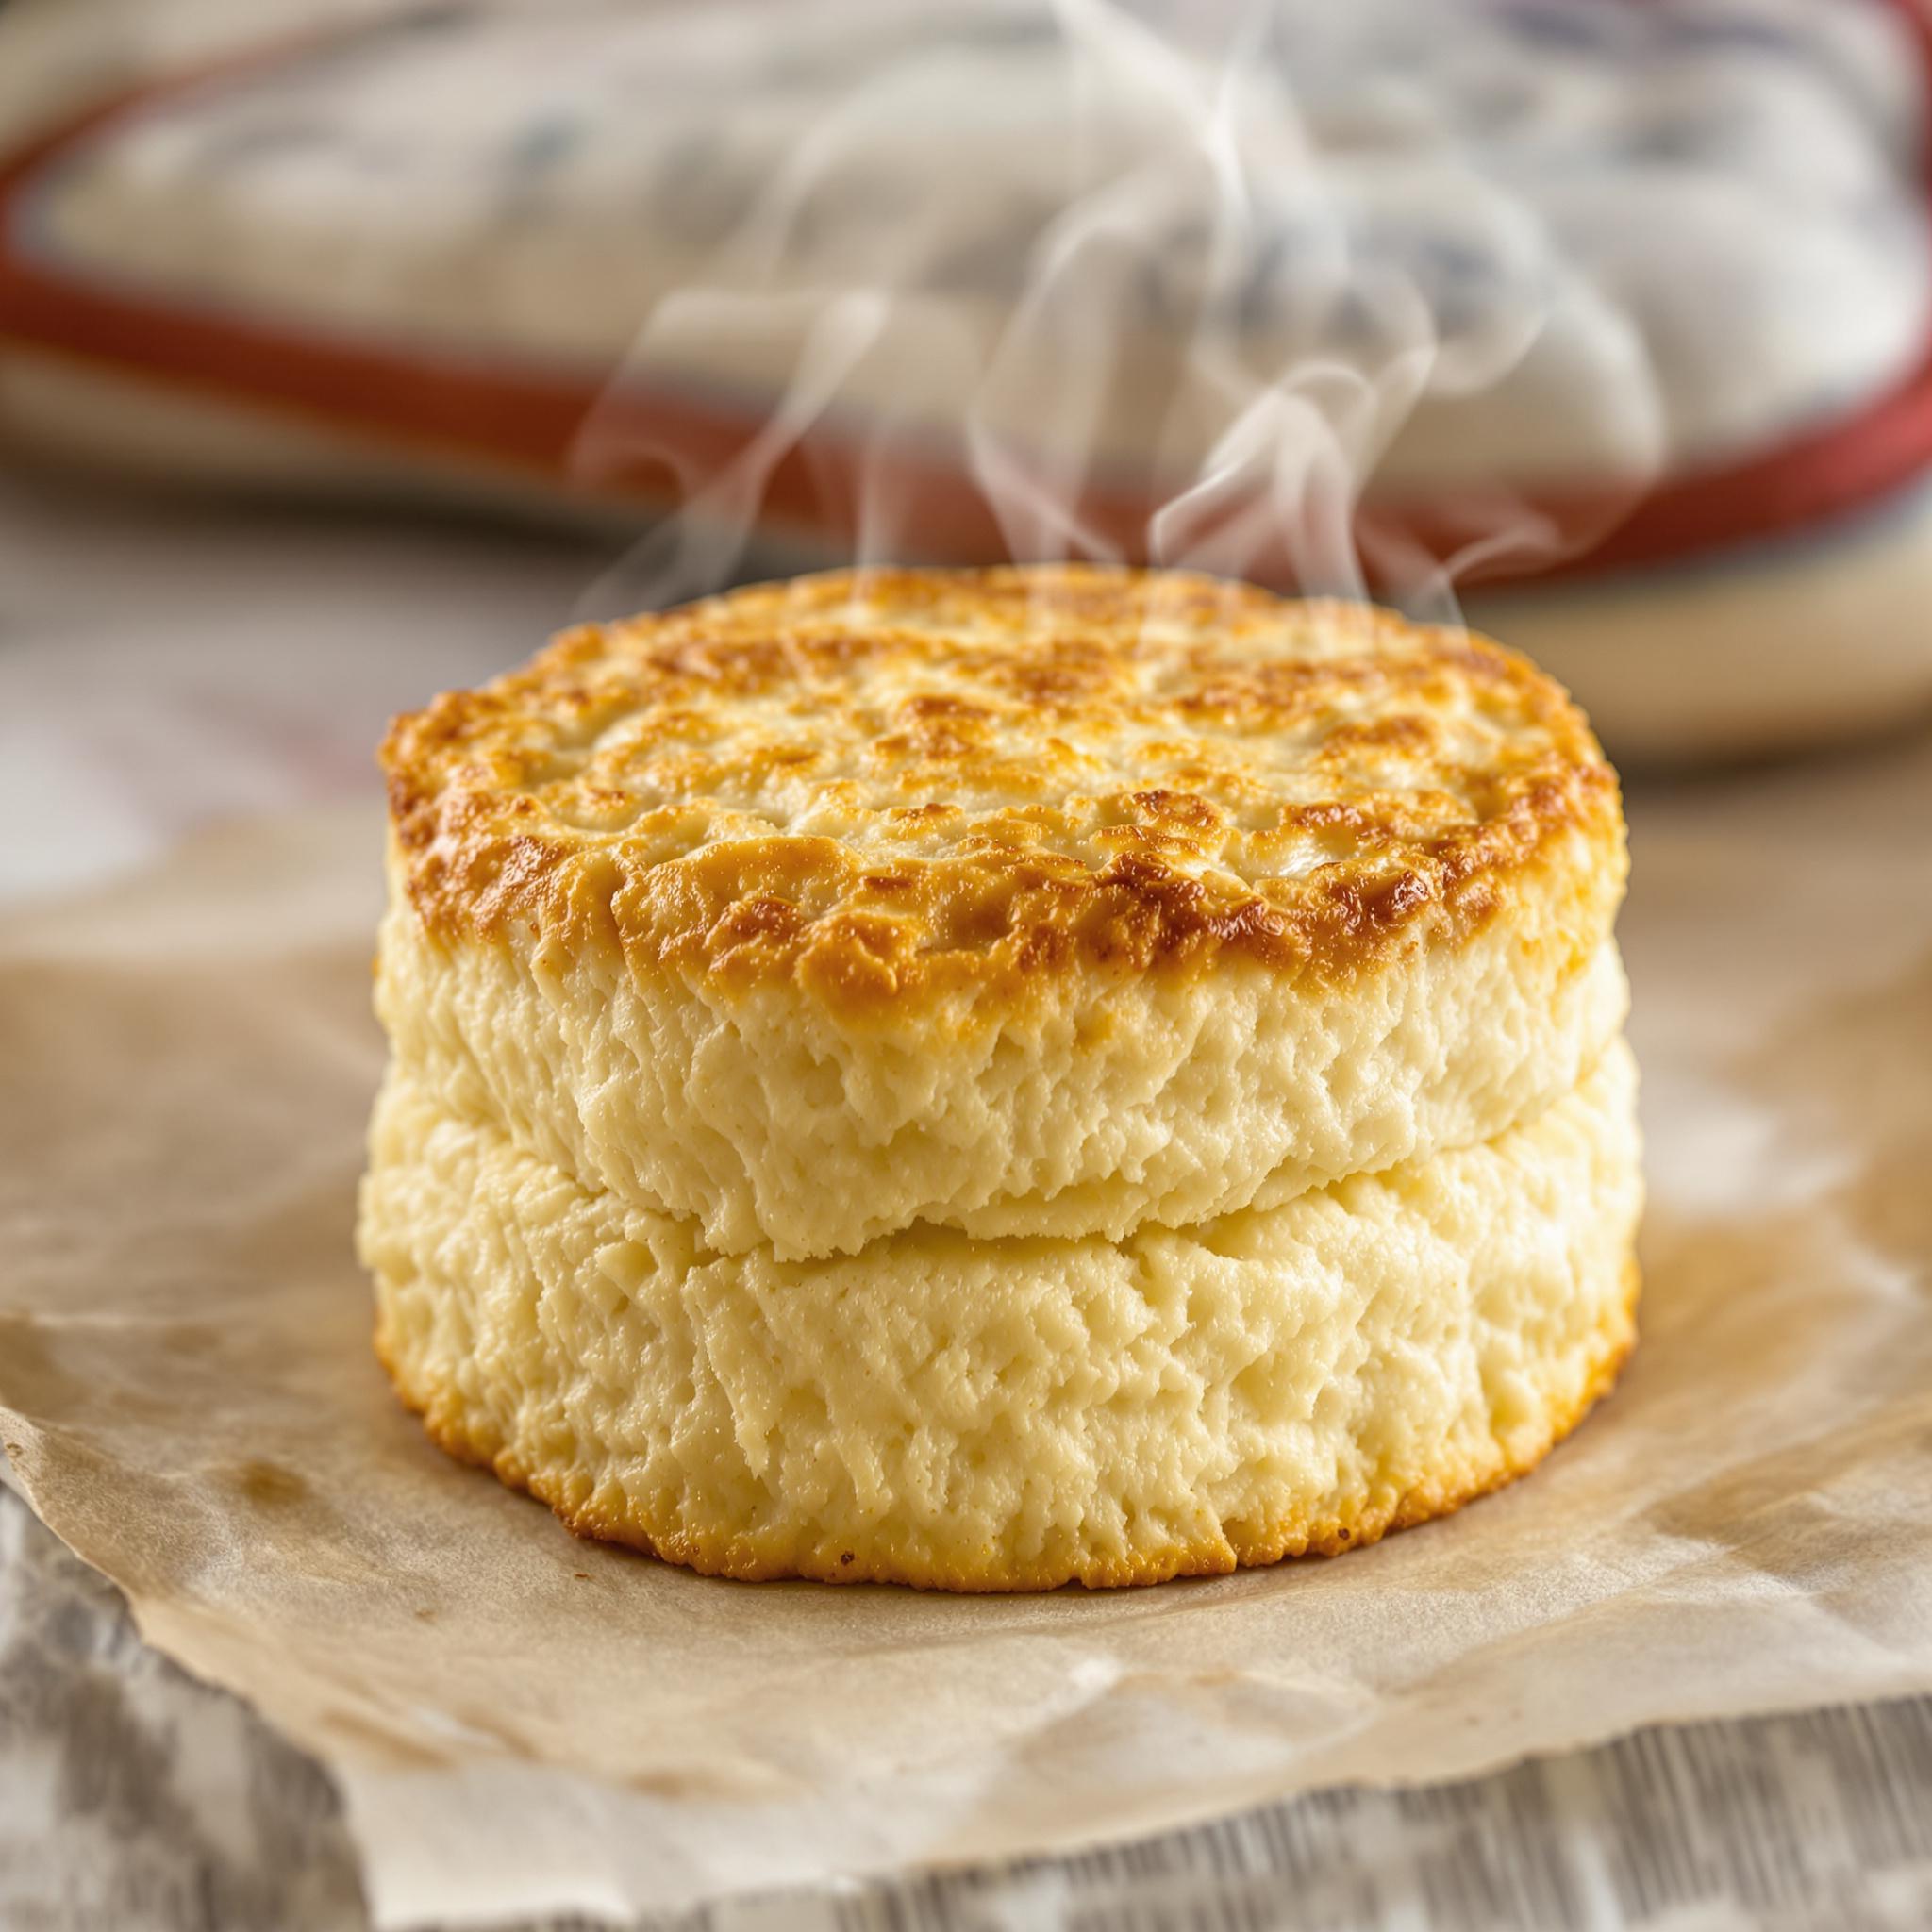
How Do I Know When They’re Done?
Look for golden brown tops and a hollow sound when tapped. Break one open to check—the inside should be cooked through.
Can I Add Sugar?
Yes, add 1-2 teaspoons of sugar for sweeter biscuits. Works great for breakfast or dessert pairings.
Why Are My Biscuits Flat?
Flat biscuits usually happen from overmixing or warm butter. Work quickly and keep everything cold.
What Size Should the Butter Pieces Be?
Aim for pea-sized pieces. Larger chunks create bigger pockets of flakiness.
Do I Need a Special Pan?
Nope, a regular baking sheet works fine. Line it with parchment paper for easy cleanup.
Can I Double the Recipe?
Definitely! Just double all the ingredients and follow the same steps. Adjust baking time slightly if needed.
Why Is Folding Important?
Folding creates layers, giving the biscuits their signature flakiness. Skip this step, and they might turn out dense.
Can I Use Self-Rising Flour?
Yes, omit the baking powder and salt. Self-rising flour already has these ingredients.
Conclusion
Buttermilk Biscuit Dough is a timeless recipe that brings joy to any table. With its flaky layers and rich flavor, it’s sure to become a favorite. Give it a shot—you won’t regret it!
Equipment
- Large mixing bowl
- Pastry cutter or fork
- Baking sheet
- Round biscuit cutter