
Introduction to Cheesecake Brownie Cupcakes
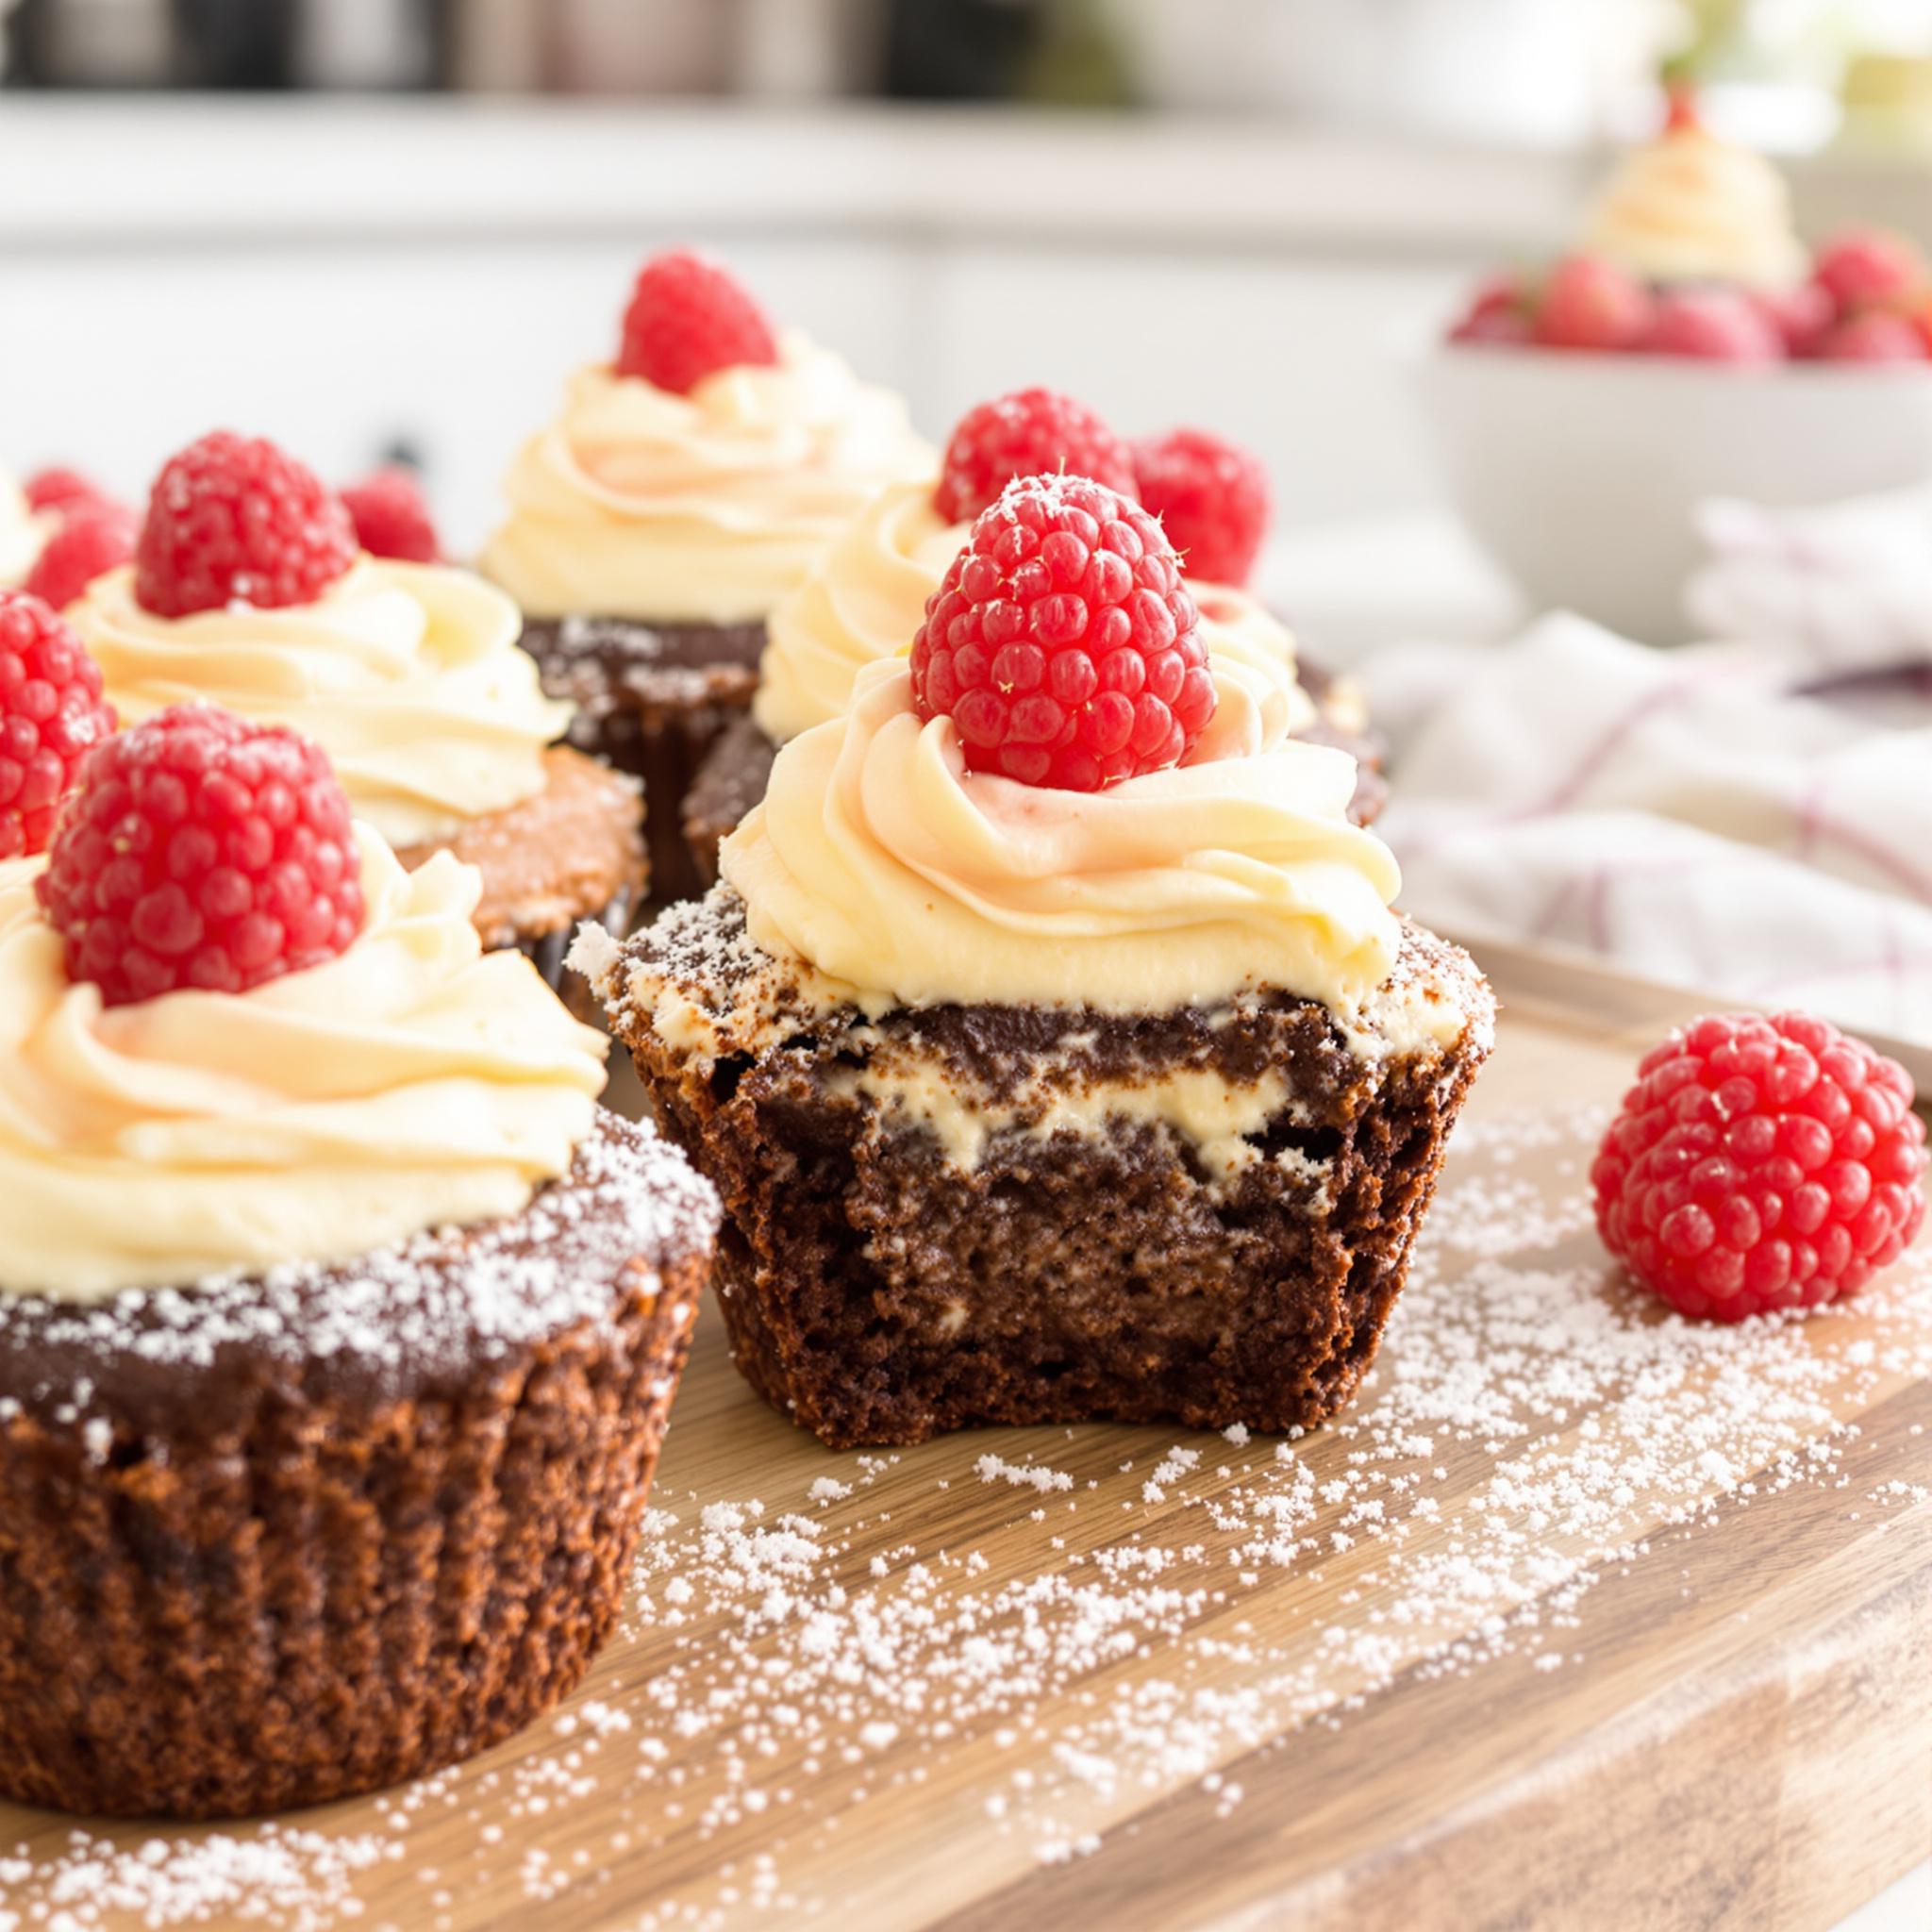
Cheesecake brownie cupcakes are a dream for chocolate lovers. They mix rich cocoa with creamy cheesecake swirls. This recipe is easy but feels fancy. I first had these at a family get-together, and they were a hit. Now, they’re my go-to dessert.
A Little Background on Cheesecake Brownie Cupcakes
Brownies and cheesecake are classic desserts. Turning them into cupcakes adds a fun twist. These treats combine American-style brownies with cheesecake filling. The result? A decadent dessert perfect for any event. Over time, I’ve tweaked this recipe to make it foolproof and extra tasty.
Why You’ll Love This Recipe
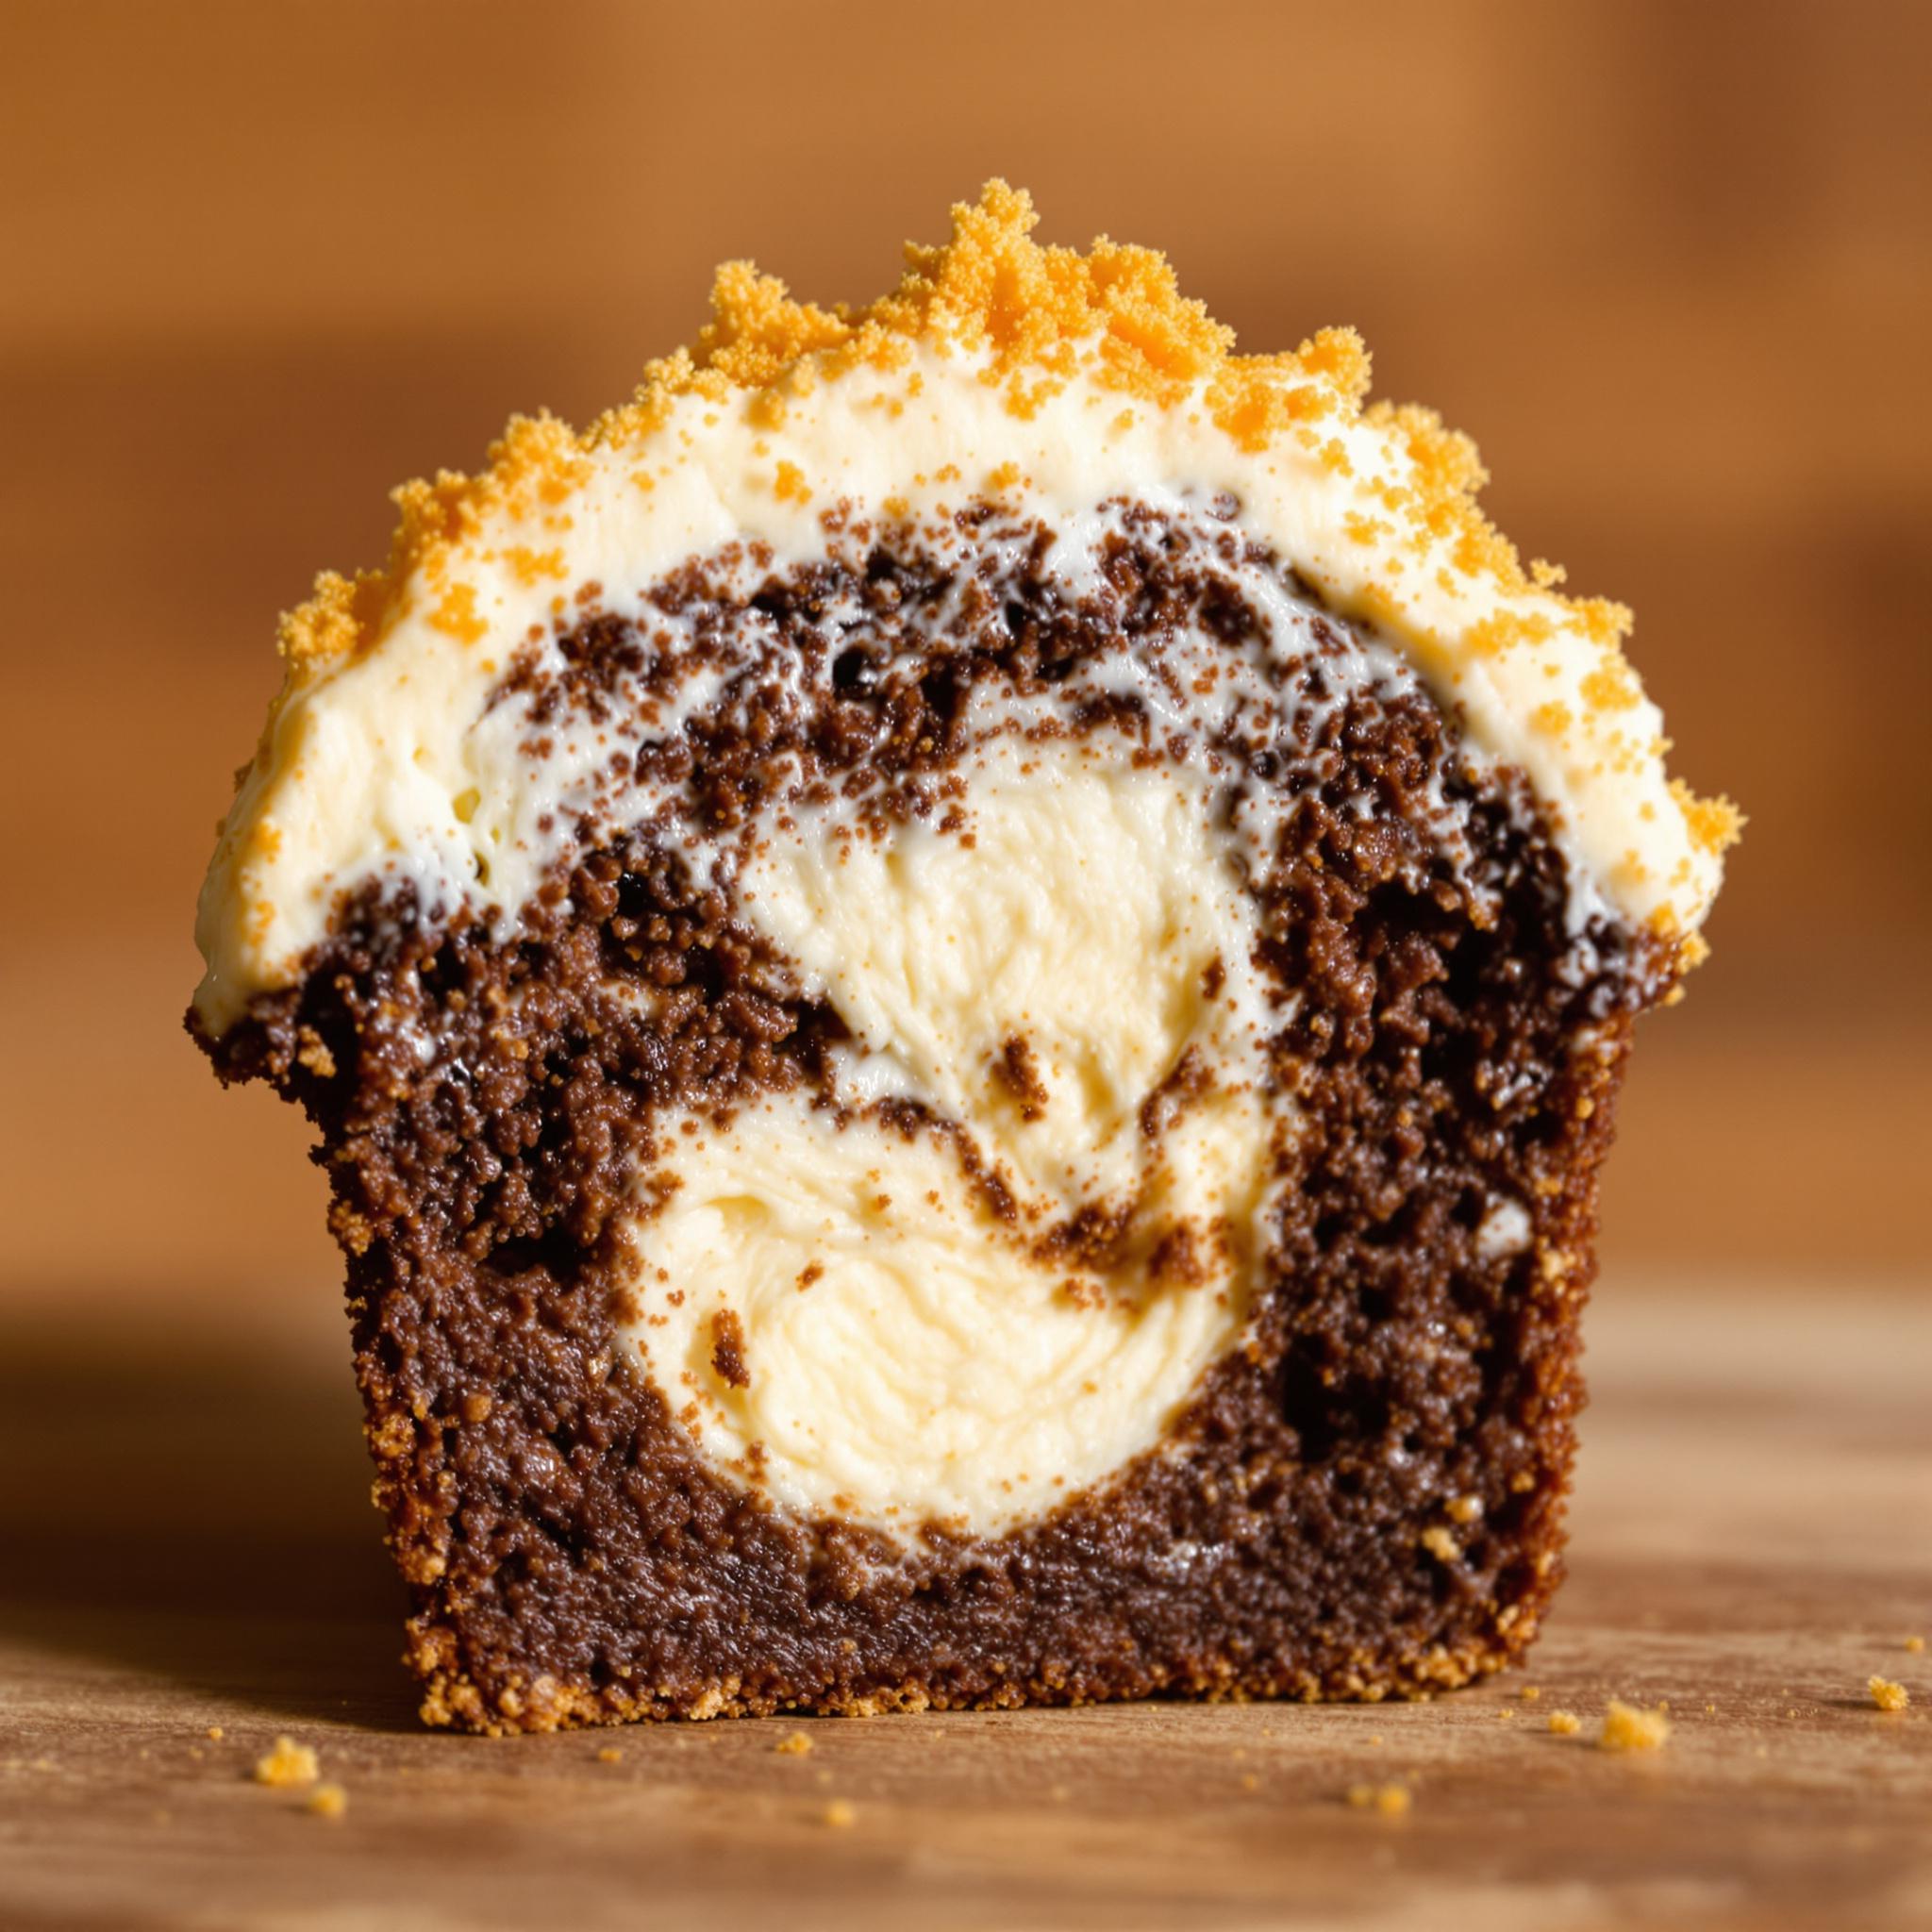
This recipe is simple yet delicious. The brownie base is fudgy, and the cheesecake layer is tangy and creamy. It’s beginner-friendly. Whether you’re baking for kids or adults, this dessert will wow. Plus, it’s versatile—add nuts or fruit if you like!
Perfect Occasions for Cheesecake Brownie Cupcakes
These cupcakes work for birthdays, potlucks, or holidays. They’re great for weekend baking too. I love making them for family movie nights. Serve them warm with ice cream for a treat everyone will love.
Ingredients for Cheesecake Brownie Cupcakes
- 8 oz cream cheese, softened
- 1/2 cup granulated sugar
- 2 large eggs
- 1 tsp vanilla extract
- 1/2 cup unsweetened cocoa powder
- 1 cup all-purpose flour
- 1 tsp baking powder
- 1/4 tsp salt
- 1/2 cup melted butter
- 1/2 cup chocolate chips
Substitution Options
No cream cheese? Try mascarpone for a richer flavor. Swap granulated sugar with coconut sugar for a caramel hint. Use almond flour instead of all-purpose flour for gluten-free options. Dark chocolate chunks work well in place of chocolate chips. Experiment to find your favorite version.
Step 1: Preheat and Prepare
Preheat your oven to 350°F (175°C). Line a cupcake tin with liners. This helps with even baking. Make sure the liners fit snugly so the batter doesn’t stick. Pro tip: Lightly spray the liners for easy removal later.
Step 2: Mix the Cheesecake Layer
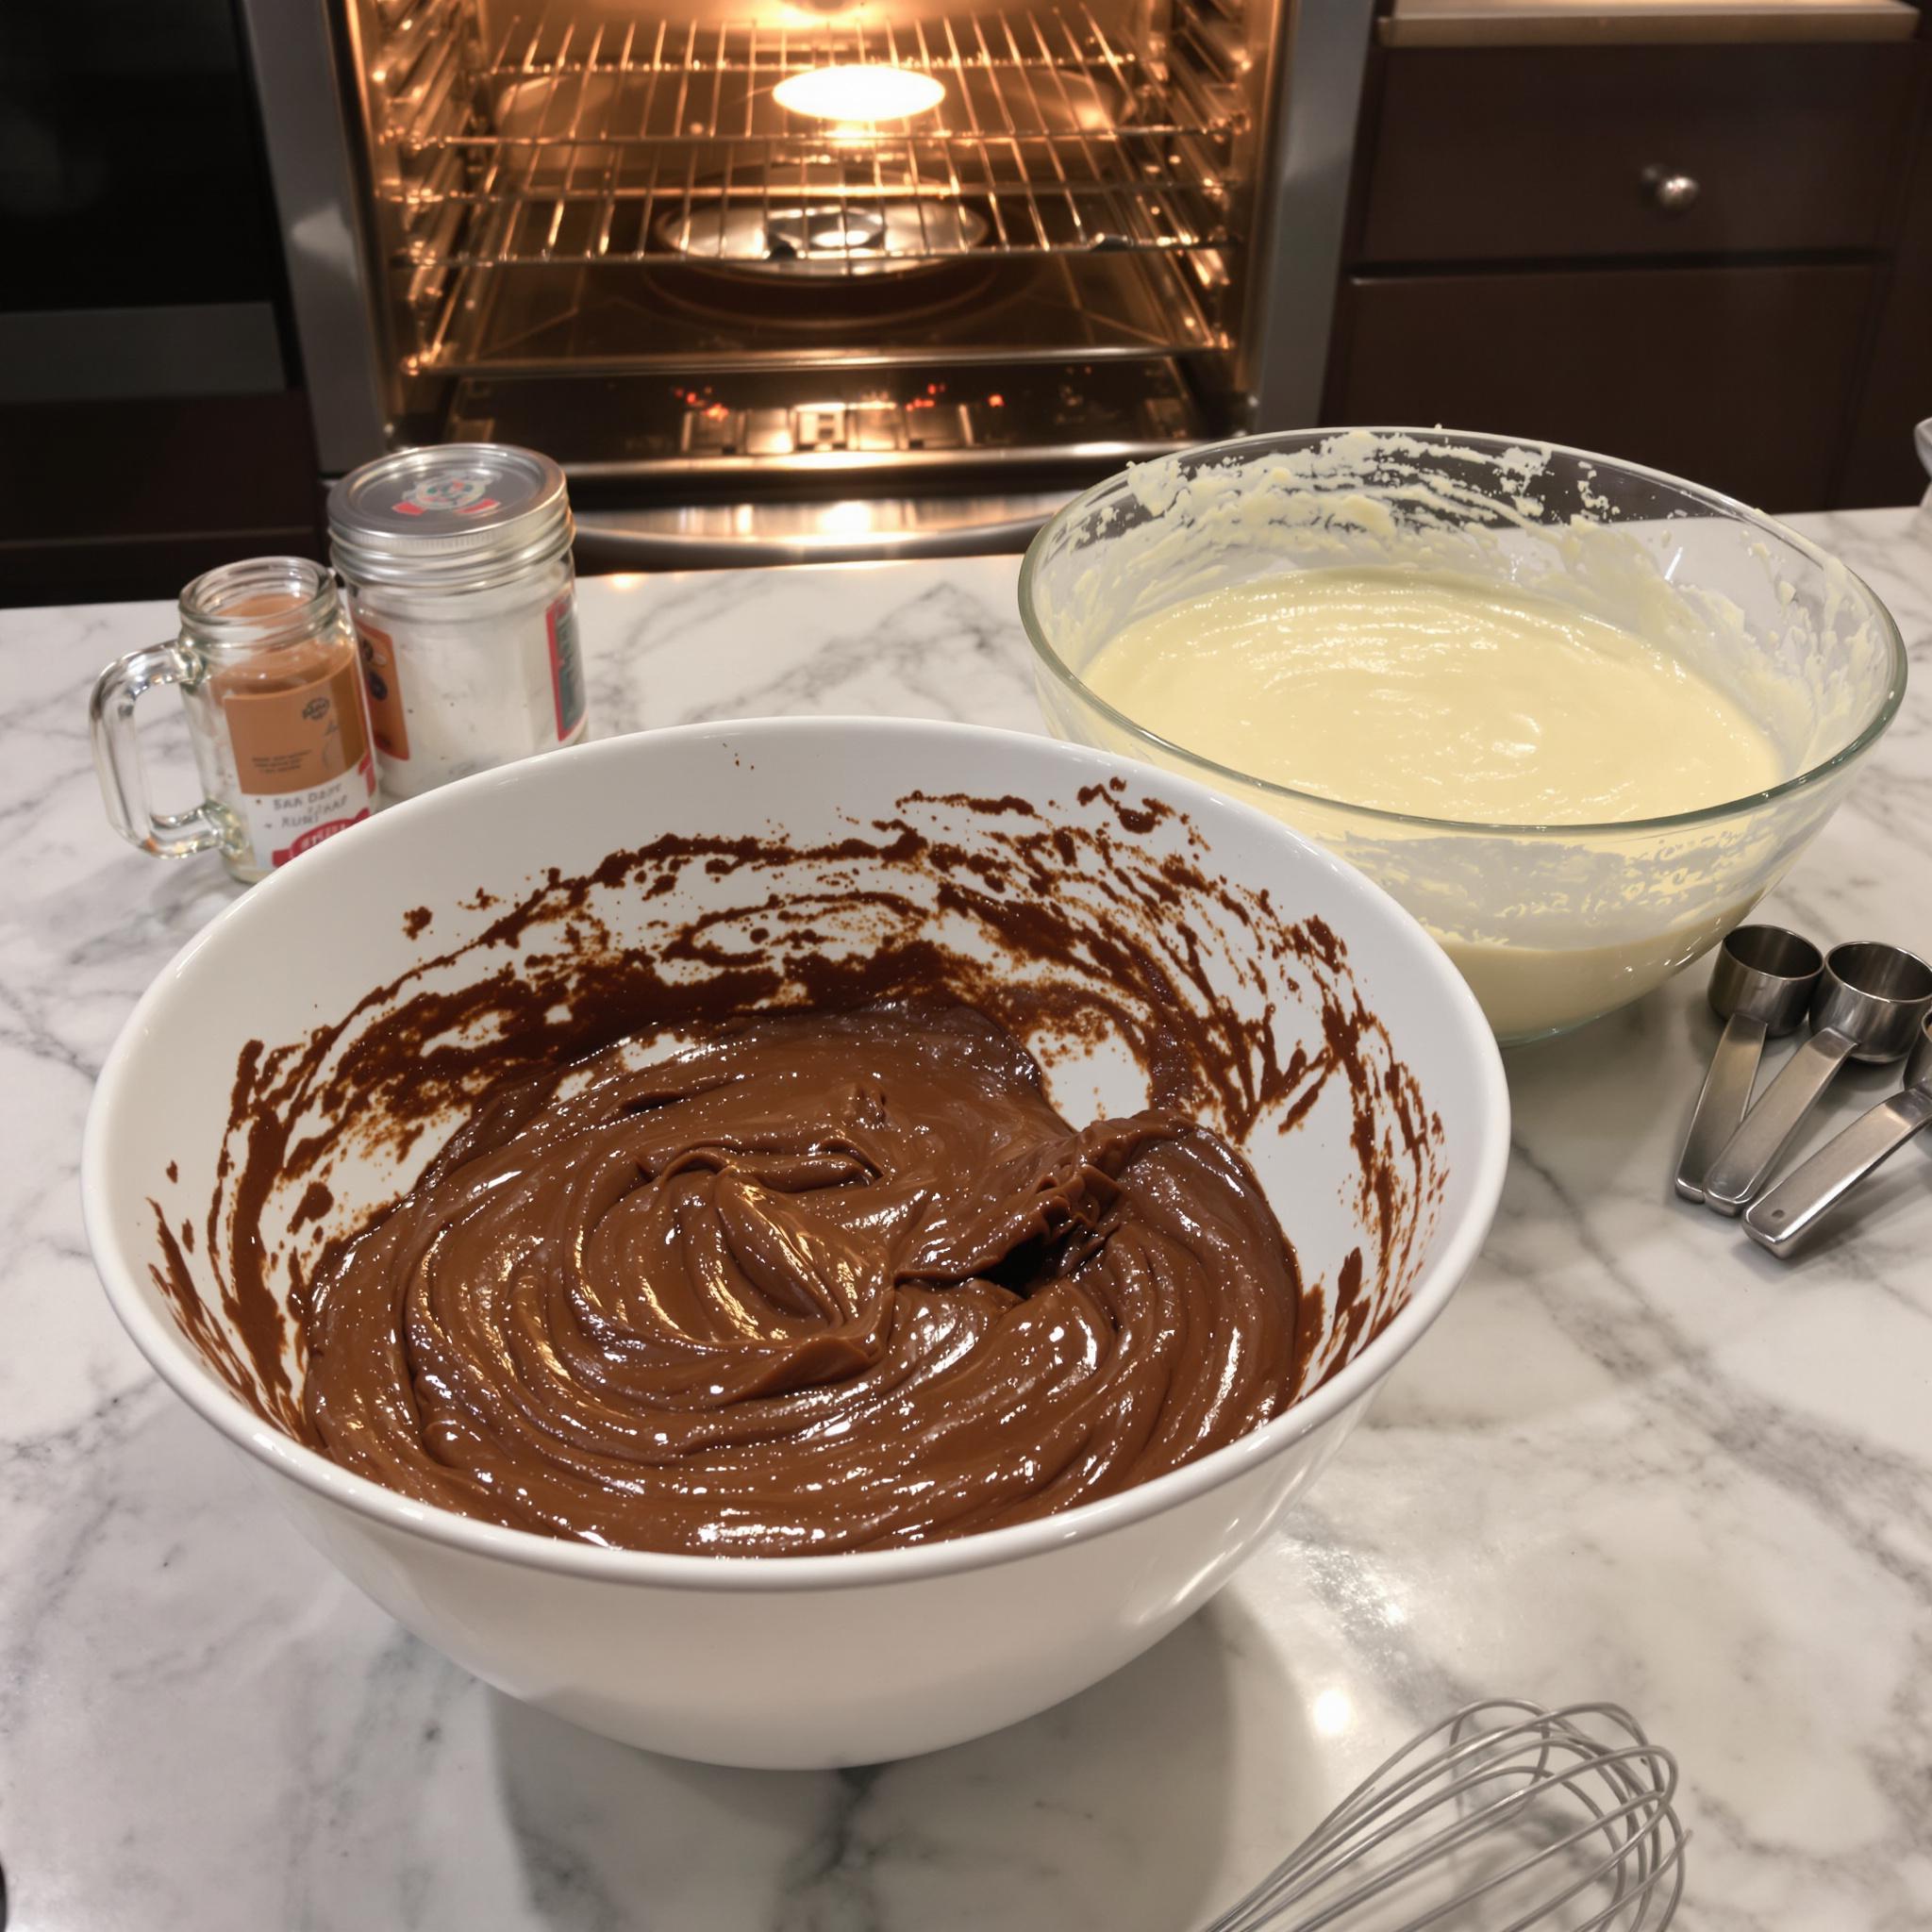
In a bowl, blend cream cheese, sugar, eggs, and vanilla until smooth. The mixture should be creamy and pale yellow. Scrape the sides often to avoid lumps. This layer balances the rich brownie base.
Step 3: Combine Dry Ingredients
In another bowl, whisk cocoa powder, flour, baking powder, and salt. Mixing dry ingredients separately prevents clumps. Cocoa gives the brownie its deep chocolate flavor. Blend gently but thoroughly.
Step 4: Add Wet Ingredients to the Brownie Batter
Melt the butter and mix it into the dry ingredients. Stir until just combined. Fold in the chocolate chips for sweetness. The batter will be thick and glossy. Don’t overmix; this keeps the brownies fudgy.
Step 5: Assemble and Bake
Alternate spoonfuls of brownie batter and cheesecake mixture in the liners. Swirl lightly with a toothpick for a marbled look. Bake for 20-25 minutes. The tops should look set but not cracked. Let them cool before serving.
Chef’s Tip
Sprinkle sea salt on top before baking. It enhances the chocolate’s richness. Trust me, it makes a big difference!
Time Breakdown
- Prep Time: 15 minutes
- Cooking Time: 25 minutes
- Total Time: 40 minutes
Nutritional Information
Each cupcake has about 200 calories, 10g fat, 4g protein, and 25g carbs. They’re indulgent but worth every bite!
Extra Information
Cocoa powder has antioxidants. Pairing it with cream cheese creates a treat that’s both indulgent and slightly nutritious.
Necessary Tools
- Mixing bowls
- Whisk
- Spatula
- Cupcake tin
- Toothpick
Storage Instructions
Store these cupcakes in an airtight container. They stay fresh for up to 3 days at room temperature. For longer storage, refrigerate them. Bring them back to room temp before serving. Freezing works too; wrap each cupcake individually.
Tips and Tricks
Use room-temperature ingredients for smoother mixing. Don’t overbake—the centers should remain slightly gooey. Swirl the layers gently for a beautiful marbled effect. Always let the cupcakes cool completely before removing them from the liners.
Serving Suggestions
Serve these cupcakes with whipped cream or vanilla ice cream. Dust with powdered sugar for a festive touch. Pair them with coffee or milk for a cozy treat.
Healthier Alternatives
- Gluten-Free: Use almond flour instead of all-purpose flour.
- Low-Sugar: Substitute sugar with stevia or monk fruit sweetener.
- Vegan: Replace eggs with flax eggs and use dairy-free cream cheese.
- Protein-Packed: Add a scoop of protein powder to the brownie batter.
- Fruit-Infused: Top with fresh berries for natural sweetness.
- Nutty Crunch: Sprinkle crushed almonds or pecans on top.
Common Mistakes to Avoid
Mistake 1: Overmixing the Batter
Overmixing makes brownies tough. Mix until just combined to keep them soft. A few lumps are okay. Pro tip: Stop stirring as soon as the ingredients come together.
Mistake 2: Skipping the Cooling Step
Rushing the cooling process causes crumbling. Let the cupcakes sit in the pan for 10 minutes before transferring. Patience pays off here!
Mistake 3: Using Cold Cream Cheese
Cold cream cheese won’t blend smoothly. Take it out of the fridge ahead of time. Softened cream cheese ensures a silky cheesecake layer.
Frequently Asked Questions
Can I freeze these cupcakes?
Yes, you can freeze them. Wrap each cupcake in plastic wrap and store in a freezer-safe bag. Thaw at room temperature before serving.
How do I prevent cracks on top?
Avoid overbaking. Check for doneness at 20 minutes. The centers should still jiggle slightly when removed from the oven.
What if I don’t have a whisk?
A fork works fine for mixing dry ingredients. Just ensure there are no lumps left in the batter.
Can I double the recipe?
Absolutely. Double all ingredients and use two cupcake tins. Adjust baking time slightly if needed.
Why did my cheesecake sink?
This happens if the eggs aren’t fully mixed in. Beat the cheesecake mixture thoroughly for a stable layer.
Is it necessary to use liners?
No, but they make cleanup easier. Grease the tin directly if you skip liners.
Can I add nuts?
Yes! Walnuts or pecans pair beautifully with the chocolate flavors.
How long do they last?
They stay fresh for 3 days at room temperature or up to a week in the fridge.
What type of cocoa powder should I use?
Unsweetened natural cocoa powder works best. Dutch-processed cocoa changes the texture slightly.
Do I need a mixer?
No, you can mix by hand. A spatula works well for combining ingredients gently.
Conclusion
Cheesecake brownie cupcakes are a fantastic dessert that combines two classics into one. Their rich flavors and simple prep make them irresistible. Whether you’re baking for yourself or sharing with others, these treats are sure to please. Give this recipe a try—you won’t regret it!
Equipment
- Mixing bowls
- Whisk
- Spatula
- Cupcake tin
- Toothpick
Ingredients
- 8 oz cream cheese softened
- 0.5 cup granulated sugar
- 2 large eggs
- 1 tsp vanilla extract
- 0.5 cup unsweetened cocoa powder
- 1 cup all-purpose flour
- 1 tsp baking powder
- 0.25 tsp salt
- 0.5 cup melted butter
- 0.5 cup chocolate chips
Instructions
- Start by preheating your oven to 350°F (175°C). Line a cupcake tin with liners. This step ensures even baking. Make sure the liners fit snugly so the batter doesn’t stick. Pro tip: Spray the liners lightly with cooking spray for easy removal later.
- In a mixing bowl, blend cream cheese, sugar, eggs, and vanilla until smooth. The mixture should be creamy and pale yellow. Scrape down the sides often to avoid lumps. This layer provides a tangy contrast to the rich brownie base.
- In another bowl, whisk cocoa powder, flour, baking powder, and salt. Mixing dry ingredients separately prevents clumps. Cocoa powder gives the brownie layer its deep chocolate flavor. Be thorough but gentle when blending.
- Melt the butter and mix it into the dry ingredients. Stir until just combined. Fold in the chocolate chips for bursts of sweetness. The batter will be thick and glossy. Don’t overmix; this keeps the brownies fudgy.
- Alternate spoonfuls of brownie batter and cheesecake mixture in the liners. Swirl lightly with a toothpick for a marbled effect. Bake for 20-25 minutes. The tops should look set but not cracked. Let them cool before serving.
Notes
Nutrition

Hi, I’m Olivia Parker, the founder of BakingSecret.com and a lifelong lover of all things sweet and homemade. I grew up in a small town in Oregon, where the smell of fresh cookies in my family’s kitchen sparked my passion for baking. Over the years, I turned that passion into a mission: to help home bakers feel confident, inspired, and creative.
After studying food science and working in several artisan bakeries across the U.S., I decided to create a space where everyone from beginners to seasoned bakers can find reliable recipes, expert tips, and a warm, welcoming community. BakingSecret.com is my way of sharing the magic of baking with the world. When I’m not testing new recipes, you’ll find me exploring farmers’ markets, collecting vintage cookbooks, or perfecting my sourdough technique.