
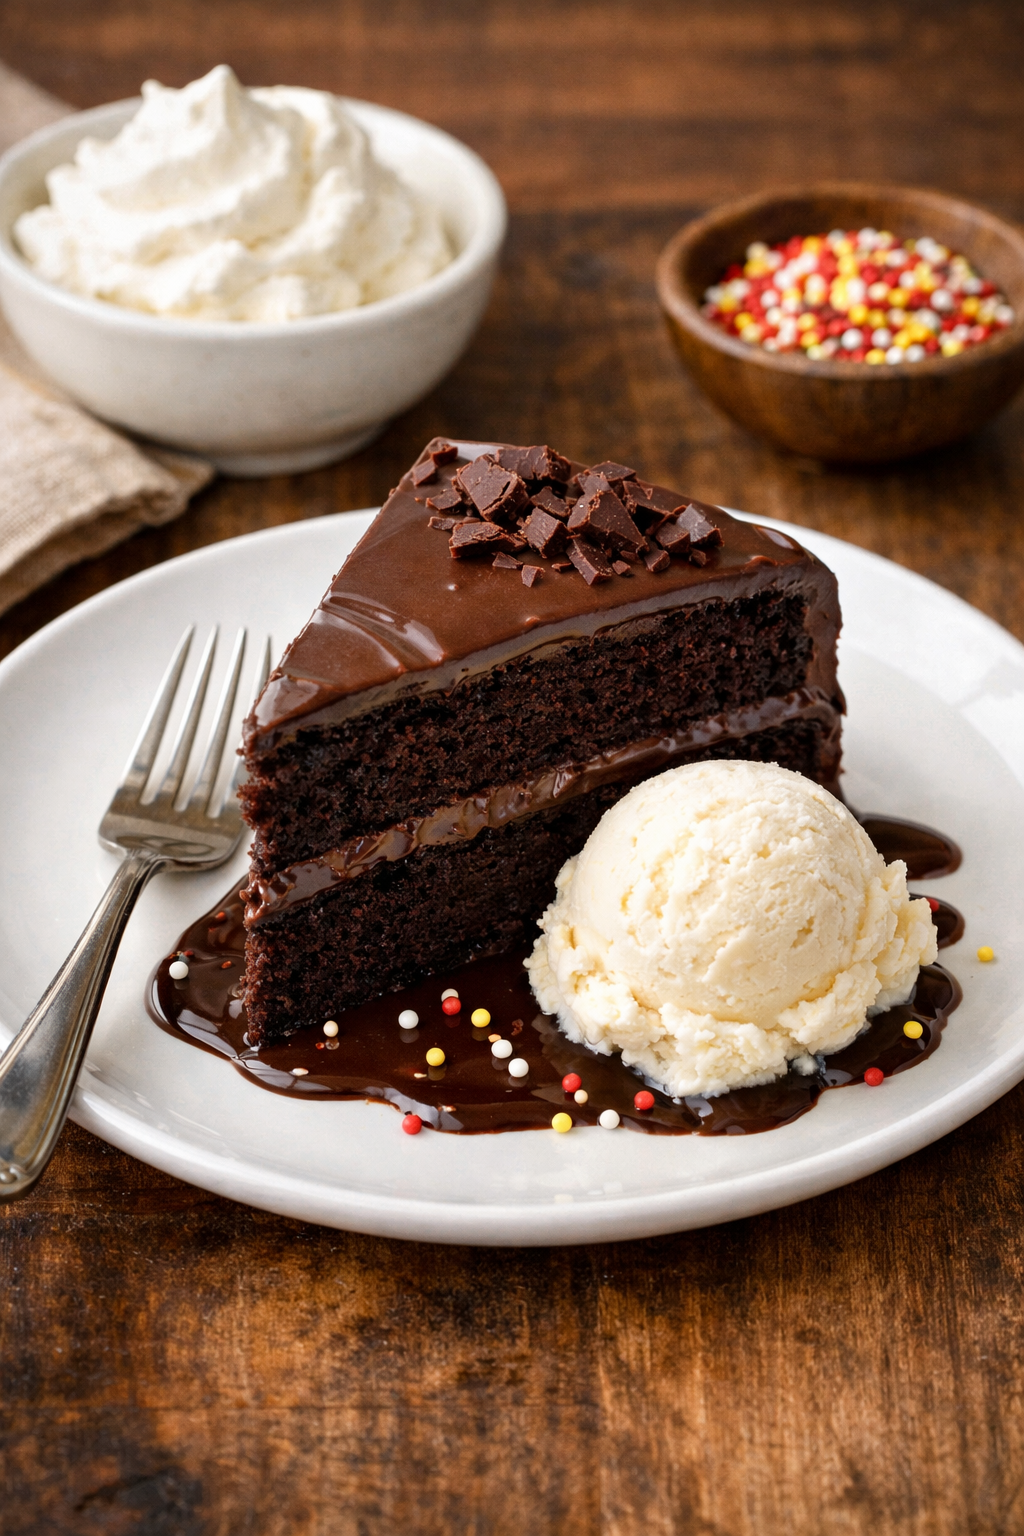
Easy Halloween Chocolate Cake Recipe From Scratch
Last October, my daughter came home from school buzzing with excitement about the upcoming Halloween party. She begged me to make something “spooky but yummy” for her class. I panicked for a second because I’m not exactly a professional baker. Then I remembered my grandmother’s foolproof chocolate cake recipe. I threw in some orange food coloring and topped it with plastic spiders. The kids went crazy for it, and honestly, it took me less than an hour to make.
That experience taught me something valuable. You don’t need fancy skills or expensive ingredients to create a show-stopping Halloween dessert. A simple chocolate cake made from scratch can be just as impressive as those complicated Pinterest creations. Actually, it often tastes better too.
I’m going to share my go-to chocolate cake recipe from scratch easy halloween style that never fails. This cake is moist, rich, and comes together with ingredients you probably already have in your pantry. No specialty items required. No weird techniques that only trained pastry chefs can master.
Making a cake from scratch might sound intimidating at first. I get it. Those boxed mixes seem so convenient. But here’s the thing – baking from scratch gives you complete control over what goes into your dessert. You know exactly what your family is eating. Plus, the smell of a homemade chocolate cake baking in your oven is something a boxed mix just can’t replicate. That warm, chocolatey aroma fills your entire house and makes everyone gather in the kitchen asking when it’ll be ready.
There’s also something deeply satisfying about mixing ingredients with your own hands and watching them transform into something delicious. My kids love helping me measure and pour. It’s become our special Halloween tradition now. They feel proud telling their friends that their mom made the cake from scratch.
Throughout this recipe, I’ll share all my tips and tricks for achieving that perfect moist and rich chocolate texture. I’ll explain why certain ingredients matter and how to avoid common mistakes. By the end, you’ll feel confident enough to bake this cake with your eyes closed. Well, maybe keep them open for safety reasons.
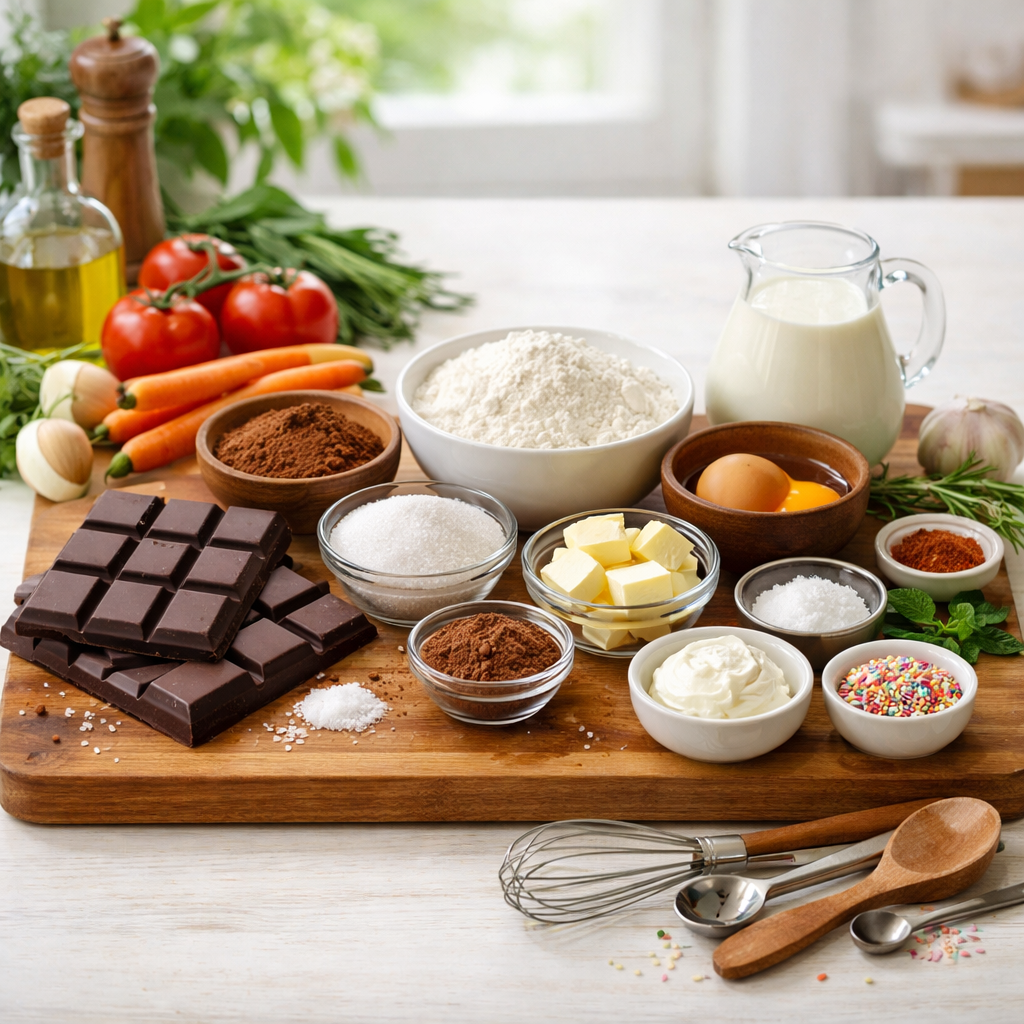
Ingredients You’ll Need for This Halloween Chocolate Cake
The beauty of this recipe lies in its simplicity. You won’t need to make a special trip to some fancy baking supply store. Most of these items are probably sitting in your kitchen right now. I always keep these basics on hand because they’re useful for so many different recipes.
Here’s everything you need to make one 9×13 inch cake or two 8-inch round layers:
- 2 cups all-purpose flour – Any brand works perfectly fine. I usually grab whatever’s on sale.
- 2 cups granulated sugar – Regular white sugar is what you want here.
- 3/4 cup unsweetened cocoa powder – Hershey’s or any store brand will do the job. Just make sure it’s unsweetened.
- 2 teaspoons baking soda – This helps the cake rise and creates that light texture.
- 1 teaspoon baking powder – Works together with the baking soda for the best results.
- 1 teaspoon salt – Regular table salt is perfect. It enhances the chocolate flavor.
- 2 large eggs – Room temperature works best, but I’ve used cold ones in a pinch.
- 1 cup whole milk – You can use 2% if that’s what you have. I wouldn’t go lower than that though.
- 1/2 cup vegetable oil – This is part of the secret to keeping the cake moist.
- 2 teaspoons vanilla extract – Pure vanilla tastes better, but imitation works too.
- 1 cup hot water or hot coffee – Trust me on the coffee. It makes the chocolate flavor more intense without making it taste like coffee.
Looking at this list, you might notice it’s straightforward. No buttermilk. No sour cream. No fancy chocolate bars. Just simple pantry staples that come together to create something amazing. That’s exactly what makes this chocolate cake recipe from scratch easy halloween perfect for busy parents.
I remember the first time I saw a recipe calling for hot coffee in chocolate cake. I thought it was weird. Why would anyone add coffee to dessert? But after trying it once, I never went back. The coffee doesn’t make your cake taste like a latte. It just deepens the chocolate flavor and makes it taste richer. If you’re making this for kids and feel uncomfortable using coffee, hot water works fine too. The cake will still be delicious.
How to Make 5 Ingredient Chocolate Cake
Now, sometimes you need a cake even faster. Maybe you forgot about the party until the last minute. Maybe you’re just having one of those weeks where everything feels overwhelming. I’ve been there more times than I’d like to admit.
For those moments, I have a backup plan. A 5 ingredient chocolate cake that’s almost too easy to be real. It won’t be quite as rich as the recipe above, but it’ll save you in a pinch.
Here’s what you need:
- 1 box chocolate cake mix – Any brand you prefer
- 1 cup mayonnaise – Yes, you read that right
- 3 eggs
- 1 cup water
- Orange food coloring – Optional but fun for Halloween
The mayonnaise replaces the oil and adds moisture. I know it sounds strange. My sister thought I was joking when I first told her about this trick. But mayonnaise is just eggs and oil anyway, so it makes sense when you think about it. The cake comes out incredibly moist and nobody can tell there’s mayo in it.
You just mix everything together and bake according to the box directions. It takes about five minutes to prepare. This is my emergency backup when life gets chaotic. I’ve made this version at midnight before a school event. No one knew I threw it together in my pajamas while half asleep.
Step-by-Step Instructions for Your Halloween Chocolate Cake
Let’s get into the actual baking process now that you’ve gathered your ingredients. I’m going to walk you through this exactly how I make it in my own kitchen, including all those little details that recipe cards sometimes skip over.
First thing you’ll want to do is preheat your oven to 350 degrees Fahrenheit. I can’t tell you how many times I’ve forgotten this step and ended up waiting around with batter sitting in the pan. Not ideal. While the oven heats up, grab your 9×13 inch pan or two 8-inch round pans. Grease them really well with butter or cooking spray, then dust with a little cocoa powder instead of flour. This keeps your cake looking dark and chocolatey on the edges instead of having that white flour coating.
Next comes the dry ingredients. Get yourself a large mixing bowl and add your flour, sugar, cocoa powder, baking soda, baking powder, and salt all together. I just use a whisk to combine everything thoroughly. This takes maybe thirty seconds. The whisking helps break up any lumps in the cocoa powder and ensures everything gets distributed evenly. My mom taught me this trick years ago, and it’s way easier than sifting.
Here’s where some people get nervous, but there’s really no need. Add your eggs, milk, oil, and vanilla extract right into the dry mixture. Don’t worry about making a well in the center or adding them separately. Just dump them in. Use an electric mixer on medium speed for about two minutes. If you don’t have an electric mixer, a sturdy wooden spoon and some elbow grease will work fine. I actually made this cake by hand when my mixer broke last year. Took a bit longer but turned out just as good.
The batter will look thick at this point. Kind of like a really dense brownie batter. That’s exactly what you want. Now comes my favorite part – adding the hot water or coffee. Pour it in slowly while mixing on low speed. The batter will transform right before your eyes into something much thinner, almost like a thick liquid. First time I made this, I thought I’d messed it up because it looked so runny. But that thin consistency is actually perfect. It creates steam while baking, which keeps everything incredibly moist.
The batter should be pourable, not thick like typical cake batter. If you lift your spoon and the batter flows off smoothly like syrup, you’re golden. Sometimes I’ll see little bubbles forming on top, and that’s fine too. It just means the leavening agents are already starting to work their magic.
Pour this gorgeous chocolate mixture into your prepared pan or divide it between the two round pans if you’re making a layer cake. Try to distribute it evenly, though honestly, it’ll level itself out pretty well while baking. I usually give the pan a gentle tap on the counter to release any air bubbles hiding in there.
Baking time varies slightly depending on your pan choice. For a 9×13 inch pan, you’re looking at about 35 to 40 minutes. For two 8-inch rounds, check them at around 30 minutes. Every oven is different though. Mine runs hot, so I always check five minutes early. The cake is done when a toothpick inserted in the center comes out with just a few moist crumbs. Not wet batter, but not completely clean either. Those few crumbs mean you’ve hit the sweet spot of moistness.
What’s the secret to a moist chocolate cake? People ask me this all the time, especially after they try this recipe. The answer isn’t just one thing – it’s a combination of factors working together. The oil instead of butter keeps things tender because oil stays liquid at room temperature while butter solidifies. That hot liquid at the end creates steam during baking. And here’s something crucial – don’t overbake it.
Overbaking is probably the number one cake killer. I set my timer for five minutes before I think it’ll be done, then check it. Better to check early than end up with a dry cake. Another secret? Don’t overmix the batter. Once you add those wet ingredients to the dry, mix just until combined. You’re not trying to incorporate air like you would with a butter cake. Overmixing develops the gluten in the flour too much, which makes your cake tough instead of tender. Similar principles apply when I’m working on other special occasion desserts like my ombre cake, where texture is everything.
Let the cake cool in the pan for about ten minutes after it comes out of the oven. This gives it time to set up a bit. Then run a knife around the edges and flip it onto a cooling rack if you’re using round pans. For a 9×13 pan, I usually just let it cool completely right in the pan since I’m not trying to frost the sides anyway.
One more thing about keeping cakes moist – simple syrup. I don’t always do this, but when I want to make the cake extra special, I brush the layers with a mixture of equal parts sugar and water that I’ve heated until the sugar dissolves. Let it cool, then brush it on. It adds sweetness and locks in moisture. I learned this trick from a baker friend who makes wedding cakes. Seems fancy, but it’s literally just sugar water.
Decorating Your Halloween Chocolate Cake
Now we get to the fun part where this transforms from a regular chocolate cake into a spooky Halloween masterpiece. The decoration possibilities are honestly endless, and you don’t need professional skills to make something impressive. My artistic ability peaks at stick figures, and I still manage to create cakes that wow people.
Let’s start with frosting because that’s your canvas for everything else. You can buy store-bought frosting in those plastic containers, and nobody will judge you. I do that sometimes when I’m short on time. But making frosting from scratch is ridiculously easy and tastes so much better. Plus, you can customize the color and flavor exactly how you want.
For a simple chocolate buttercream, I mix half a cup of softened butter with three cups of powdered sugar, half a cup of cocoa powder, a third cup of milk, and a teaspoon of vanilla. Beat it with your mixer until it’s fluffy and spreadable. Takes maybe five minutes total. If it’s too thick, add a splash more milk. Too thin? More powdered sugar. Can’t really mess it up. When I made a cookies n cream ice cream cake last summer, I used a similar technique for the frosting layer.
For Halloween specifically, orange frosting is classic. Add orange food coloring to vanilla buttercream until you get that perfect pumpkin shade. I usually start with just a few drops because the color intensifies as you mix it. You can also do black frosting using black food coloring or gel paste, though fair warning – black frosting turns everyone’s teeth dark temporarily. The kids think this is hilarious at parties, but maybe warn the parents first.
Here’s a creative idea that always gets compliments: frost the cake in orange, then use chocolate frosting in a piping bag to draw spider webs across the top. Don’t have a piping bag? Cut a tiny corner off a plastic sandwich bag. Works perfectly. I’m terrible at making perfect spider webs, so mine always look a little wonky, but that actually makes them look more realistic and spooky.
Candy decorations are your best friend for Halloween cakes. Scatter some candy corn around the edges. Press Halloween Oreos into the frosting around the sides. Add plastic spider rings on top – you can find packages of these at dollar stores. Gummy worms crawling out of the cake create a gross-but-cool factor that kids absolutely love. My nephew still talks about the cake I made with gummy worms three years ago.
Last Halloween, I tried something different inspired by techniques I’d used on a durian cake I made for a friend’s birthday. I crumbled up chocolate cookies and pressed them into the frosting to create a “dirt” effect, then added candy pumpkins and gravestones made from Milano cookies. Looked like a spooky cemetery. Took maybe fifteen extra minutes but people thought I’d spent hours on it.
You could also go the cute route instead of scary. Orange frosting with white chocolate chips to look like a pumpkin. Add a green frosting stem on top using that plastic bag trick I mentioned. Or frost it white and use black decorating gel to draw a ghost face. Sometimes simple is better, especially if you’re decorating with kids. They don’t care if it’s perfect – they just want to help and eat cake.
Is it cheaper to make cake from scratch or box mix? Since we’re talking about decorating and presentation, cost might be on your mind. Box mixes usually run about two to three dollars, plus you need to buy oil and eggs. My from-scratch recipe costs roughly the same, maybe a dollar more depending on where you shop. The difference isn’t really in the base cake cost. Where you save money is in the long run because buying ingredients in bulk for multiple baking projects is more economical than buying individual boxes each time.
The real value in baking from scratch isn’t just financial though. It’s knowing exactly what’s in your food, being able to adjust sweetness or chocolate intensity, and honestly, the taste difference is noticeable. Plus, there’s something special about telling people you made it from scratch. Gets you serious bonus points at parties. Though if you’re curious about unconventional cake topics, you might find cats love cake interesting for understanding what ingredients to keep away from your furry friends during baking sessions.
Whatever decoration route you choose, remember that homemade always beats store-bought in the heart department. Even if your spider web looks more like tangled yarn and your ghost face is a bit lopsided, people appreciate the effort and love that went into making something by hand. That’s what makes it special.
Tips for Making the Perfect Chocolate Cake Every Time
After years of baking this cake for every possible occasion, I’ve picked up little tricks that make the difference between a good cake and an absolutely incredible one. These aren’t complicated professional techniques – just small adjustments that add up to big improvements. Most of them I learned through trial and error, or from watching my grandmother work her magic in her tiny kitchen.
Room temperature ingredients matter more than you might think. When I first started baking seriously, I ignored this advice constantly. Cold eggs and milk straight from the fridge? Seemed fine to me. But after seeing the difference it makes, I’m a believer now. Room temperature ingredients blend together more smoothly, creating a more uniform batter. The texture ends up lighter and more even. I usually just set my eggs and milk on the counter while I’m gathering everything else. By the time I’m ready to mix, they’ve warmed up enough. If I forget and need to speed things up, I’ll put the eggs in a bowl of warm water for about five minutes. Works like a charm.
Here’s something nobody tells you – the quality of your cocoa powder actually matters quite a bit. For years I bought the cheapest cocoa I could find. It worked fine, made chocolate cake. But when I finally splurged on a better brand, the flavor difference was obvious. Dutch-processed cocoa gives you a deeper, less acidic chocolate taste compared to natural cocoa powder. It’s darker too, which makes your cake look richer. I’m not saying you need to buy the most expensive stuff in the gourmet section. Just consider upgrading one level from the absolute cheapest option. Your taste buds will thank you.
Another thing about cocoa powder – always check the expiration date. Old cocoa loses its flavor and can taste stale or flat. I learned this the hard way when I used cocoa that had been sitting in my pantry for who knows how long. The cake looked perfect but tasted disappointingly bland. Now I write the purchase date on the container with a marker. Cocoa powder typically stays fresh for about two years if stored in a cool, dry place.
Measuring your flour correctly is probably one of the most important skills in baking. Too much flour makes your cake dry and dense. I used to just scoop my measuring cup directly into the flour bag, which compacts it and gives you way more flour than the recipe intended. The proper method is to fluff up the flour with a spoon first, then gently spoon it into your measuring cup and level it off with a knife. This technique alone improved my baking consistency dramatically. If you have a kitchen scale, even better – weighing ingredients is the most accurate method.
By the way, don’t underestimate the power of properly greasing your pans. I mentioned using butter or cooking spray earlier, but here’s an extra tip. After greasing, I line the bottom of my round pans with parchment paper cut to fit. Then I grease the parchment too. Sounds excessive, but your cake will slide right out without any sticking or breaking. Nothing worse than a beautiful cake that refuses to leave the pan and crumbles into pieces. Been there, cried about it.
The oven temperature needs to be accurate too. Most home ovens run either hot or cold by at least ten to fifteen degrees. I bought an oven thermometer for about six dollars and discovered mine was running twenty-five degrees hotter than it claimed. No wonder my cakes were always done early and sometimes dried out on the edges. That little thermometer hangs in my oven permanently now, and I adjust the temperature dial accordingly. Small investment that solved a lot of frustration.
Funny enough, the cooling process deserves attention too. Let your cake cool gradually rather than shocking it with temperature changes. Don’t stick a hot pan directly on a cold granite countertop – the sudden change can cause your cake to sink in the middle or develop a weird texture. Use a wire cooling rack so air can circulate underneath. And resist the urge to frost it while it’s still warm. I know waiting is torture when you’re excited, but warm cake makes frosting melt and slide right off. Ask me how I know.
One more thing about flavor – a tiny pinch of espresso powder in your chocolate cake batter intensifies the chocolate flavor even more than liquid coffee does. You only need maybe an eighth of a teaspoon. Won’t make it taste like coffee at all, just makes the chocolate taste more chocolatey. Professional bakers use this trick all the time. I keep instant espresso powder in my pantry specifically for this purpose even though I don’t drink coffee.
Now here’s something interesting about salt. Most people don’t realize that salt is crucial for balancing sweetness and enhancing other flavors in desserts. Without it, cakes taste flat and one-dimensional. That one teaspoon in this recipe brings out the chocolate flavor and makes everything taste more vibrant. Just be mindful of your overall sodium intake throughout the day when enjoying rich desserts regularly. I always use regular table salt in my baking because the fine grains dissolve easily and distribute evenly throughout the batter.
What is a Lazy Cake?
Speaking of making life easier, let me tell you about lazy cake. This isn’t about being actually lazy – it’s about being smart with your time and energy. A lazy cake typically refers to no-bake chocolate desserts that come together with minimal effort. The most common version uses chocolate cookies, butter, cocoa powder, and sometimes condensed milk. You break up the cookies, mix everything together, press it into a pan, and refrigerate it.
I discovered lazy cake during a particularly hectic week last spring when my son needed something for a school potluck and I was running on about four hours of sleep. Baking felt impossible. Lazy cake saved me. The whole thing took maybe twenty minutes to prepare, and after a few hours in the fridge, it was ready. Kids loved it. Teachers loved it. Nobody suspected it was thrown together in desperation.
The beauty of lazy cake is that it requires zero oven time and zero baking skill. If you can stir things together and spread mixture into a pan, you can make it. It’s perfect for summer when you don’t want to heat up your kitchen, or for those times when your oven is broken or you’re traveling and staying somewhere without proper baking facilities. I’ve made variations with different cookies – graham crackers, vanilla wafers, even Oreos. All delicious.
For Halloween specifically, you could make a lazy cake and decorate the top with orange and black sprinkles, candy corn, or chocolate spider webs once it’s set. The no-bake aspect actually works well because you’re not limited by what can survive oven heat. Candy decorations can go right on top without melting. It’s definitely worth keeping in your back pocket for emergencies or when you genuinely don’t feel like dealing with measuring and mixing traditional cake ingredients.
Here’s the thing though – while lazy cake is convenient and tasty, it’s got a different texture than actual baked cake. It’s denser, more fudgy, almost truffle-like. Some people prefer it, some don’t. My husband actually likes lazy cake better than regular cake because it’s so rich and chocolatey. My daughter prefers the light, fluffy texture of baked cake. Both have their place in my dessert rotation.
If you’re expanding your baking repertoire beyond just Halloween treats, exploring different cakes and cupcakes can give you plenty of ideas for various occasions throughout the year. I’m constantly finding new techniques and flavor combinations that work beautifully.
Whether you choose the from-scratch chocolate cake I shared earlier or opt for a lazy cake shortcut, the most important thing is making something that brings joy to the people you’re sharing it with. Halloween is about fun and creativity, not stress and perfection. Some of my favorite cake memories involve slightly lopsided layers, frosting that didn’t quite cover everything, and decorations that looked nothing like the Pinterest inspiration photo. But everyone still smiled, enjoyed their slice, and asked for seconds. That’s what really matters in the end.
Frequently Asked Questions
How long does homemade chocolate cake stay fresh?
Properly stored chocolate cake stays fresh for about three to four days at room temperature if you keep it covered or in an airtight container. The key is preventing it from drying out by exposure to air. If you’ve frosted it with buttercream, it’ll actually stay moist longer because the frosting creates a protective barrier. For longer storage, you can refrigerate it for up to a week, though I find the texture is best at room temperature. Just bring it out about thirty minutes before serving if you’ve refrigerated it. You can also freeze unfrosted cake layers wrapped tightly in plastic wrap and then foil for up to three months.
Can I make this chocolate cake recipe ahead of time?
Absolutely, and I do this all the time when I’m planning for parties. Bake your cake layers a day or even two days ahead, let them cool completely, then wrap them tightly in plastic wrap. They’ll stay perfectly moist and actually become easier to frost because they’re more stable when slightly older. You can also bake and freeze the layers weeks in advance if you’re really planning ahead. I’ve frozen cake layers for up to two months with excellent results. Just thaw them in the refrigerator overnight before decorating. The frosting can usually be made a few days ahead too and stored in the fridge, then brought to room temperature and re-whipped before using.
What can I substitute for eggs in this chocolate cake?
Several egg substitutes work well in chocolate cake depending on dietary needs or allergies. Each egg can be replaced with a quarter cup of unsweetened applesauce, which keeps the cake moist though slightly denser. Mashed banana works too but will add a subtle banana flavor. For a more neutral option, try mixing one tablespoon of ground flaxseed with three tablespoons of water per egg – let it sit for five minutes until it gets gel-like. Commercial egg replacers like Bob’s Red Mill also work following package directions. I’ve successfully made this cake with applesauce when I ran out of eggs unexpectedly, and honestly, most people couldn’t tell the difference.
Why did my chocolate cake sink in the middle?
A sunken center usually happens because of underbaking, opening the oven door too early, or using too much leavening agent. The cake rises beautifully but hasn’t set enough structurally to support itself, so it collapses as it cools. Make sure you’re baking until a toothpick comes out with just a few moist crumbs, not wet batter. Avoid opening the oven door for at least the first twenty minutes of baking because the temperature drop can cause collapse. Also double-check that your baking soda and baking powder are fresh – old leavening agents lose potency and behave unpredictably. If your oven runs cool, that could cause underbaking too, so verify the temperature with an oven thermometer.
Can I use this recipe to make cupcakes instead?
Yes, this batter makes fantastic chocolate cupcakes. Line your muffin tins with paper liners and fill each about two-thirds full. The recipe makes approximately twenty-four standard cupcakes. Bake at the same 350-degree temperature but reduce the time to about eighteen to twenty-two minutes. Start checking at eighteen minutes with a toothpick. Cupcakes bake faster than cake layers because they’re smaller. I actually prefer making cupcakes for kids’ parties because they’re easier to serve and less messy than cutting slices. Plus every kid gets their own perfectly portioned dessert with plenty of frosting.
What’s the best way to get flat, even cake layers?
Professional-looking flat layers come from using cake strips – fabric strips you soak in water and wrap around your pans before baking. They keep the edges from baking faster than the center, which prevents that annoying dome. You can buy these or make your own from old towels. Alternatively, once your cake has cooled, just use a long serrated knife to carefully slice off any dome and create a flat surface. I do this all the time and use the scraps for snacking or making cake pops. Another trick is to lower your oven temperature by twenty-five degrees and bake slightly longer, which promotes more even rising. Some bakers also swear by using heating cores in the center of the pan.
How do I prevent my cake from sticking to the pan?
The combination approach works best for me. First, grease your pan thoroughly with butter or cooking spray, making sure to get into all the corners. Then dust it with cocoa powder for chocolate cakes instead of flour so you don’t get that white residue on your dark cake. For extra insurance, cut parchment paper to fit the bottom of the pan and grease that too. This three-step method has never failed me. The cake releases perfectly every time. For bundt pans with all those detailed grooves, I use a baking spray that already contains flour, and I’m very generous with it, making sure every crevice is coated.
Can I reduce the sugar in this chocolate cake recipe?
You can reduce sugar somewhat, but it’ll affect both sweetness and texture since sugar does more than just sweeten. It helps create tenderness and retains moisture. I wouldn’t recommend cutting more than a quarter cup from the total amount. When I’ve tried reducing it more drastically, the cake turned out less tender and dried out faster. If you’re trying to cut sweetness for health reasons, a better approach might be using less sweet frosting or skipping frosting entirely and just dusting the cake with powdered sugar. The cake itself needs that sugar to function properly in the chemistry of baking.
What frosting pairs best with chocolate cake for Halloween?
Orange-tinted vanilla buttercream is classic and screams Halloween immediately. Cream cheese frosting also pairs beautifully with chocolate and isn’t overly sweet, which some people prefer. For something different, try peanut butter frosting – the chocolate and peanut butter combination is always a winner with kids. Dark chocolate ganache creates an elegant, sophisticated look if you’re serving adults. I’ve even done a marshmallow frosting torched slightly for a spooky effect. Really, chocolate cake is so versatile that almost any frosting works. Choose based on your crowd’s preferences and how much decorating you want to do.
Why does my homemade chocolate cake taste different from bakery cake?
Bakery cakes often use different ratios of ingredients, commercial additives for extended shelf life, and sometimes cake flour instead of all-purpose flour for an extra-tender crumb. They might also use emulsifiers that create a specific texture that’s hard to replicate at home. The frosting in bakeries is often shortening-based rather than butter-based, which creates that super-smooth, stable texture. Honestly though, homemade cake tastes fresher and more authentic to me even if it’s different. You’re tasting real ingredients without preservatives. The slight differences in texture and flavor are actually what make homemade special rather than worse.
Equipment
- Mixing bowl
- Whisk
- Spatula
- Cake pans
- Oven
Ingredients
- 2 cups all-purpose flour
- 2 cups granulated sugar
- 3/4 cup unsweetened cocoa powder
- 2 teaspoons baking soda
- 1 teaspoon baking powder
- 1 teaspoon salt
- 2 large eggs
- 1 cup whole milk
- 1/2 cup vegetable oil
- 2 teaspoons vanilla extract
- 1 cup hot water or hot coffee
Instructions
- Preheat your oven to 350 degrees Fahrenheit.
- Grease a 9x13 inch pan or two 8-inch round pans with butter or cooking spray and dust with cocoa powder.
- In a large mixing bowl, combine flour, sugar, cocoa powder, baking soda, baking powder, and salt using a whisk.
- Add eggs, milk, oil, and vanilla extract to the dry ingredients and mix with an electric mixer on medium speed for 2 minutes.
- Gradually mix in the hot water or coffee until the batter is smooth and pourable.
- Pour the batter into the prepared pan(s) and gently tap to release air bubbles.
- Bake for 35-40 minutes for the 9x13 inch pan or 30 minutes for the 8-inch round pans.
- Check for doneness with a toothpick; it should come out with a few moist crumbs.
- Let the cake cool in the pan for 10 minutes, then release and cool completely on a rack.