
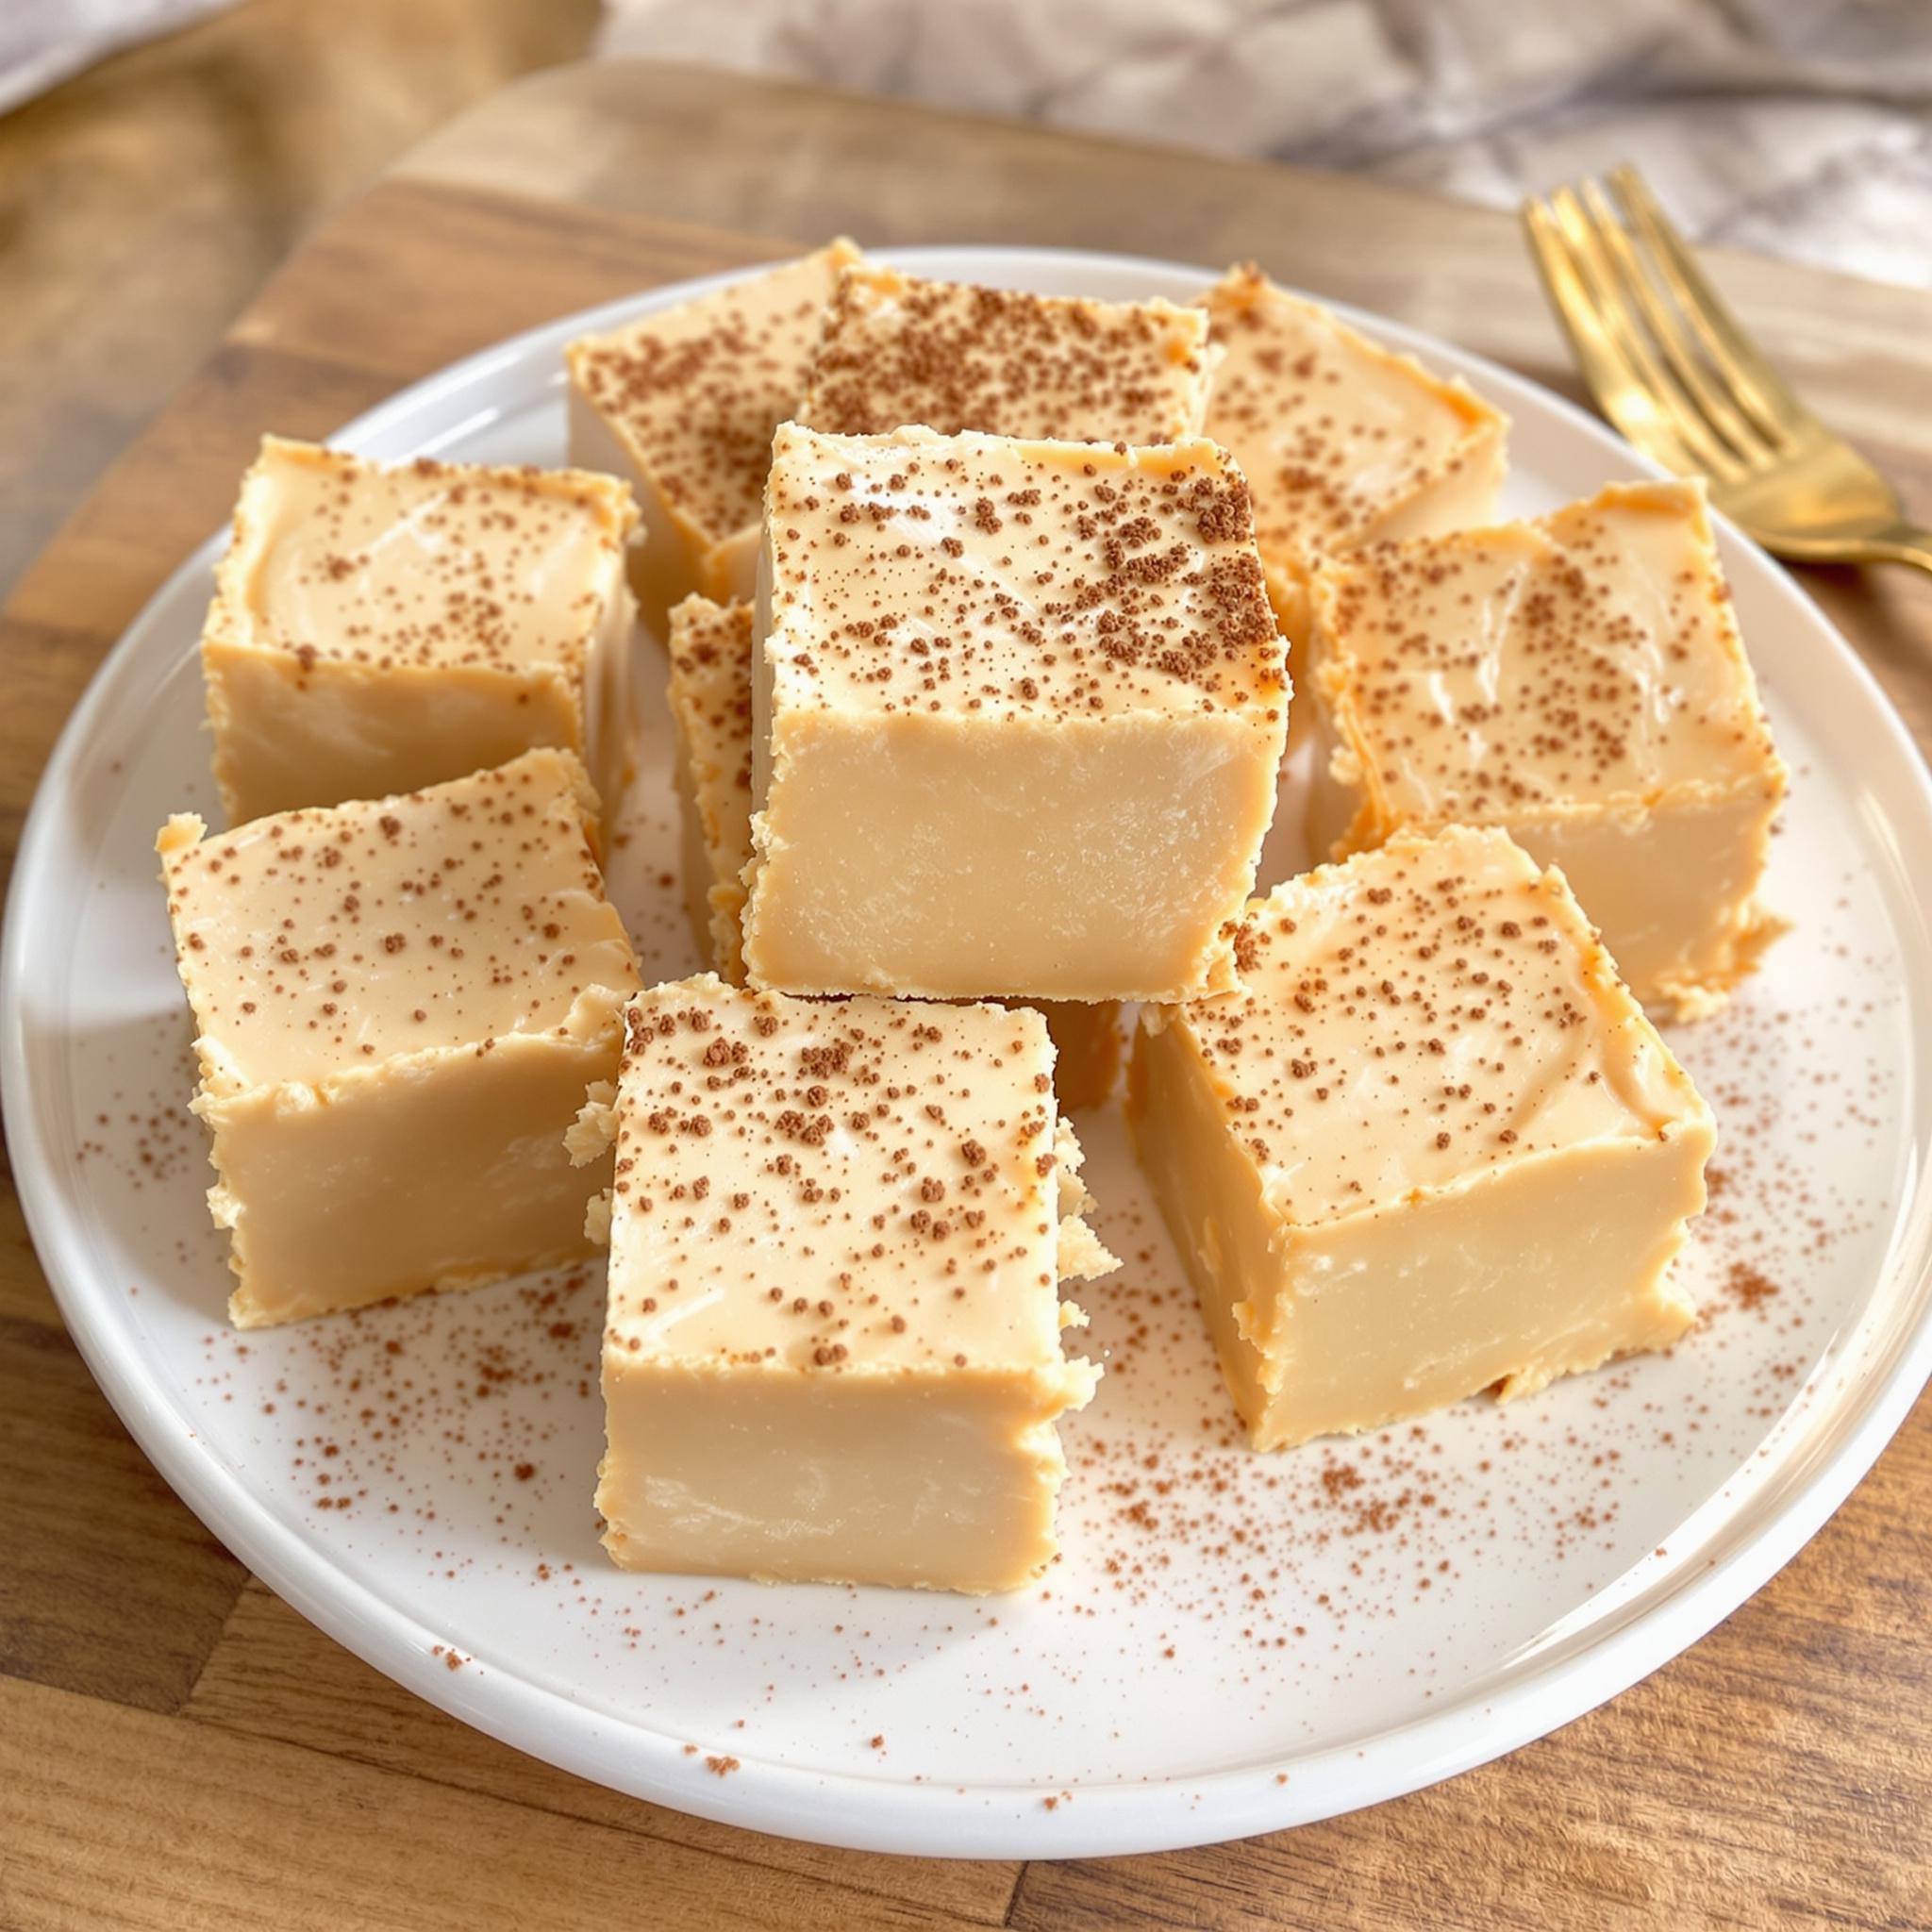
Indulge in This Quick Treat: Easy Peanut Butter Fudge
There’s nothing like the rich, creamy goodness of homemade peanut butter fudge. I make this recipe all the time when I need a quick dessert that wows. It’s been a hit at family gatherings for years. Whether you’re new to baking or a pro, this treat is simple, tasty, and oh-so-satisfying.
The Story Behind Peanut Butter Fudge
Peanut butter fudge comes from classic American candy traditions. It’s a twist on traditional fudge but with a nutty kick. My grandma used to make it during the holidays. Her kitchen smelled amazing with melted peanut butter and sugar. I’ve tweaked her recipe a bit for easier prep, but the heart of it stays the same.
Why You’ll Love This Recipe
This recipe is great because it’s quick and doesn’t need a candy thermometer. The texture is smooth, and the flavor is rich. Plus, it uses pantry staples, so you can whip it up anytime. Perfect for cravings or last-minute desserts.
Perfect Occasions for Peanut Butter Fudge
Serve this fudge at birthdays, holidays, or casual get-togethers. It also makes a thoughtful homemade gift. Wrap squares in parchment paper and tie them with ribbon for a personal touch. Even on regular days, a small piece makes an afternoon snack special.
Ingredients for Easy Peanut Butter Fudge
- 1 cup creamy peanut butter
- 1 can (14 oz) sweetened condensed milk
- 1 teaspoon vanilla extract
- 3 cups powdered sugar
- ¼ teaspoon salt
Substitution Options
No creamy peanut butter? Use crunchy for added texture. Swap vanilla extract with almond extract for a twist. If you’re out of sweetened condensed milk, try evaporated milk mixed with sugar. For a lower-sugar option, use a baking sugar substitute.
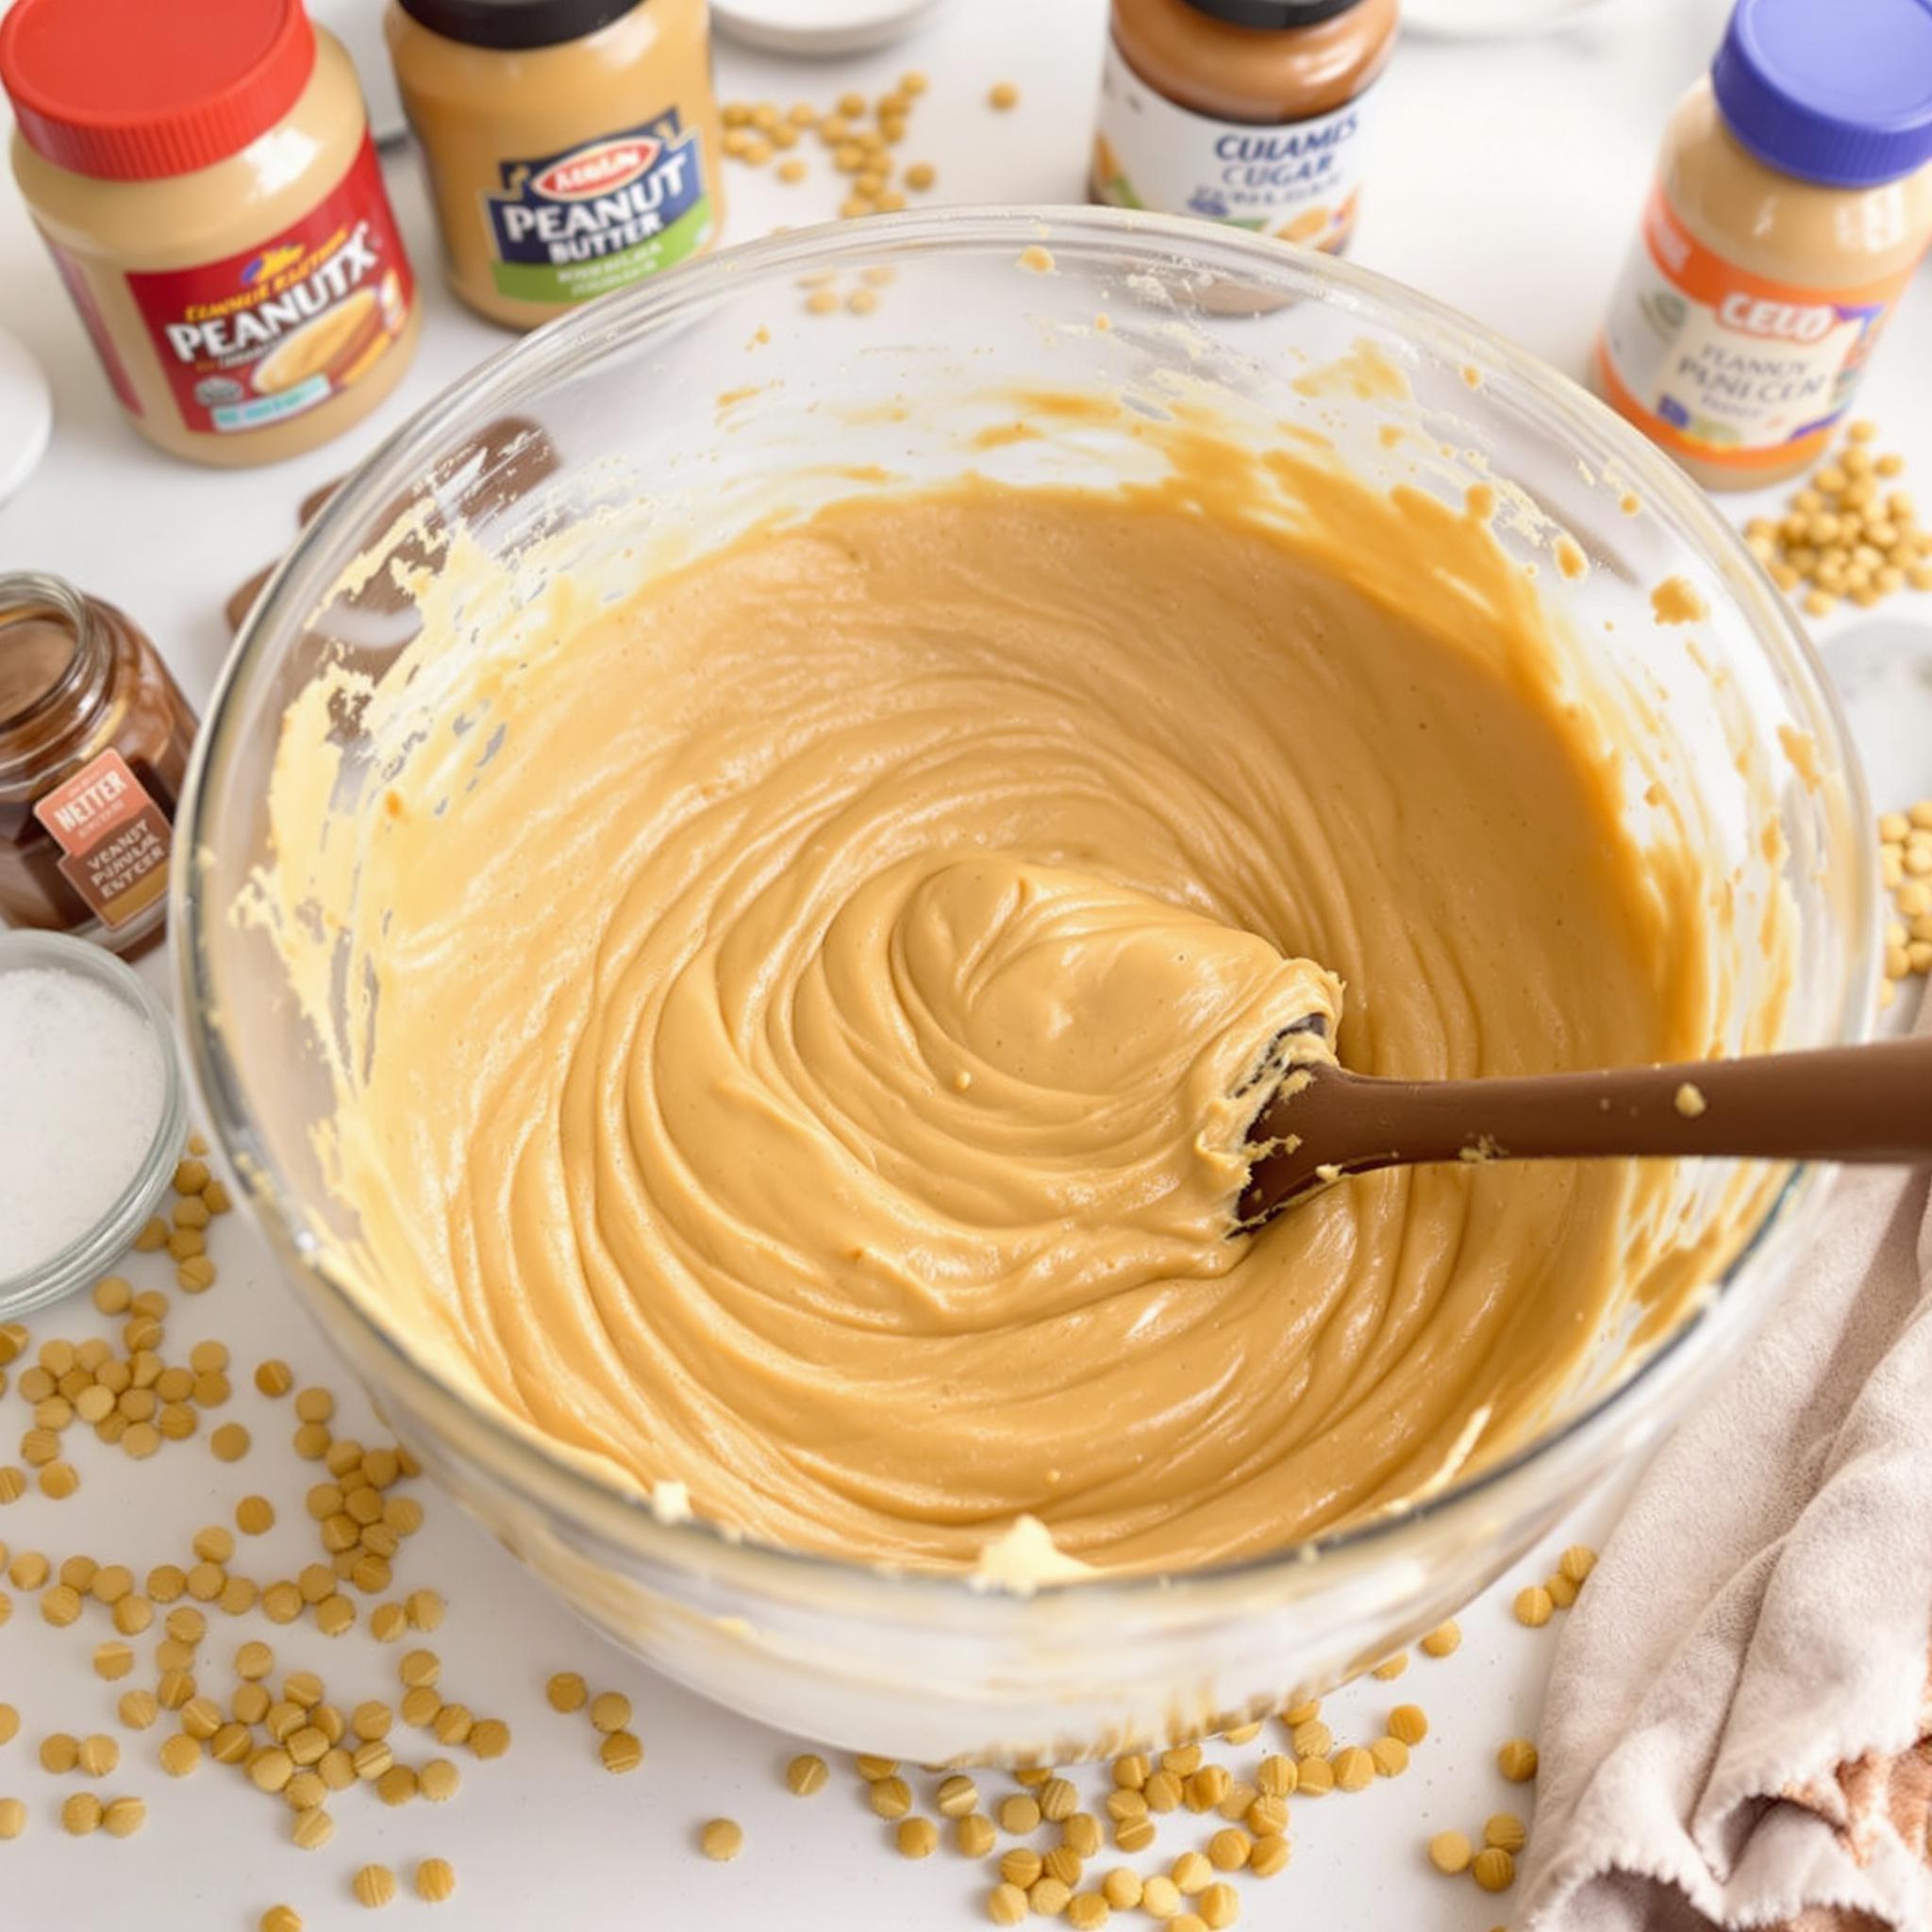
Step 1: Combine Peanut Butter and Condensed Milk
In a saucepan over low heat, mix peanut butter and sweetened condensed milk. Stir constantly until smooth. The mixture will turn glossy and thick. Be patient—low heat prevents burning. Pro tip: Use a nonstick saucepan for easy cleanup.
Step 2: Add Flavorings
Remove the pan from heat. Stir in vanilla extract and salt. These ingredients balance the sweetness and boost the peanut butter flavor. Mix thoroughly. Your kitchen will smell amazing at this stage!
Step 3: Incorporate Powdered Sugar
Gradually add powdered sugar, stirring as you go. This step turns the mixture into a thick, fudge-like consistency. Keep mixing until smooth. Don’t rush—adding sugar slowly prevents lumps. The result should be soft and pliable.
Step 4: Shape and Chill
Pour the mixture into a greased baking dish. Spread it evenly using a spatula. Smooth the top for a polished look. Refrigerate for at least 2 hours. Chilling firms up the fudge, making it easier to cut into neat squares.
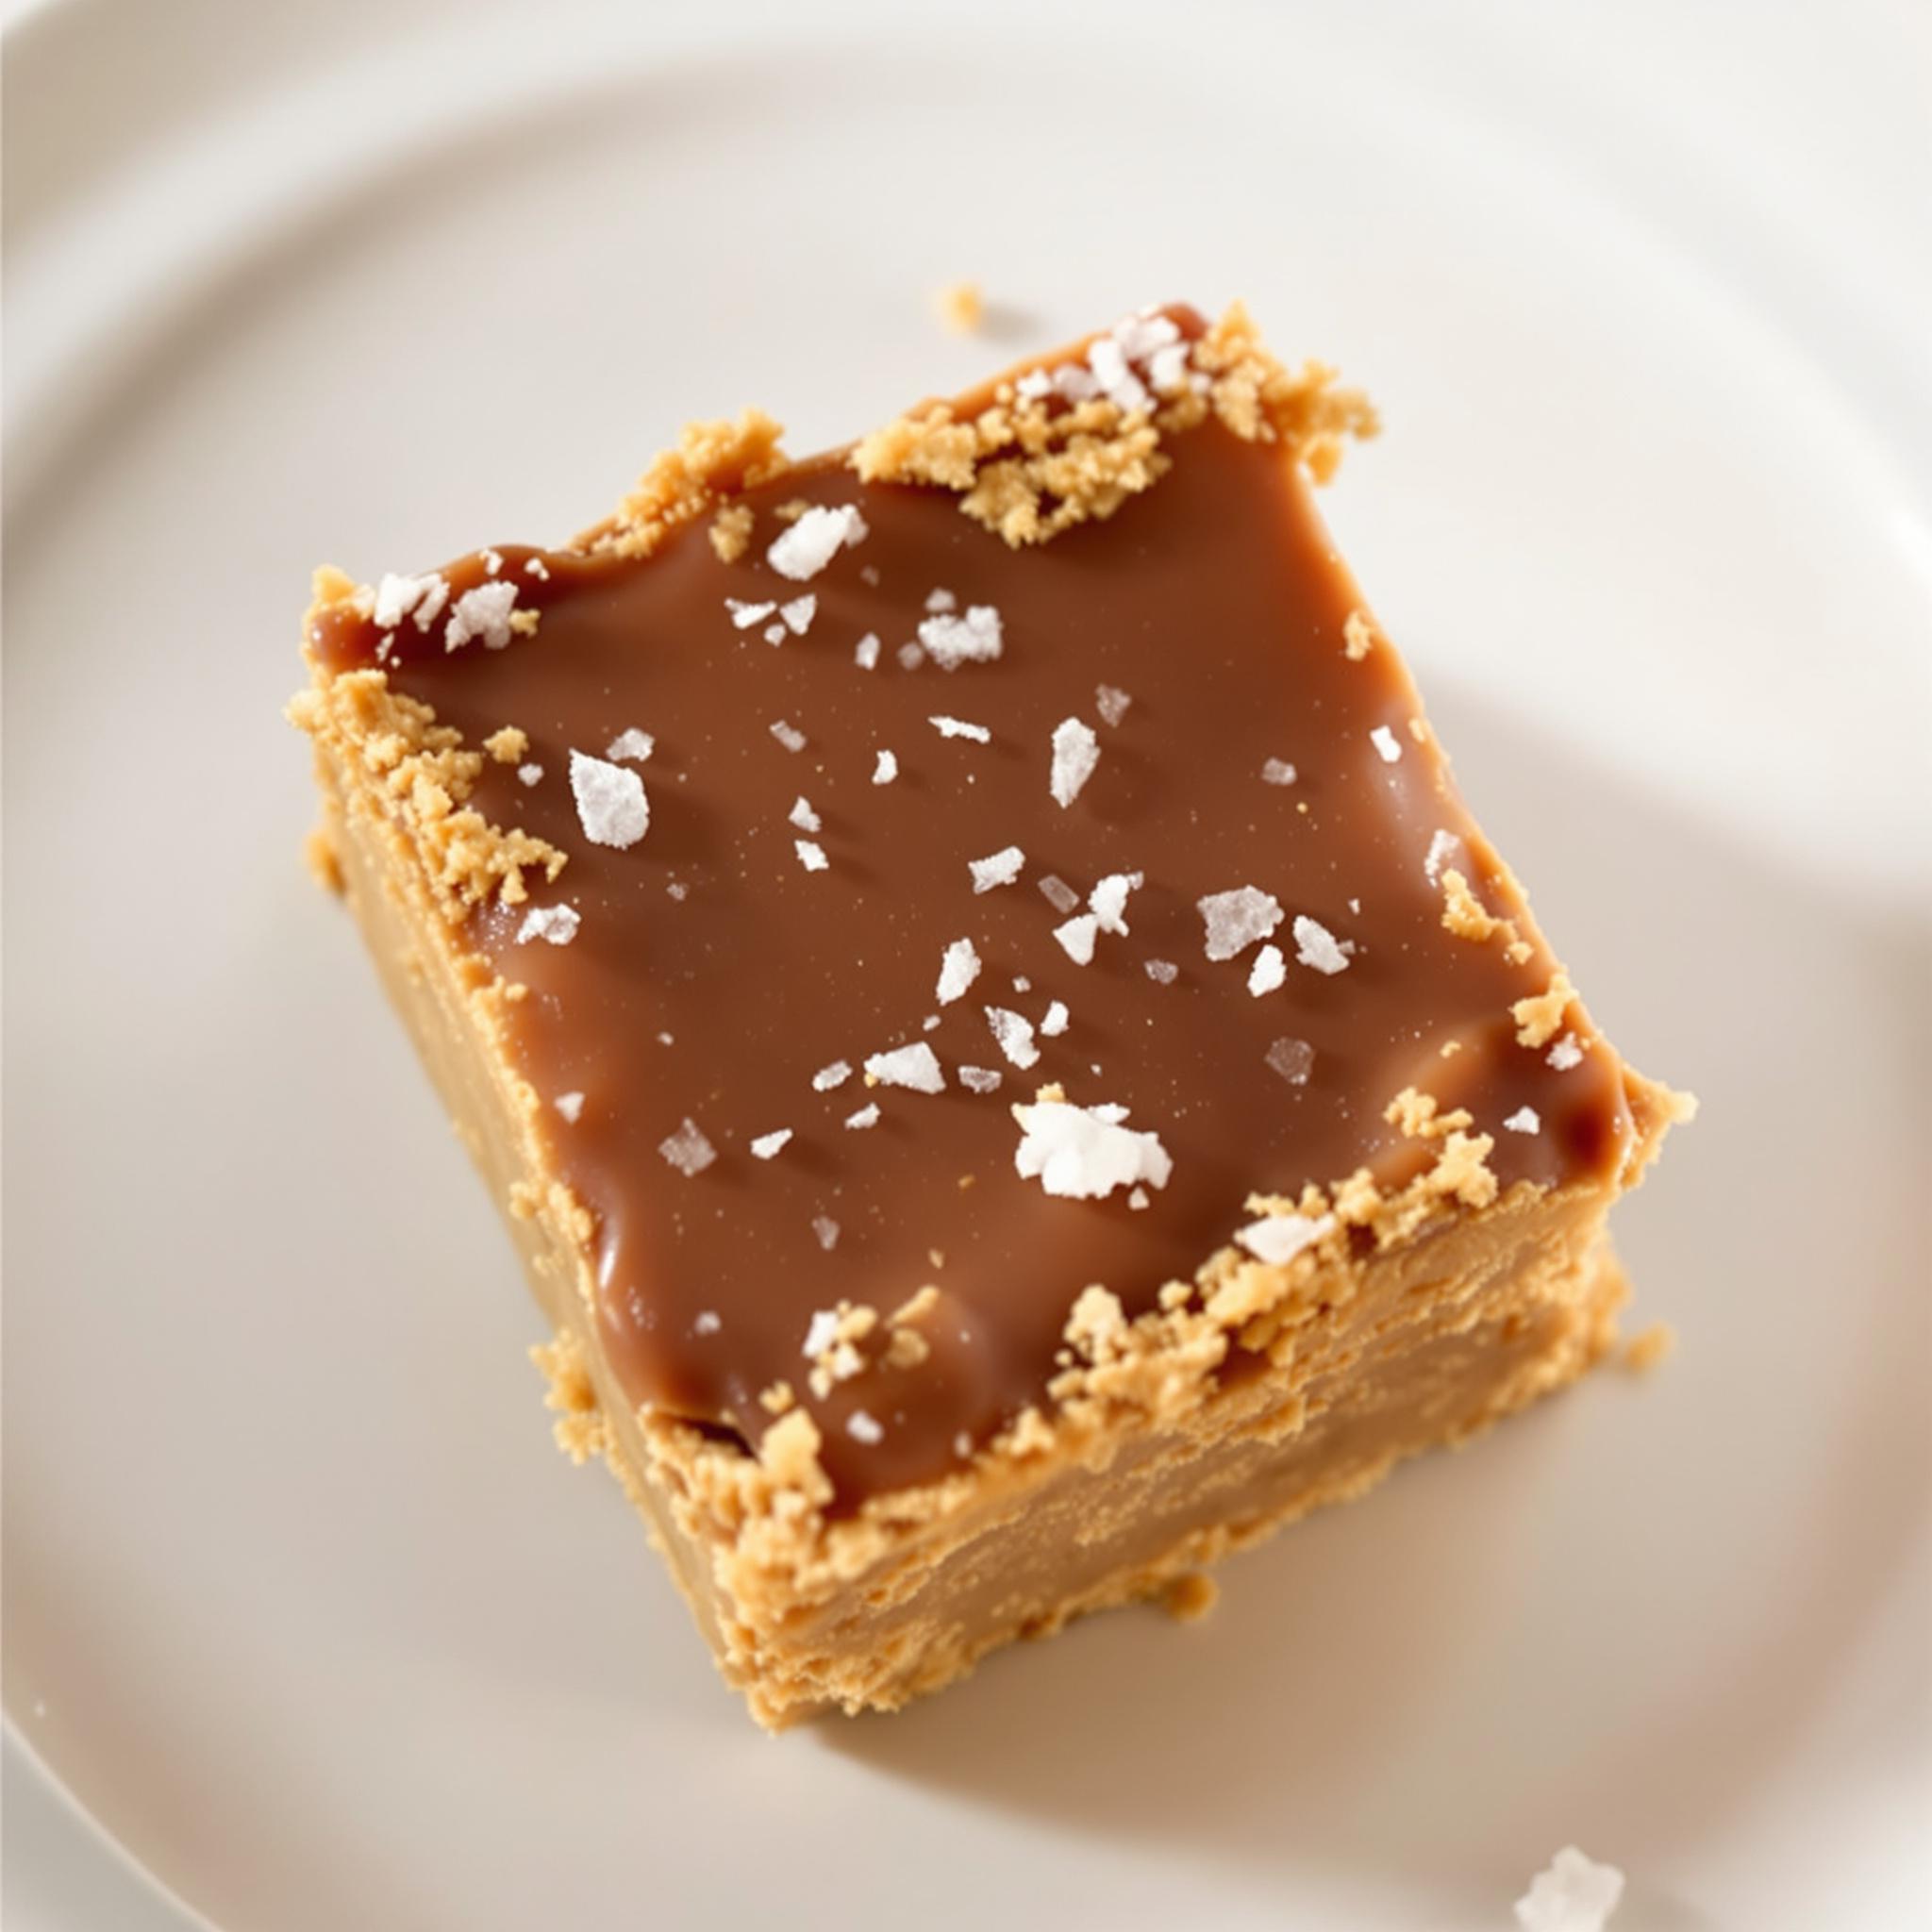
Chef’s Tip
For an extra touch, sprinkle sea salt flakes on top before chilling. The salty crunch pairs beautifully with the sweet fudge. Trust me—it’s a game-changer!
Time Required
- Prep Time: 15 minutes
- Cooking Time: 5 minutes
- Resting Time: 2 hours
- Total Time: 2 hours 20 minutes
Nutritional Information
Per serving (1 square): Calories: 180, Protein: 4g, Fat: 9g, Carbs: 22g. Enjoy in moderation—it’s a treat after all!
Did You Know?
Peanut butter was invented in the late 1800s as a protein-rich food for people who couldn’t chew solid foods. Today, it’s a staple in desserts like this fudge.
Necessary Tools
- Saucepan
- Spatula
- Mixing bowl
- Baking dish
- Measuring cups and spoons
Storage Instructions
Store your peanut butter fudge in an airtight container. Keep it in the fridge to stay fresh. Properly stored, it lasts up to two weeks. Bring it to room temperature before serving for the best texture.
If you live in a warm climate, consider freezing the fudge. Wrap individual pieces in plastic wrap and place them in a freezer-safe bag. They’ll stay good for up to three months.
Always label your storage containers with the date. This helps you keep track of freshness and ensures you enjoy the fudge at its peak.
Tips and Tricks
Use room-temperature peanut butter for smoother mixing. Grease your baking dish generously to prevent sticking. For festive occasions, drizzle melted chocolate on top before chilling. Experiment with different extracts like coconut or maple for fun flavor twists.
Serving Suggestions
Serve this fudge alongside coffee or tea for a cozy treat. Pair it with fresh fruit like strawberries or bananas for contrast. It’s also great crumbled over ice cream for a decadent sundae.
Healthier Alternatives for Peanut Butter Fudge
Here are six ways to tweak this recipe for a healthier spin:
- Use Natural Peanut Butter: Opt for unsweetened, natural peanut butter to cut added sugars.
- Swap Sweetened Condensed Milk: Try a low-fat or dairy-free version for fewer calories.
- Add Oats: Mix in rolled oats for fiber and a chewy texture.
- Reduce Sugar: Cut the powdered sugar by half and add mashed banana for sweetness.
- Go Gluten-Free:
- Add Protein Powder: Stir in unflavored protein powder for a nutrient boost.
Ensure all ingredients are certified gluten-free for dietary needs.
Common Mistakes to Avoid
Mistake 1: Overheating the Mixture
Heating the peanut butter mixture too long can cause it to separate or burn. Stick to low heat and stir continuously. A gentle approach keeps the texture smooth and creamy.
Mistake 2: Skipping the Salt
Don’t omit the salt—it enhances the peanut butter flavor. Without it, the fudge may taste overly sweet. A pinch goes a long way!
Mistake 3: Rushing the Chilling Process
Chilling is crucial for setting the fudge. Skipping or shortening this step results in a gooey mess. Patience pays off here!
Frequently Asked Questions
Can I use chunky peanut butter?
Absolutely! Chunky peanut butter adds texture and crunch. Just stir well to distribute the chunks evenly throughout the fudge.
How long does this fudge last?
Stored in the fridge, it stays fresh for up to two weeks. In the freezer, it lasts up to three months.
Is this recipe gluten-free?
Yes, if you use gluten-free powdered sugar and other certified gluten-free ingredients, this recipe is safe for those avoiding gluten.
Can I double the recipe?
Definitely! Double all ingredients and use a larger baking dish. Adjust chilling time slightly if needed.
What if I don’t have a microwave?
No problem! This recipe uses stovetop cooking only, so no microwave is required.
Can I add nuts or chocolate chips?
Yes! Fold in chopped nuts or mini chocolate chips after Step 3 for added flavor and texture.
Why is my fudge grainy?
Graininess often happens if the powdered sugar isn’t fully incorporated. Sift it before adding and mix thoroughly.
Can I make this without peanut butter?
Try almond or cashew butter for a similar effect. The flavor will differ slightly but still be delicious.
Do I need a candy thermometer?
Nope! This recipe skips the thermometer for simplicity. Just follow the steps carefully.
Why did my fudge not set?
If the fudge doesn’t firm up, it likely wasn’t chilled long enough. Give it more time in the fridge.
Conclusion
Easy Peanut Butter Fudge is a crowd-pleaser that’s simple to make and endlessly customizable. With its creamy texture and rich flavor, it’s sure to become a favorite in your home. Try it once, and you’ll see why it’s such a beloved treat. Happy baking!
Equipment
- Saucepan
- Spatula
- Mixing Bowl
- Baking Dish
- Measuring Cups and Spoons
Ingredients
- 1 cup creamy peanut butter
- 14 oz sweetened condensed milk
- 1 teaspoon vanilla extract
- 3 cups powdered sugar
- ¼ teaspoon salt
Instructions
- In a saucepan over low heat, mix peanut butter and sweetened condensed milk. Stir constantly until smooth and glossy.
- Remove from heat and stir in vanilla extract and salt.
- Gradually add powdered sugar, mixing until smooth and thick.
- Pour the mixture into a greased baking dish and spread it evenly.
- Refrigerate for at least 2 hours until set.