
Why Homemade Samoa Cookies Are a Must-Try
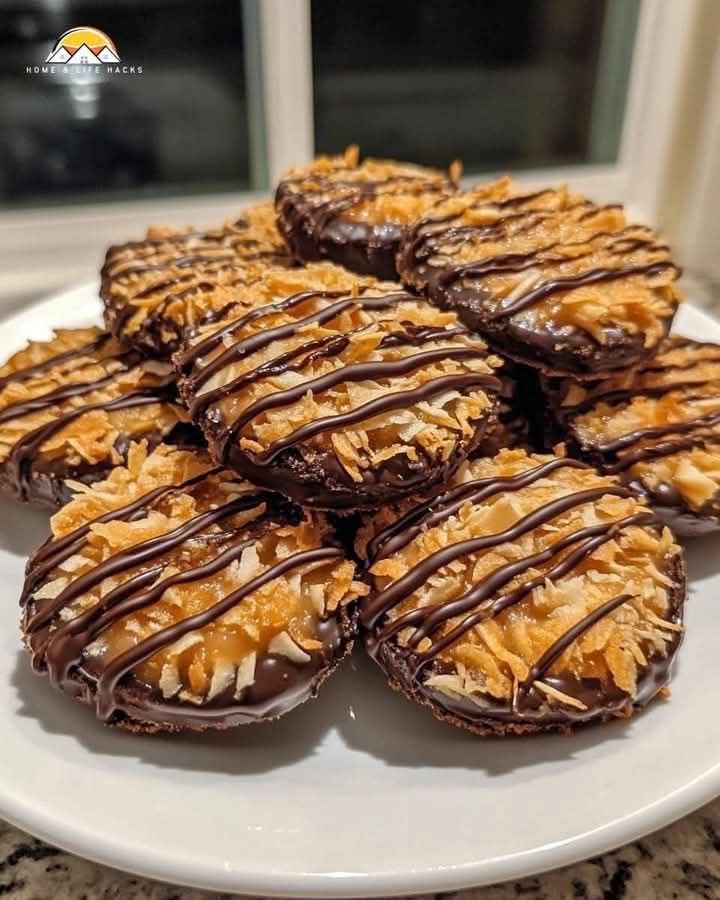
There’s something magical about biting into a Samoa cookie. The buttery crunch, the gooey caramel, the toasted coconut, and that rich chocolate drizzle—it’s like a party in your mouth! But here’s the thing: store-bought cookies are great, but nothing beats the aroma of Homemade Samoa Cookies baking in your kitchen. I remember making these for the first time during a lazy Sunday afternoon. My kids were hovering around the oven, their eyes wide with anticipation. When the cookies finally cooled and we took that first bite, it was unanimous—these were better than the originals!
A Little History About Samoas
Samoas, also known as Caramel deLites depending on where you live, are one of the most beloved Girl Scout cookies. They’ve been around since the 1970s, delighting cookie lovers with their perfect mix of textures and flavors. While the original version is iconic, making them at home gives you the freedom to tweak the recipe to your liking. Plus, there’s just something special about recreating a classic treat with your own hands.
Why You’ll Love This Recipe
This Homemade Samoa Cookies recipe is simple enough for a beginner but impressive enough to wow your friends at a cookie exchange. The flavors are spot-on: buttery shortbread, sweet caramel, crunchy coconut, and smooth chocolate. It’s a dessert that checks all the boxes. And let’s not forget—you can make these any time of year, not just during Girl Scout cookie season!
Perfect Occasions for Homemade Samoa Cookies
These cookies are perfect for so many occasions. Whip them up for a holiday cookie platter, bring them to a potluck, or serve them at a birthday party. They’re also a hit at bake sales because they look fancy but are surprisingly easy to make. Honestly, though, you don’t need a special occasion. A rainy afternoon with a cup of coffee and a plate of these cookies? Yes, please!
Ingredients You’ll Need
- For the Cookies:
- 1 cup unsalted butter, softened
- 1 cup granulated sugar
- 2 cups all-purpose flour
- 1/4 teaspoon salt
- 1 teaspoon vanilla extract
- For the Topping:
- 1 1/2 cups shredded coconut, toasted
- 1 cup caramel sauce
- 1/2 cup heavy cream
- 1/2 teaspoon vanilla extract
- 1 1/2 cups semi-sweet chocolate chips
Substitution Options
If you’re looking to switch things up, here are some ideas:
- Use almond extract instead of vanilla for a nutty twist.
- Swap dark chocolate chips for semi-sweet if you prefer a richer flavor.
- Gluten-free flour works well if you need to avoid gluten.
- For a dairy-free version, use coconut oil instead of butter and vegan caramel sauce.
Step 1: Preheat and Prepare
Start by preheating your oven to 350°F (175°C). Line two baking sheets with parchment paper. This step is crucial because it ensures your cookies won’t stick and will bake evenly. Pro tip: If you don’t have parchment paper, lightly grease the sheets with butter or nonstick spray. As the oven heats up, you’ll feel that cozy warmth spreading through the kitchen—a sure sign that cookie magic is about to happen.
Step 2: Make the Cookies
In a mixing bowl, cream together the softened butter and sugar until light and fluffy. This should take about 2-3 minutes with a hand mixer. The mixture will turn a pale yellow color and smell heavenly. Add the vanilla extract, then gradually mix in the flour and salt. The dough will come together into a soft, slightly crumbly ball. Roll small portions into balls, flatten them slightly, and place them on the baking sheets. They’ll puff up a bit while baking, so leave some space between each cookie.
Step 3: Bake the Cookies
Bake the cookies for 10-12 minutes, or until the edges turn golden brown. Keep an eye on them—they can go from perfectly baked to overdone quickly. Once they’re done, let them cool completely on a wire rack. Cooling is essential because warm cookies can cause the toppings to melt unevenly. Chef’s tip: Toast the coconut while the cookies bake for maximum efficiency.
Step 4: Prepare the Topping
In a saucepan over low heat, combine the caramel sauce and heavy cream. Stir until smooth and glossy. Add the vanilla extract and toasted coconut, mixing until everything is well-coated. The aroma of toasted coconut blending with caramel is downright irresistible. Let the mixture cool slightly before spreading it onto the cookies.
Step 5: Assemble the Cookies
Spread a generous layer of the caramel-coconut mixture over each cooled cookie. Melt the chocolate chips in the microwave or over a double boiler. Dip the bottoms of the cookies into the melted chocolate and place them back on the parchment paper. Drizzle the remaining chocolate over the tops for a professional finish. Pro tip: Use a zip-top bag with a tiny corner cut off for precise drizzling.
Timing Breakdown
- Prep Time: 20 minutes
- Cooking Time: 12 minutes per batch
- Resting Time: 30 minutes for cooling and setting
- Total Time: About 1 hour 15 minutes
Chef’s Secret
To get that perfect chewy caramel layer, don’t rush the heating process. Low and slow is the way to go. Also, chilling the assembled cookies in the fridge for 10-15 minutes helps the chocolate set faster.
Fun Fact About Coconut
Did you know coconut is technically a fruit, not a nut? Its tropical flavor pairs beautifully with caramel and chocolate, making it a star ingredient in Homemade Samoa Cookies.
Necessary Equipment
- Mixing bowls
- Hand mixer or stand mixer
- Baking sheets
- Parchment paper
- Saucepan
- Wire cooling rack
- Double boiler or microwave-safe bowl for melting chocolate
Storage Tips
Store your Homemade Samoa Cookies in an airtight container at room temperature for up to 5 days. The buttery shortbread and caramel layers stay fresh this way. If you live in a warm climate, consider refrigerating them to prevent the chocolate from melting. For longer storage, freeze the cookies in a single layer in a freezer-safe bag. They’ll keep for up to 3 months.
When freezing, separate layers of cookies with wax paper to prevent sticking. Thaw frozen cookies at room temperature for about 30 minutes before serving. They taste just as good as the day you made them!
Pro tip: Don’t stack the cookies too high in the container. The caramel layer can get squished, ruining the beautiful layers.
Tips and Advice
- Toast the coconut until it’s golden brown but not burnt for the best flavor.
- Use high-quality caramel sauce for a richer taste.
- If the dough feels too dry, add a teaspoon of milk to bring it together.
- Let the cookies cool completely before adding toppings to avoid a melty mess.
Presentation Ideas
- Stack the cookies on a tiered dessert stand for a bakery-style display.
- Serve them on a rustic wooden board for a cozy vibe.
- Add a sprinkle of sea salt on top for a gourmet touch.
Healthier Alternatives
If you’re looking to lighten up this recipe, here are six variations:
- Gluten-Free Samoa Cookies: Substitute all-purpose flour with a gluten-free blend.
- Vegan Samoa Cookies: Use vegan butter, dairy-free caramel, and dark chocolate chips.
- Low-Sugar Samoa Cookies: Replace granulated sugar with a sugar substitute like stevia or monk fruit.
- Coconut Flour Version: Swap half the flour with coconut flour for added fiber.
- Date-Based Caramel: Make a healthier caramel using dates, almond butter, and a splash of vanilla.
- Mini Samoa Cookies: Roll smaller dough balls for bite-sized treats that are easier to share.
Mistake 1: Overbaking the Cookies
Overbaking is a common mistake that leads to dry, crumbly cookies. These shortbread cookies should be golden around the edges but still soft in the center when you take them out of the oven. They’ll firm up as they cool. Pro tip: Set a timer and check the cookies a minute early to avoid overdoing it.
Mistake 2: Skipping the Cooling Step
Adding the caramel topping to warm cookies can cause it to slide right off. Always let the cookies cool completely on a wire rack before assembling. This ensures every layer stays intact and looks picture-perfect.
Mistake 3: Rushing the Chocolate Drizzle
If the chocolate isn’t melted properly, it can seize up or become grainy. Heat it gently and stir frequently to achieve a smooth consistency. Pro tip: Add a teaspoon of coconut oil to the chocolate for extra shine and smoothness.
Frequently Asked Questions
Can I use store-bought caramel sauce?
Absolutely! Store-bought caramel sauce works great if you’re short on time. Just make sure it’s a high-quality brand for the best flavor.
How do I toast coconut?
Spread shredded coconut evenly on a baking sheet and toast it in the oven at 350°F for 5-7 minutes, stirring halfway through. Watch closely—it can burn quickly!
Yes, you can freeze Homemade Samoa Cookies for up to 3 months. Store them in a single layer in a freezer-safe bag, separating layers with wax paper.
What if my dough is too crumbly?
If the dough feels dry, add a teaspoon of milk or water to bring it together. Be careful not to overmix, as this can make the cookies tough.
Can I make these gluten-free?
Definitely! Swap the all-purpose flour with a gluten-free flour blend. The texture might vary slightly, but the flavor will still be amazing.
Do I have to use heavy cream?
No, you can substitute half-and-half or even full-fat coconut milk for a dairy-free option. Just ensure it blends smoothly with the caramel.
Stored in an airtight container, these cookies stay fresh for up to 5 days at room temperature or 2 weeks in the fridge.
Can I use pre-toasted coconut?
Yes, but toasting it yourself enhances the flavor. Pre-toasted coconut works in a pinch, though.
Why is my chocolate not drizzling smoothly?
Your chocolate might be too thick. Try adding a teaspoon of coconut oil or vegetable shortening to thin it out and make it easier to drizzle.
They sure are! Kids love the combination of caramel, chocolate, and coconut. Just be prepared for them to disappear fast.
Final Thoughts
Homemade Samoa Cookies are a labor of love, but trust me—they’re worth every minute. From the buttery shortbread base to the gooey caramel and crunchy coconut, these cookies are pure bliss. Whether you’re making them for a special occasion or just because, they’re guaranteed to bring smiles to everyone who tries them. So grab your apron, gather your ingredients, and let’s bake up some happiness!
Equipment
- Mixing bowls
- Hand mixer or stand mixer
- Baking sheets
- Parchment paper
- Saucepan
- Wire cooling rack
- Double boiler or microwave-safe bowl for melting chocolate
Ingredients
- 1 cup unsalted butter, softened
- 1 cup granulated sugar
- 2 cups all-purpose flour
- 1/4 teaspoon salt
- 1 teaspoon vanilla extract
- 1 1/2 cups shredded coconut, toasted
- 1 cup caramel sauce
- 1/2 cup heavy cream
- 1/2 teaspoon vanilla extract
- 1 1/2 cups semi-sweet chocolate chips
Instructions
- Preheat your oven to 350°F (175°C) and line two baking sheets with parchment paper.
- Cream together the softened butter and sugar until light and fluffy.
- Add vanilla extract, then gradually mix in the flour and salt until dough forms.
- Roll small portions into balls, flatten slightly, and place on baking sheets with space in between.
- Bake for 10-12 minutes until golden brown and let cool completely on a wire rack.
- In a saucepan over low heat, combine caramel sauce and heavy cream, stirring until smooth.
- Add vanilla extract and toasted coconut, mix until well-coated and let cool slightly.
- Spread caramel-coconut mixture over each cooled cookie.
- Melt chocolate chips and dip the bottoms of the cookies, then drizzle remaining chocolate over the tops.