

Introduction
Making a no-bake Oreo pie crust is one of the easiest ways to make your desserts stand out. No oven needed, just bold chocolate flavor. I tried it for a family get-together, and everyone raved about how rich and simple it was. Perfect for busy days or quick treats, this crust is a lifesaver.
History of No-Bake Oreo Pie Crust
No-bake desserts have been around forever, offering quick fixes for sweet cravings. The Oreo crust became popular as Oreos became a pantry staple. It’s a modern take on classic cookie crusts—easy and indulgent. Whether you’re new to baking or a pro, this recipe fits right in.
Why You’ll Love This Recipe
This crust is easy, tasty, and works with almost any filling. Its deep chocolate flavor pairs well with everything. Plus, it’s ready fast, making it great for quick desserts. The texture is firm but crumbly, perfect for pies and tarts.
Perfect Occasions to Prepare It
Bring this crust to potlucks, birthdays, or holiday parties. It’s ideal for summer since it doesn’t need baking. Use it for cheesecakes, pudding pies, or ice cream pies. The possibilities are endless.
Ingredients
- 1 package of Oreo cookies (about 30 cookies)
- 6 tablespoons unsalted butter, melted
Substitution Options
- Use gluten-free cookies if you need a gluten-free crust.
- Swap butter with coconut oil for a dairy-free option.
- Try other chocolate sandwich cookies if Oreos aren’t available.
Preparation
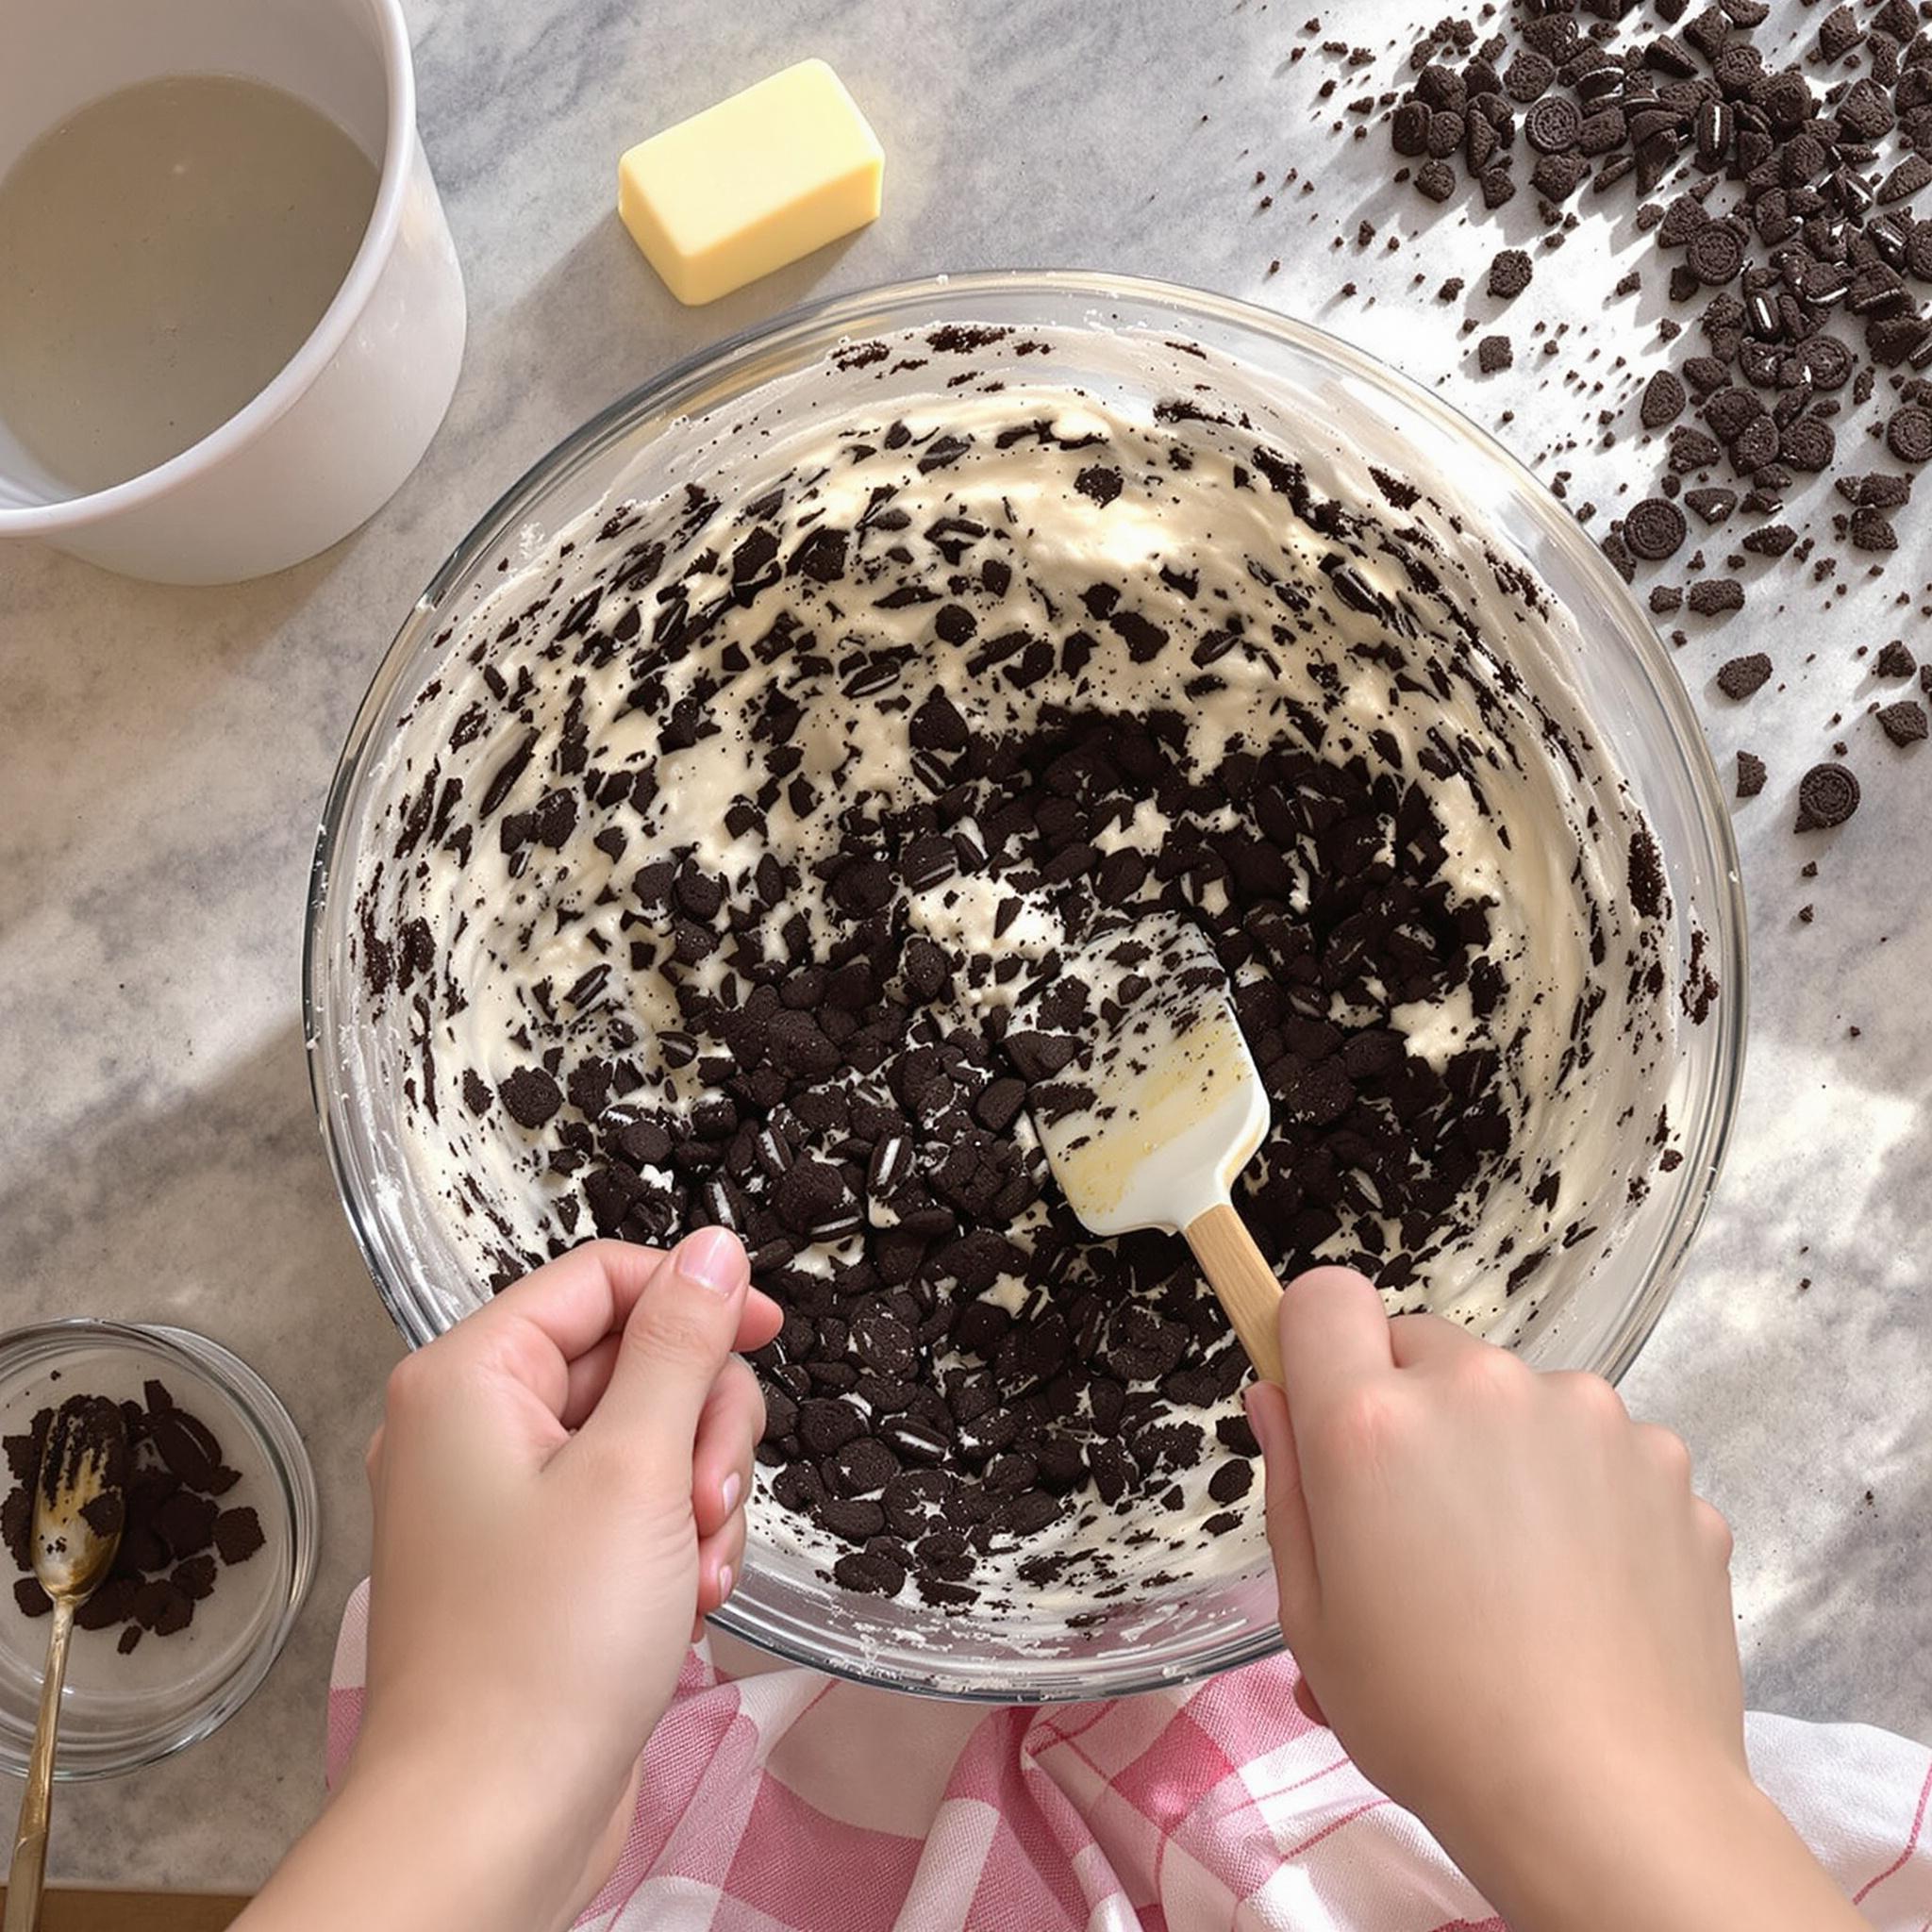
Step 1: Crush the Cookies
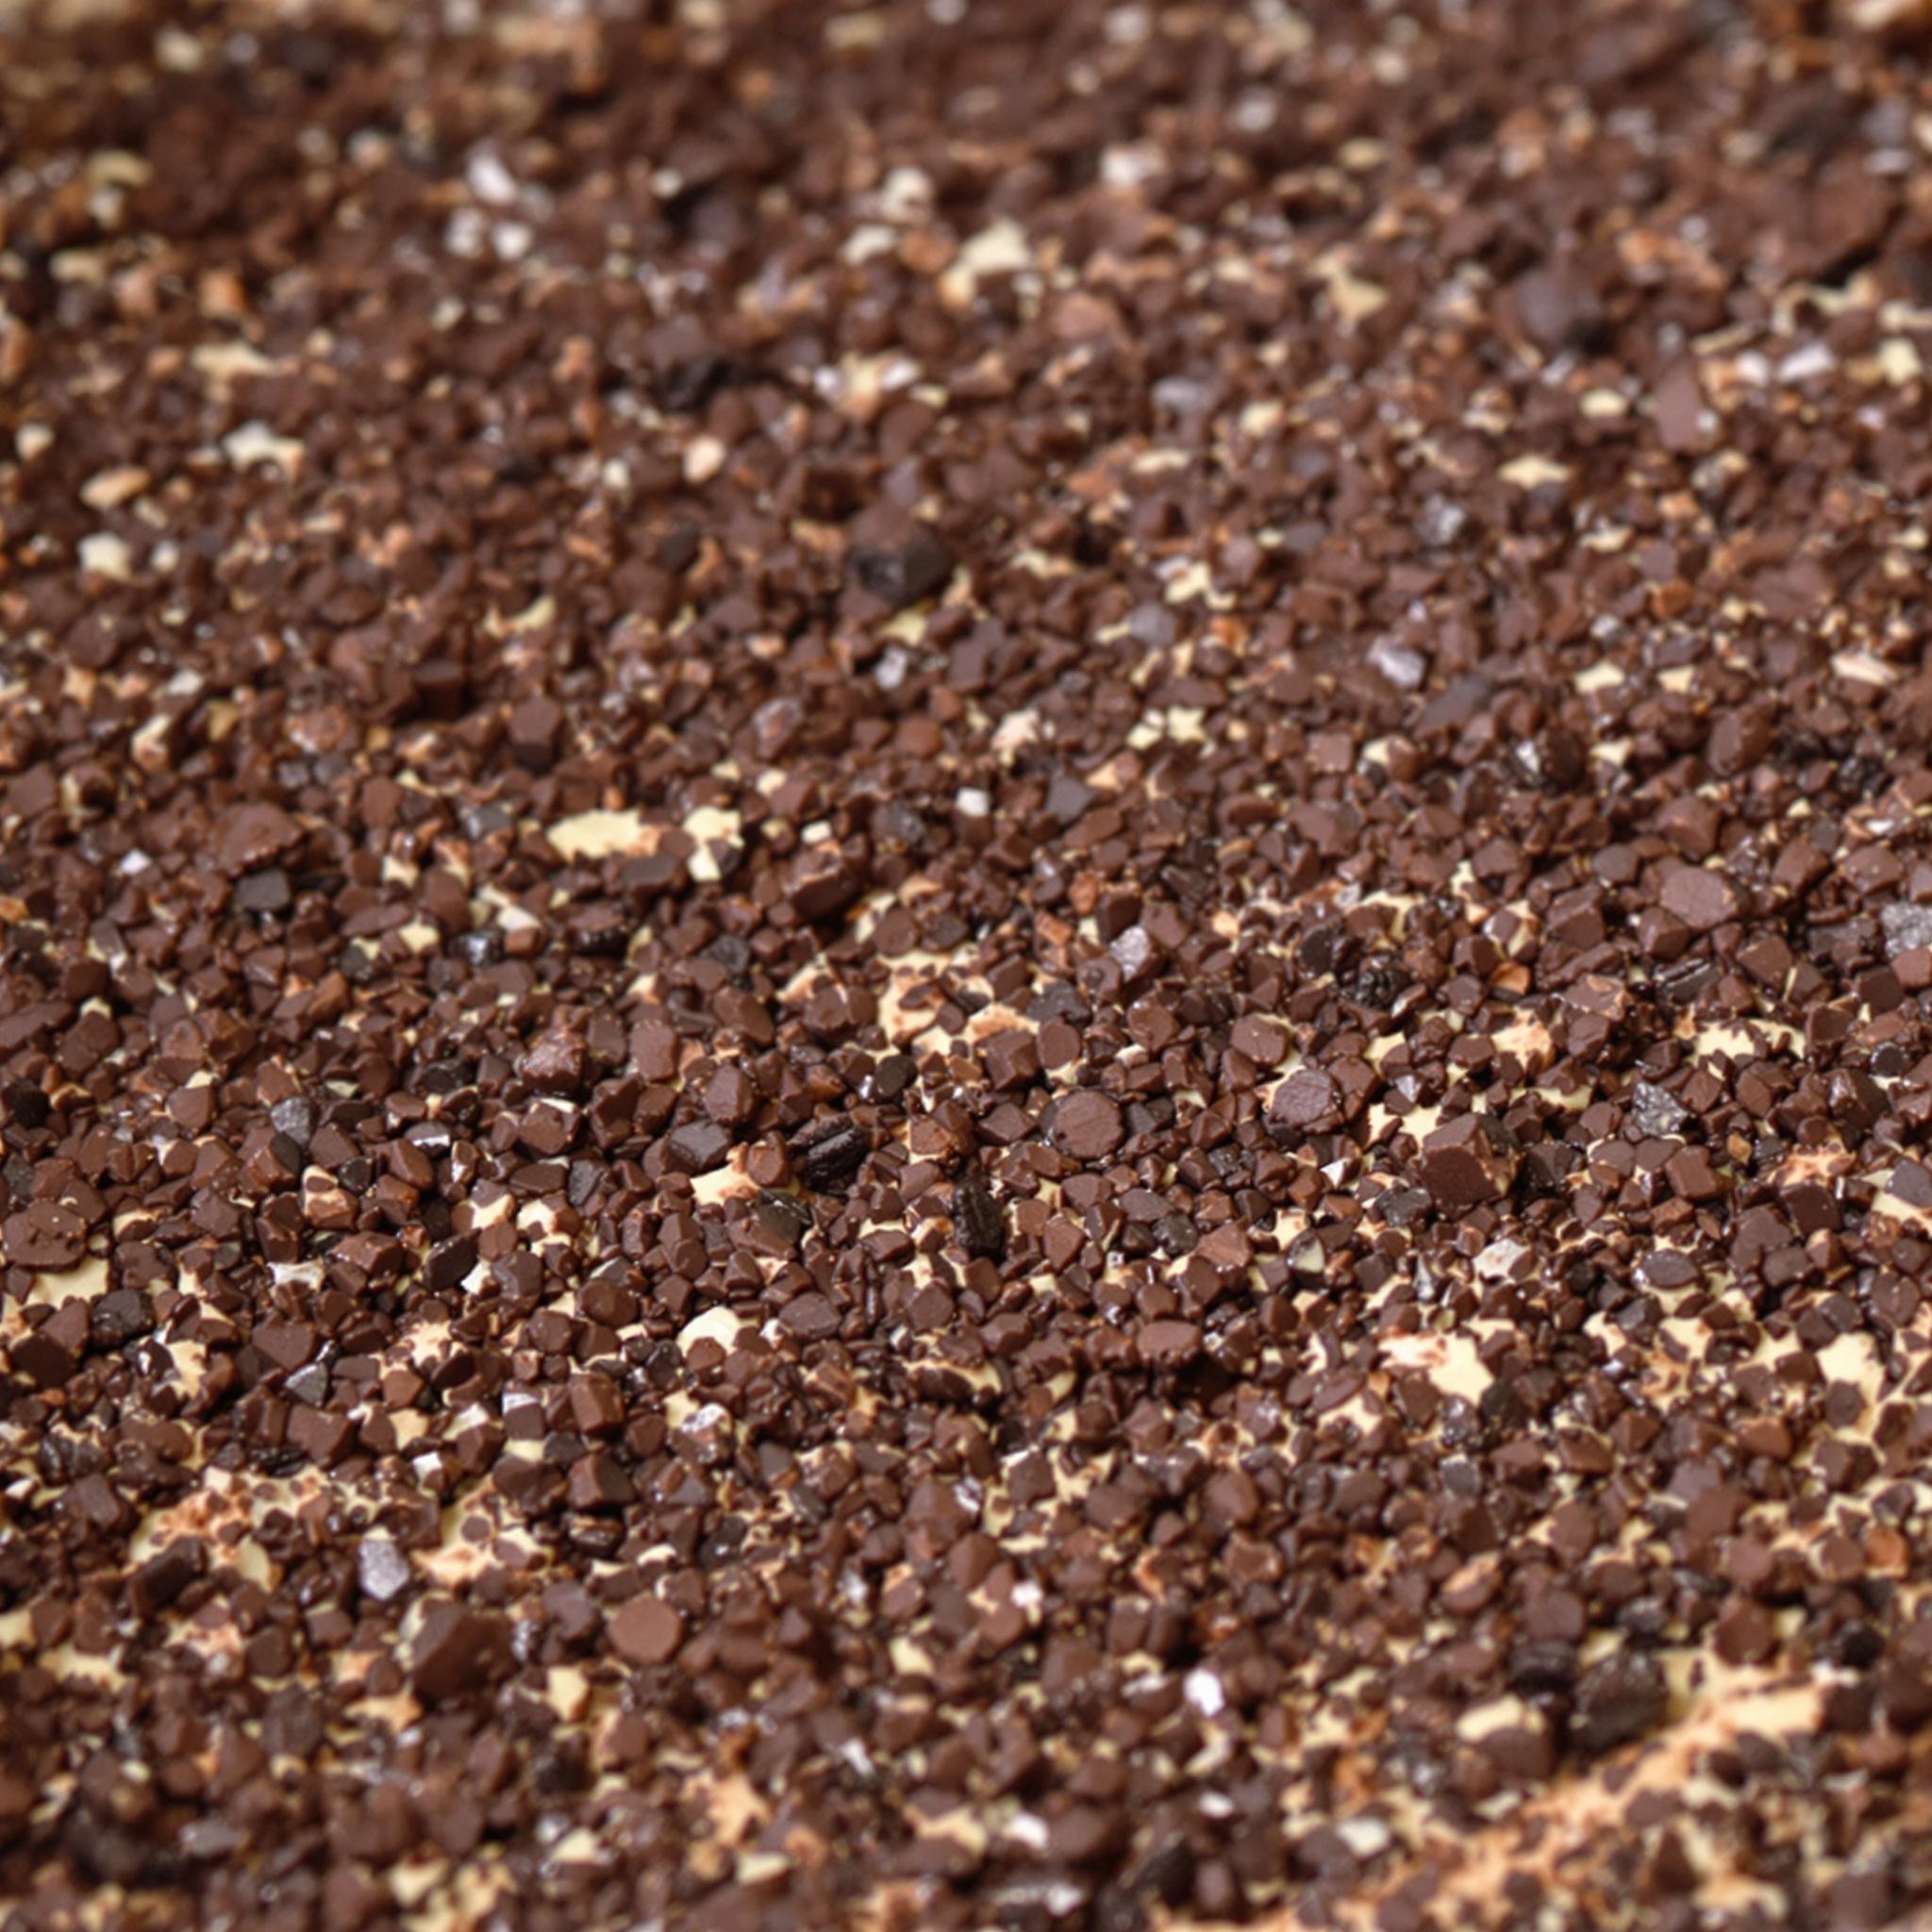
Put the Oreos in a food processor or zip-top bag. Crush them until they’re fine like sand. Big chunks can mess up the crust.
Step 2: Melt the Butter
Melt the butter in the microwave or on the stove. Heat it just until liquid, not hot. Pouring warm butter helps mix evenly. Use unsalted butter to keep sweetness balanced.
Step 3: Combine Ingredients
Mix the crumbs with melted butter in a bowl. Stir until fully coated. The mix should feel damp and hold together when pressed. This step keeps the crust firm.
Step 4: Form the Crust
Press the mix into a pie pan. Use your fingers or a spoon to spread it evenly. Press firmly for a solid base. Smooth the edges for a clean look.
Step 5: Chill the Crust
Refrigerate the crust for 30 minutes. Chilling firms it up so it holds its shape. Once set, it’s ready for filling.
Chef’s Tip
Add a pinch of salt to the crumbs. It boosts the chocolate flavor and balances the sweetness.
Time
- Prep Time: 10 minutes
- Chilling Time: 30 minutes
- Total Time: 40 minutes
Nutritional Information
One serving (1/8 of the crust) has:
- Calories: 150
- Fat: 9g
- Carbs: 16g
- Protein: 2g
Extra Information
Fun fact: Oreos have been around since 1912. Their design and taste make them a dessert favorite.
Necessary Tools
- Food processor or rolling pin
- Mixing bowl
- Pie pan
- Spoon or spatula
Storage Instructions
Store leftovers in an airtight container. Keep the pie in the fridge for up to 3 days. For longer storage, freeze it. Wrap the crust tightly in plastic wrap before freezing.
If frozen, thaw in the fridge overnight. Don’t leave it out too long, or the butter will soften.
Cover the pie to avoid fridge odors. This keeps the crust fresh and tasty.
Tips and Tricks
- Crush cookies finely for a smooth crust.
- Use a measuring cup to press crumbs evenly.
- Add cocoa powder for extra chocolate flavor.
Serving Suggestions
Pair this crust with whipped cream, chocolate mousse, or fruit fillings. Top with berries or sprinkles for a festive touch.
Healthier Alternatives for the Recipe
Here are six ways to make this recipe healthier:
1. Use whole-grain cookies for more fiber.
2. Swap butter with almond butter for a nutty twist.
3. Use reduced-sugar cookies to cut sugar.
4. Add chia seeds for extra nutrients.
5. Try avocado oil instead of butter for healthy fats.
6. Use dark chocolate cookies for less sugar.
Common Mistakes to Avoid
Mistake 1: Not Crushing Cookies Fine Enough
Big crumbs make the crust crumbly and hard to slice. Crush them into fine sand. A food processor helps.
Mistake 2: Skipping the Chilling Step
Skipping chilling makes the crust fall apart. Always chill for 30 minutes. This step is key.
Mistake 3: Using Salted Butter
Salted butter can overpower the chocolate. Stick to unsalted butter. Add salt separately if needed.
Frequently Asked Questions
Yes, store-bought crumbs save time. Just make sure they’re similar to Oreos in flavor and texture.
What fillings work best with this crust?
Cheesecake, pudding, and custard fillings are great. Try peanut butter or caramel flavors too.
Can I make this crust ahead of time?
Absolutely! Make it a day early and store it in the fridge. It stays fresh and ready to go.
How do I prevent the crust from sticking to the pan?
Lightly grease the pan before adding the crumbs. This makes removal easy after chilling.
Is this crust gluten-free?
Not unless you use gluten-free cookies. Check labels carefully when buying substitutes.
Can I freeze the crust?
Yes, wrap it tightly in plastic wrap and freeze for up to 2 months. Thaw in the fridge before using.
What if I don’t have a pie pan?
Use a springform pan or a rectangular dish. Adjust pressing as needed.
How do I know when the crust is set?
The crust should feel firm after chilling. If it’s still soft, chill it longer.
Can I add mix-ins to the crust?
Sure! Try mini chocolate chips or crushed nuts for extra texture. Mix them in before pressing.
Why does my crust taste bland?
Make sure you’re using unsweetened butter. Adding a pinch of salt can boost the flavor.
Conclusion
This no-bake Oreo pie crust is quick, delicious, and versatile. With simple ingredients and steps, it’s great for beginners and pros alike. Give it a shot and enjoy the rich chocolate flavor.
Equipment
- Food Processor
- Mixing Bowl
- Pie Pan
- Spatula
- Spoon
Ingredients
- 1 package Oreo Cookies (about 30 Cookies)
- 6 tablespoons Unsalted Butter (melted)
Instructions
- Crush the Oreo cookies in a food processor or zip-top bag until fine crumbs form.
- Melt the butter in the microwave until just liquid, then combine with cookie crumbs.
- Mix the crushed cookies with melted butter until fully coated.
- Press the mixture into a pie pan to form a solid crust.
- Refrigerate for at least 30 minutes to firm up.