Japanese Mochi: A Sweet Treat Worth Trying
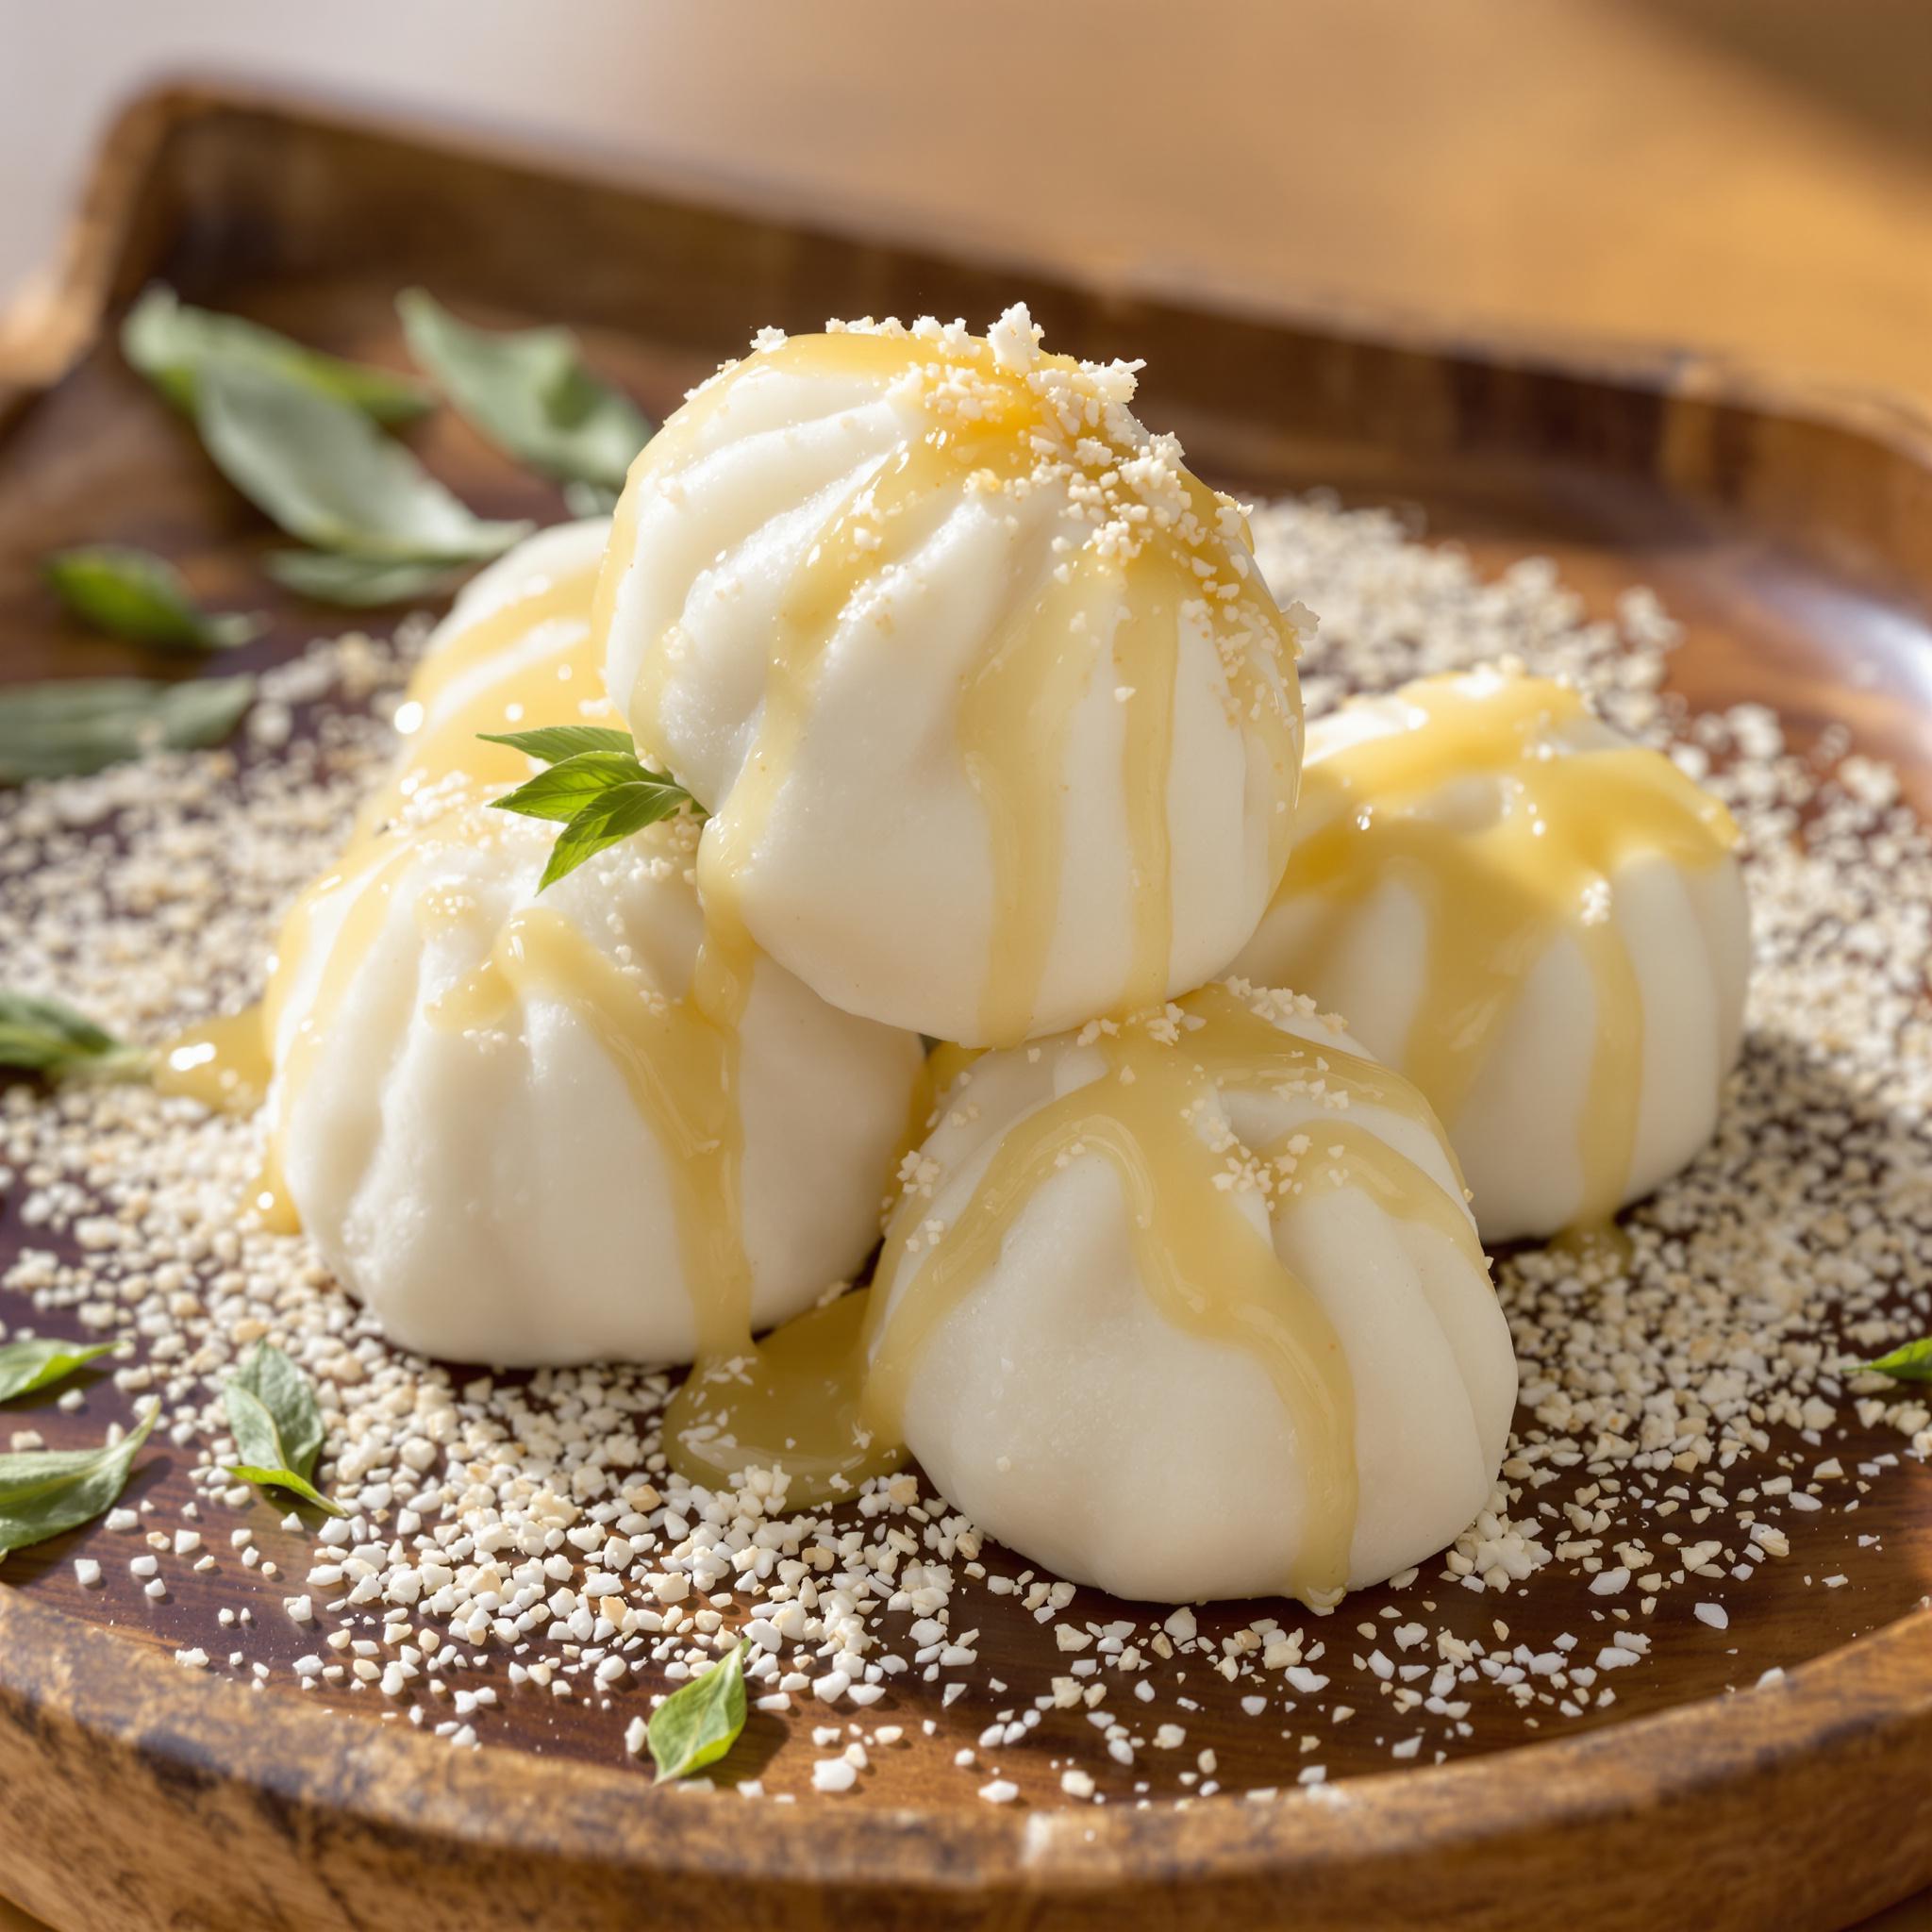
Japanese mochi is this chewy, sweet rice snack that feels amazing in your mouth. It’s super simple to make, even if you’re new to cooking. I first gave it a shot during a family get-together. Everyone loved it so much, it became my go-to dessert for special events.
The Story Behind Japanese Mochi
Mochi has been a big part of Japanese culture for ages. People traditionally make it for New Year celebrations because it stands for good luck and prosperity. These days, you’ll find flavors like matcha and strawberry. I love how versatile it is. You can eat it plain or fill it with something like red bean paste.
Why You’ll Love This Japanese Mochi Recipe
This recipe is easy and uses basic ingredients. The soft, stretchy texture is fun to work with. Plus, shaping it into little cakes is kind of addictive. Whether you’re a beginner or a pro in the kitchen, this dish will impress.
Perfect Occasions for Japanese Mochi
Make mochi for holidays, tea parties, or as a gift. It’s also great for birthdays or just hanging out with friends. These bite-sized treats always bring smiles. Serve them after dinner for a sweet ending.
Ingredients You’ll Need
- Sweet rice flour
- Water
- Sugar
- Cornstarch
- Food coloring (optional)
Substitution Options
- Use tapioca starch instead of cornstarch for dusting.
- Swap sugar with honey or maple syrup if you want a different sweetness.
- Skip food coloring if you prefer plain white mochi.
Step 1: Mix the Dry Ingredients
In a bowl, mix sweet rice flour and sugar. Stir until it’s all combined. It should look light and powdery. This step sets the base for your mochi. Pro tip: Sift the flour to avoid lumps.
Step 2: Add Water Gradually
Pour water slowly while stirring. Keep mixing until smooth. The batter should be thick but pourable, like pancake batter. Be patient—lumps take time to dissolve.
Step 3: Microwave the Mixture
Pour the mix into a microwave-safe dish. Cover it with plastic wrap to avoid splatters. Heat for 1-2 minutes, stirring halfway. Watch it turn glossy and thick. Your kitchen will smell like cooked rice.
Step 4: Shape the Mochi
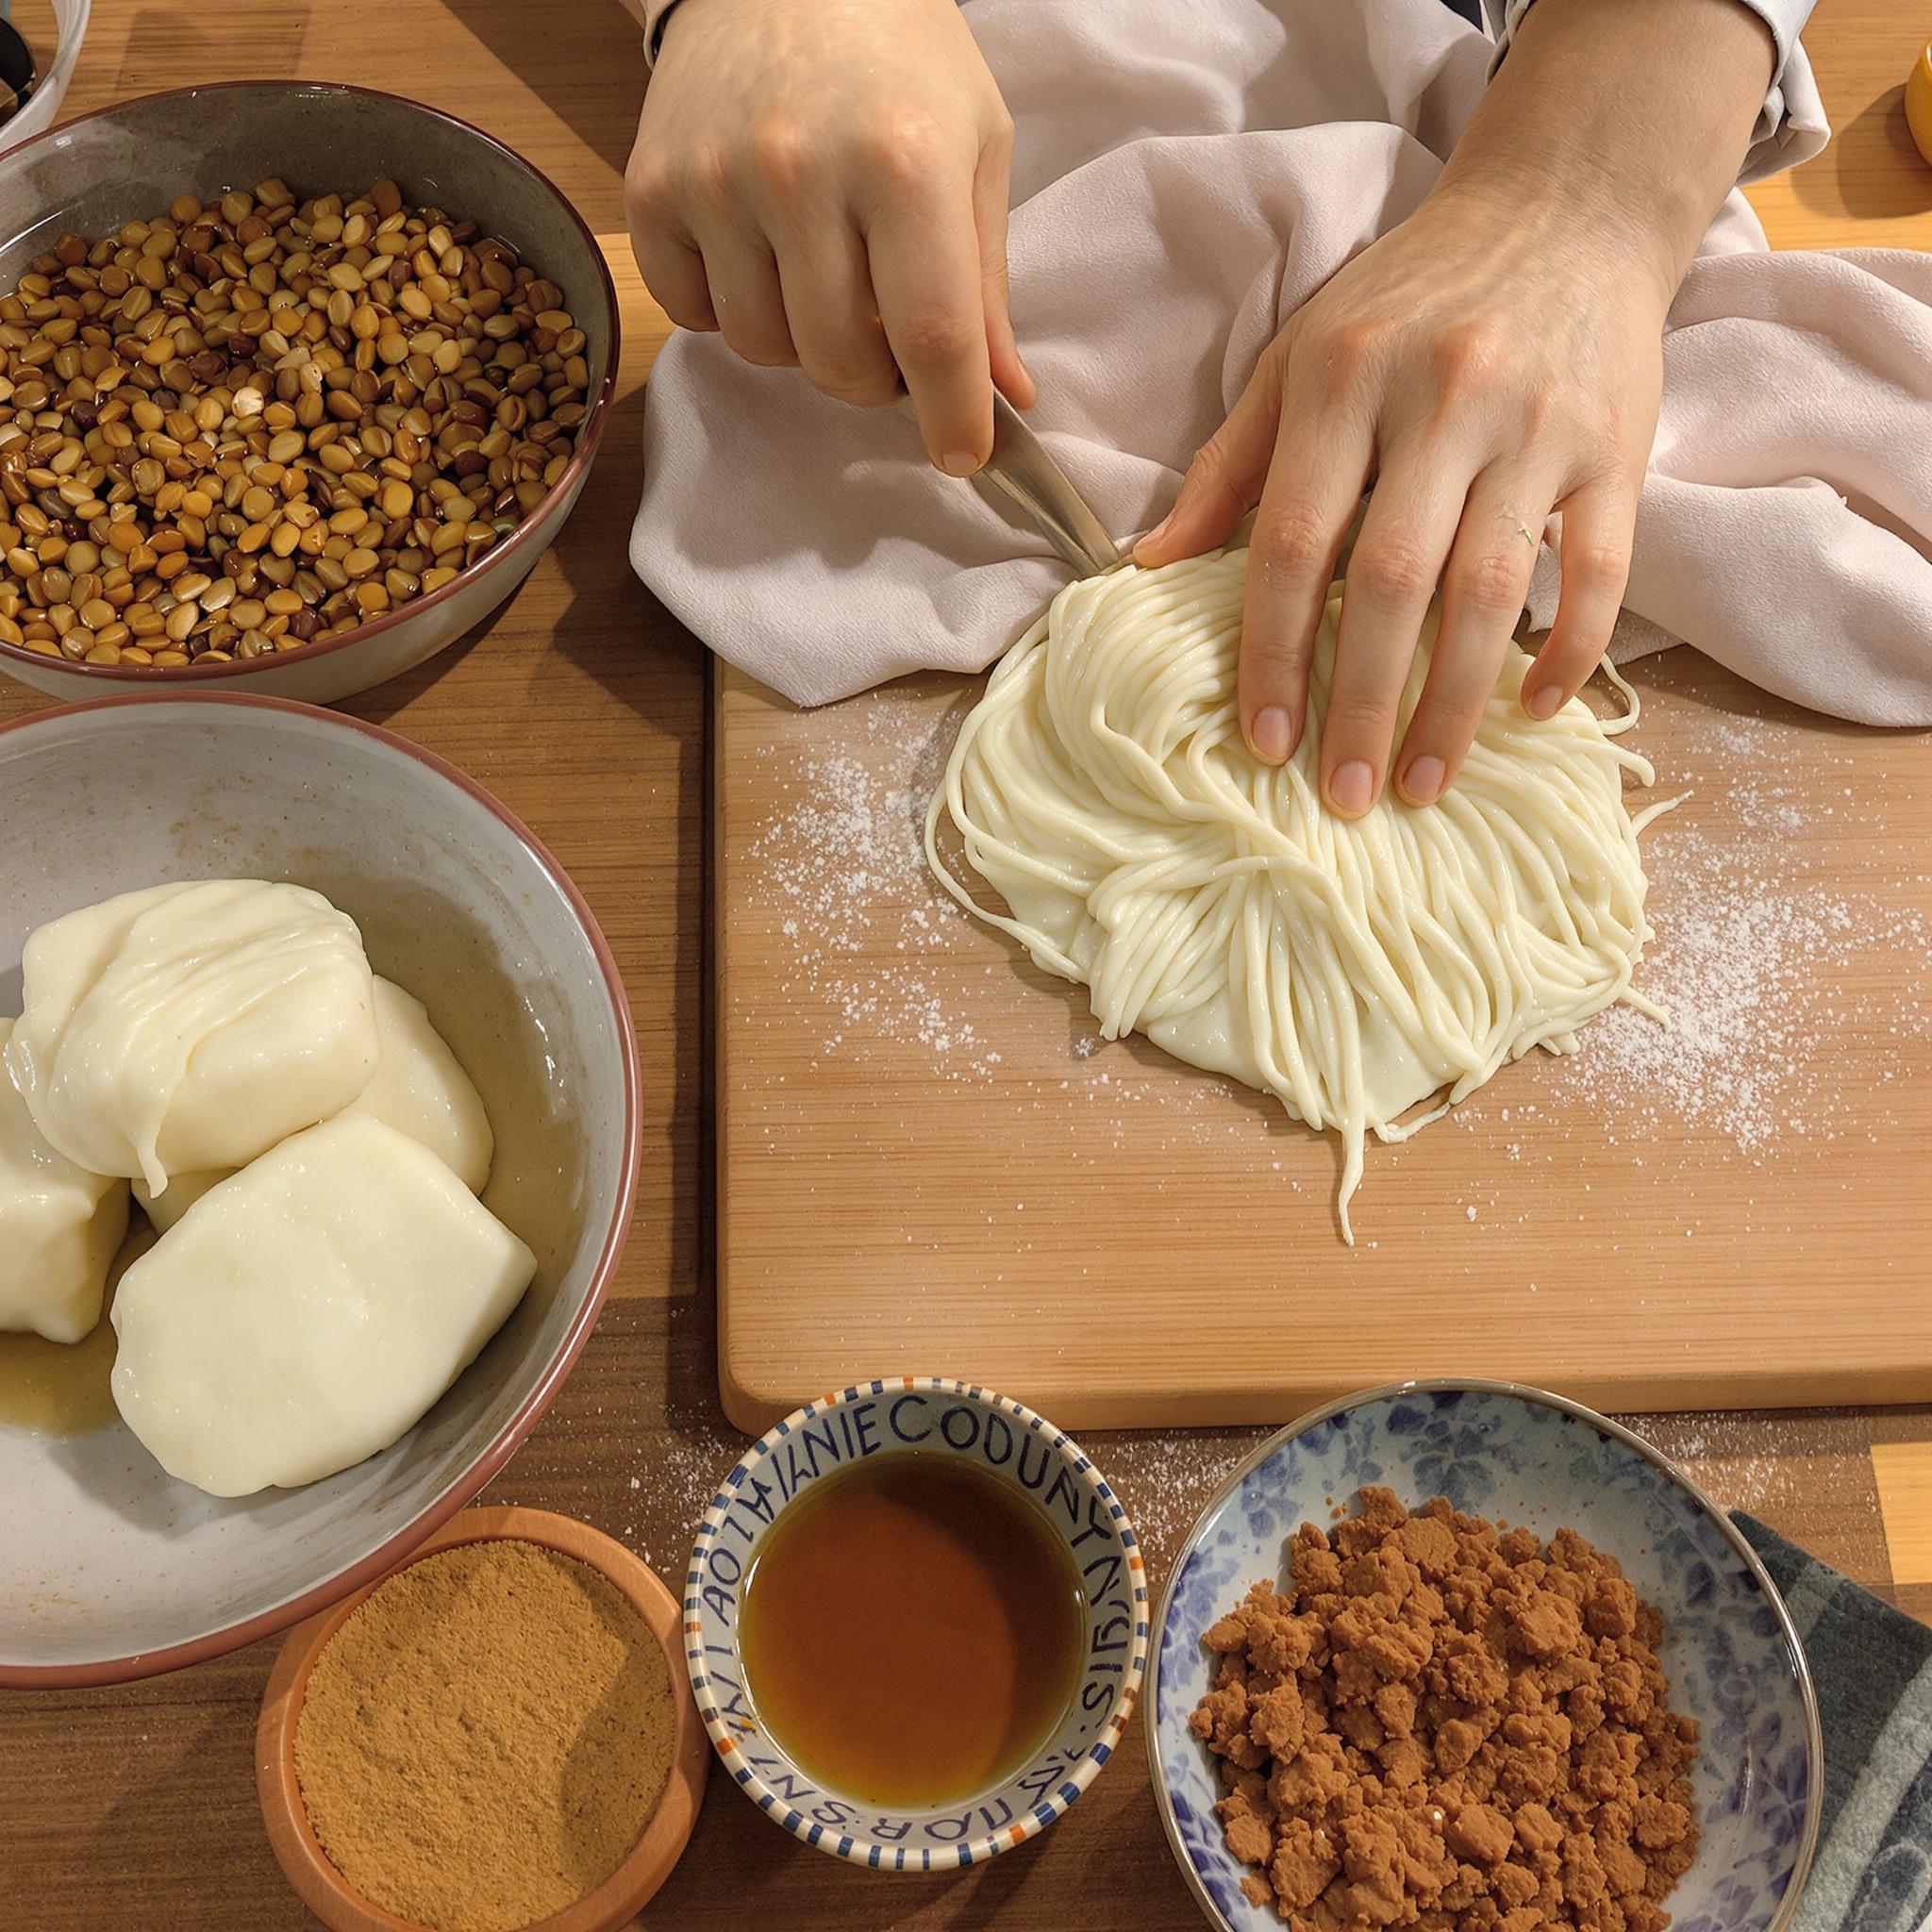
Dust a clean surface with cornstarch. Transfer the dough and knead gently. Shape it into small, round cakes. The texture should feel soft and slightly sticky. Work fast before it cools too much.
Chef’s Tip for Perfect Mochi
Add a drop of vanilla extract to the batter for extra flavor. It goes really well with the sweetness of mochi. Trust me, it makes a huge difference.
Time Breakdown
- Prep Time: 10 minutes
- Cooking Time: 5 minutes
- Total Time: 15 minutes
Nutritional Information
Per serving (1 piece): Calories – 80, Protein – 1g, Fat – 0g, Carbs – 19g.
Fun Fact About Japanese Mochi
In Japan, families still celebrate “mochitsuki,” a tradition where they pound steamed rice into mochi with wooden mallets. It’s a joyful event full of teamwork.
Necessary Tools
- Mixing bowl
- Whisk or spoon
- Microwave-safe dish
- Plastic wrap
- Kitchen knife or cookie cutter
Storage Instructions
Keep mochi in an airtight container at room temperature for up to 2 days. Don’t refrigerate it—it dries out. If stored too long, it might harden. For longer storage, freeze it in a single layer.
To thaw frozen mochi, leave it out for 30 minutes. Reheat briefly in the microwave to soften it. Proper storage keeps it fresh and tasty.
Tips and Tricks
- Wear gloves when shaping mochi to stop it from sticking.
- Try natural colorings like matcha or beet juice.
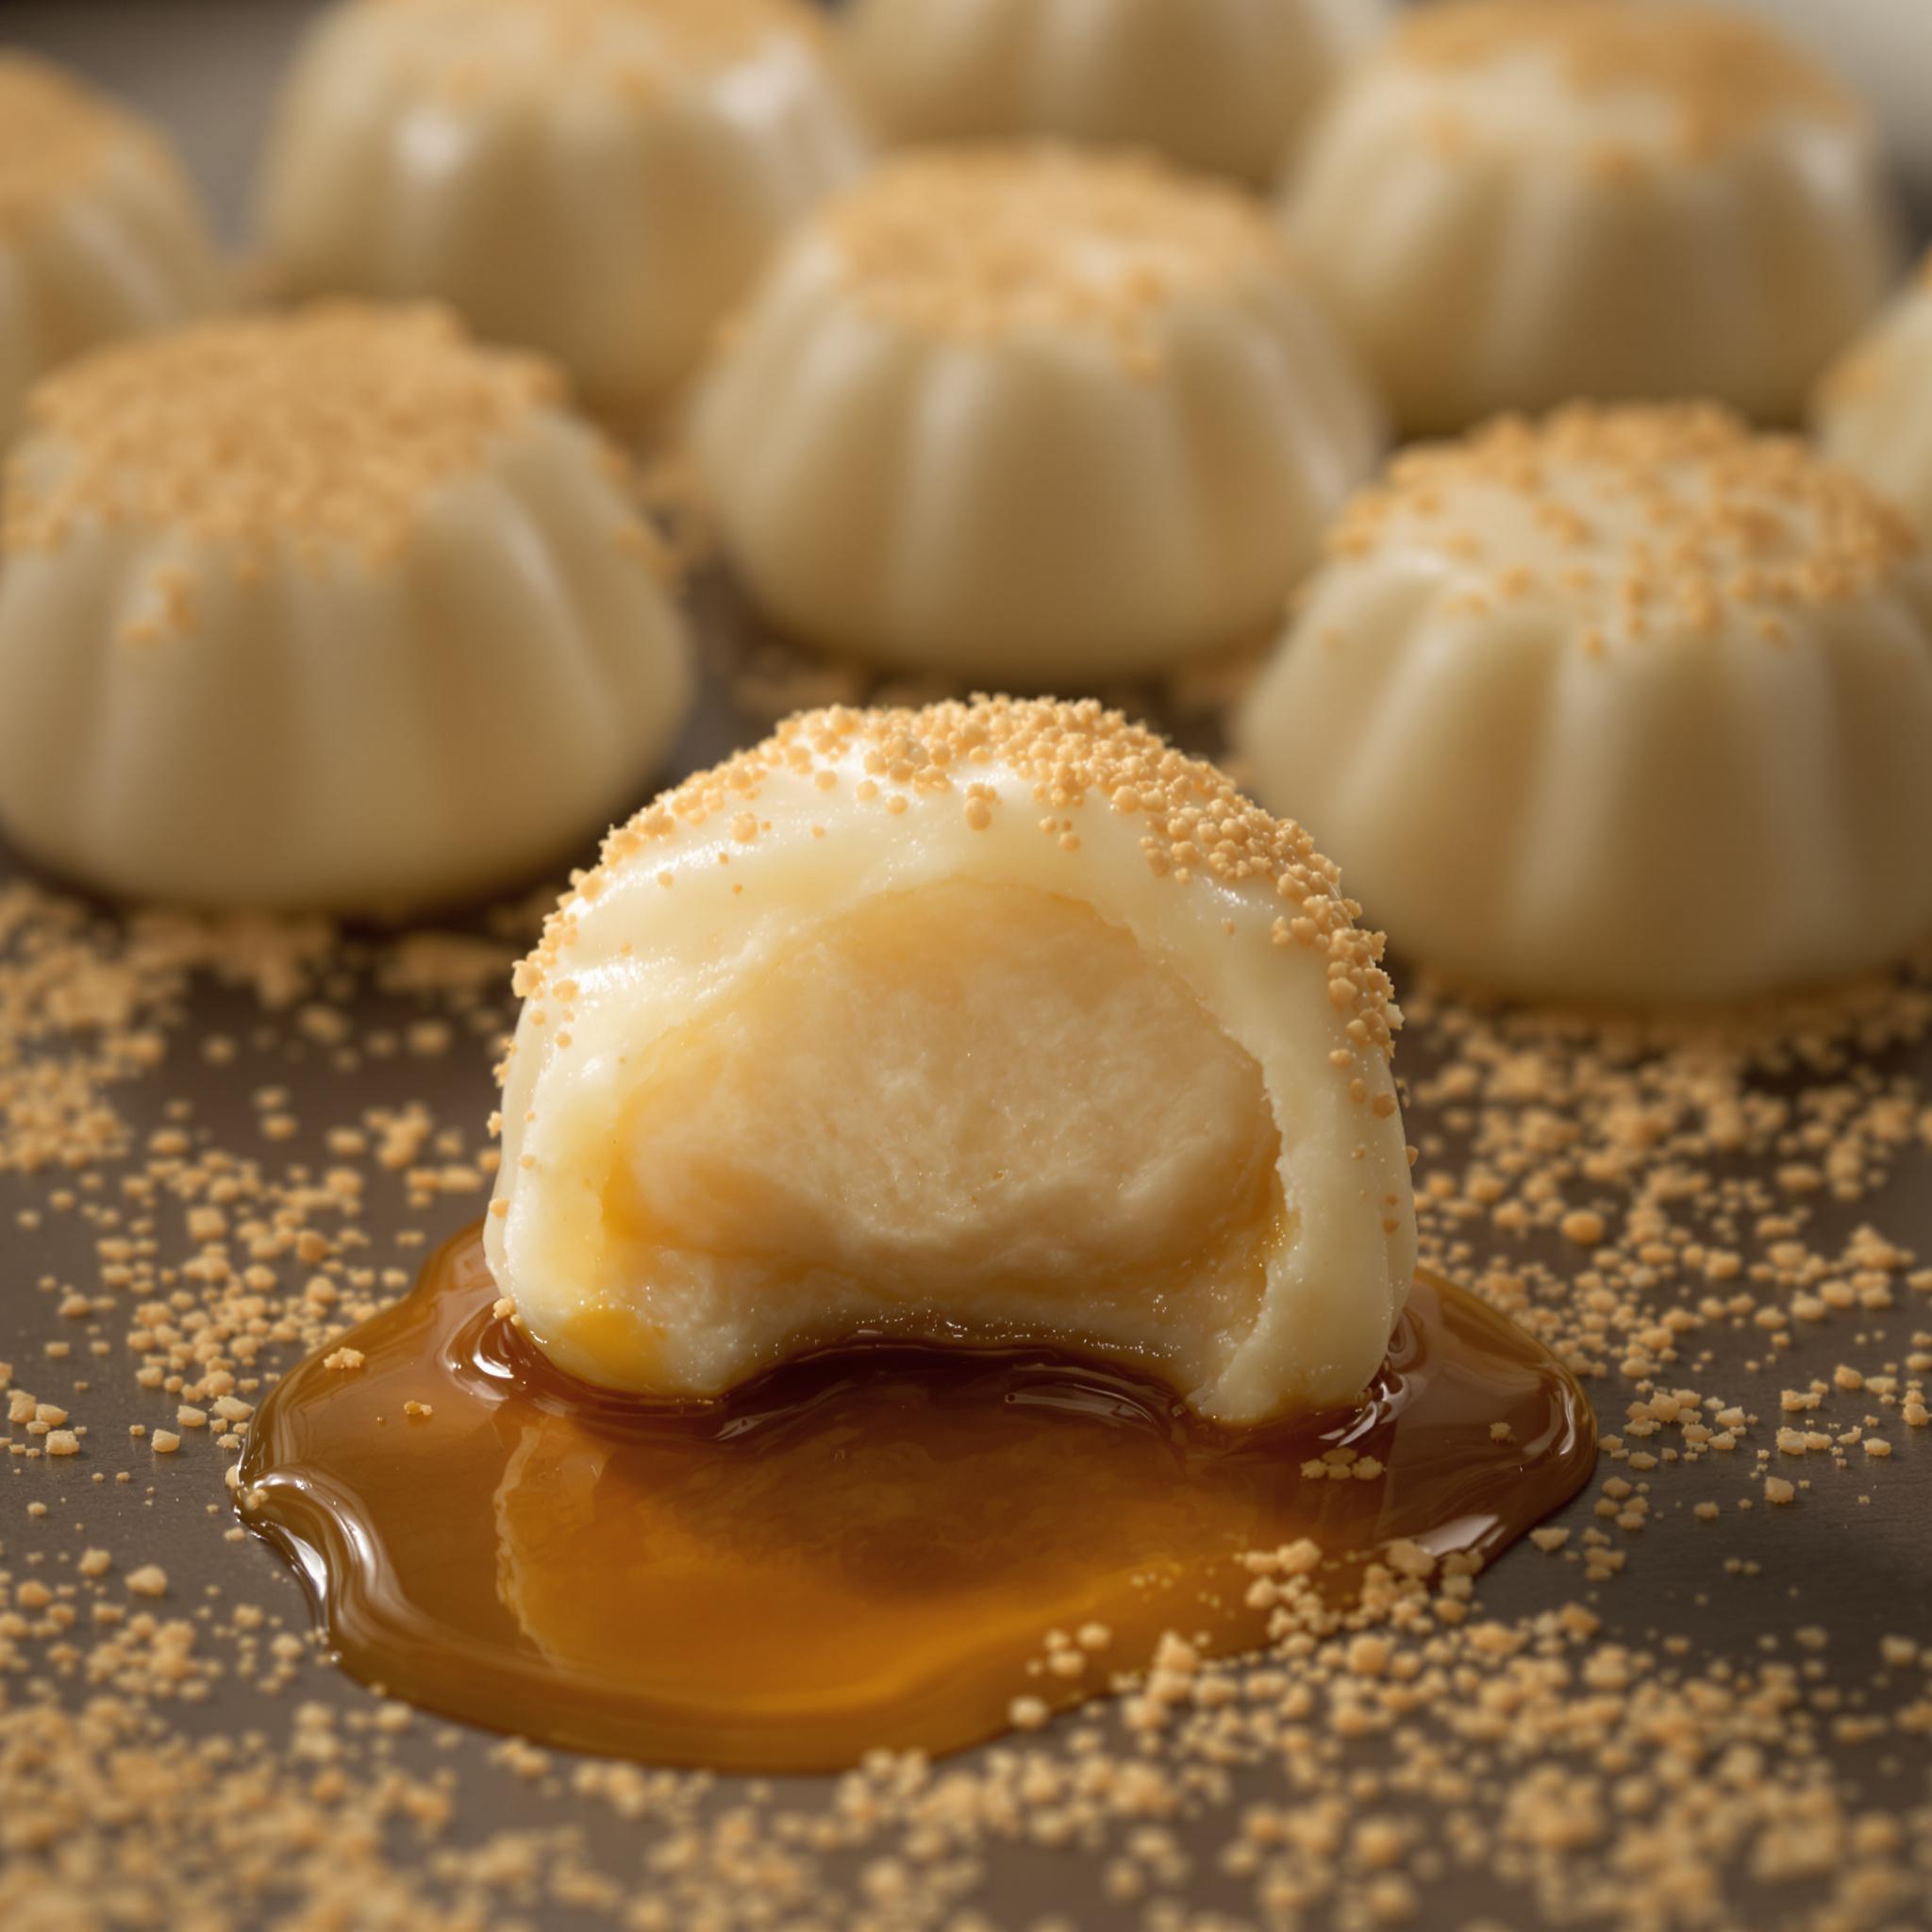
- Roll mochi in kinako (roasted soybean powder) for extra flavor.
Serving Suggestions
- Serve with green tea for a classic pairing.
- Stuff with ice cream for a modern twist.
Healthier Alternatives
Here are six ways to make mochi healthier:
- Less Sugar: Cut the sugar in half without losing sweetness.
- Gluten-Free Flour: Use gluten-free sweet rice flour if needed.
- Fruit Fillings: Add mashed fruit inside for natural sweetness.
- Coconut Milk: Replace water with coconut milk for richness.
- Chia Seeds: Dust with chia seeds for added nutrition.
- Herbal Tea Pairing: Serve with herbal tea instead of sugary drinks.
Mistake 1: Overcooking the Mochi
Overcooking makes mochi tough and rubbery. Stick to the recommended microwave time. Check often to avoid overheating. Pro tip: Stirring halfway helps cook evenly.
Mistake 2: Skipping Cornstarch
Without cornstarch, mochi sticks to everything. Dust generously before handling. This saves you from frustration and wasted dough. Keep a small bowl nearby for quick fixes.
Mistake 3: Adding Too Much Water
Too much water makes the batter runny. Measure carefully and add gradually. Thick batter ensures the right texture. Patience is key here.
Frequently Asked Questions
Can I use regular rice flour?
No, regular rice flour won’t give the same chewy texture. Sweet rice flour is a must for authentic mochi. Look for it in Asian grocery stores.
How do I color mochi naturally?
Try matcha powder for green or beet juice for pink. Natural colors enhance both taste and appearance. They’re healthier than artificial options.
What can I stuff inside mochi?
Popular fillings include red bean paste, chocolate, or fruit jams. Experiment with flavors you enjoy. Stuffed mochi adds variety.
Is mochi gluten-free?
Yes, mochi made with sweet rice flour is naturally gluten-free. Always check labels if buying pre-made versions. Gluten-free diets benefit from this treat.
Can I bake mochi instead of microwaving?
No, baking won’t give you the same results. Microwaving is key to achieving the right texture. Stick to the method outlined above.
Why does mochi get hard?
Mochi hardens when exposed to air. Store it properly in an airtight container. Proper storage keeps it soft.
Can I freeze mochi?
Yes, mochi freezes well. Place pieces in a single layer on a tray before transferring to a bag. Freeze for up to one month.
What tools do I need?
A mixing bowl, whisk, and microwave-safe dish are essential. Simple tools make preparation easier. No fancy gadgets required.
How do I serve mochi?
Serve plain or stuffed with fillings. Pair with tea or coffee for balance. Presentation matters—arrange neatly on a plate.
Where can I find sweet rice flour?
Sweet rice flour is available at Asian markets or online. Look for brands labeled “mochiko.” Quality flour ensures success.
Conclusion
Japanese mochi is a delightful treat that’s easy to make and fun to share. With its chewy texture and endless variations, it’s no wonder this recipe has stood the test of time. Give it a try today and experience the magic yourself!

Equipment
- Mixing bowl
- Whisk or spoon
- Microwave-safe dish
- Plastic wrap
Ingredients
- 1 cup Sweet rice flour
- 1/4 cup Sugar
- 1 cup Water
- cornstarch for dusting
- optional Food coloring
Instructions
- In a mixing bowl, combine sweet rice flour and sugar. Stir until evenly mixed.
- Pour water slowly into the dry mix while stirring to form a smooth batter.
- Microwave the mixture until glossy, about 1-2 minutes. Stir halfway through.
- Dust a clean surface with cornstarch and shape the warm dough into small cakes.


