
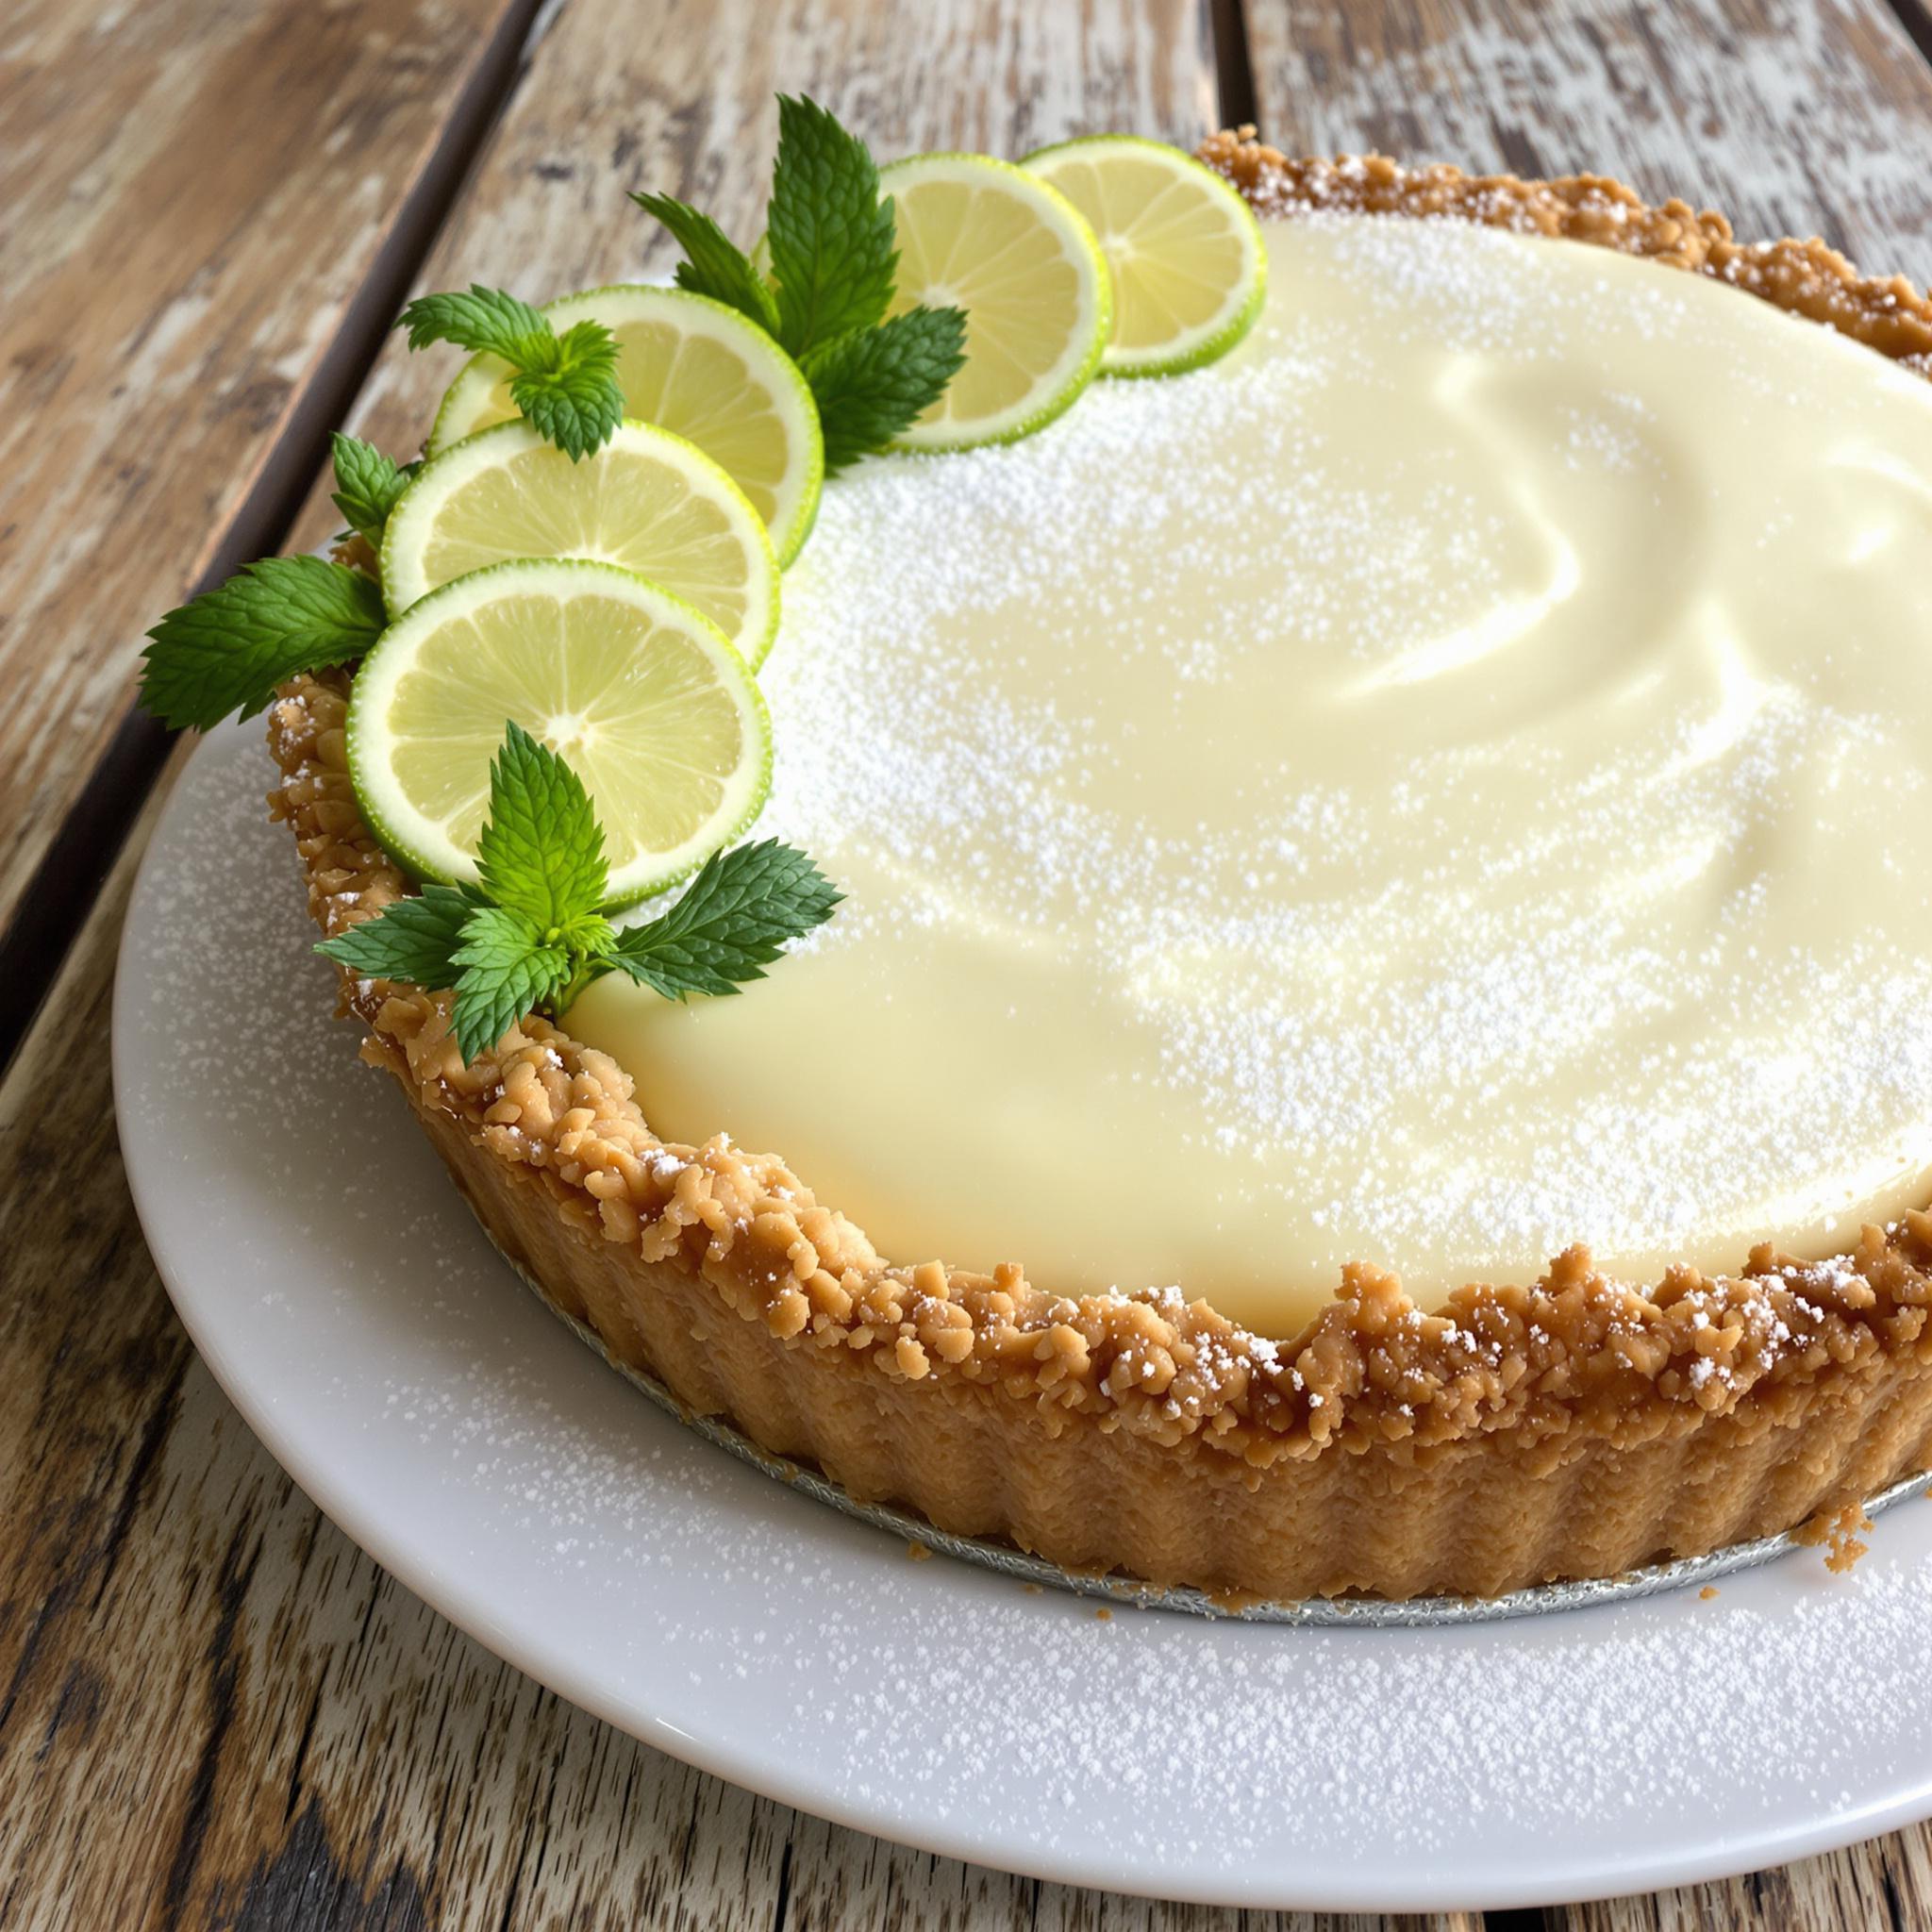
Irresistible Key Lime Pie: A Tangy Tropical Treat!
Key Lime Pie is a dessert that always wows. It’s tangy, creamy, and unforgettable. I made it once for a family get-together, and it disappeared fast. Everyone loved how refreshing it was. Whether you’re new to baking or a pro, this recipe works for anyone.
The Sweet History of Key Lime Pie
This pie started in Florida’s Keys. Settlers used what they had—key limes and sweetened condensed milk. Back then, no one had fridges, so chilling wasn’t needed. Nowadays, we chill it to make it creamier. Simple but amazing.
Why You’ll Love This Recipe
It’s easy to make but full of flavor. The lime pairs perfectly with the creamy filling and buttery crust. People go nuts for it, and prep takes minutes. Great for any event.
Perfect Times to Make Key Lime Pie
Bring it to summer barbecues, holiday meals, or casual hangouts. It’s perfect for potlucks since it travels well. Take it to picnics or enjoy it on a lazy weekend. Its tropical flair fits sunny days.
Ingredients for Key Lime Pie
- 1 cup key lime juice
- 1 can sweetened condensed milk
- 4 egg yolks
- 1 pre-made graham cracker crust
- Whipped cream for topping
Substitution Options
- Use regular limes if key limes aren’t around.
- Swap the graham crust for shortbread.
- Try meringue instead of whipped cream.
Step 1: Preheat Your Oven
Heat your oven to 350°F (175°C). Grab your ingredients while it heats up. Fresh key limes taste best, but bottled juice works too. Tip: Save some lime zest for garnish later.
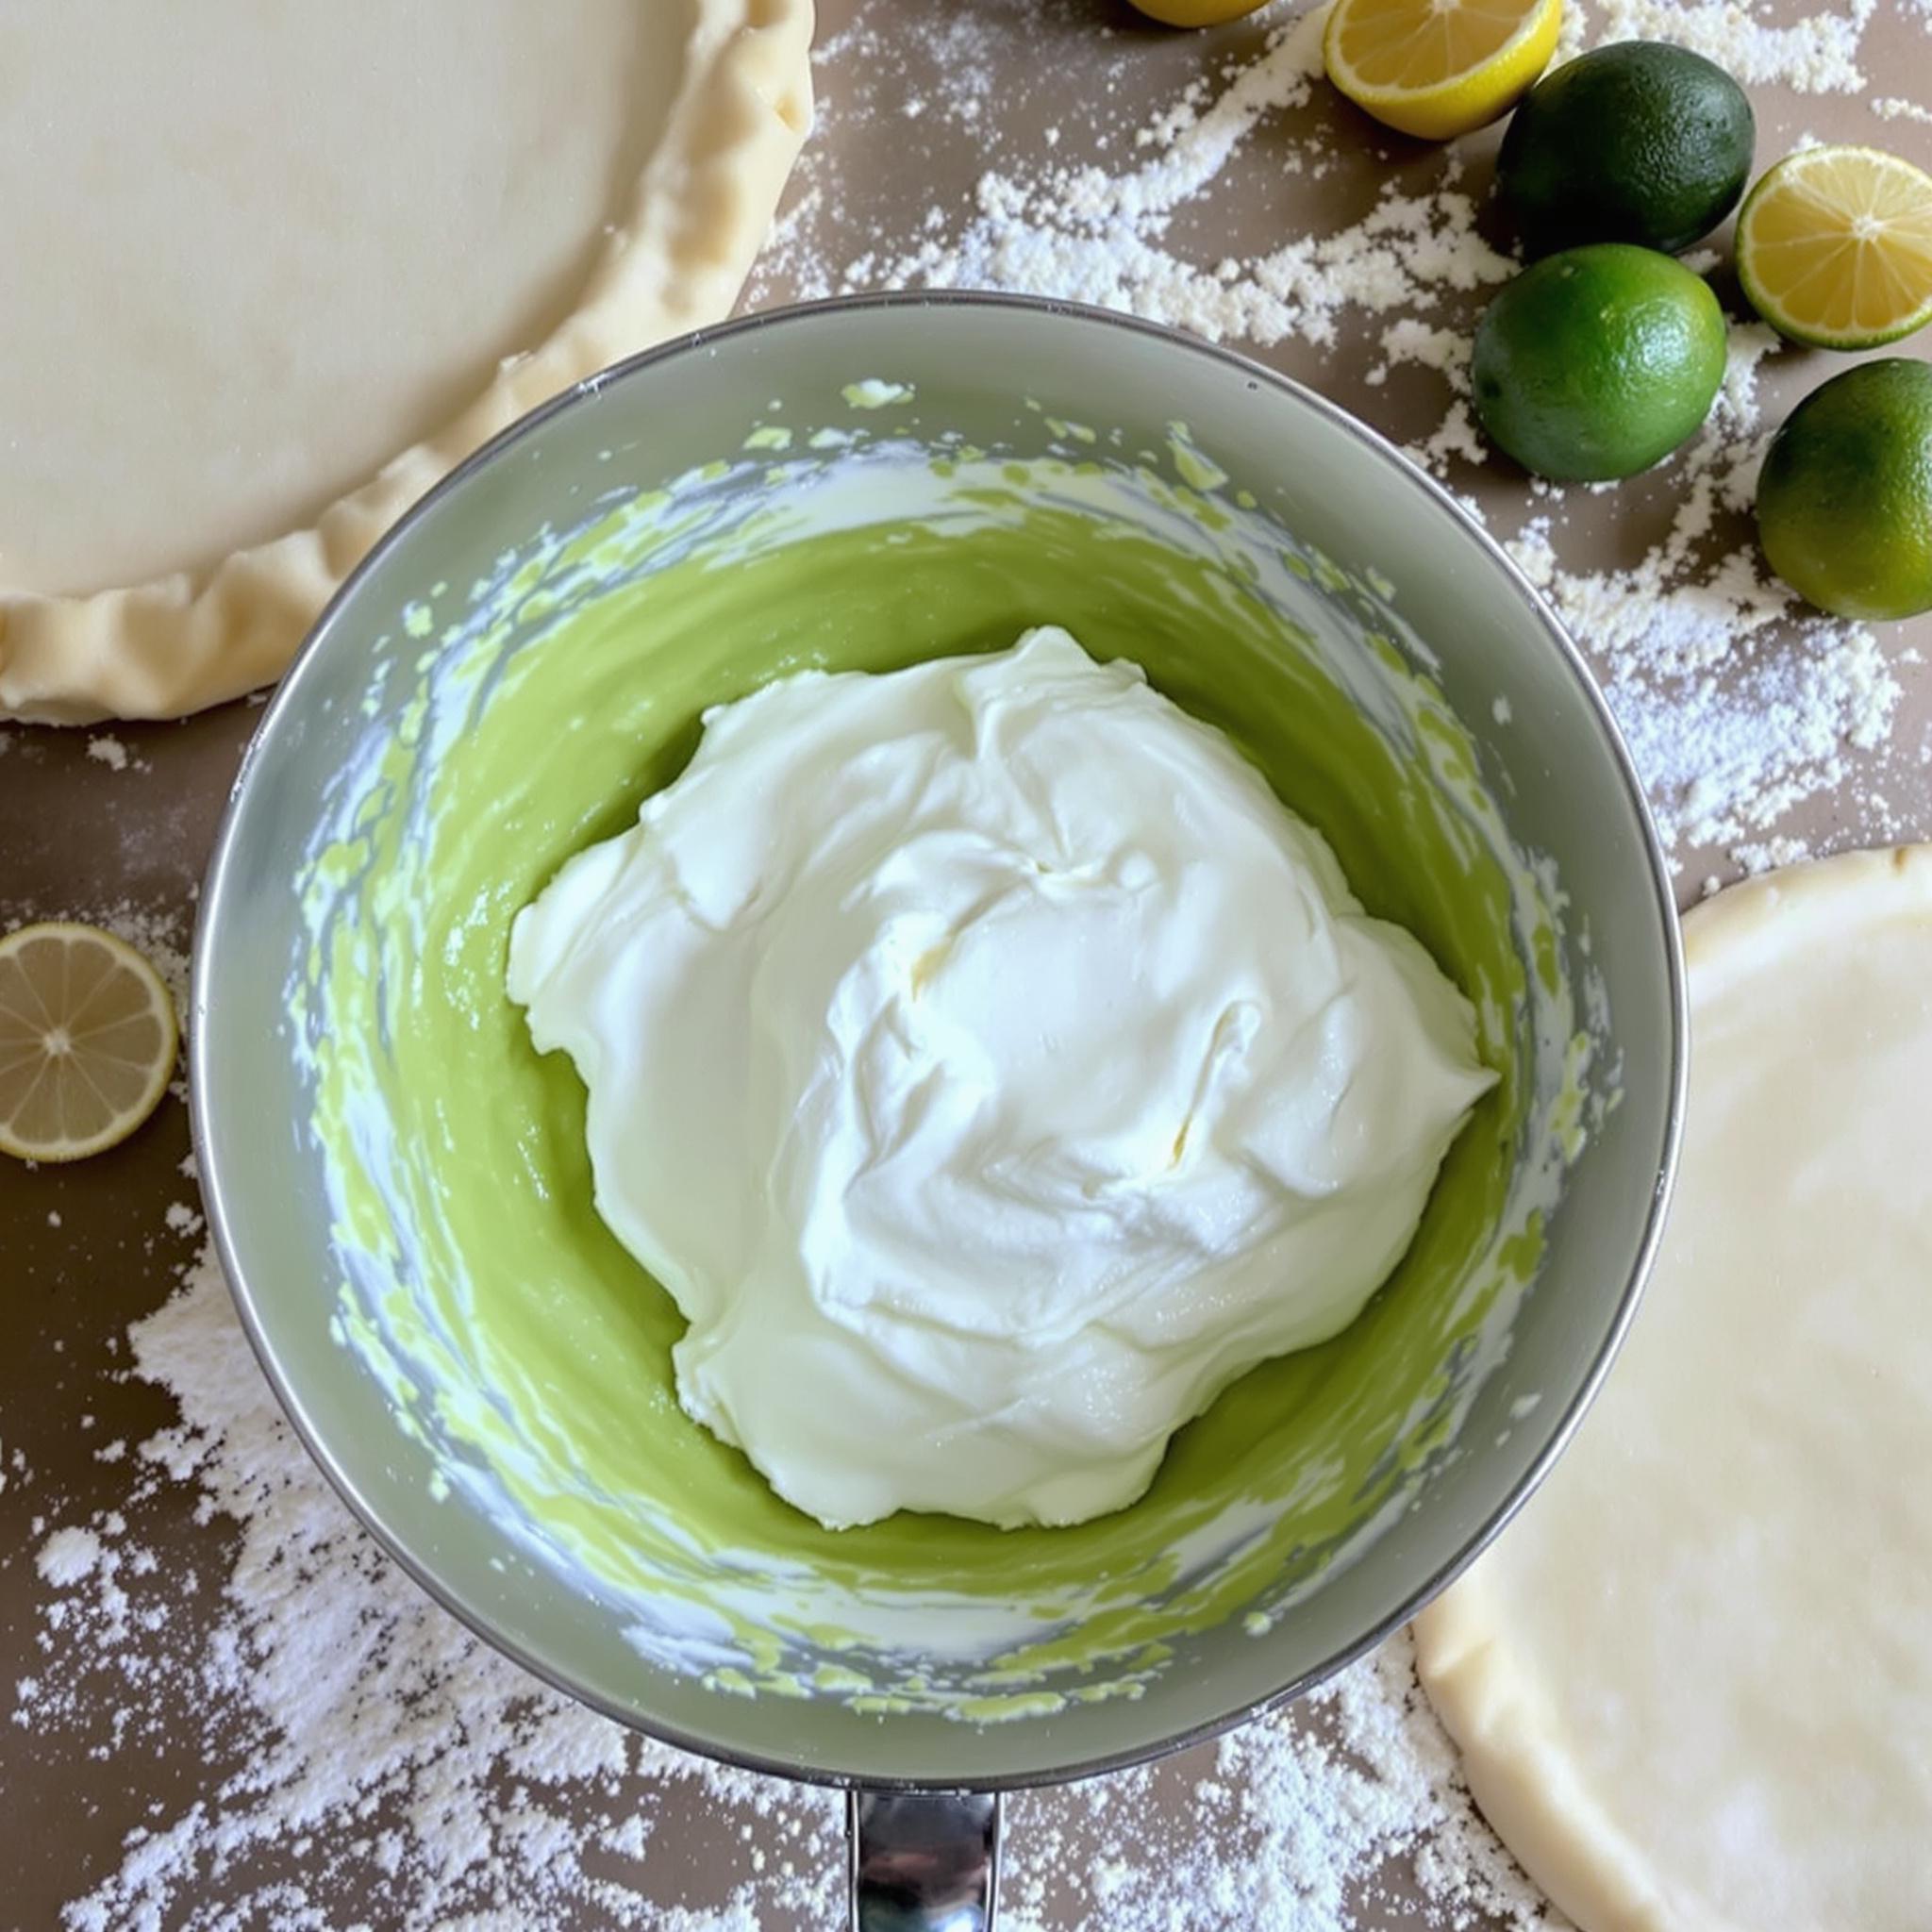
Step 2: Mix the Filling
In a bowl, whisk egg yolks and condensed milk until smooth. Add lime juice slowly while stirring. Watch the color brighten—it’s going to be good!
Step 3: Pour and Bake
Pour the mix into the crust. Spread evenly for a nice look. Bake for 15-20 minutes. Edges should turn golden, and the center should still jiggle slightly. Don’t overbake.
Step 4: Cool and Chill
Let the pie cool on a rack, then chill it. This firms up the filling and boosts flavor. Cover loosely with plastic wrap. Serve cold with whipped cream. Worth the wait!
Chef’s Tip
Sprinkle lime zest on top before serving. Adds aroma and looks great. Trust me, it makes a difference!
Time Breakdown
- Prep time: 10 minutes
- Cooking time: 20 minutes
- Chilling time: 2 hours
- Total time: 2 hours 30 minutes
Nutritional Information
Per slice (serves 8): Calories 300, Protein 6g, Fat 12g, Carbs 40g. Enjoy in moderation!
Extra Information
Key limes are smaller and tarter than regular limes. Their flavor makes this pie special. If you love gardening, try growing your own tree.
Necessary Tools
- Mixing bowls
- Whisk
- Baking pan
- Measuring cups and spoons
Storage Instructions
Keep leftovers in the fridge. Cover tightly with plastic wrap or foil. It stays fresh for up to 3 days. Avoid freezing—it messes with the texture.
If traveling, pack the pie in a cooler. Keep it chilled until serving. This keeps it firm and prevents spills.
Use clean utensils when slicing. Keeps leftovers fresh. Your guests will appreciate it!
Tips and Tricks
- Use room-temp eggs for smoother mixing.
- Strain lime juice to remove seeds and pulp.
- Garnish with mint leaves for color.

Serving Suggestions
- Add whipped cream and lime wedges.
- Pair with iced tea or sparkling water.
Healthier Alternatives
Here are six ways to lighten this treat:
- Low-fat option: Use low-fat condensed milk.
- Gluten-free: Swap crust for almond flour.
- Dairy-free: Replace condensed milk with coconut cream.
- Vegan: Use plant-based whipped cream and flax eggs.
- Lower sugar: Cut back on sweetness.
- No-bake version: Skip baking; chill in the fridge.
Mistake 1: Overfilling the Crust
Filling the crust too high causes spills. Leave space at the top. Fill only three-quarters full.
Mistake 2: Skipping the Chilling Step
Skipping chilling makes the pie soggy. Always refrigerate before serving. Patience pays off.
Mistake 3: Using Old Limes
Old limes lack juice and flavor. Use fresh ones. Roll them gently before squeezing to get more juice.
Frequently Asked Questions
Can I use regular limes instead of key limes?
Yes, regular limes work fine. They’re tangy but not as intense as key limes.
How long does Key Lime Pie last?
It stays fresh in the fridge for up to 3 days. Keep it covered.
Can I freeze Key Lime Pie?
Freezing isn’t recommended. Thawing can make the texture watery.
What if I don’t have a whisk?
A fork works fine. Just make sure the mix is smooth.
Is Key Lime Pie gluten-free?
Not traditionally, but you can make it gluten-free with almond flour for the crust.
Can I skip the whipped cream topping?
Yes, it tastes great without it. Try meringue or lime zest instead.
Why is my pie too runny?
Underbaking causes runniness. Bake until edges are set and the center jiggles slightly.
Do I need a stand mixer?
No, a hand whisk works just fine. Save the stand mixer for heavier tasks.
Can kids help with this recipe?
Of course! Kids can squeeze limes or spread the filling. Just keep them away from the hot oven.
What’s the secret to a great crust?
Press the crust firmly into the pan. Pre-bake briefly for extra crispiness.
Conclusion
This Key Lime Pie recipe is simple yet flavorful. Its tangy kick makes every bite fun. Share it with friends or enjoy it alone—it’s a winner. Give it a shot—you won’t regret it!
Equipment
- Mixing bowls
- Whisk
- Baking pan
- Measuring cups and spoons
Ingredients
- 1 cup key lime juice
- 1 can sweetened condensed milk
- 4 egg yolks
- 1 pre-made graham cracker crust
- whipped cream for topping optional
Instructions
- Preheat your oven to 350°F (175°C) and gather all your ingredients.
- In a bowl, whisk together the egg yolks and condensed milk until smooth. Gradually add in the key lime juice, mixing well.
- Pour the mixture into the pre-made graham cracker crust, spreading it evenly. Bake for 15-20 minutes or until the edges are slightly set and golden.
- Allow the pie to cool completely on a wire rack. Then refrigerate for at least 2 hours to firm up the filling. Serve cold with whipped cream.