Introduction to Lemon Bars
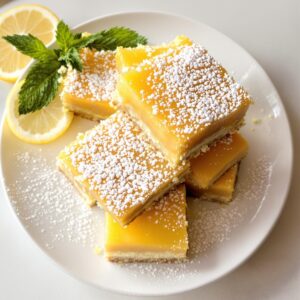
Lemon bars are a sweet and tangy treat that always impresses. They mix a buttery crust with a zesty lemon filling. Perfect for any occasion, from snacks to gatherings. I made them once for a family picnic, and they disappeared fast. Everyone loved the flavor balance.
The Origins of Lemon Bars
Lemon bars probably started in the U.S. in the 1960s. Their bright taste made them a hit at potlucks and bake sales. Over time, bakers added twists like lavender or different sugars. Still, the classic version stays timeless. There’s something comforting about how simple they are.
Why You’ll Love Lemon Bars
These bars are easy to make but feel fancy. The citrus smell fills your kitchen as they bake. Sweet and tart flavors blend perfectly. Even beginners can nail this recipe. It’s simple and delivers big flavor without much effort.
Perfect Occasions for Lemon Bars
Bring these bars to summer picnics or holiday parties. They’re great for brunch or tea time too. Their bright color makes them stand out. Pair them with coffee or iced tea for a refreshing treat.
Ingredients for Lemon Bars
- 1 cup butter
- 1 cup sugar
- 2 cups all-purpose flour
- 4 eggs
- 1 tablespoon lemon zest
- ½ cup lemon juice
- 1 teaspoon baking powder
- ½ cup powdered sugar (for dusting)
Substitution Options
- Use gluten-free flour instead of regular flour.
- Swap butter with coconut oil for a dairy-free option.
- Replace lemon juice with lime juice for a twist.
Preparation
Step 1: Preheat and Prepare
Preheat your oven to 350°F (175°C). Grease a baking pan to prevent sticking. Line it with parchment paper for easier removal.
Step 2: Make the Base
In a bowl, cream butter and sugar until light and fluffy. Add eggs one at a time, beating well after each. Mix in lemon zest and juice. The batter will smell fresh and citrusy. A hand mixer speeds things up.
Step 3: Combine Dry Ingredients
In another bowl, mix flour and baking powder. Gradually add it to the lemon mix. Stir until combined. The batter will thicken slightly. Be gentle to avoid overmixing.
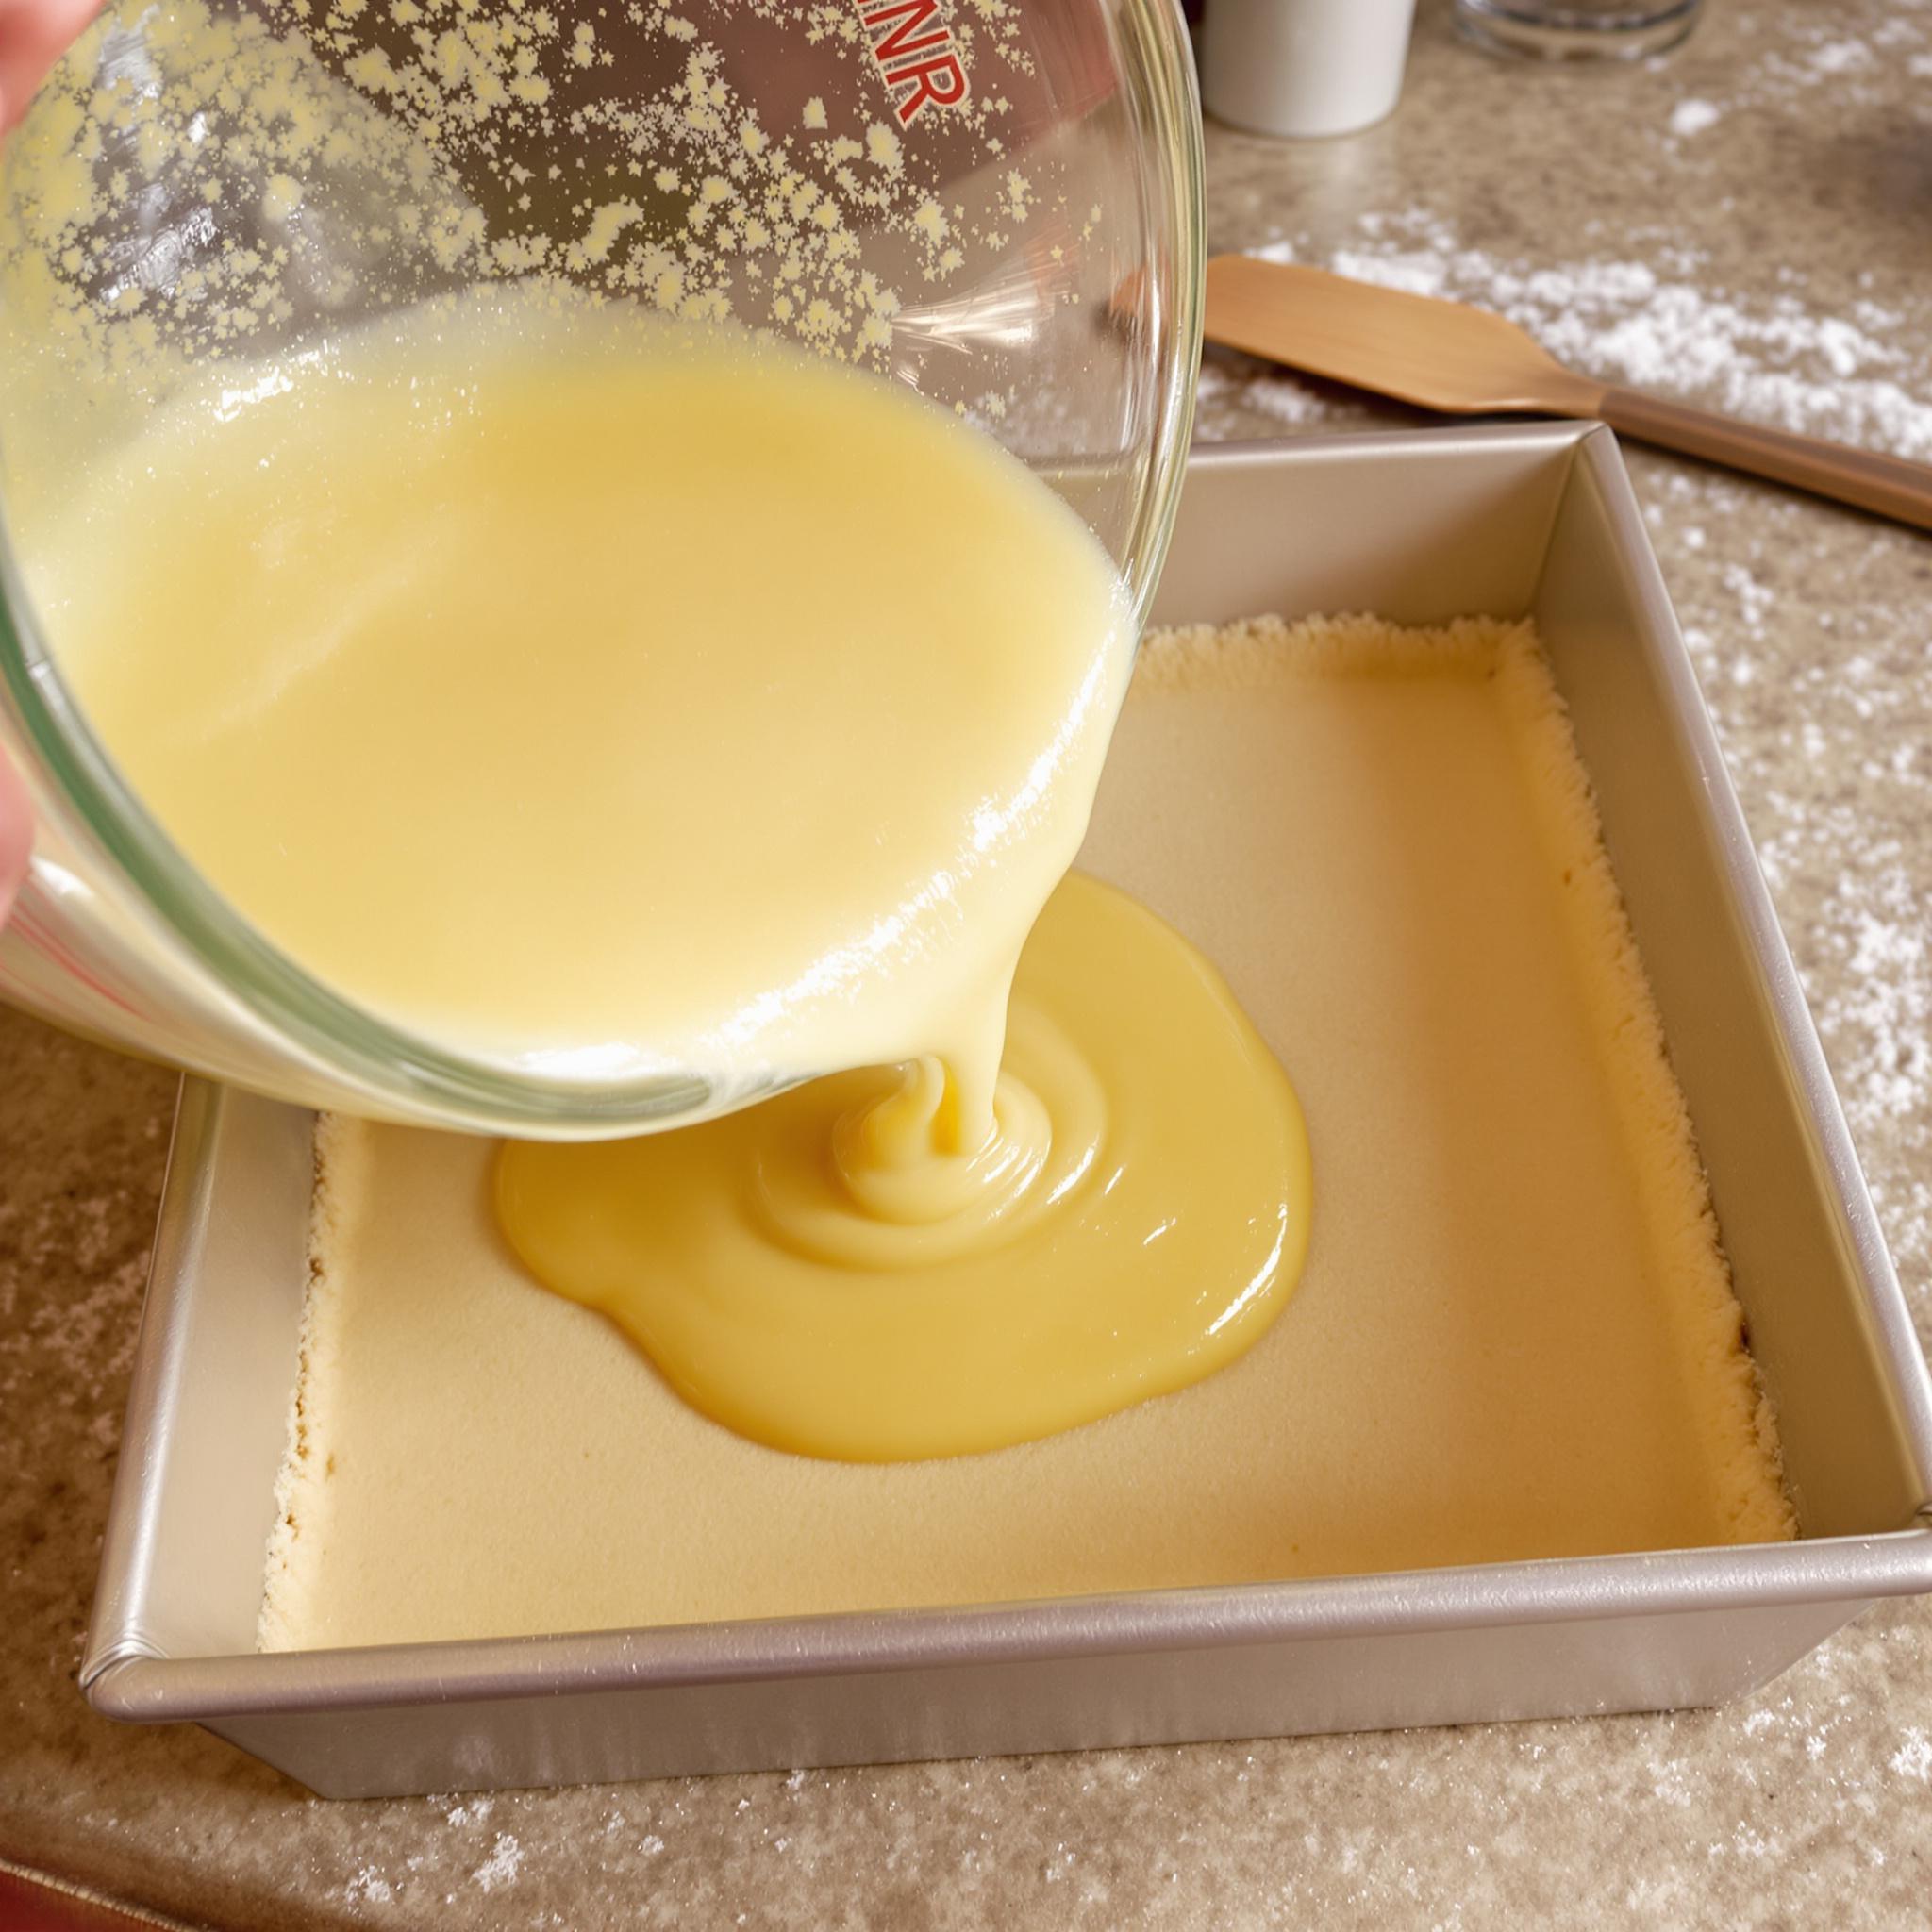
Step 4: Bake to Perfection
Pour the batter into the prepared pan. Smooth it out evenly. Bake for 20-25 minutes, or until set. The edges should turn golden brown. Let the bars cool before dusting with powdered sugar.
Chef’s Tip
For extra zest, rub the lemon peel on sugar cubes before zesting. This adds more citrus flavor. Small tricks make a big difference.
Time Required
- Prep Time: 15 minutes
- Cooking Time: 25 minutes
- Total Time: 40 minutes
Nutritional Information
Each serving has about 200 calories, with 10g fat, 25g carbs, and 3g protein. These bars are rich but worth it.
Extra Information
Lemons are packed with vitamin C. This boosts immunity and adds brightness to desserts. No wonder lemon bars are so popular!
Necessary Tools
- Mixing bowls
- Hand mixer
- Baking pan
- Parchment paper
- Zester or grater
Storage Instructions
Store lemon bars in an airtight container. Keep them at room temperature for up to two days. For longer storage, refrigerate them. They’ll stay fresh for about a week. Freezing works too. Wrap individual bars in plastic wrap and freeze for up to three months.
Refrigerated bars taste just as good as fresh ones. Let them sit at room temperature for 10 minutes before serving. Frozen bars thaw quickly. Place them in the fridge overnight or on the counter for an hour.
Proper storage keeps the texture intact. Avoid leaving them uncovered, as they can dry out. Always use clean utensils when handling stored bars to prevent contamination.
Tips and Tricks
- Use room-temperature eggs for smoother batter.
- Don’t skip greasing the pan—it prevents sticking.
- Dust powdered sugar right before serving for a fresh look.

Serving Suggestions
Serve these bars with whipped cream or vanilla ice cream. They pair well with hot tea or coffee. Garnish with extra zest for a pop of color.
Healthier Alternatives
Here are six ways to make lemon bars healthier:
- Whole Wheat Flour: Swap half the flour with whole wheat for added fiber.
- Honey: Replace sugar with honey for natural sweetness.
- Greek Yogurt: Add yogurt to the batter for moisture and protein.
- Coconut Sugar: Use coconut sugar for a lower glycemic index.
- Avocado Oil: Substitute butter with avocado oil for healthy fats.
- Chia Seeds: Mix in chia seeds for extra nutrients.
Common Mistakes to Avoid
Mistake 1: Overbaking
Overbaking makes the bars dry and crumbly. Check doneness at 20 minutes. The center should be set but still soft. A toothpick inserted should come out clean.
Mistake 2: Skipping the Zest
Zest adds essential oils that enhance flavor. Without it, the bars lack depth. Always zest before juicing the lemons for convenience.
Mistake 3: Not Cooling Properly
Cutting warm bars causes messy slices. Let them cool completely before dusting with sugar. Patience pays off here.
Frequently Asked Questions
Can I use bottled lemon juice?
Fresh lemon juice tastes better and has more aroma. Bottled juice lacks vibrancy. Stick to fresh for best results.
How do I know when the bars are done?
The edges will turn golden, and the center will feel firm. A toothpick test works too. Insert it; if it comes out clean, they’re ready.
Can I freeze lemon bars?
Yes! Wrap them individually in plastic wrap and freeze. Thaw in the fridge overnight or on the counter for an hour.
What can I substitute for butter?
Coconut oil or margarine works well. Both keep the bars moist and flavorful. Just ensure they’re softened before mixing.
Why is my crust soggy?
A soggy crust happens if the pan isn’t greased properly. Always grease and line the pan for crisp results.
Can I double the recipe?
Absolutely! Double all ingredients and use a larger pan. Adjust baking time slightly if needed.
Do I need a mixer?
No, but a mixer makes the process faster. You can whisk by hand if preferred. Just ensure everything is well combined.
Can I add other flavors?
Yes! Try adding almond extract or lavender for variety. These additions complement the lemon beautifully.
Why does my filling crack?
Cracking occurs if the bars cool too quickly. Let them cool gradually at room temperature. Avoid placing them in the fridge immediately.
Are lemon bars gluten-free?
Not traditionally, but you can use gluten-free flour. The texture may vary slightly but still tastes great.
Conclusion
Lemon bars are a delightful treat that’s easy to make and always loved. With their tangy filling and buttery crust, they’re sure to become a favorite. Try this recipe today, and enjoy the smiles it brings!
Equipment
- Mixing bowl
- Hand mixer
- Spatula
- Baking pan
- Parchment paper
Ingredients
- 1 cup butter
- 1 cup sugar
- 2 cups all-purpose flour
- 4 eggs
- 1 tablespoon lemon zest
- 1/2 cup lemon juice
- 1 teaspoon baking powder
- 1/2 cup powdered sugar for dusting
Instructions
- Preheat your oven to 350°F (175°C). Grease a baking pan to prevent sticking. Line it with parchment paper for easier removal.

- In a bowl, cream butter and sugar until light and fluffy. Add eggs one at a time, beating well after each. Mix in lemon zest and juice. The batter will smell fresh and citrusy. A hand mixer speeds things up.
- In another bowl, mix flour and baking powder. Gradually add it to the lemon mix. Stir until combined. The batter will thicken slightly. Be gentle to avoid overmixing.
- Pour the batter into the prepared pan. Smooth it out evenly. Bake for 20-25 minutes, or until set. The edges should turn golden brown. Let the bars cool before dusting with powdered sugar.