
Why Little Cakes Are a Must-Try Treat
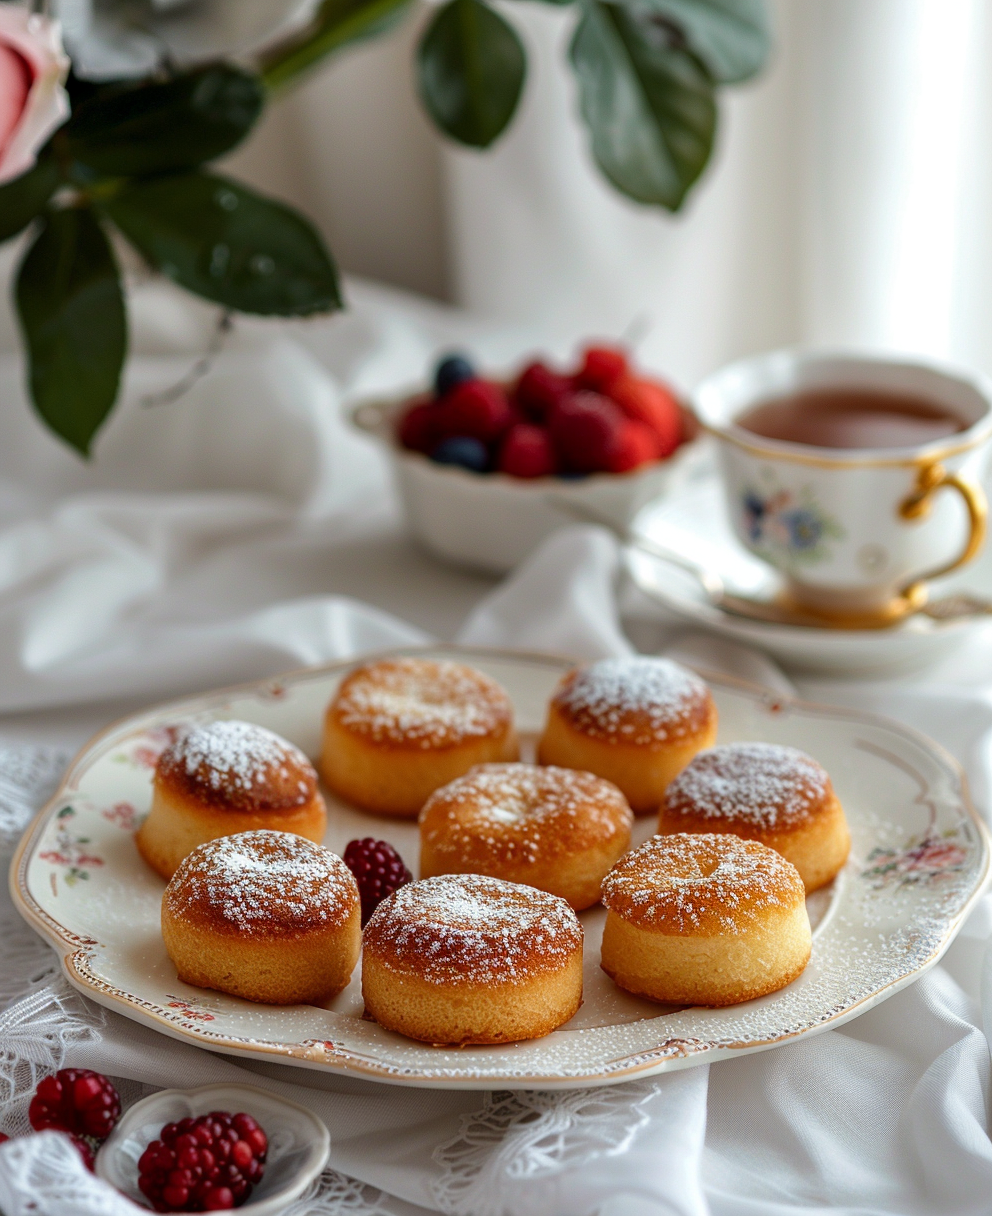
Let me tell you a little story. One sunny afternoon, my niece came over with her favorite doll, and she asked if I could bake something “just as pretty.” I decided to whip up some little cakes, and let me tell you, they were an instant hit! These bite-sized beauties are not only adorable but also perfect for any occasion. Whether you’re looking for inspiration from princess birthday cake images or need ideas for Barbie picture cakes, this recipe has got you covered.
A Peek into the World of Little Cakes
Little cakes have been around for ages, often seen in different cultures as mini versions of celebration cakes. Think about those charming princess cake images or the creative Mickey Mouse birthday cake designs. They all share one thing: joy in small portions. Back in the day, these tiny treats were served at fancy tea parties, but today, they’ve become a go-to for kids’ birthdays and family gatherings. I first tried making them when I stumbled upon a little cakes menu online. It was love at first bite!
Why You’ll Love This Recipe
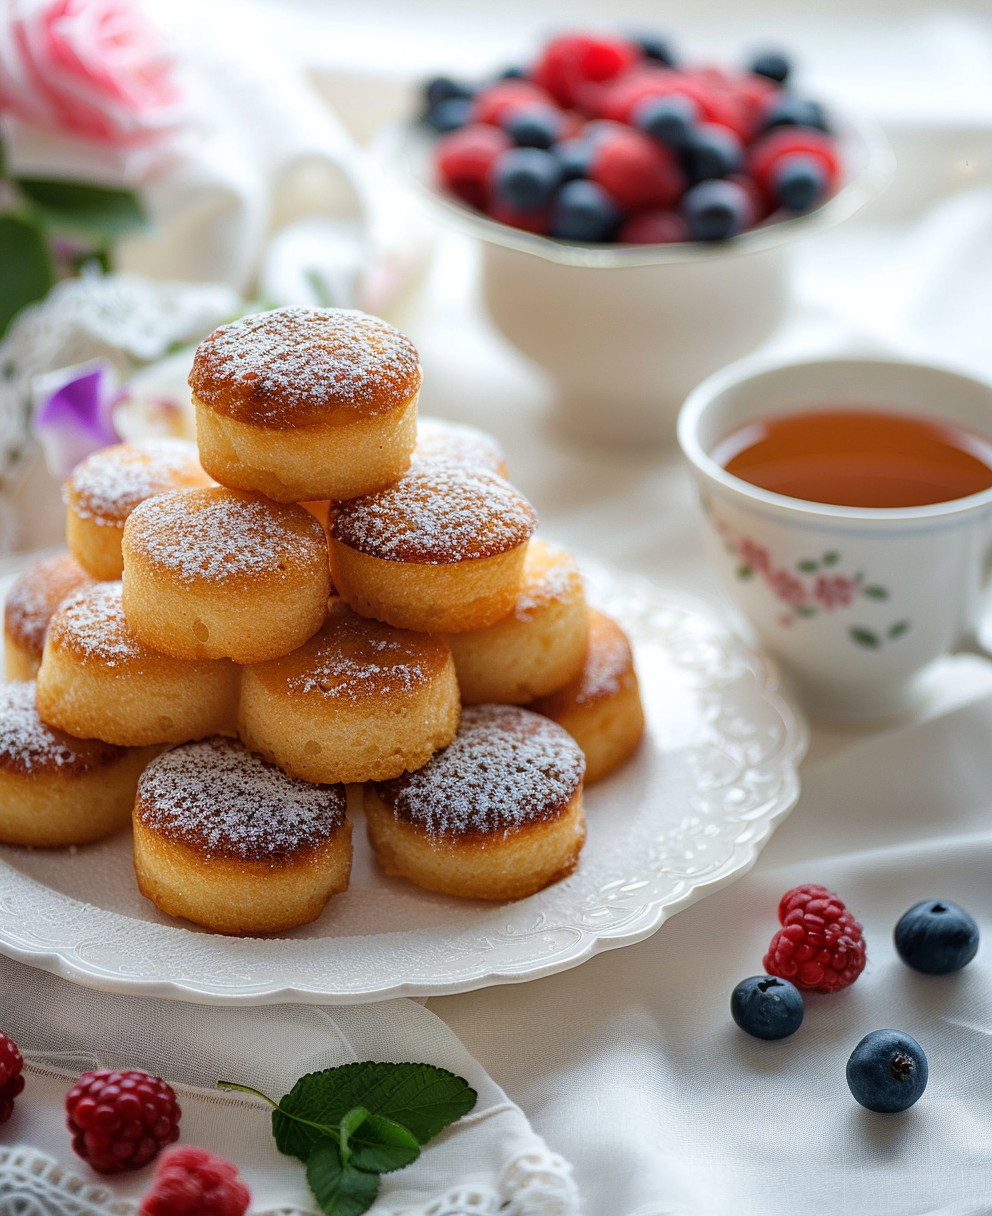
These little cakes are soft, flavorful, and oh-so-easy to make. The best part? You don’t need to be a professional baker to pull them off. With simple ingredients and minimal fuss, you can create something magical. Plus, they’re versatile—you can decorate them to match any theme, like doll cake pictures or even design of Barbie cake. Trust me; once you try this recipe, it’ll become your new favorite.
Perfect Occasions for Little Cakes
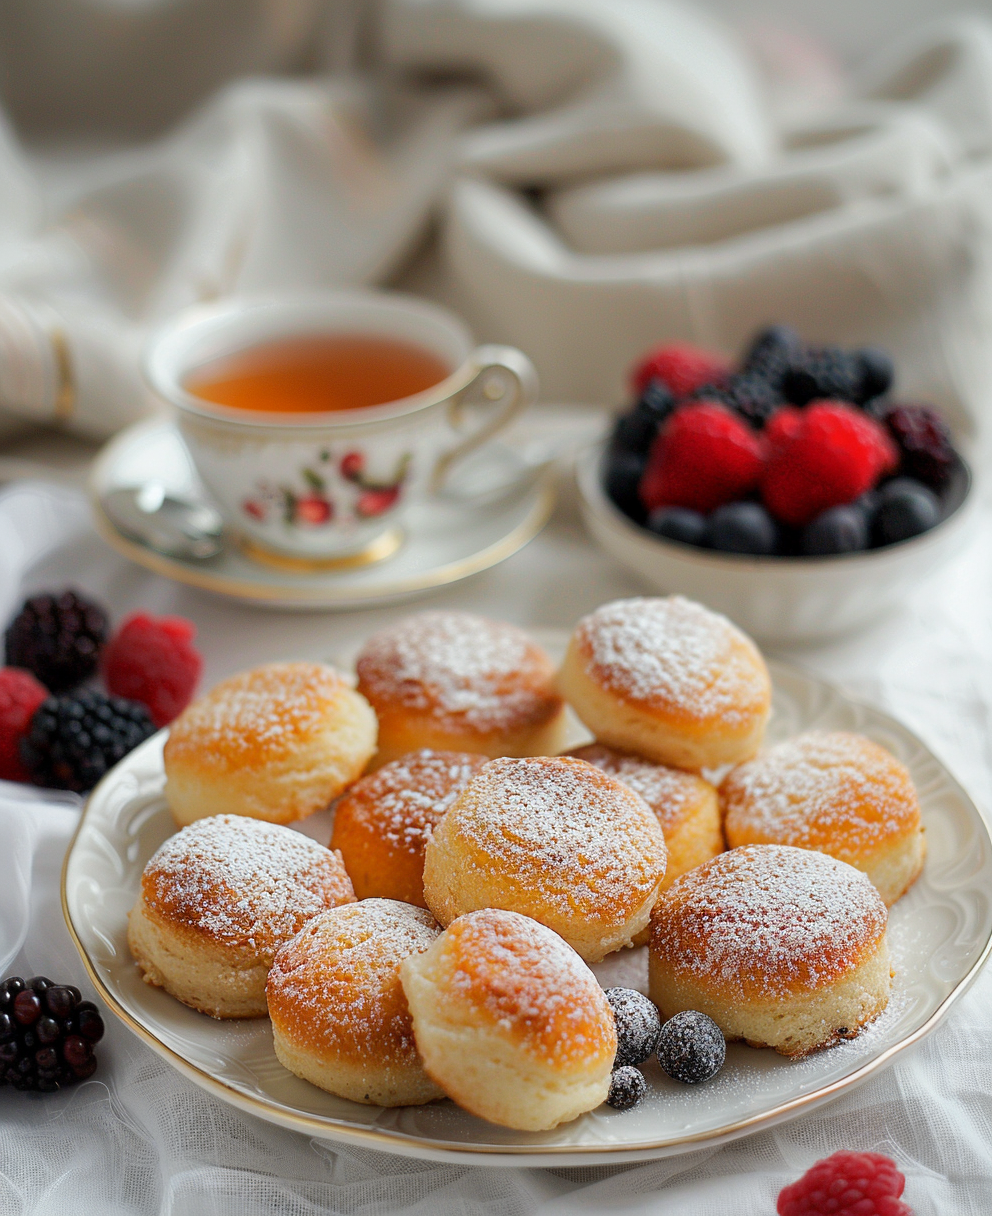
Need a dessert idea for a princess-themed party? Look no further than these little cakes. They’re ideal for birthdays, baby showers, or even just a cozy weekend treat. Imagine serving them alongside photos of princess birthday cake photos or pairing them with a little cakes coupon for a fun giveaway. Whatever the event, these cakes will steal the show.
Ingredients
- 1 cup all-purpose flour
- 1/2 cup granulated sugar
- 1/4 cup unsalted butter, melted
- 2 large eggs
- 1 teaspoon vanilla extract
- 1/2 teaspoon baking powder
- A pinch of salt
- Frosting and sprinkles for decoration
Substitution Options
- Use almond extract instead of vanilla for a nutty twist.
- Swap regular flour with gluten-free flour if needed.
- Replace butter with coconut oil for a dairy-free option.
Step 1: Preparing the Batter
Start by whisking together the flour, sugar, baking powder, and salt in a mixing bowl. Add the melted butter, eggs, and vanilla extract, then mix until smooth. The batter should be light and fluffy, with a pale yellow hue. Pro tip: Make sure your eggs are at room temperature for a smoother blend.
Step 2: Filling the Molds
Spoon the batter into greased muffin molds, filling each one about two-thirds full. This ensures the cakes rise evenly without spilling over. As you pour, notice how the batter glistens under the light—a sign that sweetness awaits! Chef’s tip: Use silicone molds for easy release.
Step 3: Baking the Cakes
Bake the cakes in a preheated oven at 350°F (175°C) for 15-18 minutes. Keep an eye on them; they’re done when a toothpick inserted comes out clean. Your kitchen will soon fill with the warm aroma of freshly baked goodness. Isn’t that just heavenly?
Timing
Prep time: 10 minutes
Cooking time: 15-18 minutes
Resting time: 10 minutes
Total time: Approximately 35 minutes
Chef’s Secret
To make your frosting extra creamy, chill it for 10 minutes before spreading. It glides on smoother and holds its shape better—perfect for creating designs like Barbie cake pictures.
Extra Info
Did you know that little cakes are sometimes called “cupcakelets”? Their smaller size makes them easier to handle for kids, which is why they’re so popular at birthday parties. I learned this fun fact while browsing through princess birthday cake images.
Necessary Equipment
- Muffin molds or silicone cups
- Mixing bowls
- Whisk and spatula
- Oven
- Piping bag for frosting
Storage
Once cooled, store your little cakes in an airtight container to keep them fresh. They’ll stay good for up to three days at room temperature. For longer storage, pop them in the fridge. Just remember to bring them back to room temperature before serving.
If you plan to freeze them, wrap each cake individually in plastic wrap and place them in a freezer-safe bag. They’ll last up to two months. Freezing is great if you want to prep ahead for a big event.
When reheating, let them sit at room temperature for 15 minutes. Avoid microwaving, as it can make the frosting melt unevenly.
Tips and Advice
For vibrant colors, use gel food coloring instead of liquid. It gives a richer tone, perfect for matching Mickey Mouse birthday cake designs. Also, invest in quality piping tips—they make decorating much easier. Lastly, always taste-test your frosting. Life’s too short for bland icing!
Presentation Tips
- Add edible glitter for a touch of sparkle.
- Top with fresh berries for a pop of color.
- Use themed cupcake liners to match the occasion.
Healthier Alternative Recipes
Here are six ways to make your little cakes healthier:
- Gluten-Free Option: Substitute regular flour with almond or oat flour.
- Vegan Version: Replace eggs with flaxseed meal mixed with water.
- Low-Sugar Delight: Use mashed bananas or applesauce instead of sugar.
- Protein-Packed: Add a scoop of protein powder to the batter.
- Dairy-Free Frosting: Opt for coconut cream-based frosting.
- Fruit-Infused: Mix in pureed fruits like strawberries or blueberries.
Mistake 1: Overmixing the Batter
Overmixing leads to dense cakes because it develops too much gluten. To avoid this, stir just until the ingredients combine. A few lumps are okay—it’s better than overworking the batter.
Mistake 2: Skipping the Resting Time
Letting the batter rest allows the flavors to meld and the texture to improve. Don’t skip this step! Even 10 minutes makes a difference.
Mistake 3: Overbaking
Overbaked cakes turn dry and crumbly. Set a timer and check early. If unsure, insert a toothpick—if it comes out clean, they’re ready.
FAQ
What are little cakes?
Little cakes are miniature versions of traditional cakes, often baked in muffin molds. They’re perfect for portion control and easy to customize with decorations.
Where can I find princess birthday cake images?
You can browse Pinterest or Instagram for stunning princess birthday cake images. Many sites also offer free templates for inspiration.
How do I frost little cakes?
Use a piping bag fitted with a star tip for professional-looking swirls. Chill the cakes first for better results.
Can I use a little cakes coupon online?
Yes, many bakeries offer discounts via little cakes coupons. Check their website or social media pages for deals.
What tools do I need?
Basic tools include muffin molds, a whisk, spatula, and piping bag. Silicone molds are highly recommended.
Are there Mickey Mouse birthday cake designs available?
Absolutely! Search online for Mickey Mouse birthday cake designs to get inspired. Templates and tutorials abound.
What’s the best way to store them?
Store in an airtight container at room temperature for up to three days. Refrigerate or freeze for longer storage.
Can I make gluten-free little cakes?
Yes, simply swap regular flour with gluten-free alternatives like almond or rice flour.
Do I need special skills to decorate?
Not at all! Start simple with colorful frostings and sprinkles. Practice makes perfect.
Where can I see barbie cake pictures?
Check out Pinterest or baking blogs for beautiful Barbie cake pictures. There’s no shortage of creativity out there.
Final Thoughts
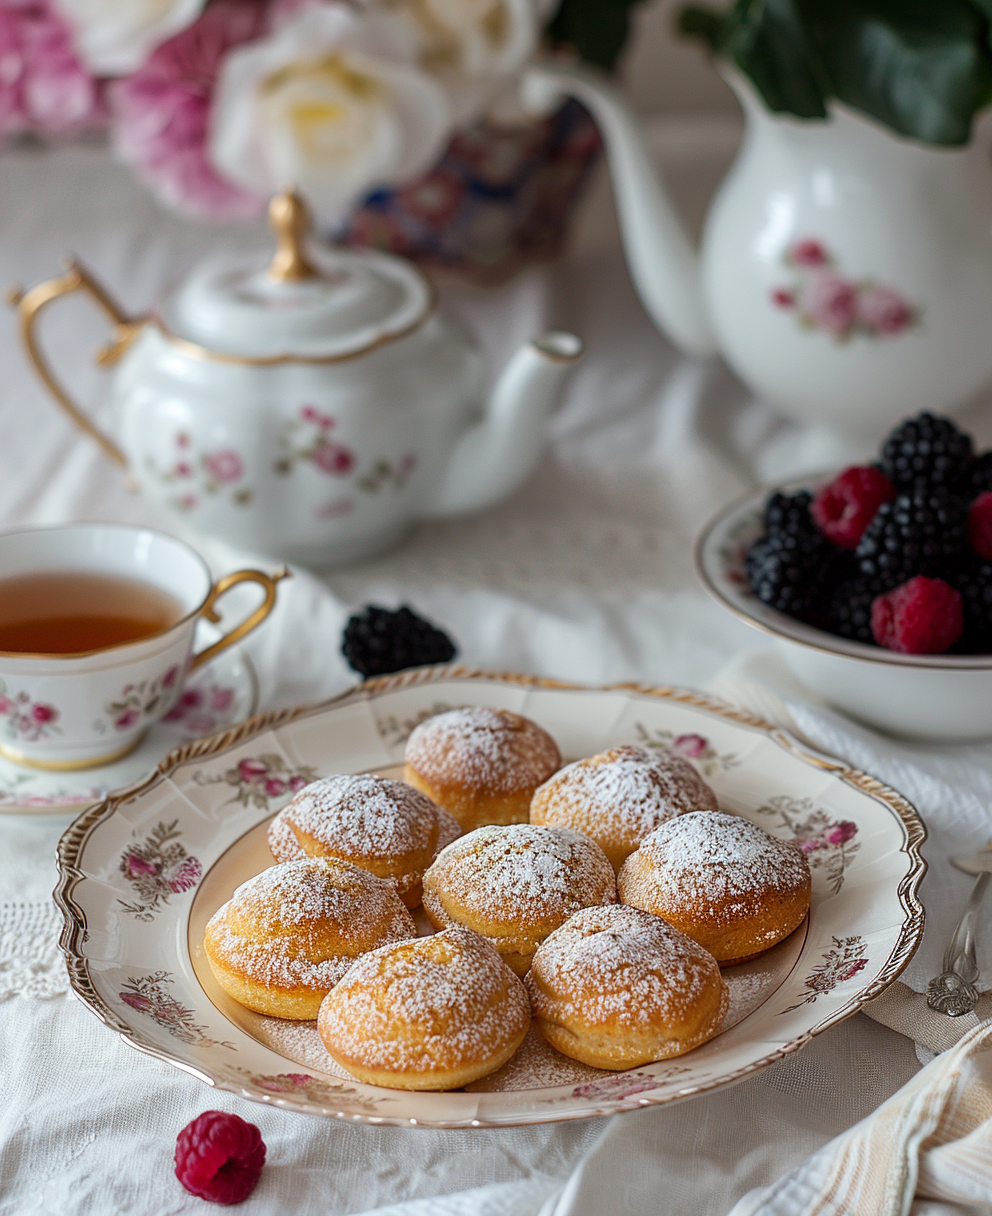
There’s something truly special about little cakes. They’re bite-sized wonders that bring smiles to faces young and old. Whether you’re crafting princess cake images or designing playful themes like doll cake pictures, this recipe is your ticket to success. So grab your apron, gather your ingredients, and let the magic begin. Happy baking!
Equipment
- Mixing Bowls
- Whisk
- Spatula
- Muffin Molds
- Piping Bag
Ingredients
- 1 cup all-purpose flour
- 1/2 cup granulated sugar
- 1/4 cup unsalted butter, melted
- 2 large eggs
- 1 teaspoon vanilla extract
- 1/2 teaspoon baking powder
- to taste frosting and sprinkles for decoration
Instructions
- Whisk together the flour, sugar, baking powder, and salt in a mixing bowl.
- Add the melted butter, eggs, and vanilla extract, then mix until smooth.
- Spoon the batter into greased muffin molds, filling each one about two-thirds full.
- Bake the cakes in a preheated oven at 350°F (175°C) for 15-18 minutes.
- Check for doneness using a toothpick; it should come out clean.
Notes
Nutrition

Hi, I’m Olivia Parker, the founder of BakingSecret.com and a lifelong lover of all things sweet and homemade. I grew up in a small town in Oregon, where the smell of fresh cookies in my family’s kitchen sparked my passion for baking. Over the years, I turned that passion into a mission: to help home bakers feel confident, inspired, and creative.
After studying food science and working in several artisan bakeries across the U.S., I decided to create a space where everyone from beginners to seasoned bakers can find reliable recipes, expert tips, and a warm, welcoming community. BakingSecret.com is my way of sharing the magic of baking with the world. When I’m not testing new recipes, you’ll find me exploring farmers’ markets, collecting vintage cookbooks, or perfecting my sourdough technique.