
Introduction to the Creamy No-Bake Cheesecake
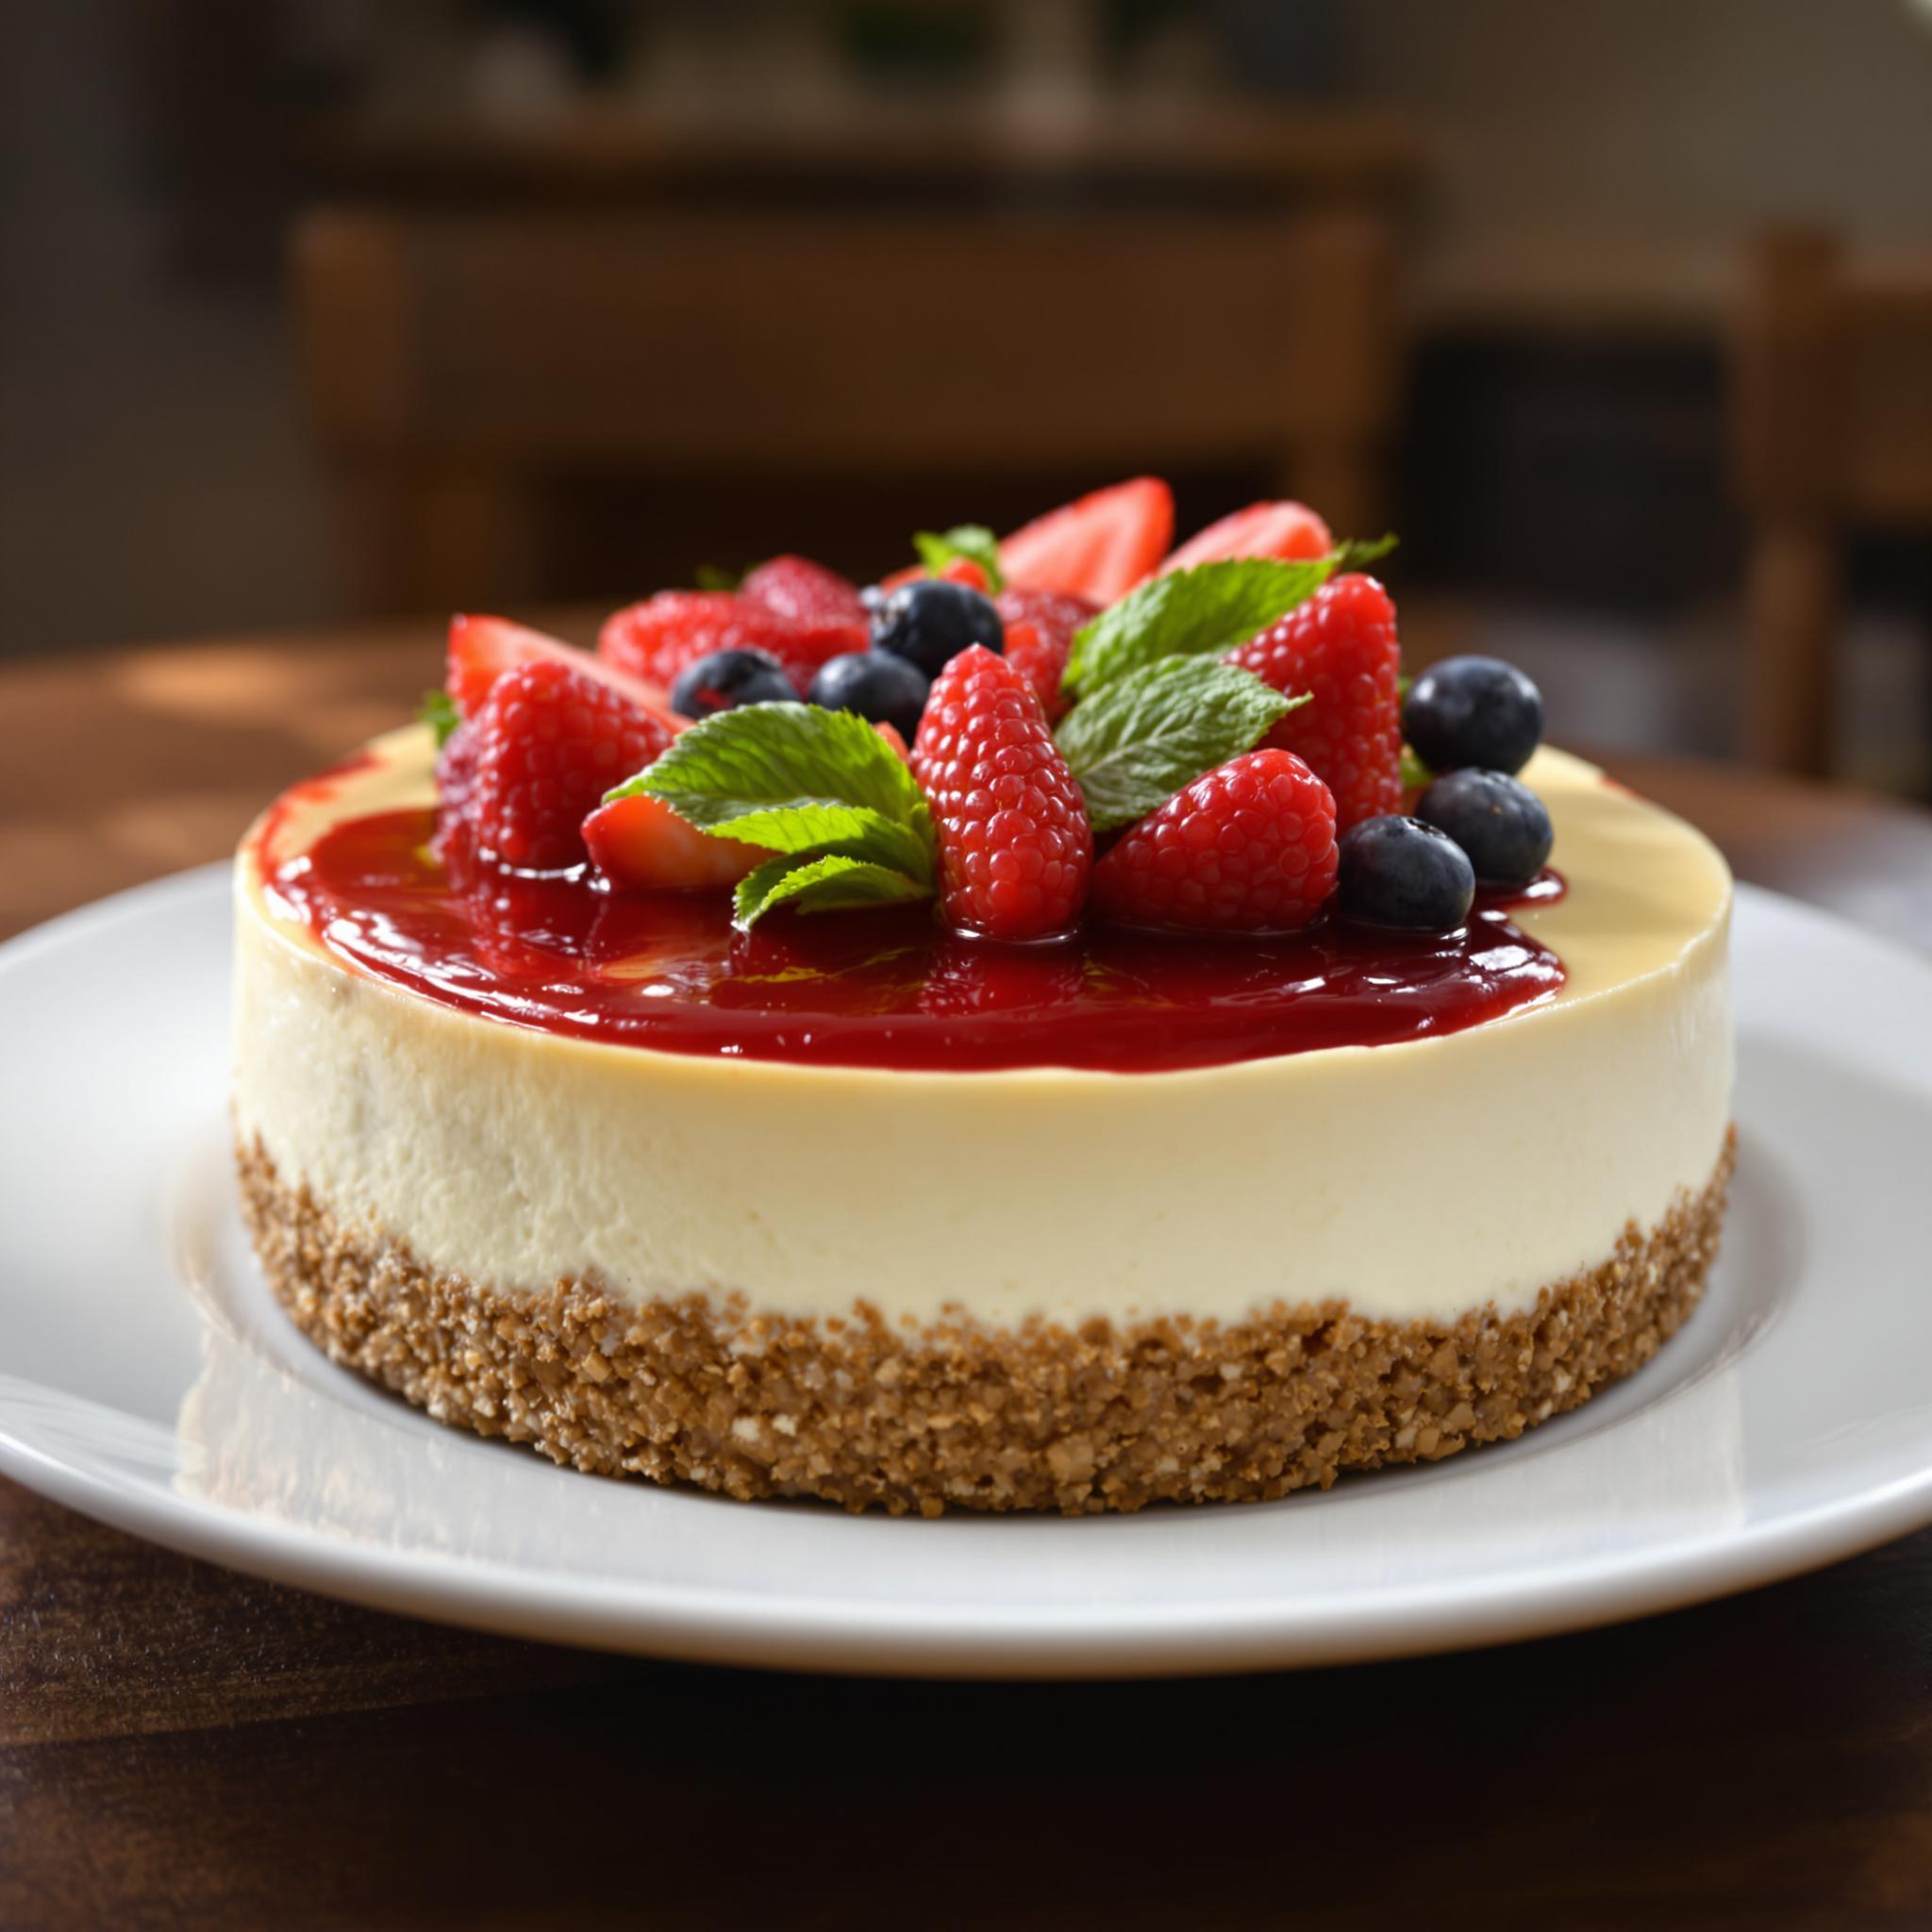
There’s something magical about a dessert that requires no oven yet delivers all the creamy, dreamy goodness you crave. Enter the No-Bake Cheesecake, a crowd-pleaser for any occasion. Whether you’re a seasoned baker or just starting out, this recipe is forgiving, fun, and oh-so-delicious. I remember making it for the first time during a summer heatwave when the thought of turning on the oven felt like a punishment. The result? A cool, velvety treat that had my family asking for seconds (and thirds). Variations like chocolate no-bake cheesecake or fruit-topped cheesecake make this dessert endlessly customizable.
The Sweet History Behind No-Bake Cheesecake
Cheesecakes have been around for centuries, with their origins tracing back to ancient Greece. However, the No-Bake Cheesecake we know today is a modern twist that emerged in the 20th century, thanks to the invention of cream cheese. This version became especially popular in the mid-1900s when refrigeration made it easy to set desserts without heat. Personally, I love how this recipe combines tradition with convenience—it’s a nod to the past while being perfectly suited for our busy lives. Fun fact: some cultures add unique touches, like using ricotta instead of cream cheese for a lighter texture!
Why You’ll Fall in Love with This Recipe
This No-Bake Cheesecake is a game-changer for several reasons. First, its simplicity makes it accessible to everyone—no need to worry about cracking tops or burnt edges. Second, the flavor is rich and indulgent, with a perfect balance of sweetness and tanginess. Plus, the buttery graham cracker crust adds a delightful crunch that contrasts beautifully with the smooth filling. Whether you’re hosting a party or simply craving something sweet, this cheesecake will steal your heart.
Perfect Occasions to Whip Up This Dessert
From casual family dinners to elegant holiday gatherings, the No-Bake Cheesecake fits every occasion. It’s an excellent choice for summer potlucks since it doesn’t require baking, keeping your kitchen cool. Birthday celebrations? Absolutely! Top it with fresh berries or chocolate shavings for a festive touch. Even cozy movie nights at home become extra special with a slice of this creamy delight. Trust me; once you try it, you’ll find excuses to make it again and again.
Ingredients for Your No-Bake Cheesecake
- 1 ½ cups graham cracker crumbs
- 6 tablespoons unsalted butter, melted
- 2 tablespoons granulated sugar
- 16 ounces cream cheese, softened
- 1 cup powdered sugar
- 1 teaspoon vanilla extract
- 1 cup heavy whipping cream
Substitution Options for Flexibility
If you’re looking to experiment, here are some substitutions: Use digestive biscuits instead of graham crackers for a British twist. Swap heavy whipping cream with coconut cream for a dairy-free option. For those watching their sugar intake, try monk fruit sweetener instead of powdered sugar. Each tweak brings a new dimension to your No-Bake Cheesecake, allowing you to tailor it to your taste or dietary needs.
Preparation Steps for Your Dreamy Dessert
Step 1: Prepare the Graham Cracker Crust
Start by combining the graham cracker crumbs, melted butter, and granulated sugar in a bowl. Mix until the crumbs resemble wet sand—this ensures the crust holds together beautifully. Press the mixture firmly into the bottom of a springform pan, creating an even layer. Pro tip: Use the back of a spoon or a flat-bottomed glass to press down evenly. Chill the crust in the refrigerator while you prepare the filling; this helps it firm up before adding the creamy layer.
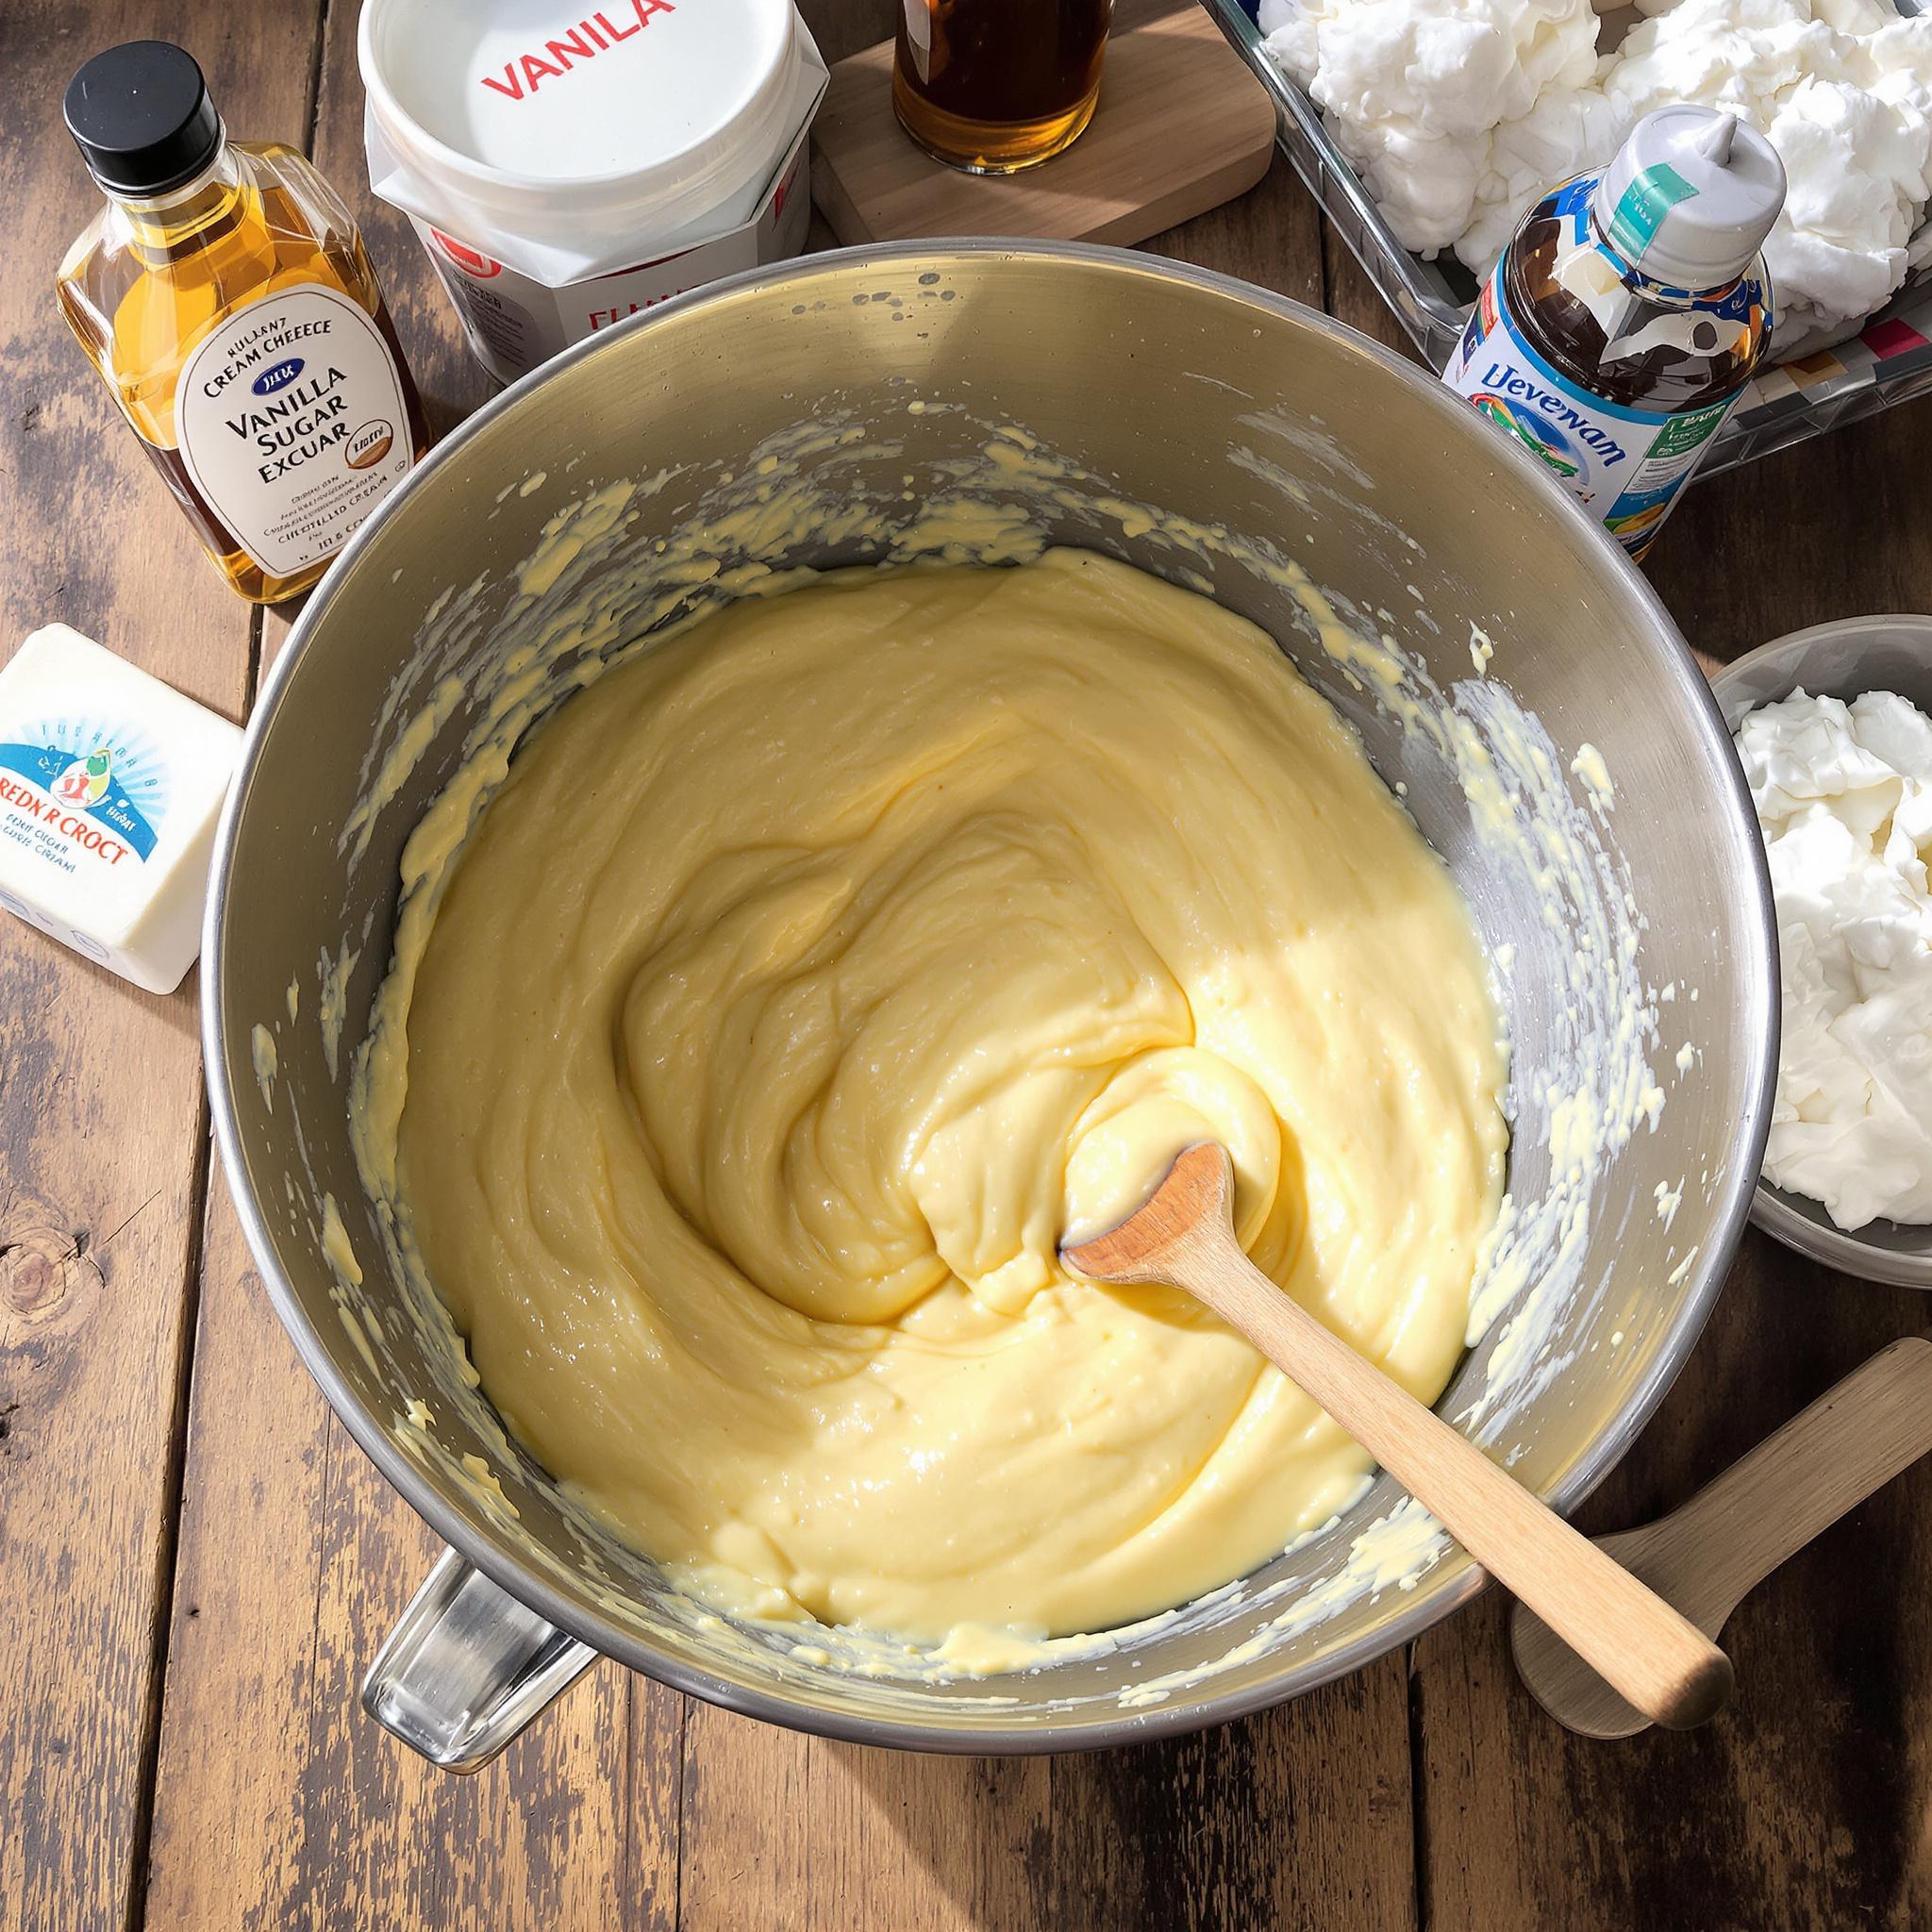
Step 2: Whip Up the Creamy Filling
In a large mixing bowl, beat the softened cream cheese until smooth and free of lumps. Gradually add the powdered sugar and vanilla extract, blending until fully incorporated. In a separate bowl, whip the heavy cream until stiff peaks form. Gently fold the whipped cream into the cream cheese mixture, being careful not to deflate it. The result should be light, airy, and irresistibly creamy—a true hallmark of a great No-Bake Cheesecake.
Step 3: Assemble and Chill
Pour the creamy filling over the chilled crust, spreading it evenly with a spatula. Tap the pan gently on the counter to release any air bubbles, ensuring a silky-smooth surface. Cover the pan with plastic wrap and refrigerate for at least 4 hours, or overnight for best results. Patience pays off here—the longer it chills, the firmer and more flavorful it becomes. Imagine slicing into that perfectly set cheesecake tomorrow!
Chef’s Tip for Perfection
To take your No-Bake Cheesecake to the next level, brush the crust lightly with honey before chilling. This adds a subtle sweetness and enhances the overall flavor profile. Another secret? Let the cheesecake sit at room temperature for 10 minutes before serving—it softens slightly, making each bite even more heavenly.
Time Breakdown for Effortless Baking
- Prep Time: 20 minutes
- Chilling Time: 4-6 hours
- Total Time: Approximately 5 hours
Nutritional Information
Per serving (based on 8 slices): Calories: 350, Protein: 5g, Fat: 25g, Carbohydrates: 30g, Sugar: 20g.
An Interesting Curiosity About No-Bake Cheesecake
Did you know that the original cheesecakes were savory? Ancient Greeks served them as energy-boosting snacks for athletes during the first Olympic Games. Today’s No-Bake Cheesecake is a far cry from those early versions, but it still has the power to energize—especially when paired with coffee or tea!
Necessary Tools for Success
- Springform pan
- Mixing bowls
- Electric mixer
- Spatula
- Measuring cups and spoons
Storage Instructions for Maximum Freshness
Once your No-Bake Cheesecake is ready, store it in the refrigerator, covered tightly with plastic wrap or aluminum foil. This prevents it from absorbing odors from other foods. If you live in a warm climate, ensure your fridge maintains a consistent temperature below 40°F (4°C). For extended storage, freeze individual slices wrapped in parchment paper and placed in an airtight container. When thawing, let it sit in the fridge overnight for optimal texture.
To enjoy leftovers, simply remove the desired portion and let it sit briefly at room temperature. Avoid microwaving, as this can alter the texture. With proper care, your cheesecake can last up to 5 days in the fridge or 2 months in the freezer.
Tips and Tricks for a Flawless Cheesecake
For an ultra-smooth filling, sift the powdered sugar before adding it to the cream cheese. To prevent cracks (though rare in no-bake versions), avoid overmixing the batter. Finally, use high-quality ingredients—premium cream cheese and real vanilla extract make a noticeable difference.
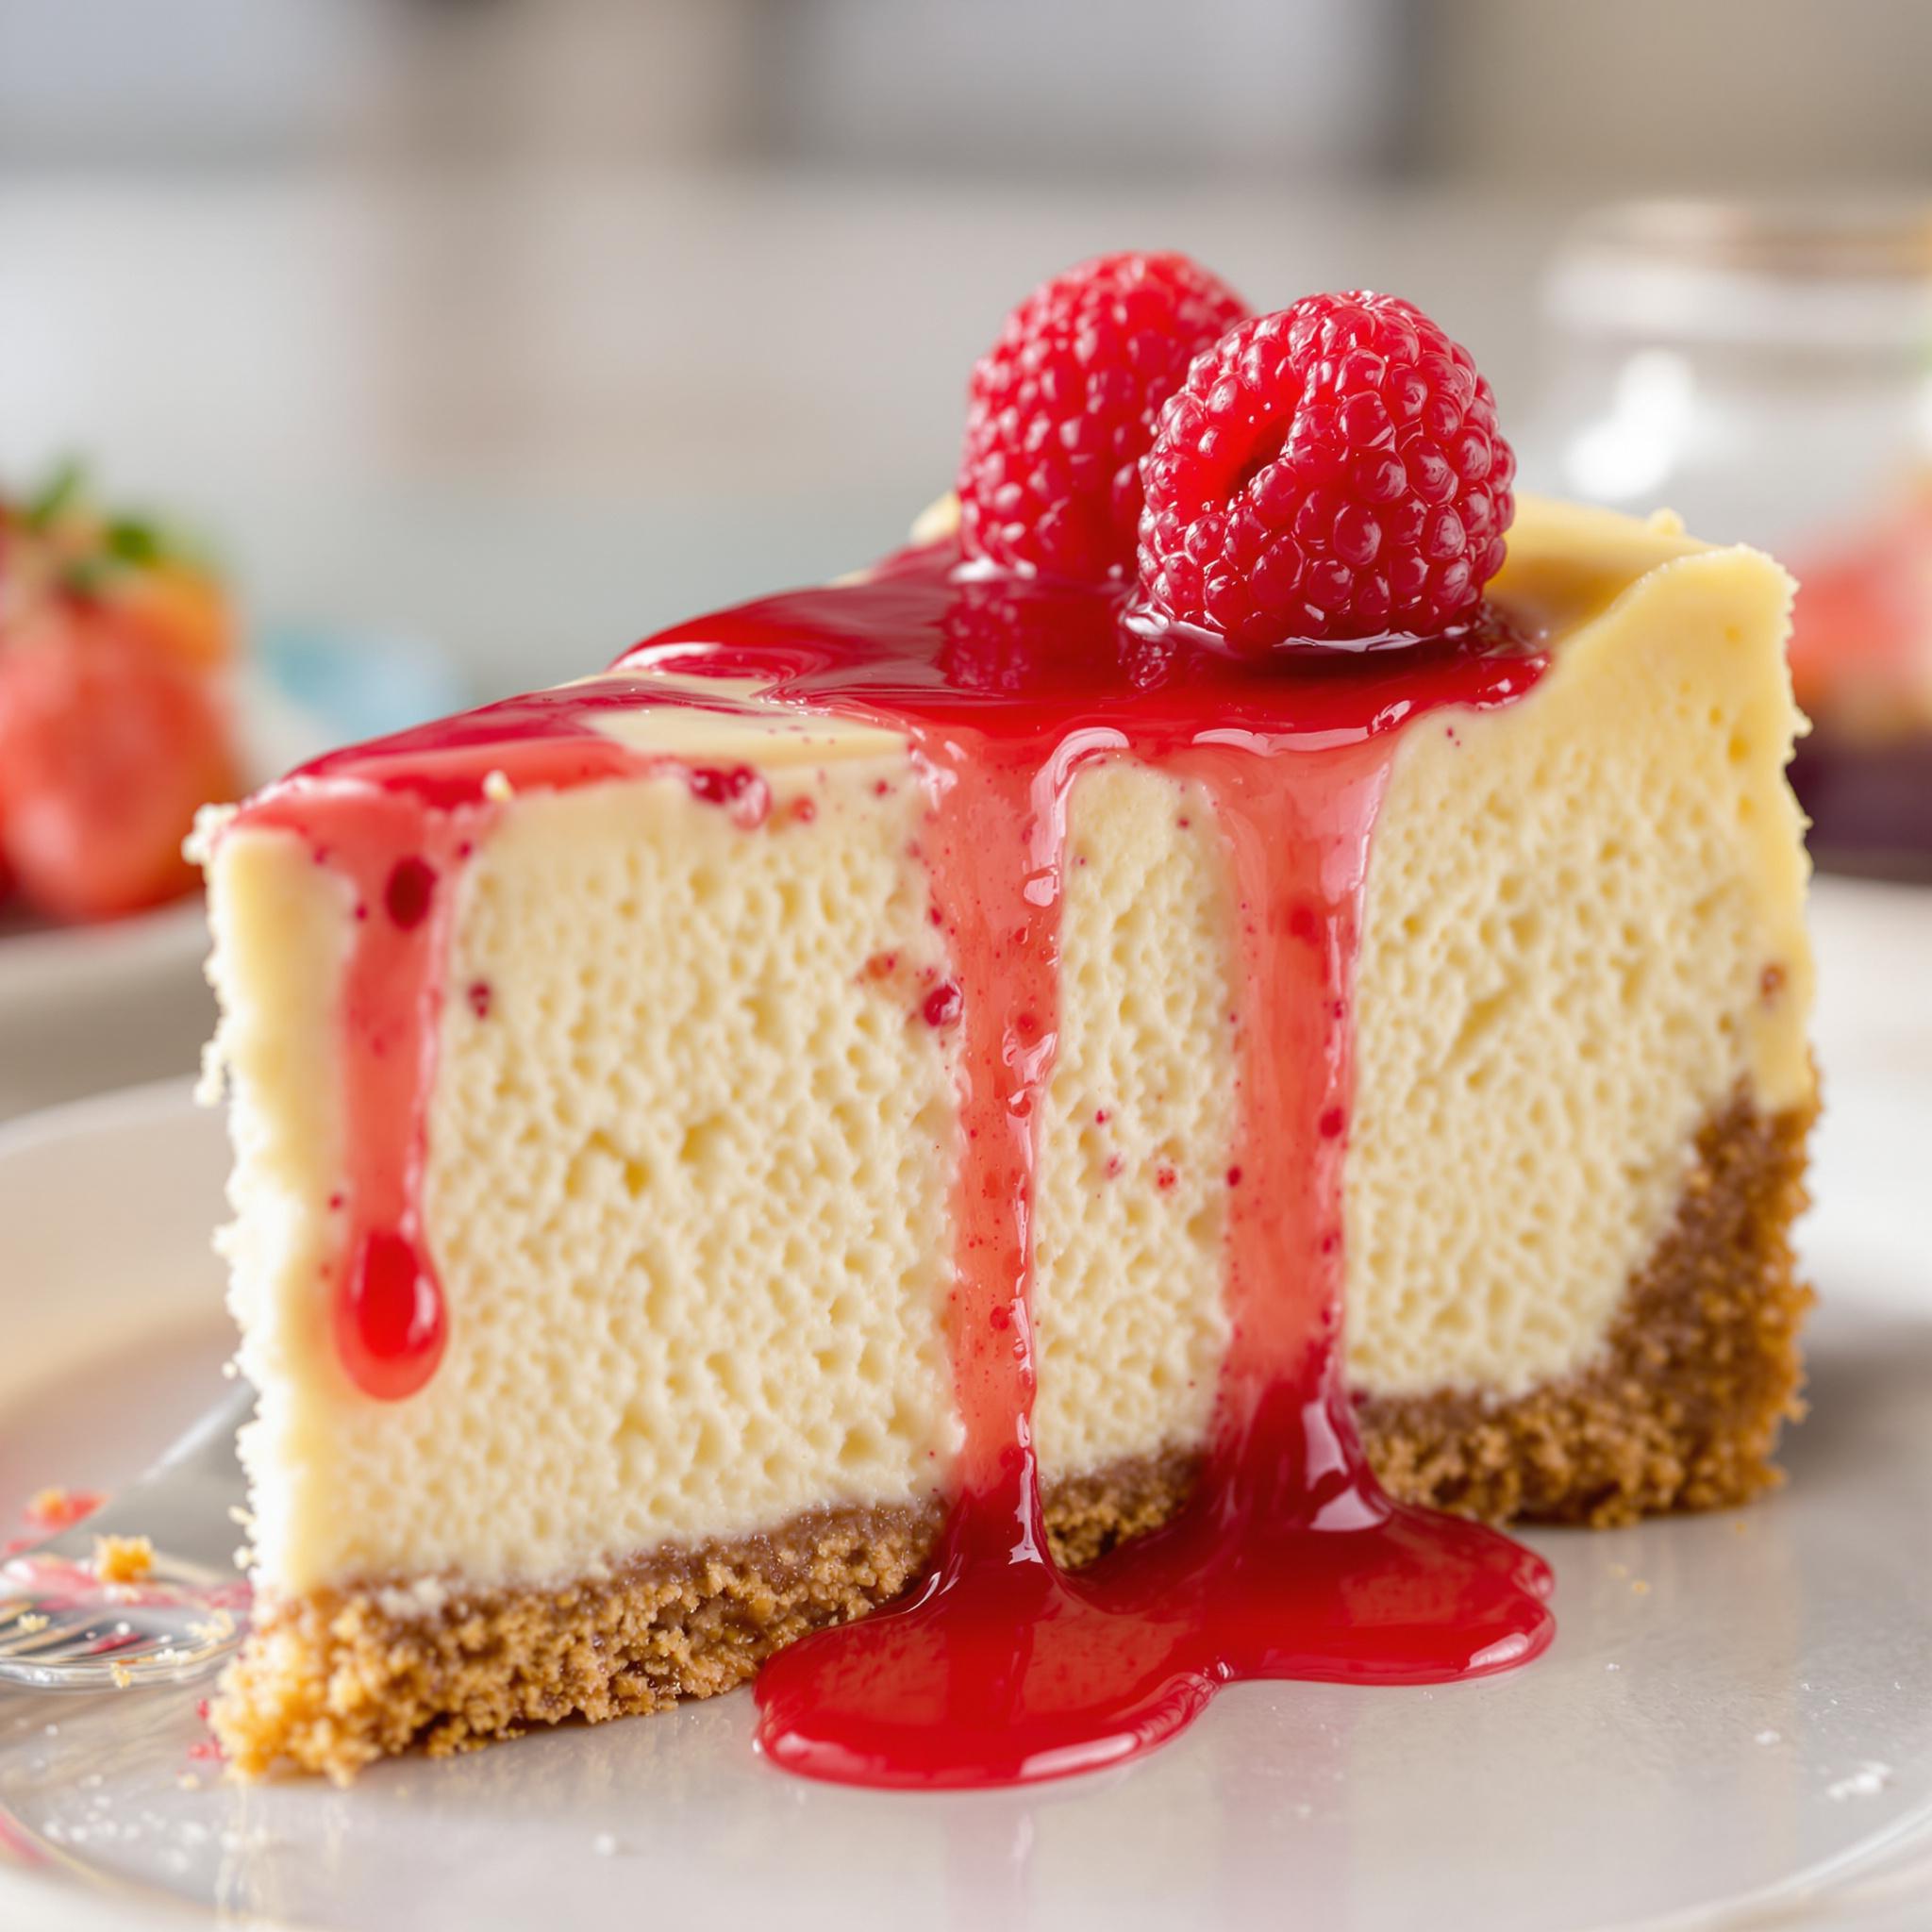
Serving Suggestions to Wow Your Guests
- Top with fresh strawberries or blueberries for a pop of color.
- Drizzle caramel sauce or chocolate ganache for added decadence.
Healthier Alternatives for Your No-Bake Cheesecake
Looking to lighten things up? Here are six healthier variations:
- Low-Sugar Option: Replace powdered sugar with stevia or erythritol.
- Vegan Version: Use cashew cream and coconut oil instead of cream cheese.
- Gluten-Free Crust: Substitute almond flour for graham crackers.
- Protein-Packed: Add a scoop of vanilla protein powder to the filling.
- Fruit-Infused: Blend pureed mango or raspberry into the filling.
- Dairy-Free Delight: Opt for plant-based cream cheese and whipped topping.
Common Mistakes to Avoid
Mistake 1: Using Cold Cream Cheese
One of the biggest blunders is using cold cream cheese straight from the fridge. This leads to lumpy filling, which ruins the silky texture we all love. Always let your cream cheese soften to room temperature before mixing. Pro tip: Cut it into cubes to speed up the process.
Mistake 2: Overwhipping the Cream
Overwhipping the heavy cream can turn it grainy or cause it to separate. Stop whipping as soon as stiff peaks form. A hand mixer works wonders here, giving you better control than a stand mixer.
Mistake 3: Skipping the Chill Time
Rushing the chilling step might seem tempting, but patience is key. Without adequate time in the fridge, the cheesecake won’t set properly, resulting in a messy slice. Plan ahead and chill overnight for best results.
Frequently Asked Questions
Can I use frozen whipped cream?
Yes, but thaw it completely first. Frozen whipped cream often contains stabilizers that may affect the texture slightly, so fresh whipping cream is preferred for a fluffier result.
How do I fix a lumpy filling?
If your filling turns out lumpy, blend it in a food processor or use an immersion blender until smooth. Ensure all ingredients are at room temperature next time to avoid this issue.
What can I substitute for graham crackers?
Digestive biscuits, crushed cookies, or even pretzels work well. Just ensure they’re finely ground for a cohesive crust.
Can I freeze this cheesecake?
Absolutely! Wrap individual slices in plastic wrap and freeze them for up to two months. Thaw in the fridge before serving.
Is it possible to make this gluten-free?
Yes, simply replace the graham crackers with gluten-free alternatives like almond flour or gluten-free cookies.
Why did my cheesecake sink in the middle?
This usually happens if the whipped cream wasn’t folded in gently enough. Be sure to incorporate it slowly to maintain airiness.
Can I add fruit directly to the filling?
Yes, but puree it first to distribute evenly. Fresh chunks may release liquid, affecting the texture.
How long does it last in the fridge?
Your No-Bake Cheesecake will stay fresh for up to five days when stored properly.
Do I need a springform pan?
While not mandatory, a springform pan makes unmolding easier. Alternatively, line a regular pan with parchment paper.
Can kids help with this recipe?
Definitely! Kids can crush the crackers, mix the crust, or decorate the finished cheesecake. It’s a fun activity for the whole family.
Conclusion
The No-Bake Cheesecake is more than just a dessert—it’s a celebration of simplicity, flavor, and creativity. Whether you stick to the classic version or experiment with healthier alternatives, this recipe promises happiness in every bite. So grab your ingredients, gather your loved ones, and let’s bake (or rather, chill) some memories together!
Equipment
- Springform pan
- Electric mixer
- Spatula
- Mixing bowls
- Measuring cups and spoons
Ingredients
- 1 ½ cups graham cracker crumbs
- 6 tablespoons unsalted butter melted
- 2 tablespoons granulated sugar
- 16 ounces cream cheese softened
- 1 cup powdered sugar
- 1 teaspoon vanilla extract
- 1 cup heavy whipping cream
Instructions
- Start by combining the graham cracker crumbs, melted butter, and granulated sugar in a bowl.
- In a large mixing bowl, beat the softened cream cheese until smooth and free of lumps.
- Pour the creamy filling over the chilled crust, spreading it evenly with a spatula.