
Welcome to the World of No-Bake Chocolate Mousse
There’s something magical about a dessert that doesn’t require baking yet delivers all the decadence of a classic treat. Enter No-Bake Chocolate Mousse, a velvety, creamy delight that will transport your taste buds straight to chocolate heaven. I first made this recipe for a summer potluck when I didn’t want to heat up my kitchen with the oven. The result? A show-stopping dessert that everyone raved about. Whether you’re a seasoned baker or just starting out in the kitchen, this no-bake wonder is sure to become your go-to recipe.
The Sweet History Behind Chocolate Mousse
Chocolate mousse has a rich history that dates back to 18th-century France, where it was originally created as an elegant dish for aristocrats. Over time, variations like no-bake versions emerged, making it accessible to home cooks worldwide. My personal twist on this classic skips the eggs and heavy cream, relying instead on simple ingredients like whipped cream and dark chocolate. It’s lighter yet still indulgent, perfect for modern gatherings or quiet evenings at home.
Why You’ll Love This No-Bake Chocolate Mousse Recipe
What makes this chocolate mousse without baking so irresistible? For starters, it’s incredibly easy to prepare—no need for precise measurements or complicated techniques. Plus, its rich cocoa flavor pairs beautifully with the airy texture, creating a balance that satisfies every craving. Whether you’re hosting a dinner party or simply treating yourself, this recipe guarantees smiles all around.
Perfect Occasions to Prepare No-Bake Chocolate Mousse
This quick chocolate mousse is ideal for any occasion! Serve it at birthdays, holidays, or casual get-togethers. It’s also perfect for hot summer days when turning on the oven feels unbearable. And let’s not forget—it makes an excellent last-minute dessert for unexpected guests!
Ingredients
- 8 ounces dark chocolate (70% cocoa)
- 2 cups heavy whipping cream
- 1/4 cup powdered sugar
- 1 teaspoon vanilla extract
- A pinch of salt
Substitution Options
If you’re looking to tweak the recipe, here are some substitutions:
– Replace dark chocolate with semi-sweet or milk chocolate for a sweeter taste.
– Swap heavy whipping cream with coconut cream for a dairy-free option.
– Use maple syrup instead of powdered sugar for a natural sweetness boost.
Preparation
Step 1: Melt the Chocolate
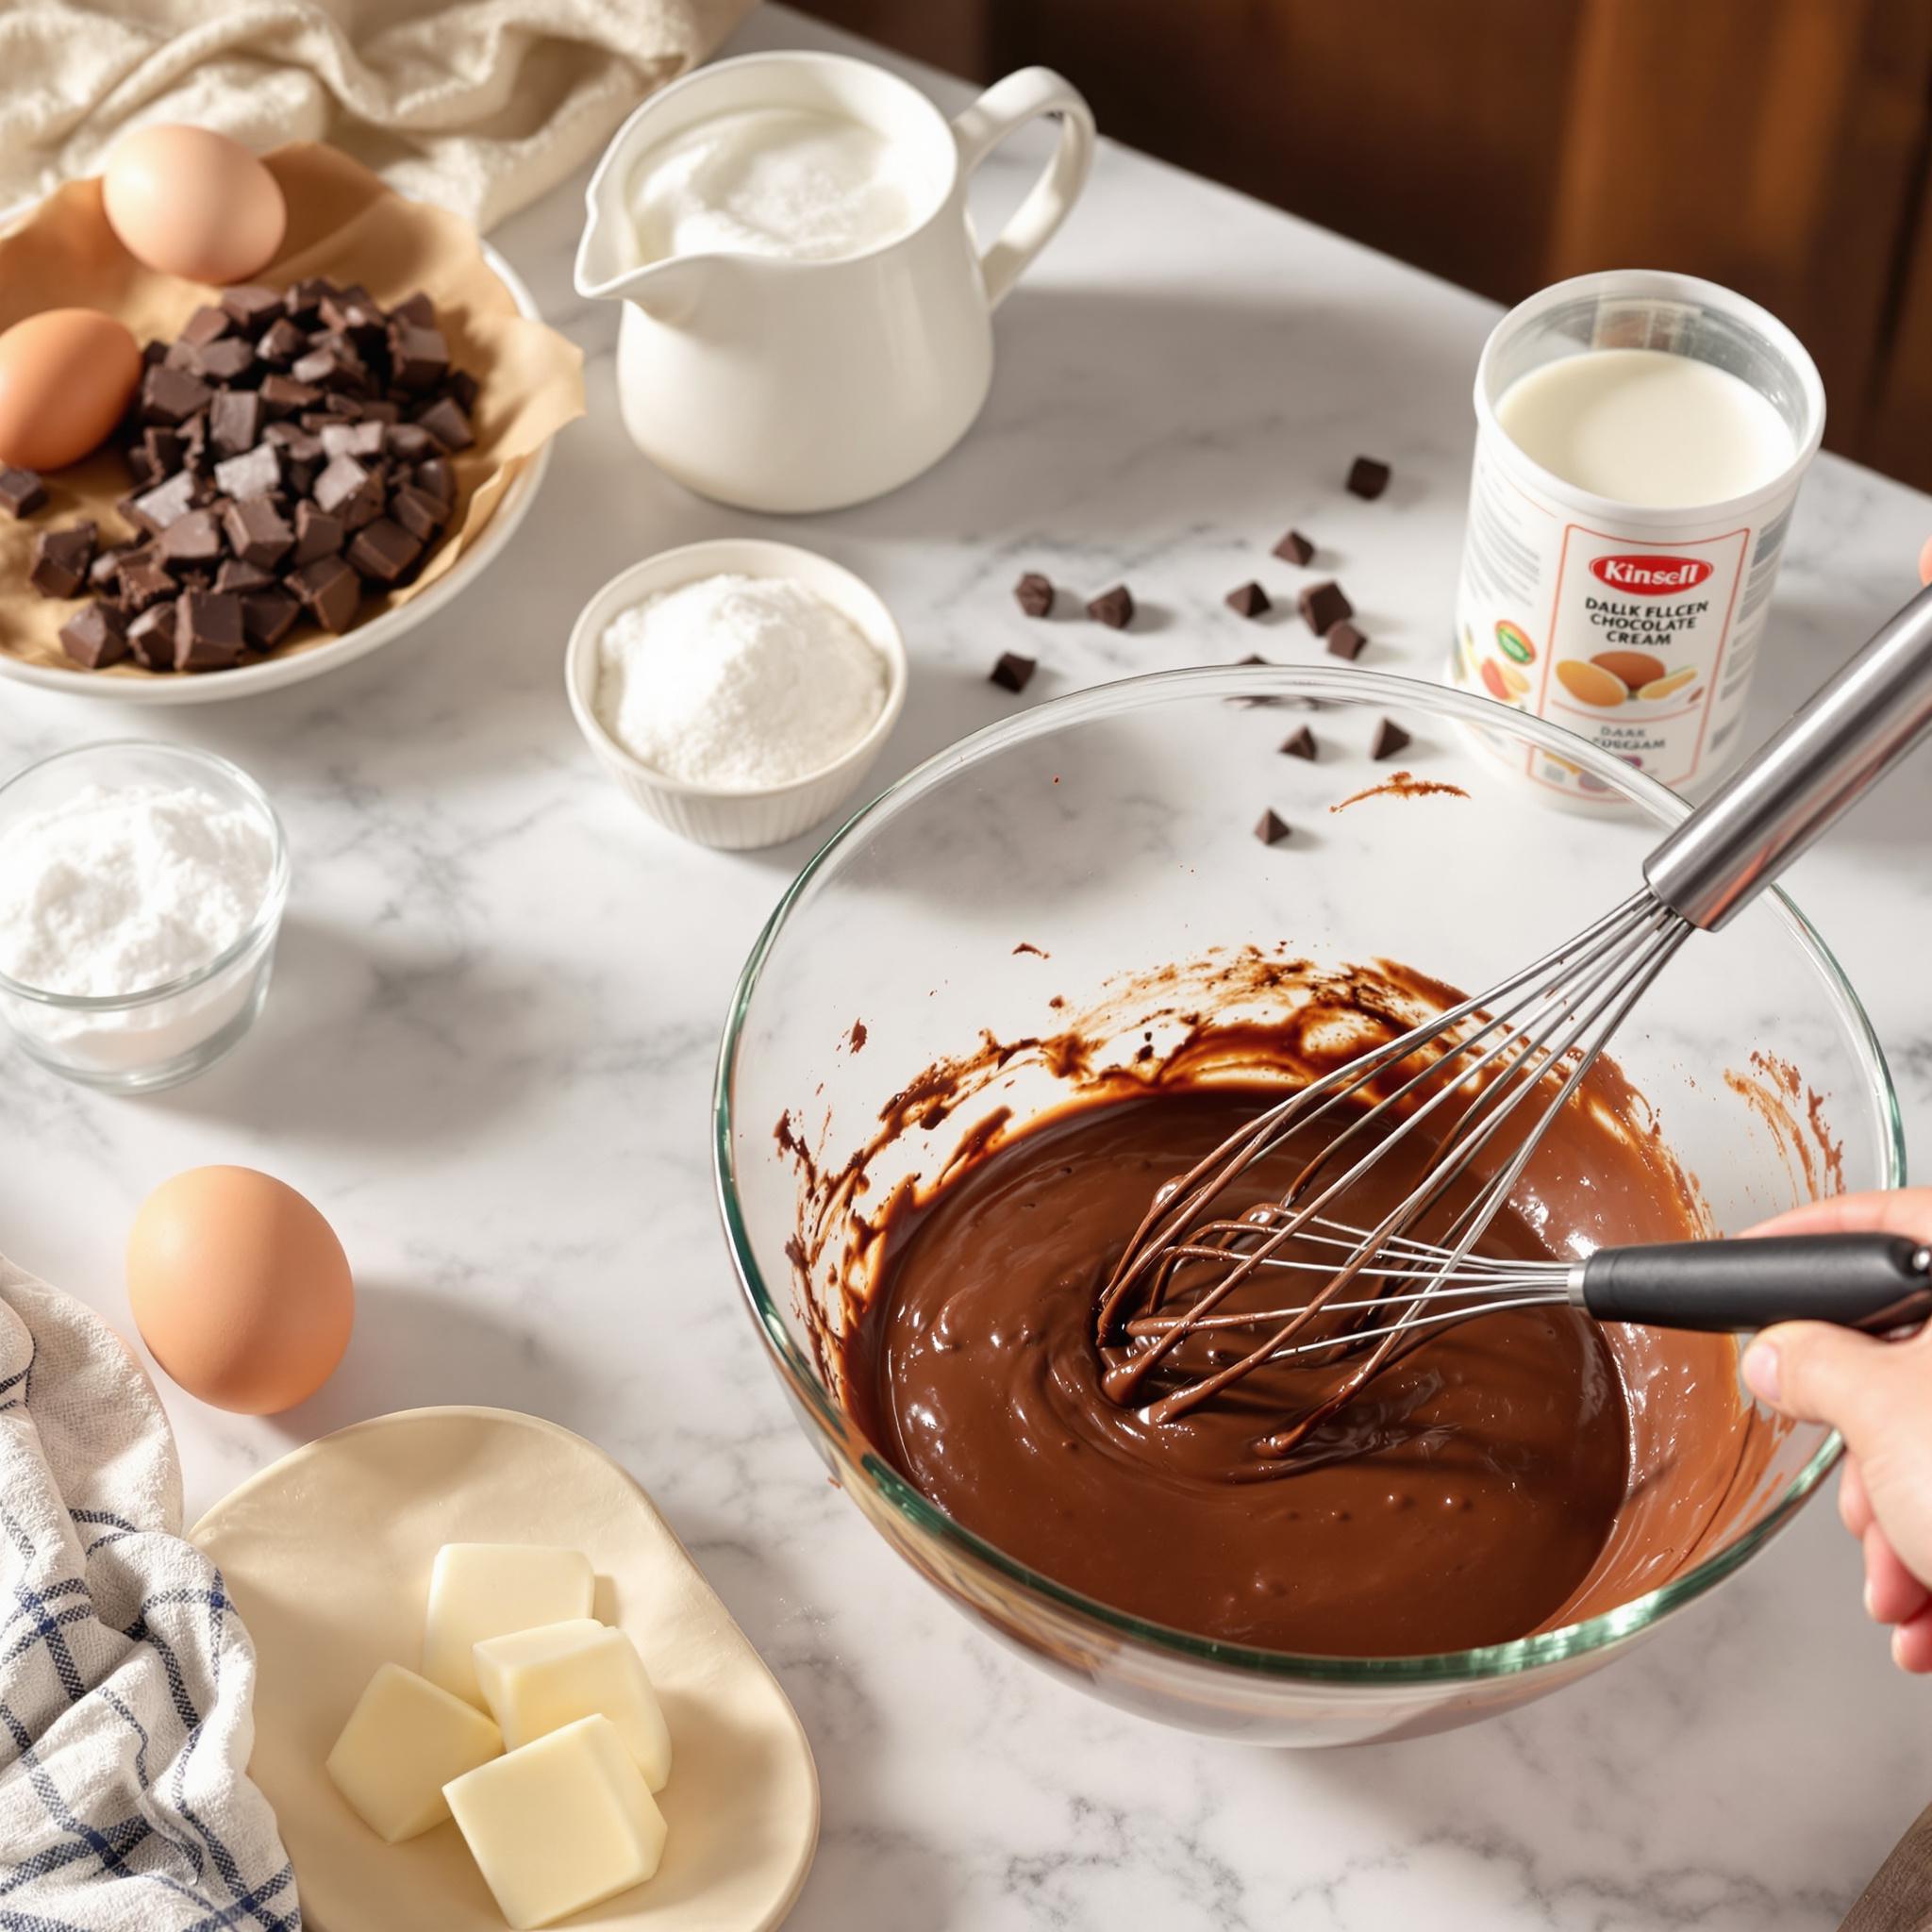
To begin, chop the dark chocolate into small pieces and place them in a heatproof bowl. Microwave the chocolate in 30-second intervals, stirring between each session until smooth and glossy. Be careful not to overheat it, as burnt chocolate can ruin the entire batch. Pro tip: Adding a teaspoon of vegetable oil while melting helps achieve a silky consistency.
Step 2: Whip the Cream
In a large mixing bowl, whip the heavy cream using an electric mixer until soft peaks form. Gradually add the powdered sugar, vanilla extract, and a pinch of salt, continuing to whip until stiff peaks appear. The mixture should be light, fluffy, and cloud-like—perfect for folding into the melted chocolate later.
Step 3: Combine and Chill
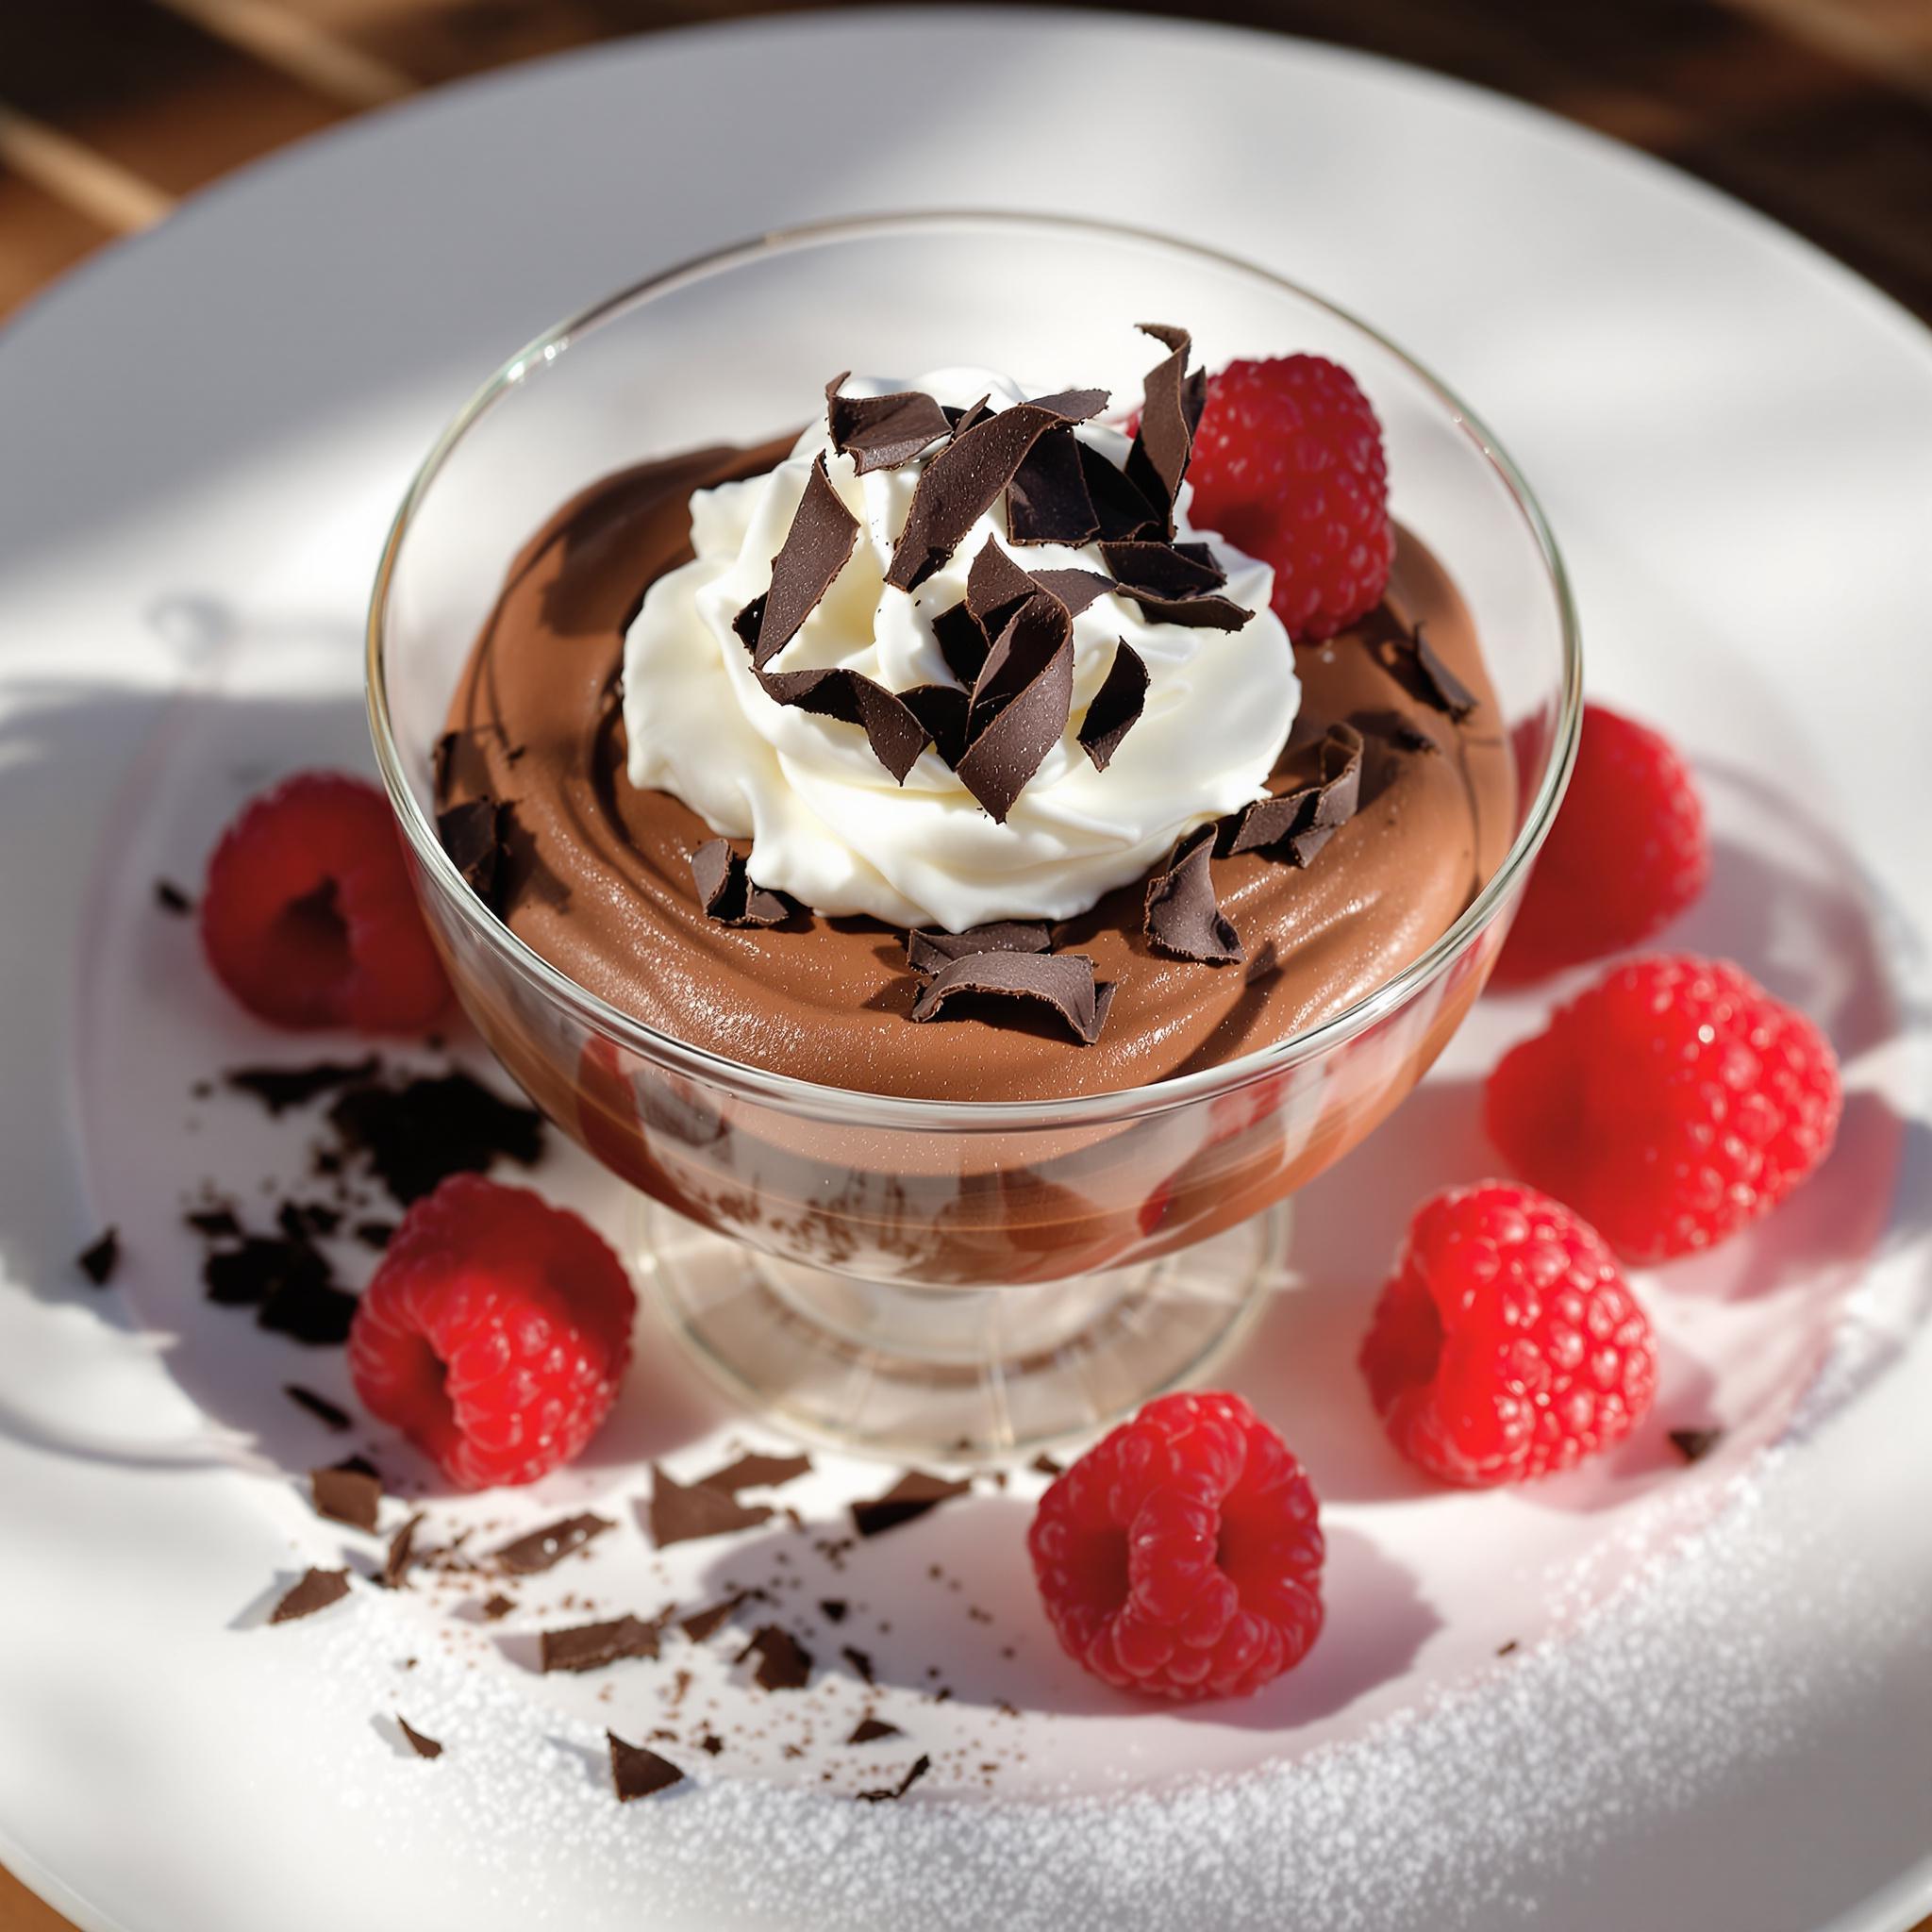
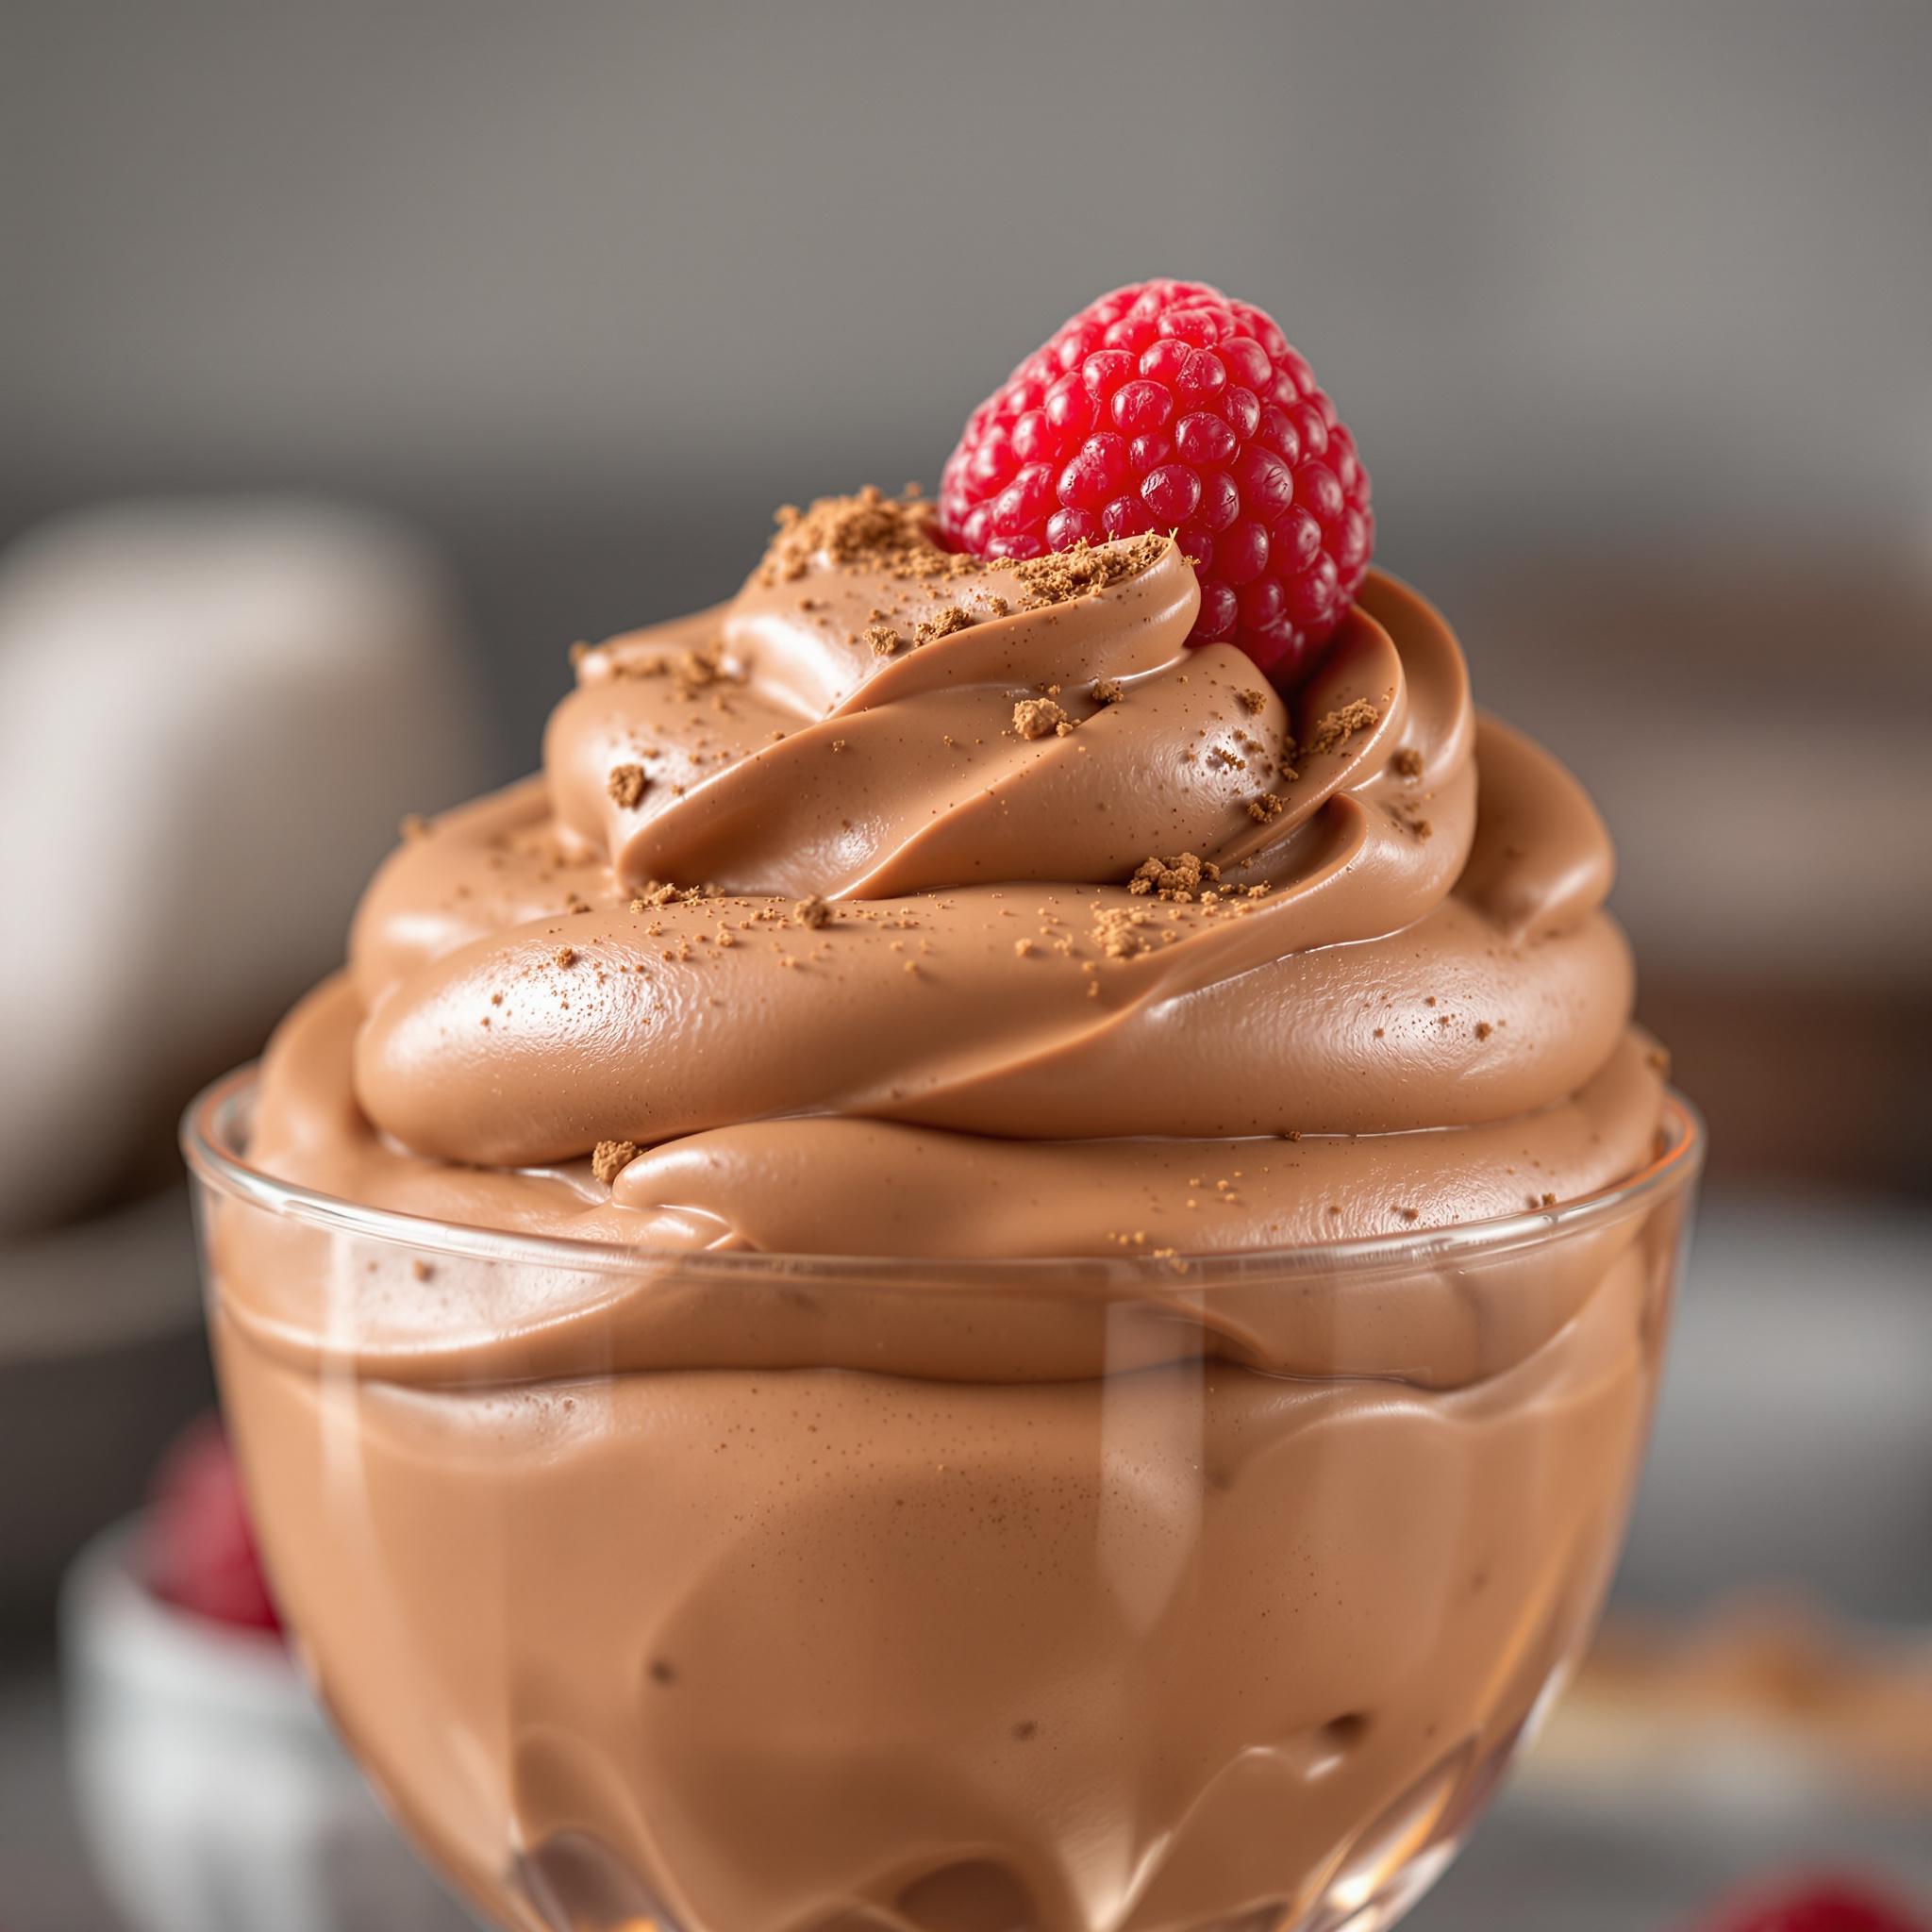
Gently fold one-third of the whipped cream into the melted chocolate to loosen its texture. Once combined, carefully incorporate the remaining whipped cream in two parts. This step ensures a uniform consistency without deflating the airy structure. Transfer the mixture to serving glasses or bowls and refrigerate for at least 4 hours, allowing the flavors to meld and set.
Chef’s Tip
For an extra layer of flavor, sprinkle a pinch of sea salt on top before serving. The contrast between sweet and salty elevates this easy chocolate mousse to gourmet status!
Time
- Prep Time: 15 minutes
- Chilling Time: 4 hours
- Total Time: 4 hours 15 minutes
Nutritional Information
Per serving (approximately 1/2 cup):
Calories: 280 | Protein: 3g | Fat: 22g | Carbohydrates: 20g | Sugar: 16g
Extra Information
Did you know that dark chocolate contains antioxidants? Incorporating high-quality dark chocolate into your desserts not only enhances flavor but also offers health benefits when consumed in moderation.
Necessary Tools
- Electric mixer
- Heatproof bowl
- Spatula
- Serving glasses or bowls
Storage Instructions
Short-Term Storage: Keep your no-bake chocolate mousse covered in the refrigerator for up to 3 days. Make sure to use an airtight container to prevent it from absorbing odors.
Long-Term Storage: While freezing isn’t recommended due to potential texture changes, you can freeze individual portions for up to 1 month. Thaw overnight in the fridge before enjoying.
Tips for Freshness: Always check for signs of spoilage, such as off smells or discoloration, before consuming stored mousse.
Tips and Tricks
- Use room-temperature ingredients for smoother blending.
- Fold gently to maintain the airy texture of the whipped cream.
- Experiment with toppings like fresh berries or crushed nuts for added flair.
Serving Suggestions
- Garnish with shaved chocolate or cocoa powder for elegance.
- Serve alongside warm brownies for a gooey-chewy combo.
Healthier Alternatives for No-Bake Chocolate Mousse
Looking to make your dessert guilt-free? Here are six healthier twists:
1. **Avocado Base:** Blend ripe avocados with cocoa powder and honey for a creamy, nutrient-rich base.
2. **Greek Yogurt Swap:** Substitute half the whipped cream with Greek yogurt for added protein.
3. **Dark Chocolate Boost:** Opt for 85% dark chocolate to reduce sugar content.
4. **Coconut Cream Delight:** Use full-fat coconut cream for a vegan-friendly version.
5. **Sugar-Free Sweetener:** Replace powdered sugar with stevia or monk fruit.
6. **Nut Butter Addition:** Stir in almond or peanut butter for richness and healthy fats.
Common Mistakes to Avoid
Mistake 1: Overmelting the Chocolate
Overheating chocolate can cause it to seize and become grainy. To avoid this, melt it slowly in short bursts, stirring frequently. Pro tip: Remove the bowl from the microwave while there are still a few unmelted chunks, as residual heat will finish the job.
Mistake 2: Skipping Chilling Time
Rushing the chilling process leads to runny mousse. Patience is key—allow the dessert to firm up in the fridge for at least 4 hours. Trust me; it’s worth the wait!
Mistake 3: Overmixing During Folding
Folding too aggressively can deflate the whipped cream, resulting in dense mousse. Instead, work gently and methodically to preserve the light texture.
Frequently Asked Questions
Can I make this recipe ahead of time?
Absolutely! This no-bake chocolate mousse can be prepared up to 2 days in advance. Just store it in the fridge and garnish right before serving.
Is this recipe suitable for vegans?
With slight adjustments, yes! Swap dairy-based ingredients with plant-based alternatives like coconut cream and vegan chocolate.
How do I fix grainy chocolate?
If your chocolate becomes grainy, try whisking in a tablespoon of warm water or cream to smooth it out.
Can I use milk chocolate instead?
Yes, though the flavor profile will differ slightly. Milk chocolate results in a sweeter, less intense mousse.
What tools do I need?
An electric mixer, spatula, and heatproof bowl are essential for achieving the best results.
Can kids help with this recipe?
Definitely! Kids love helping whip the cream and decorate the finished product.
Does this recipe contain eggs?
No, this version is egg-free, making it safe for those with allergies.
How long does it stay fresh?
Your mousse will stay fresh in the fridge for up to 3 days.
Can I freeze leftovers?
Freezing isn’t ideal but possible. Store individual portions and thaw overnight in the fridge.
What’s the best way to serve it?
Garnished with fresh berries, cocoa powder, or a dollop of whipped cream for extra flair.
Conclusion
No-Bake Chocolate Mousse is more than just a dessert—it’s a celebration of simplicity, flavor, and creativity. Whether you stick to the classic recipe or experiment with healthier alternatives, this treat promises to delight everyone who tries it. So grab your whisk, embrace the joy of cooking, and share the love one spoonful at a time!
Equipment
- Large mixing bowl
- Electric mixer
- Spatula
- Serving glasses or bowls
- Heatproof bowl
Ingredients
- 8 ounces dark chocolate (70% cocoa)
- 2 cups heavy whipping cream
- 1/4 cup powdered sugar
- 1 teaspoon vanilla extract
- A pinch of salt
Instructions
- Chop the dark chocolate into small pieces and place them in a heatproof bowl. Microwave the chocolate in 30-second intervals, stirring between until smooth and glossy. Pro tip: Adding a teaspoon of vegetable oil helps achieve a silky consistency.
- In a large mixing bowl, whip the heavy cream with an electric mixer until soft peaks form. Gradually add the powdered sugar, vanilla extract, and a pinch of salt, continuing to whip until stiff peaks appear.
- Gently fold one-third of the whipped cream into the melted chocolate. Once combined, incorporate the remaining whipped cream. Transfer to serving glasses or bowls and refrigerate at least 4 hours.