
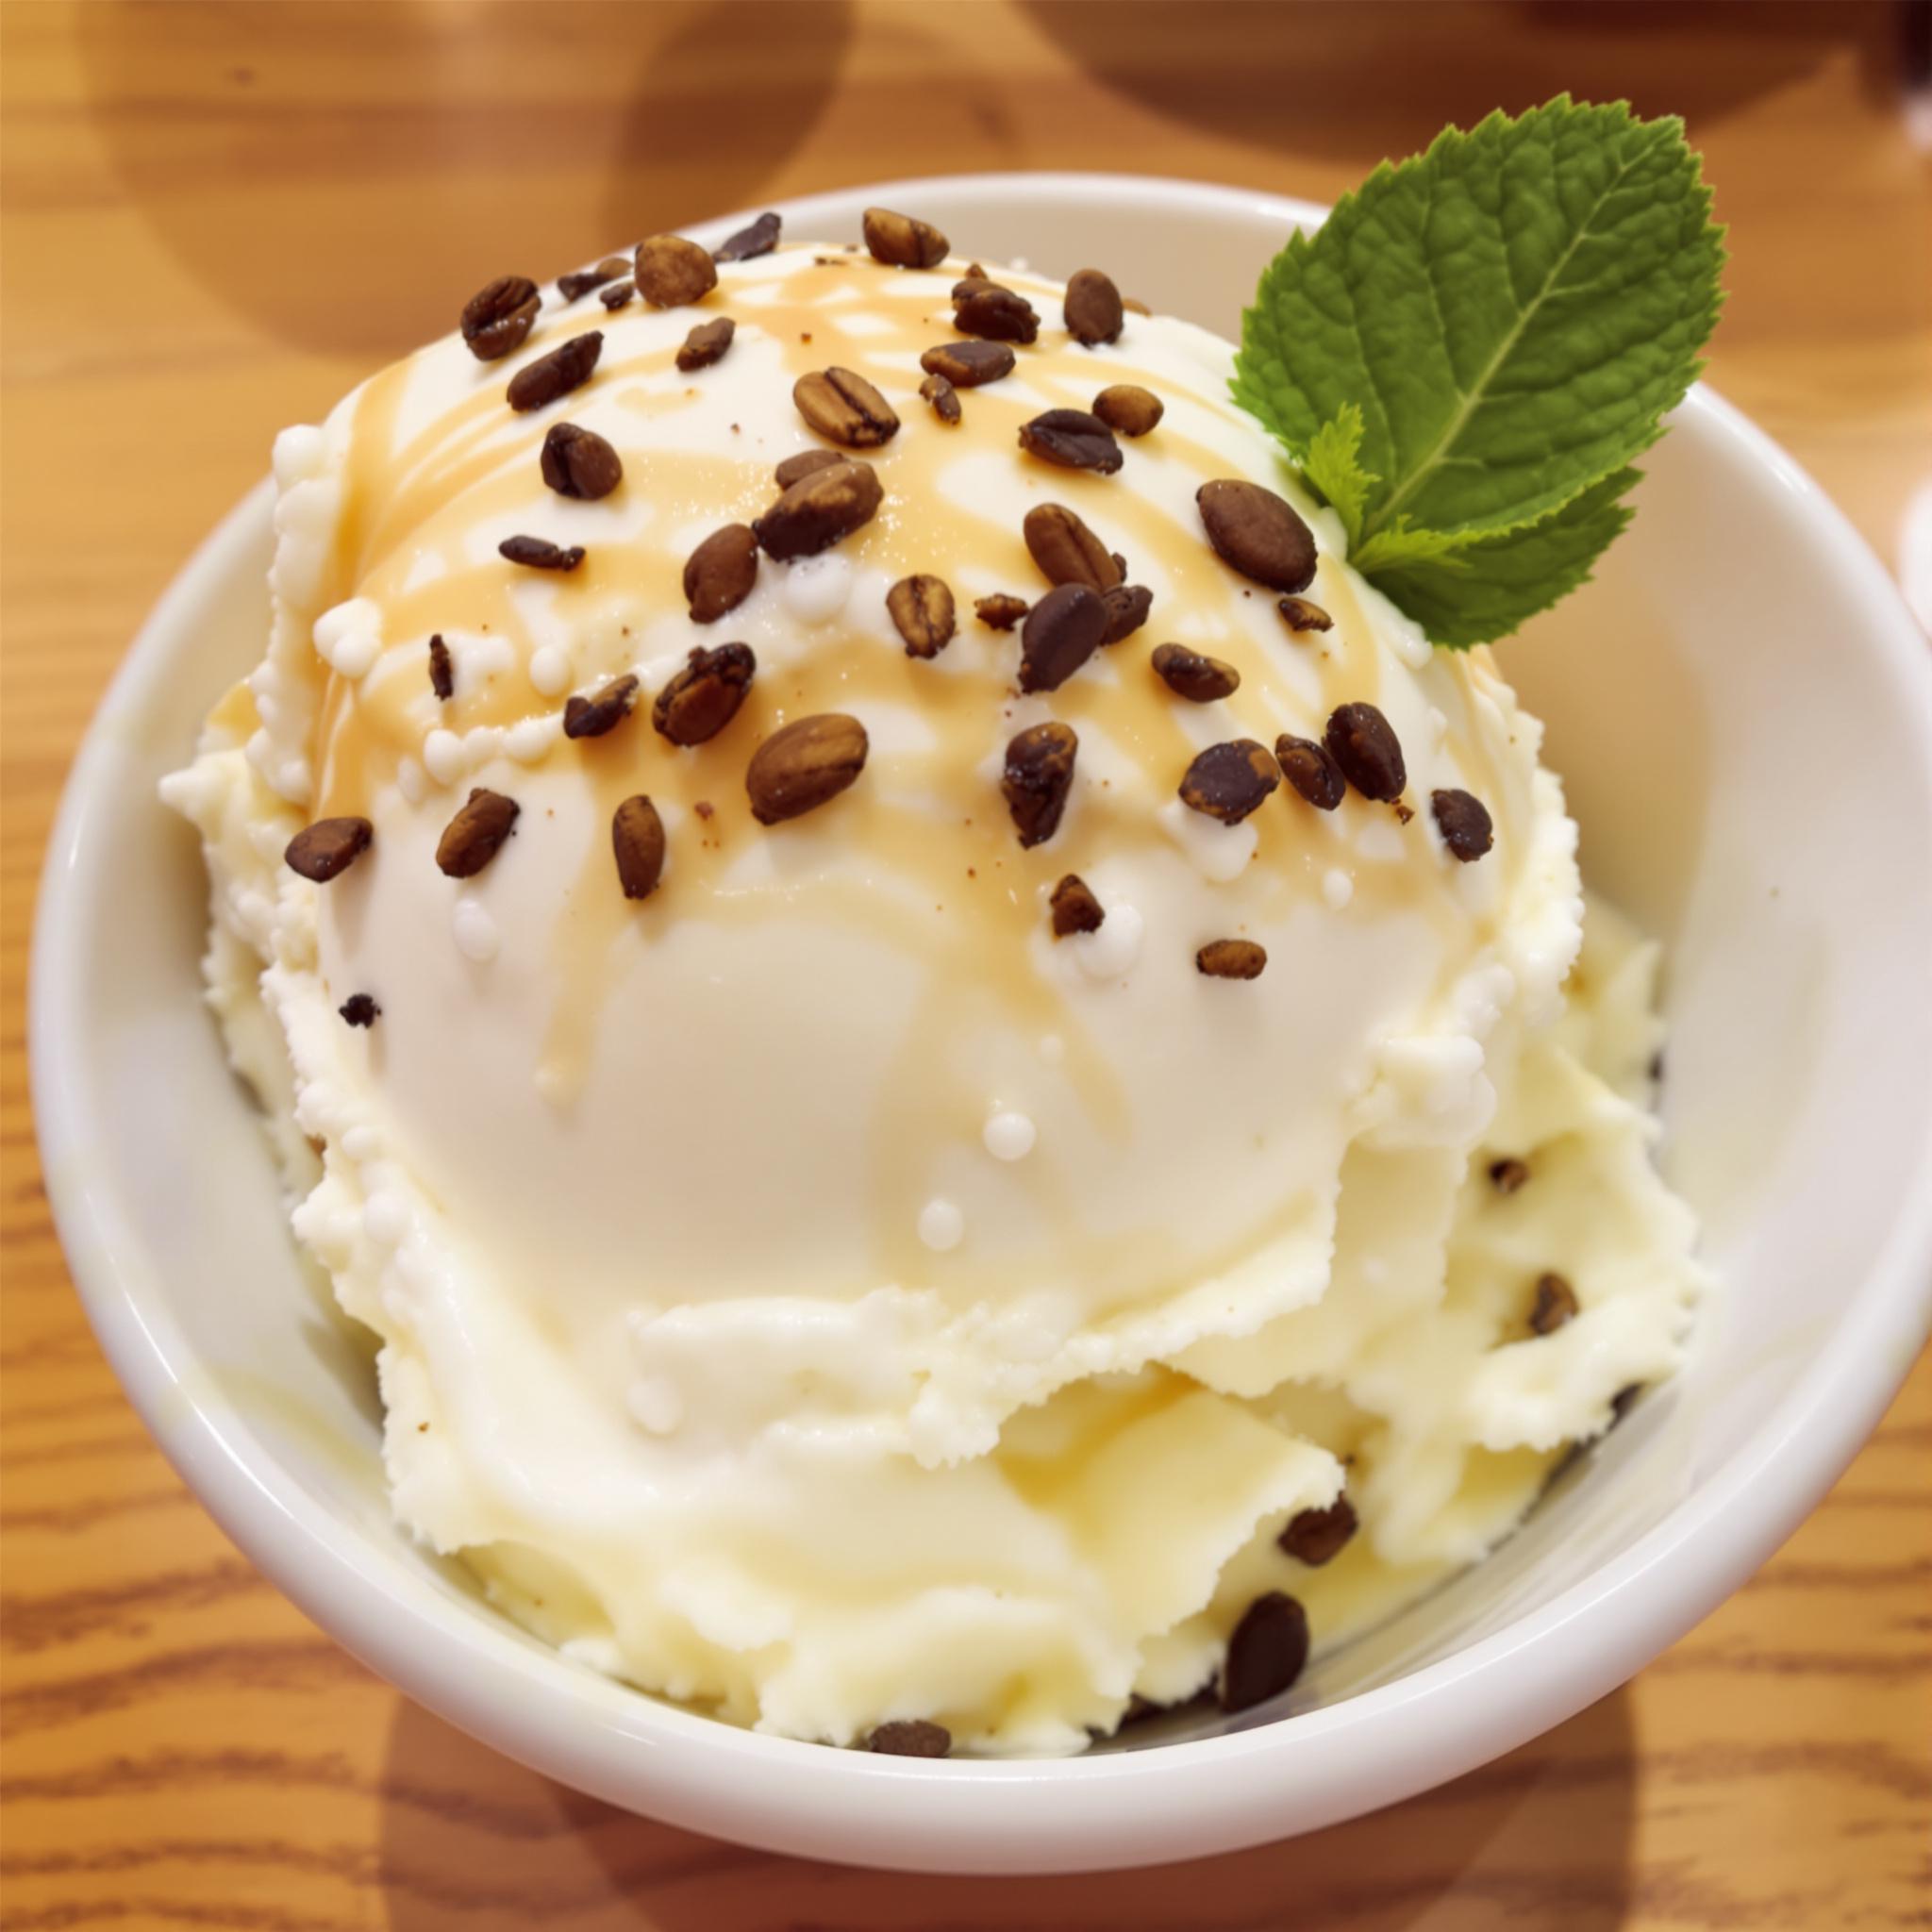
Welcome to My Favorite No-Churn Vanilla Ice Cream Recipe
There’s something magical about homemade ice cream, especially when it’s as simple and delicious as this No-Churn Vanilla Ice Cream. I first tried making this recipe on a hot summer afternoon when my kids were craving something sweet but I didn’t want to fuss with an ice cream maker. What started as an experiment turned into a family favorite! This creamy, dreamy treat is perfect for anyone who loves the classic flavor of vanilla but wants to skip the complicated steps.
The Sweet History of Vanilla Ice Cream
Vanilla ice cream has been a timeless dessert staple for centuries, with its origins tracing back to Europe in the 17th century. It gained popularity after being introduced by explorers who brought vanilla beans from Mexico. Over time, it became a symbol of indulgence and simplicity, loved by royalty and common folk alike. Today, No-Churn Vanilla Ice Cream offers a modern twist, making it accessible to home cooks everywhere. I love how this version skips the churning process while still delivering that rich, velvety texture we all adore.
Why You’ll Love This No-Churn Vanilla Ice Cream Recipe
This no-churn vanilla ice cream recipe is a game-changer for anyone intimidated by traditional methods. The ingredients are pantry staples, and the process is so easy that even beginners can nail it on their first try. Plus, the result? A smooth, creamy delight that rivals store-bought versions. Whether you’re hosting a dinner party or just craving a scoop of comfort, this recipe will quickly become your go-to.
Perfect Occasions to Make No-Churn Vanilla Ice Cream
This homemade no-churn vanilla ice cream is perfect for any occasion. Serve it at birthday parties, backyard barbecues, or cozy movie nights. It’s also a fantastic dessert to bring to potlucks or holiday gatherings. Personally, I love pairing it with warm apple pie during fall evenings—it’s like a hug in a bowl!
Ingredients for No-Churn Vanilla Ice Cream
- 2 cups heavy whipping cream
- 1 (14 oz) can sweetened condensed milk
- 1 tablespoon pure vanilla extract
- A pinch of salt
Substitution Options
- Swap heavy whipping cream with coconut cream for a dairy-free option.
- Use almond extract instead of vanilla extract for a nutty twist.
- Add a drizzle of honey if you prefer a sweeter taste.
Preparation Steps
Step 1: Whip the Cream
To start your journey to creamy perfection, grab a large mixing bowl and pour in the heavy whipping cream. Using an electric mixer, whip the cream until stiff peaks form. Be patient—this step takes a few minutes, but it’s worth it! As the cream thickens, you’ll notice its beautiful transformation into soft clouds of fluffiness. Pro tip: Chill your bowl and beaters beforehand to help the cream whip faster and hold its shape better.
Step 2: Mix the Base
In another bowl, combine the sweetened condensed milk, vanilla extract, and a pinch of salt. Stir gently until everything is well incorporated. The mixture should have a rich, golden hue and smell absolutely heavenly thanks to the vanilla. This base provides the sweetness and depth of flavor that makes this no-churn vanilla ice cream stand out.
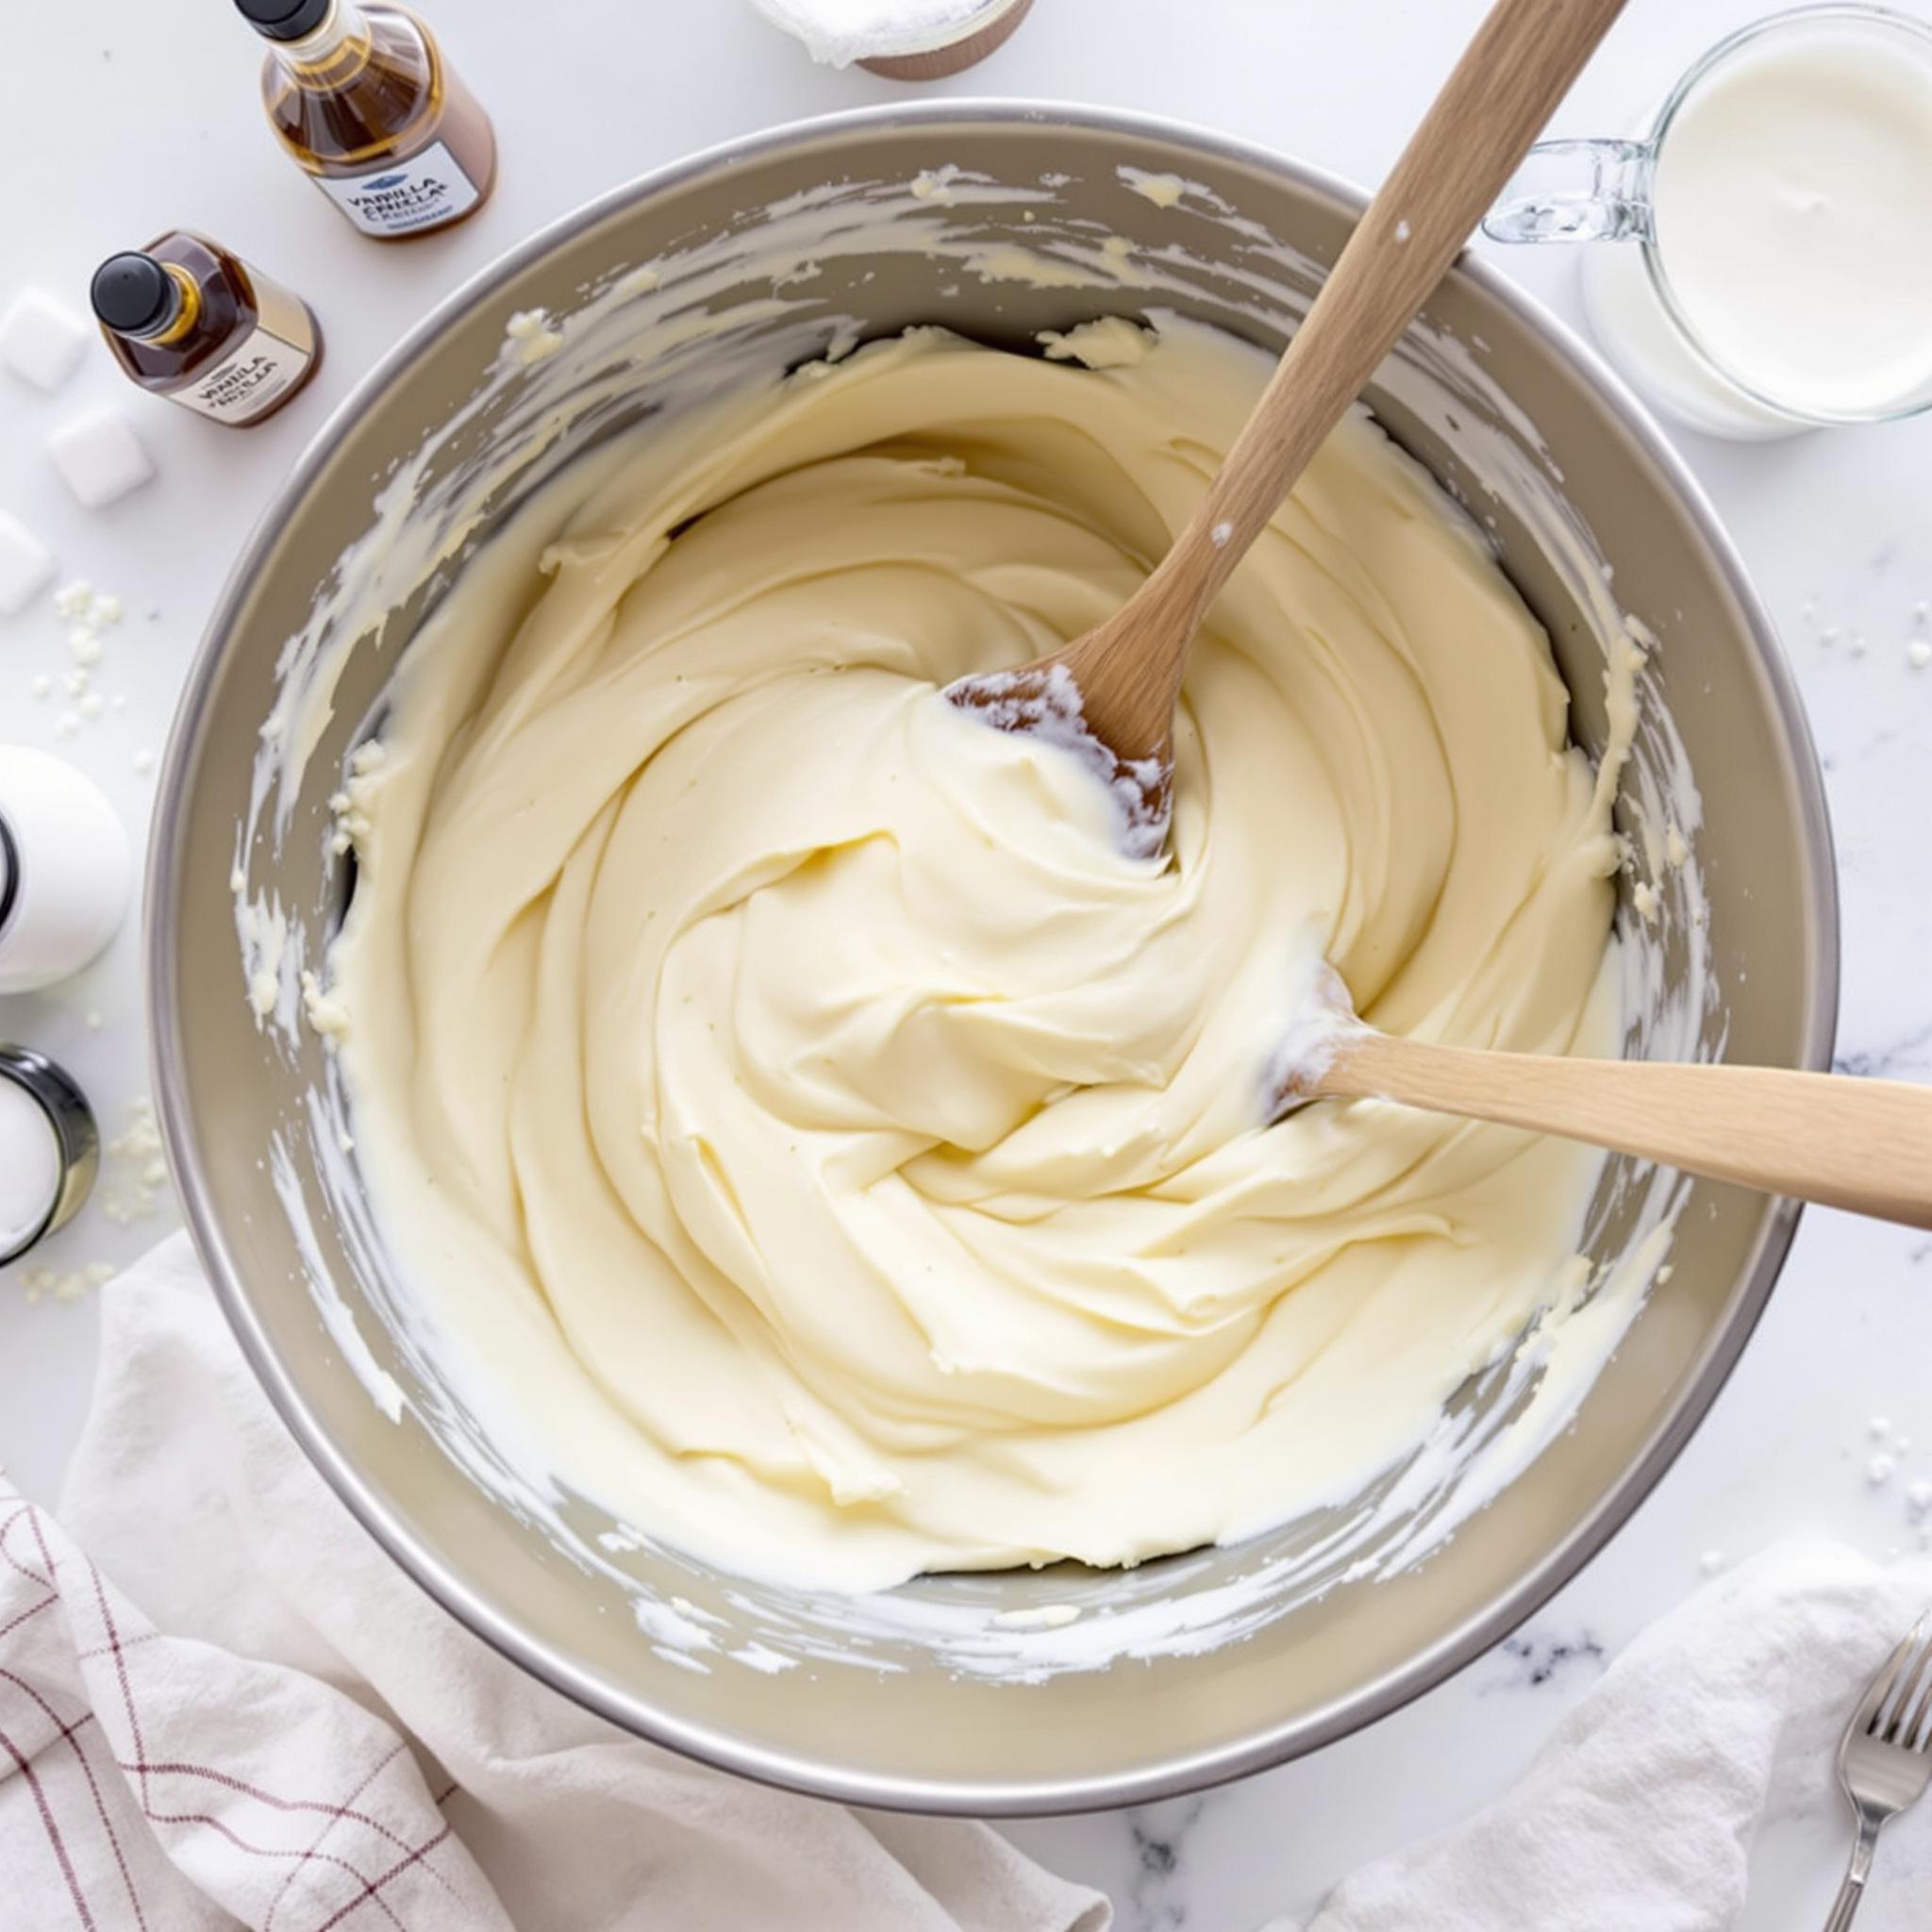
Step 3: Fold Everything Together
Now comes the fun part—combining the two components! Gently fold the whipped cream into the condensed milk mixture using a spatula. Work slowly to avoid deflating the whipped cream; think of it as folding a delicate cake batter. Once fully combined, transfer the mixture into a loaf pan or freezer-safe container. Smooth the top with a spatula for a polished finish.
Step 4: Freeze and Enjoy
Cover the container with plastic wrap or foil to prevent freezer burn, then pop it into the freezer for at least 6 hours, though overnight is ideal. As it freezes, the flavors meld together, creating a luscious, scoopable treat. Trust me, waiting is the hardest part—but it’s worth every second!
Chef’s Tip
For an extra touch of luxury, add a teaspoon of vanilla bean paste instead of extract. Those tiny black specks not only look stunning but also intensify the vanilla flavor, taking your homemade no-churn vanilla ice cream to the next level.
Time Breakdown
- Prep Time: 15 minutes
- Freezing Time: 6+ hours
- Total Time: Approximately 7 hours
Nutritional Information
Per serving (about ½ cup):
Calories: 250 | Fat: 18g | Carbohydrates: 20g | Protein: 4g
Extra Information
Did you know that vanilla is one of the most labor-intensive crops to cultivate? Each vanilla pod must be hand-pollinated, which explains why real vanilla extract is so precious. Using high-quality vanilla ensures your no-churn vanilla ice cream tastes authentic and divine.
Necessary Tools
- Electric mixer or whisk
- Large mixing bowls
- Spatula
- Loaf pan or freezer-safe container
Storage Instructions
Once frozen, keep your no-churn vanilla ice cream in an airtight container to maintain freshness. If stored properly, it can last up to two weeks in the freezer. To prevent ice crystals from forming, press a piece of parchment paper directly onto the surface before sealing the container. For longer storage, consider dividing the ice cream into smaller portions to minimize exposure to air each time you scoop.
If you notice any changes in texture after prolonged freezing, simply let the ice cream sit at room temperature for a few minutes before serving. This will restore its creamy consistency.
Lastly, always use clean utensils when scooping to avoid introducing bacteria or moisture, which can affect the quality of your dessert.
Tips and Tricks
- Chill your bowls and tools before whipping the cream for optimal results.
- Experiment with mix-ins like chocolate chips, crushed cookies, or fresh fruit.
- For a boozy twist, stir in a splash of rum or bourbon before freezing.

Serving Suggestions
- Serve with hot fudge sauce and chopped nuts for a sundae experience.
- Pair with fresh berries for a refreshing contrast.
Healthier Alternatives
Looking to lighten up your no-churn vanilla ice cream? Here are six variations:
- Low-Fat Version: Replace heavy cream with light whipping cream and reduce the amount of sweetened condensed milk slightly.
- Dairy-Free Delight: Use full-fat coconut milk and coconut cream for a plant-based alternative.
- Protein-Packed Option: Add a scoop of unflavored protein powder to the base for an extra boost.
- Sugar-Free Treat: Substitute the sweetened condensed milk with a keto-friendly version made from almond or coconut milk.
- Fruit-Infused Twist: Blend in mashed bananas or mango puree for natural sweetness.
- Spiced Delicacy: Add a dash of cinnamon or cardamom for a warm, aromatic flavor.
Common Mistakes to Avoid
Mistake 1: Overmixing the Whipped Cream
One common error is overmixing the whipped cream until it becomes grainy or separates. This happens because people get impatient or don’t pay attention to the texture. To avoid this, stop whipping as soon as stiff peaks form. Pro tip: Test the consistency by lifting the whisk—if the peak holds its shape, you’re good to go!
Mistake 2: Skipping the Salt
A pinch of salt might seem insignificant, but it enhances the overall flavor profile of your no-churn vanilla ice cream. Without it, the sweetness can feel overwhelming. Always remember to include this small yet crucial ingredient.
Mistake 3: Not Freezing Long Enough
Rushing the freezing process is another frequent mistake. Cutting corners here leads to a soft, melty texture rather than firm scoops. Patience is key—allow the ice cream to freeze completely for best results.
Frequently Asked Questions
Can I use imitation vanilla?
While imitation vanilla works in a pinch, I highly recommend using pure vanilla extract for the best flavor. Real vanilla adds a depth and richness that artificial versions simply can’t replicate.
How long does it last in the freezer?
Your no-churn vanilla ice cream can stay fresh in the freezer for up to two weeks if stored correctly. Beyond that, the texture may begin to degrade slightly.
Do I need an ice cream maker?
Nope! One of the best things about this recipe is that it requires no special equipment. Just a mixer and a freezer-safe container are all you need.
Can I add mix-ins?
Absolutely! Chocolate chips, cookie crumbles, or fresh fruit make wonderful additions. Fold them in gently before freezing.
Is it gluten-free?
Yes, this recipe is naturally gluten-free, making it a great option for those with dietary restrictions.
What if my ice cream is too hard?
If your ice cream becomes rock-solid, let it sit at room temperature for 5-10 minutes before scooping. This softens it slightly without compromising the flavor.
Can I double the recipe?
Of course! Doubling the recipe is easy—just ensure you have enough space in your freezer for larger quantities.
Why is my ice cream icy?
Icy textures often occur due to improper storage or excessive stirring during preparation. Minimize air exposure and handle the mixture gently to prevent this issue.
Can I make it ahead of time?
Definitely! In fact, preparing it ahead of time allows the flavors to develop further, resulting in an even tastier dessert.
Does altitude affect the recipe?
Altitude rarely impacts no-churn recipes since they don’t rely on precise chemical reactions. However, slight adjustments to whipping times may be necessary depending on your location.
Conclusion
With its simplicity and incredible taste, this No-Churn Vanilla Ice Cream is truly a winner. Whether you’re a seasoned baker or a kitchen newbie, this recipe proves that amazing desserts don’t have to be complicated. So grab your ingredients, gather your loved ones, and enjoy the joy of homemade ice cream—it’s sure to become a cherished tradition in your home, just like it has in mine!
Equipment
- Large bowl
- Electric mixer
- Spatula
- Freezer-safe container
Ingredients
- 2 cups heavy whipping cream
- 14 oz sweetened condensed milk
- 1 tbsp pure vanilla extract
- 1 pinch salt
Instructions
- In a large mixing bowl, pour the heavy whipping cream and use an electric mixer to whip it until stiff peaks form.
- In another bowl, combine sweetened condensed milk, vanilla extract, and a pinch of salt. Stir until well combined.
- Gently fold the whipped cream into the milk mixture using a spatula, being careful not to deflate it.
- Transfer the mixture to a loaf pan, cover it, and freeze for at least 6 hours before serving.