
Introduction: The Magic of No-Fail Brownies
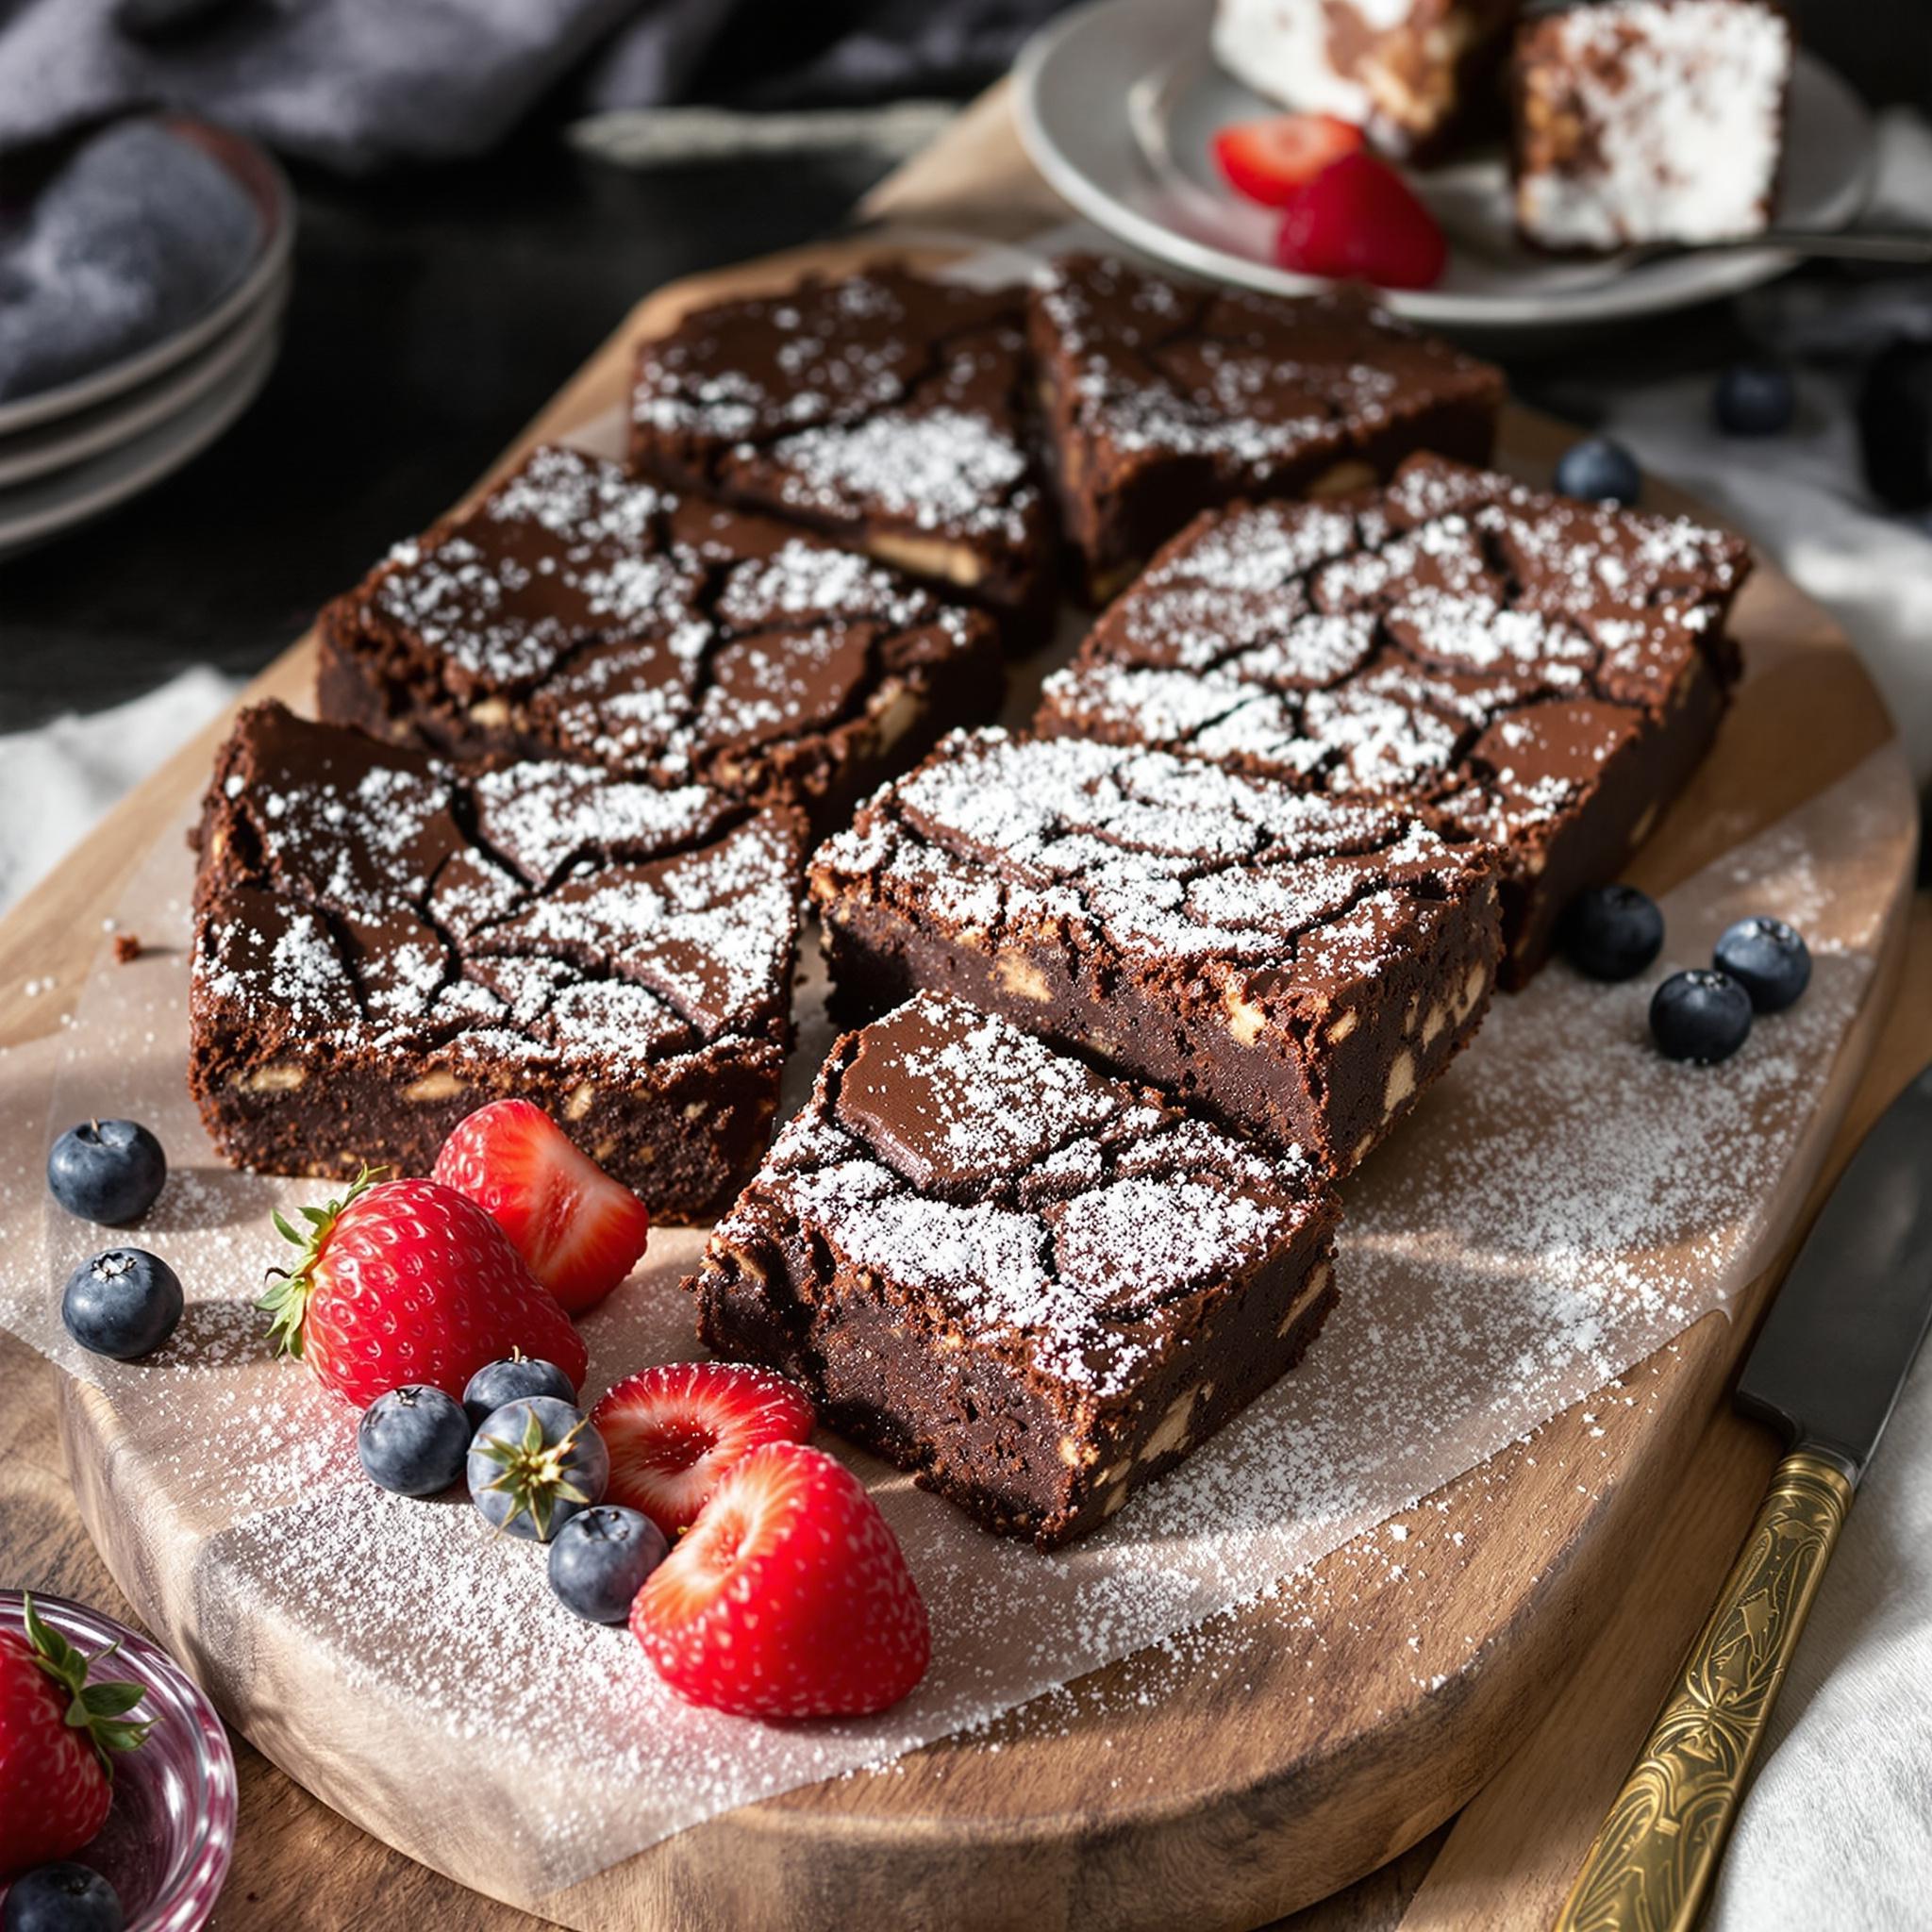
When it comes to baking, few treats are as universally loved as brownies. These rich, fudgy squares of chocolatey goodness are a crowd-pleaser, whether you’re serving them at a family gathering or enjoying a quiet moment with a cup of coffee. My No-Fail Brownies recipe is special because it’s exactly what the name suggests—completely foolproof! I’ve tested this recipe countless times, and every batch turns out perfectly gooey on the inside with a crisp, crinkly top. Whether you’re a seasoned baker or a beginner, these brownies will make you feel like a pro in the kitchen.
The Sweet History of Brownies
Brownies have a fascinating history that dates back to the late 19th century. Legend has it that they were invented by accident when a baker forgot to add flour to a chocolate cake recipe. This happy mistake resulted in a dense, chewy treat that quickly became a favorite. Over the years, brownie recipes have evolved, with variations ranging from fudgy to cakey, nutty to nut-free. My No-Fail Brownies strike the perfect balance between fudgy and chewy, making them an irresistible choice for any occasion. I remember the first time I made these—they disappeared so fast that I had to bake another batch immediately!
Why You’ll Love These No-Fail Brownies
What makes these fudgy brownies stand out is their simplicity and consistency. With just a handful of pantry staples, you can whip up a batch that’s guaranteed to impress. The texture is divine—soft, moist, and packed with rich chocolate flavor. Plus, the recipe is versatile enough to customize with your favorite add-ins, like nuts, chocolate chips, or even a swirl of peanut butter. Whether you’re craving a classic brownie experience or something a little more adventurous, this recipe has got you covered.
Perfect Occasions for No-Fail Brownies
These chocolate brownies are perfect for almost any occasion. Need a quick dessert for a potluck? Check. Want to surprise your kids with an after-school treat? Done. Hosting a cozy movie night or a holiday gathering? These brownies will be the star of the show. They’re also great for gifting—wrap them up in a pretty box, and you’ve got a thoughtful homemade present that everyone will love.
Ingredients for No-Fail Brownies
- 1 cup unsalted butter
- 2 cups granulated sugar
- 4 large eggs
- 1 teaspoon vanilla extract
- 1 cup all-purpose flour
- ¾ cup cocoa powder
- ½ teaspoon baking powder
- ¼ teaspoon salt
- 1 cup semi-sweet chocolate chips (optional)
Substitution Options
If you’re looking to tweak this recipe, here are some easy swaps: Use melted coconut oil instead of butter for a dairy-free version. Swap white sugar for brown sugar to add a caramel-like depth of flavor. For gluten-free brownies, replace the all-purpose flour with almond flour or a gluten-free flour blend. And if you’re not a fan of semi-sweet chocolate chips, try dark chocolate chunks or butterscotch chips for a fun twist.
Preparation
Step 1: Melt the Butter and Sugar
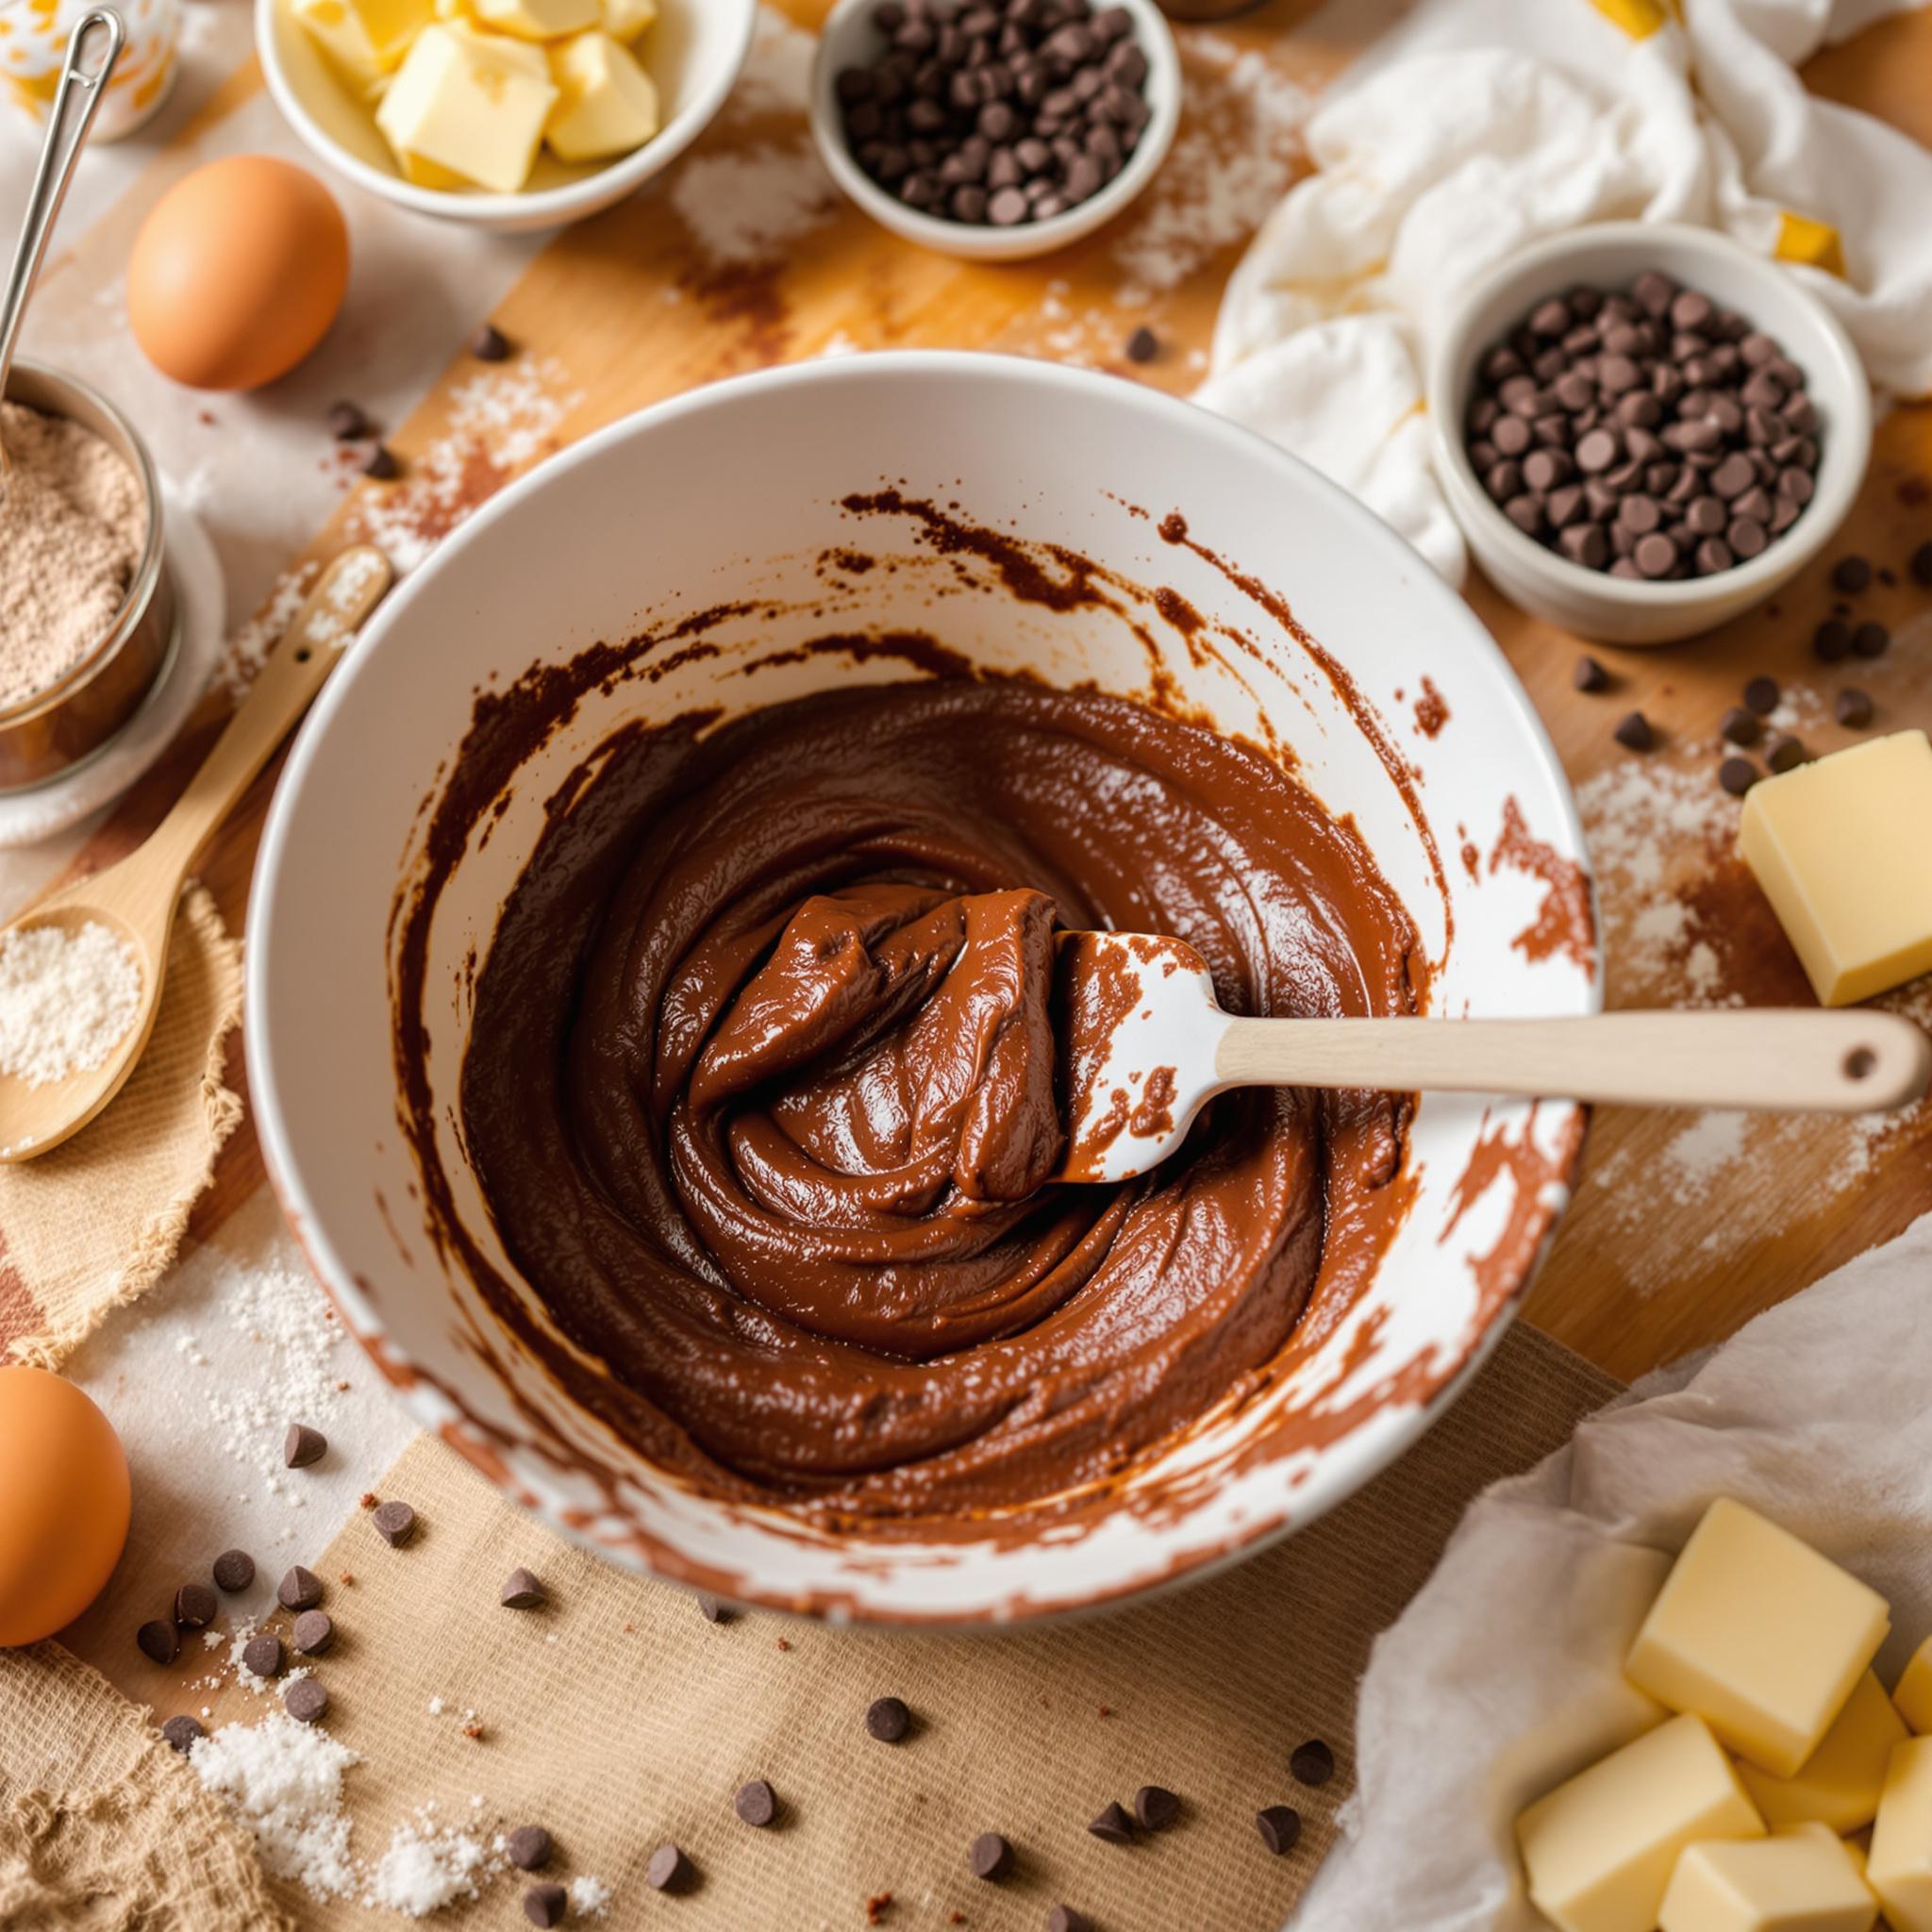
Begin by melting the butter in a saucepan over low heat. Once melted, remove it from the stove and stir in the sugar until fully combined. This step creates a glossy mixture that forms the base of your fudgy brownies. Pro tip: Let the mixture cool slightly before adding the eggs to prevent them from scrambling.
Step 2: Add Eggs and Vanilla
Crack the eggs into the butter-sugar mixture one at a time, whisking well after each addition. Next, stir in the vanilla extract. The batter should become light and airy, with a smooth, custard-like texture. Take a moment to inhale the warm aroma of vanilla—it’s like a sneak preview of the deliciousness to come!
Step 3: Mix Dry Ingredients
In a separate bowl, whisk together the flour, cocoa powder, baking powder, and salt. Sift these dry ingredients into the wet mixture to ensure there are no lumps. Gently fold everything together until just combined. Be careful not to overmix, as this can make your brownies tough instead of tender.
Step 4: Fold in Chocolate Chips
If you’re using chocolate chips, now’s the time to fold them into the batter. Watch as the dark morsels disappear into the rich, velvety mixture. This step adds pockets of melty goodness to every bite, elevating your chocolate brownies to new heights.
Step 5: Bake to Perfection
Pour the batter into a greased baking pan and smooth the top with a spatula. Pop it into a preheated oven at 350°F (175°C) for about 25-30 minutes. Keep an eye on the edges—they should be set, while the center remains slightly jiggly. Let the brownies cool completely before slicing for clean, picture-perfect squares.
Chef’s Tip: Secret to Perfect Brownies
Here’s my secret to achieving that coveted crackly top: beat the eggs and sugar vigorously before adding the other ingredients. This incorporates air into the batter, creating a thin, crispy layer that contrasts beautifully with the soft interior. Trust me, this little trick makes all the difference!
Time Required
- Prep Time: 15 minutes
- Cooking Time: 25-30 minutes
- Total Time: 40-45 minutes
Nutritional Information
Per serving (1 brownie): Calories: 250 | Protein: 3g | Fat: 14g | Carbohydrates: 30g | Fiber: 2g | Sugar: 22g
Extra Information
Did you know that cocoa powder contains flavonoids, antioxidants that are good for heart health? While brownies may not exactly be a health food, knowing they contain a bit of goodness makes indulging feel a tiny bit better!
Necessary Tools
- Mixing bowls
- Whisk
- Spatula
- Baking pan
- Oven
Storage Instructions
To keep your No-Fail Brownies fresh, store them in an airtight container at room temperature for up to 3 days. If you live in a warm climate, refrigerate them to extend their shelf life. For longer storage, freeze individual portions wrapped in plastic wrap and placed in a freezer-safe bag. When ready to enjoy, simply thaw at room temperature or reheat briefly in the microwave.
Proper storage ensures that your brownies retain their moisture and flavor. Avoid leaving them uncovered, as exposure to air can dry them out. Lastly, don’t forget to label your containers if freezing—this helps you remember how long they’ve been stored.
Tips and Tricks
To enhance your brownie game, always use high-quality cocoa powder and real butter. For an extra-rich flavor, sprinkle sea salt on top before baking. Another tip? Chill the batter for 15-20 minutes before baking to deepen the flavors and improve texture.
Serving Suggestions
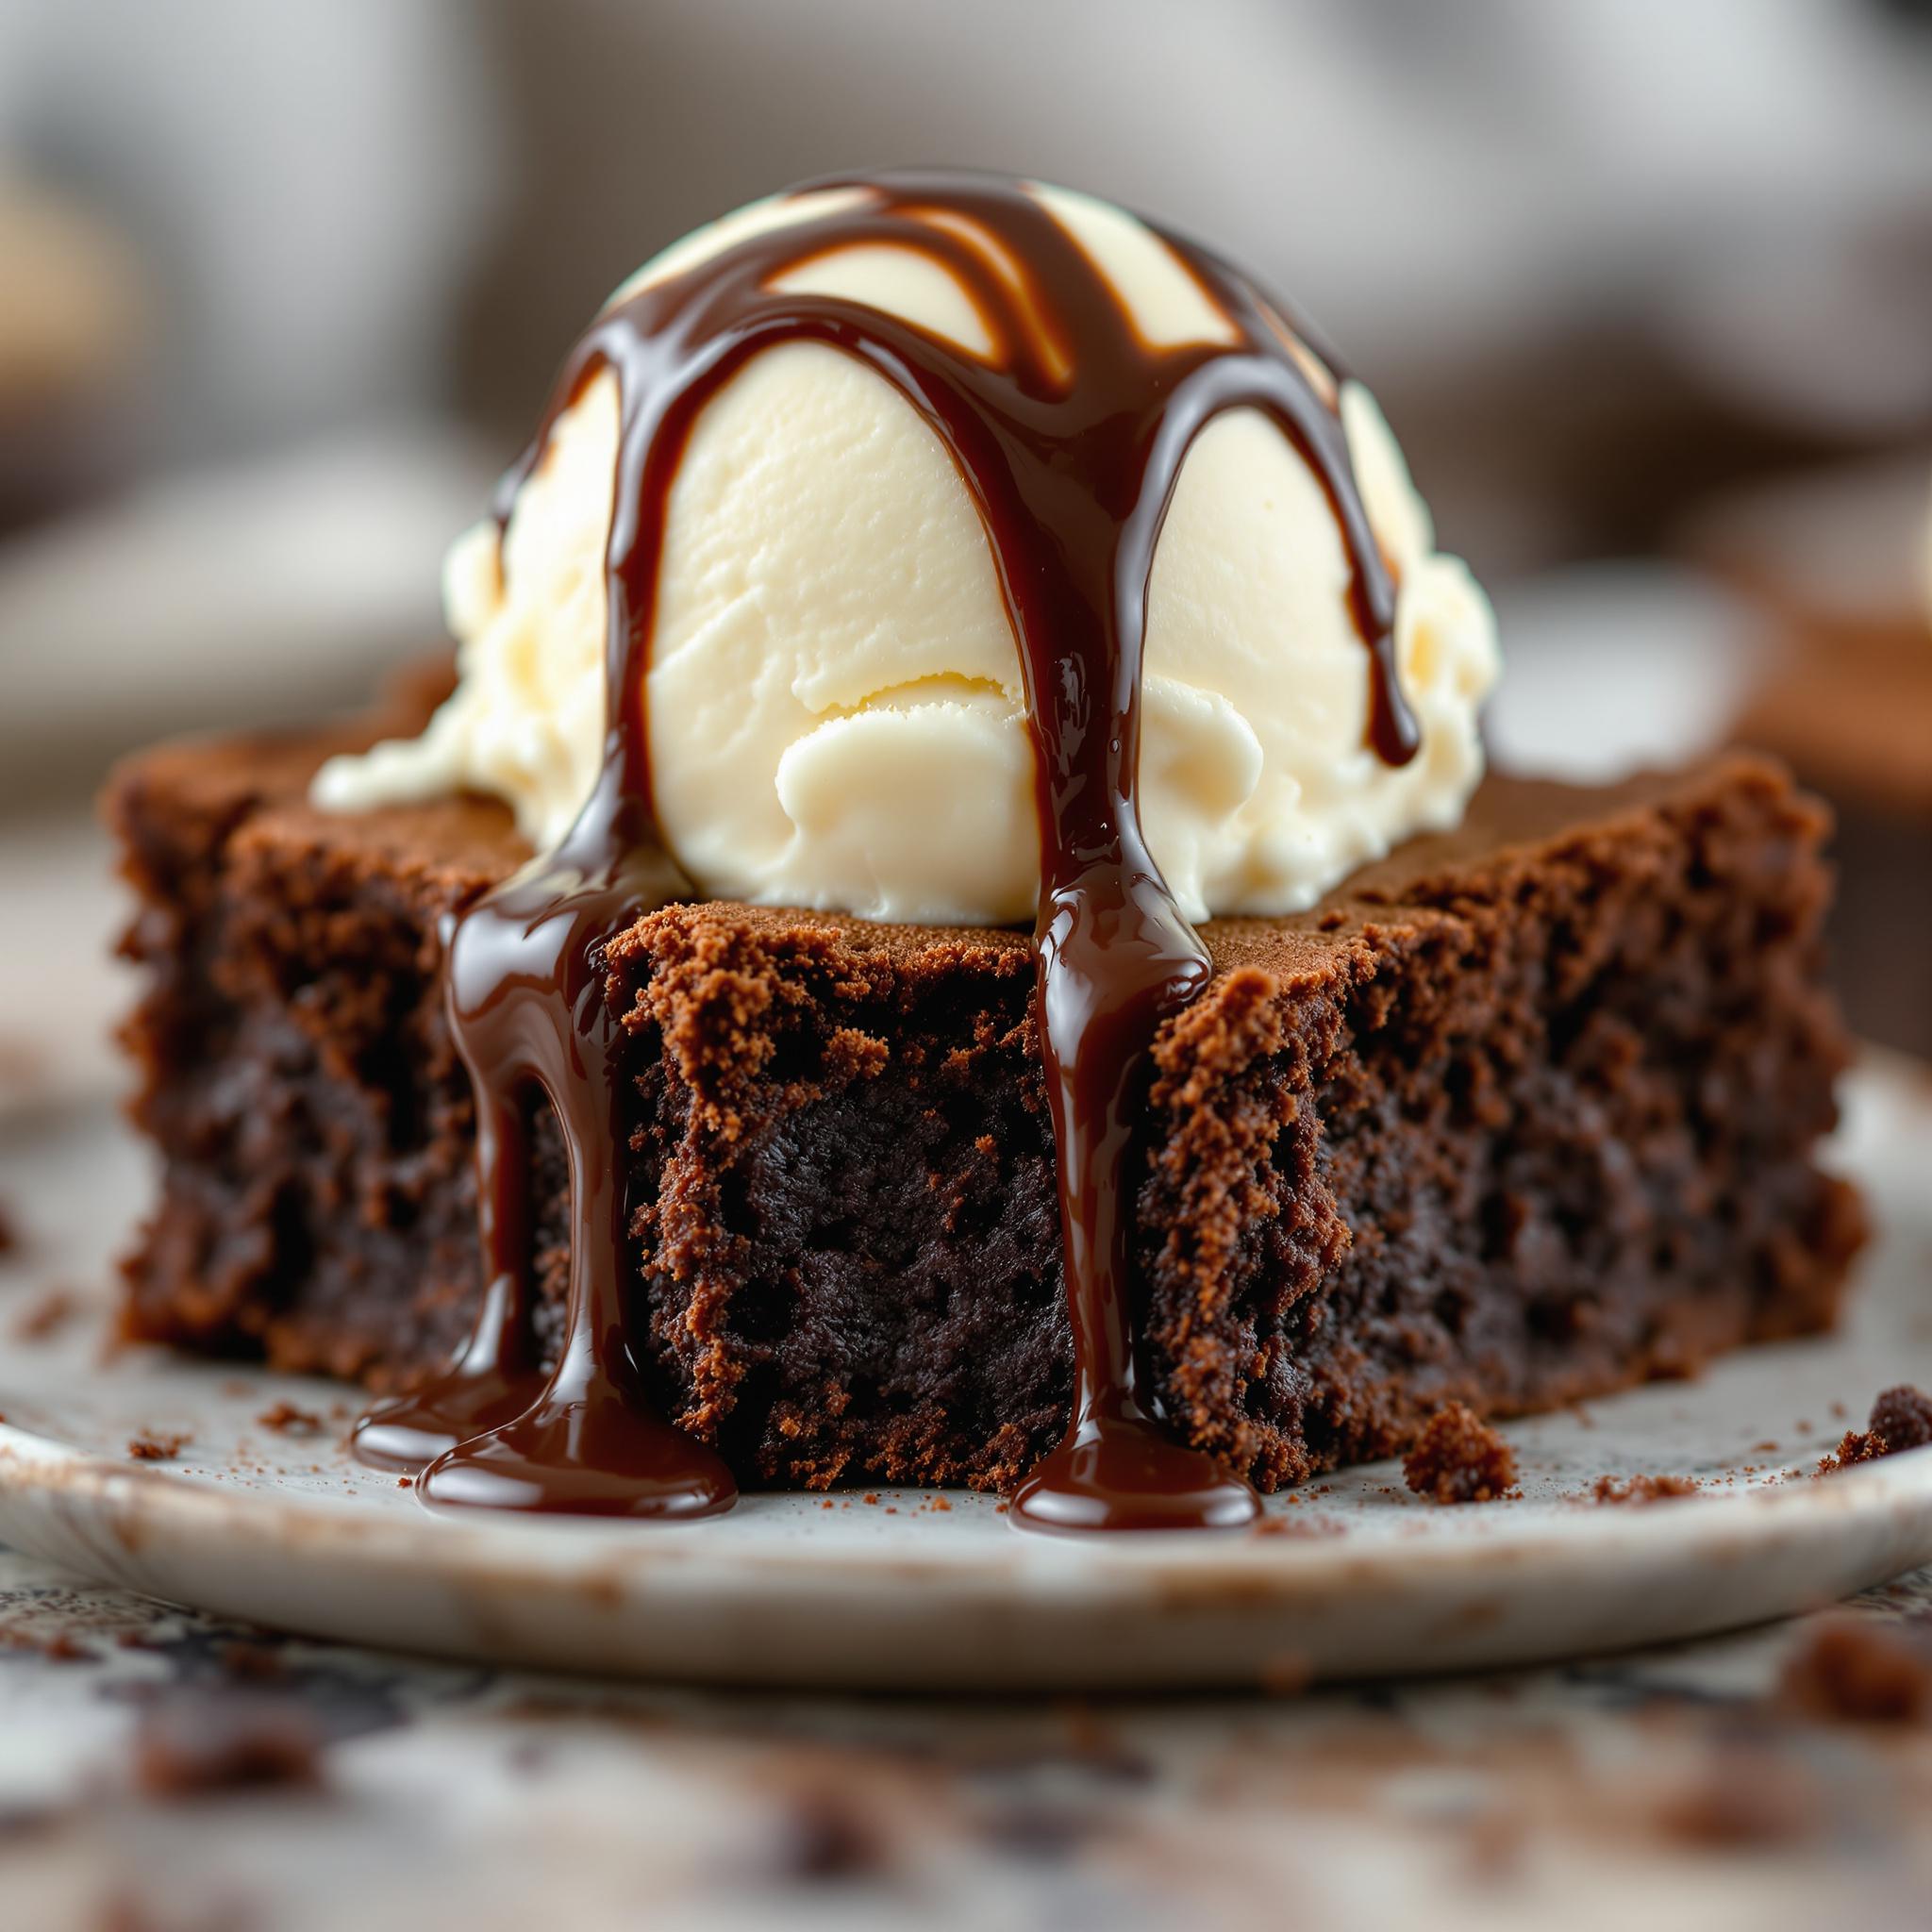
- Serve warm with a scoop of vanilla ice cream for a decadent dessert.
- Pair with a glass of cold milk for a nostalgic treat.
Healthier Alternatives
Looking to lighten up your brownies? Here are six healthier variations:
- Black Bean Brownies: Replace half the flour with mashed black beans for added fiber and nutrients.
- Avocado Brownies: Swap butter with mashed avocado for a creamy, heart-healthy twist.
- Oat Flour Brownies: Use oat flour instead of all-purpose flour for a gluten-free option.
- Coconut Sugar Brownies: Substitute white sugar with coconut sugar for lower glycemic impact.
- Vegan Brownies: Use flax eggs and plant-based butter to make the recipe vegan-friendly.
- Protein-Packed Brownies: Add a scoop of protein powder to boost the nutritional value.
Common Mistakes to Avoid
Mistake 1: Overmixing the Batter
Overmixing can lead to dense, tough brownies. To avoid this, mix the ingredients only until they’re just combined. Remember, a few lumps are okay—it’s better than overworking the batter.
Mistake 2: Underbaking the Brownies
Underbaked brownies can be overly gooey and hard to cut. Test for doneness by inserting a toothpick into the center; it should come out with a few moist crumbs attached but not wet batter.
Mistake 3: Skipping the Cooling Step
Patience is key! Cutting into hot brownies can cause them to fall apart. Let them cool completely in the pan before slicing for neat, professional-looking squares.
Frequently Asked Questions
Can I double the recipe?
Absolutely! Doubling the recipe works perfectly if you need to feed a larger crowd. Just make sure to use a bigger baking pan or divide the batter between two pans.
What type of cocoa powder should I use?
Use natural unsweetened cocoa powder for the best results. Dutch-processed cocoa can work too, but it may alter the flavor slightly.
How do I know when the brownies are done?
The edges should look set, and the center should be slightly jiggly. A toothpick inserted into the middle should come out with a few moist crumbs clinging to it.
Can I freeze brownies?
Yes! Wrap individual pieces in plastic wrap and place them in a freezer-safe bag. They’ll stay fresh for up to 3 months.
Do I have to use chocolate chips?
Nope! You can omit the chocolate chips or swap them for chopped nuts, dried fruit, or even marshmallows.
Why are my brownies too cakey?
Cakey brownies often result from adding too much flour or overmixing the batter. Measure your ingredients carefully and mix gently to achieve the right texture.
Can I make these gluten-free?
Yes, simply replace the all-purpose flour with a gluten-free flour blend. Almond flour is another excellent option.
What’s the best way to slice brownies?
For clean cuts, dip a sharp knife in hot water, wipe it dry, and then slice through the cooled brownies. Repeat as needed.
Can I reduce the sugar?
You can reduce the sugar slightly, but keep in mind that it affects both sweetness and texture. For best results, don’t cut it by more than ¼ cup.
Why is my brownie top not crackly?
A crackly top forms when the eggs and sugar are beaten well before adding other ingredients. Make sure to incorporate plenty of air during this step.
Conclusion
With this No-Fail Brownies recipe, you’ll never have to worry about baking disasters again. These brownies are simple, delicious, and endlessly customizable, making them a staple in any baker’s repertoire. Whether you stick to the classic version or experiment with healthier alternatives, one thing is certain—these brownies will bring joy to everyone who tries them. So grab your apron, gather your ingredients, and get ready to create some magic in the kitchen!
Equipment
- Mixing bowl
- Whisk
- Spatula
- Baking pan
- Oven
Ingredients
- 1 cup unsalted butter
- 2 cups granulated sugar
- 4 large eggs
- 1 teaspoon vanilla extract
- 1 cup all-purpose flour
- ¾ cup cocoa powder
- ½ teaspoon baking powder
- ¼ teaspoon salt
- 1 cup semi-sweet chocolate chips (optional)
Instructions
- Begin by melting the butter in a saucepan over low heat. Once melted, remove it from the stove and stir in the sugar until fully combined.
- Crack the eggs into the butter-sugar mixture one at a time, whisking well after each addition. Next, stir in the vanilla extract.
- In a separate bowl, whisk together the flour, cocoa powder, baking powder, and salt. Sift these dry ingredients into the wet mixture.
- If you’re using chocolate chips, now’s the time to fold them into the batter.
- Pour the batter into a greased baking pan and smooth the top with a spatula. Bake at 350°F (175°C) for about 25-30 minutes.