

Introduction to Red Velvet Cookies
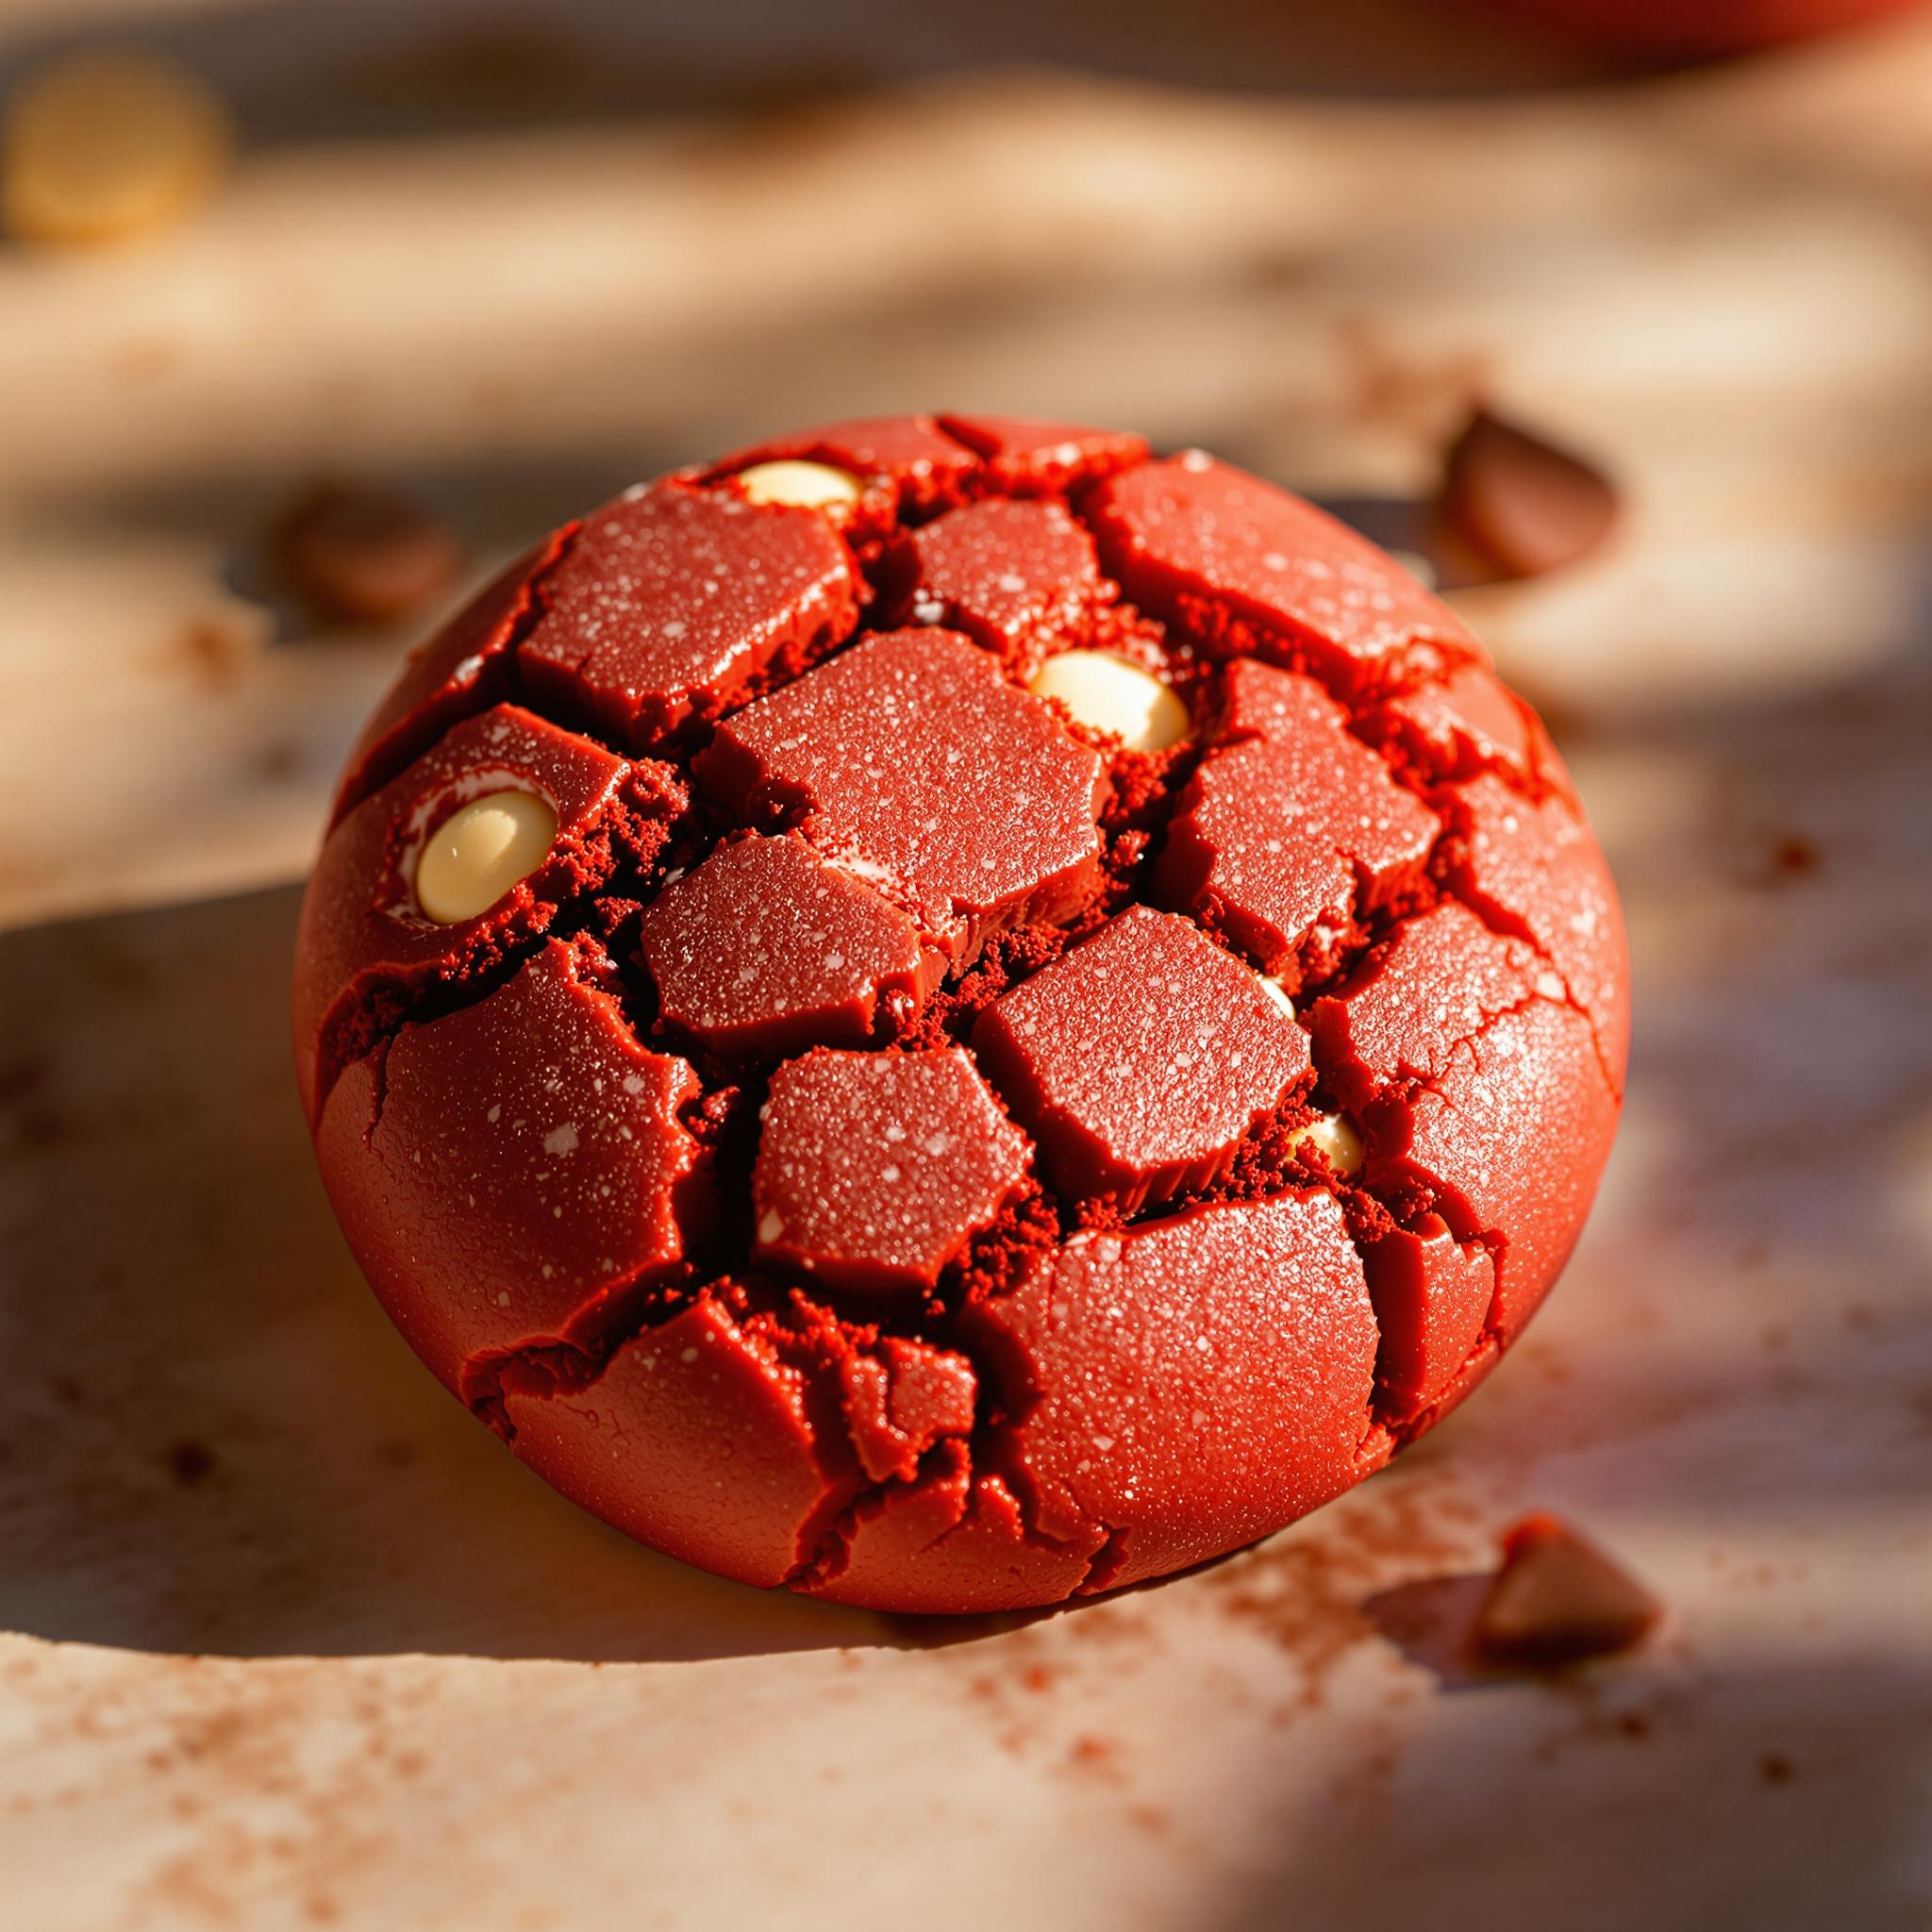
There’s something magical about the combination of rich cocoa, a hint of tangy cream cheese, and that signature red hue. Today, we’re diving into the world of Red Velvet Cookies, a delightful twist on the classic red velvet cake. These cookies are soft, chewy, and utterly irresistible. I first made them for a family gathering, and they were such a hit that my cousins begged me for the recipe. Whether you’re a seasoned baker or just starting out, these red velvet treats will quickly become a favorite.
The Origin of Red Velvet Cookies
Red velvet desserts have a fascinating history. Originally, red velvet cakes gained popularity in the early 20th century, thanks to the natural reaction between cocoa powder and acidic ingredients like buttermilk or vinegar, which gave the cake its reddish-brown color. Over time, bakers began adding food coloring to enhance the vibrant red shade. Fast forward to today, and we’ve adapted this classic into bite-sized wonders—red velvet cookies. They’re perfect for those who love the flavors of red velvet but want something quicker and easier to make.
Why You’ll Love These Red Velvet Cookies
What makes these velvet red treats stand out is their balance of flavors and textures. The cocoa gives them a deep chocolatey taste, while the cream cheese frosting adds a luscious tang. Plus, they’re incredibly easy to whip up! Unlike traditional red velvet cakes, these cookies require minimal prep time and bake in just minutes. Whether you’re baking for yourself or hosting a party, these cookies are guaranteed to impress.
Perfect Occasions to Make Red Velvet Cookies
These soft red velvet bites are versatile enough for any occasion. Bake them for Valentine’s Day to wow your loved ones with their romantic red color. They’re also perfect for holiday cookie exchanges, birthdays, or even as a sweet surprise for your coworkers. Trust me, once you try them, you’ll find excuses to make them all year round!
Ingredients for Red Velvet Cookies
- 1 cup all-purpose flour
- 1/4 cup unsweetened cocoa powder
- 1/2 teaspoon baking soda
- 1/4 teaspoon salt
- 1/2 cup unsalted butter, softened
- 1/2 cup granulated sugar
- 1/4 cup brown sugar
- 1 large egg
- 1 teaspoon vanilla extract
- 1 tablespoon red food coloring (gel or liquid)
- 1/4 cup buttermilk
- 4 ounces cream cheese, softened
- 1 cup powdered sugar
Substitution Options
If you don’t have buttermilk, mix 1/4 cup of milk with 1/2 teaspoon of lemon juice or vinegar and let it sit for 5 minutes. For a dairy-free version, use plant-based butter and almond milk. Instead of cream cheese frosting, you can sprinkle the cookies with powdered sugar for a simpler finish.
Preparation
Step 1: Preheat and Prepare
Start by preheating your oven to 350°F (175°C). Line a baking sheet with parchment paper to prevent sticking. In a medium bowl, whisk together the flour, cocoa powder, baking soda, and salt. This dry mixture forms the base of your red velvet cookies. Pro tip: Sifting the cocoa powder ensures a smooth texture without any lumps.
Step 2: Cream the Butter and Sugars
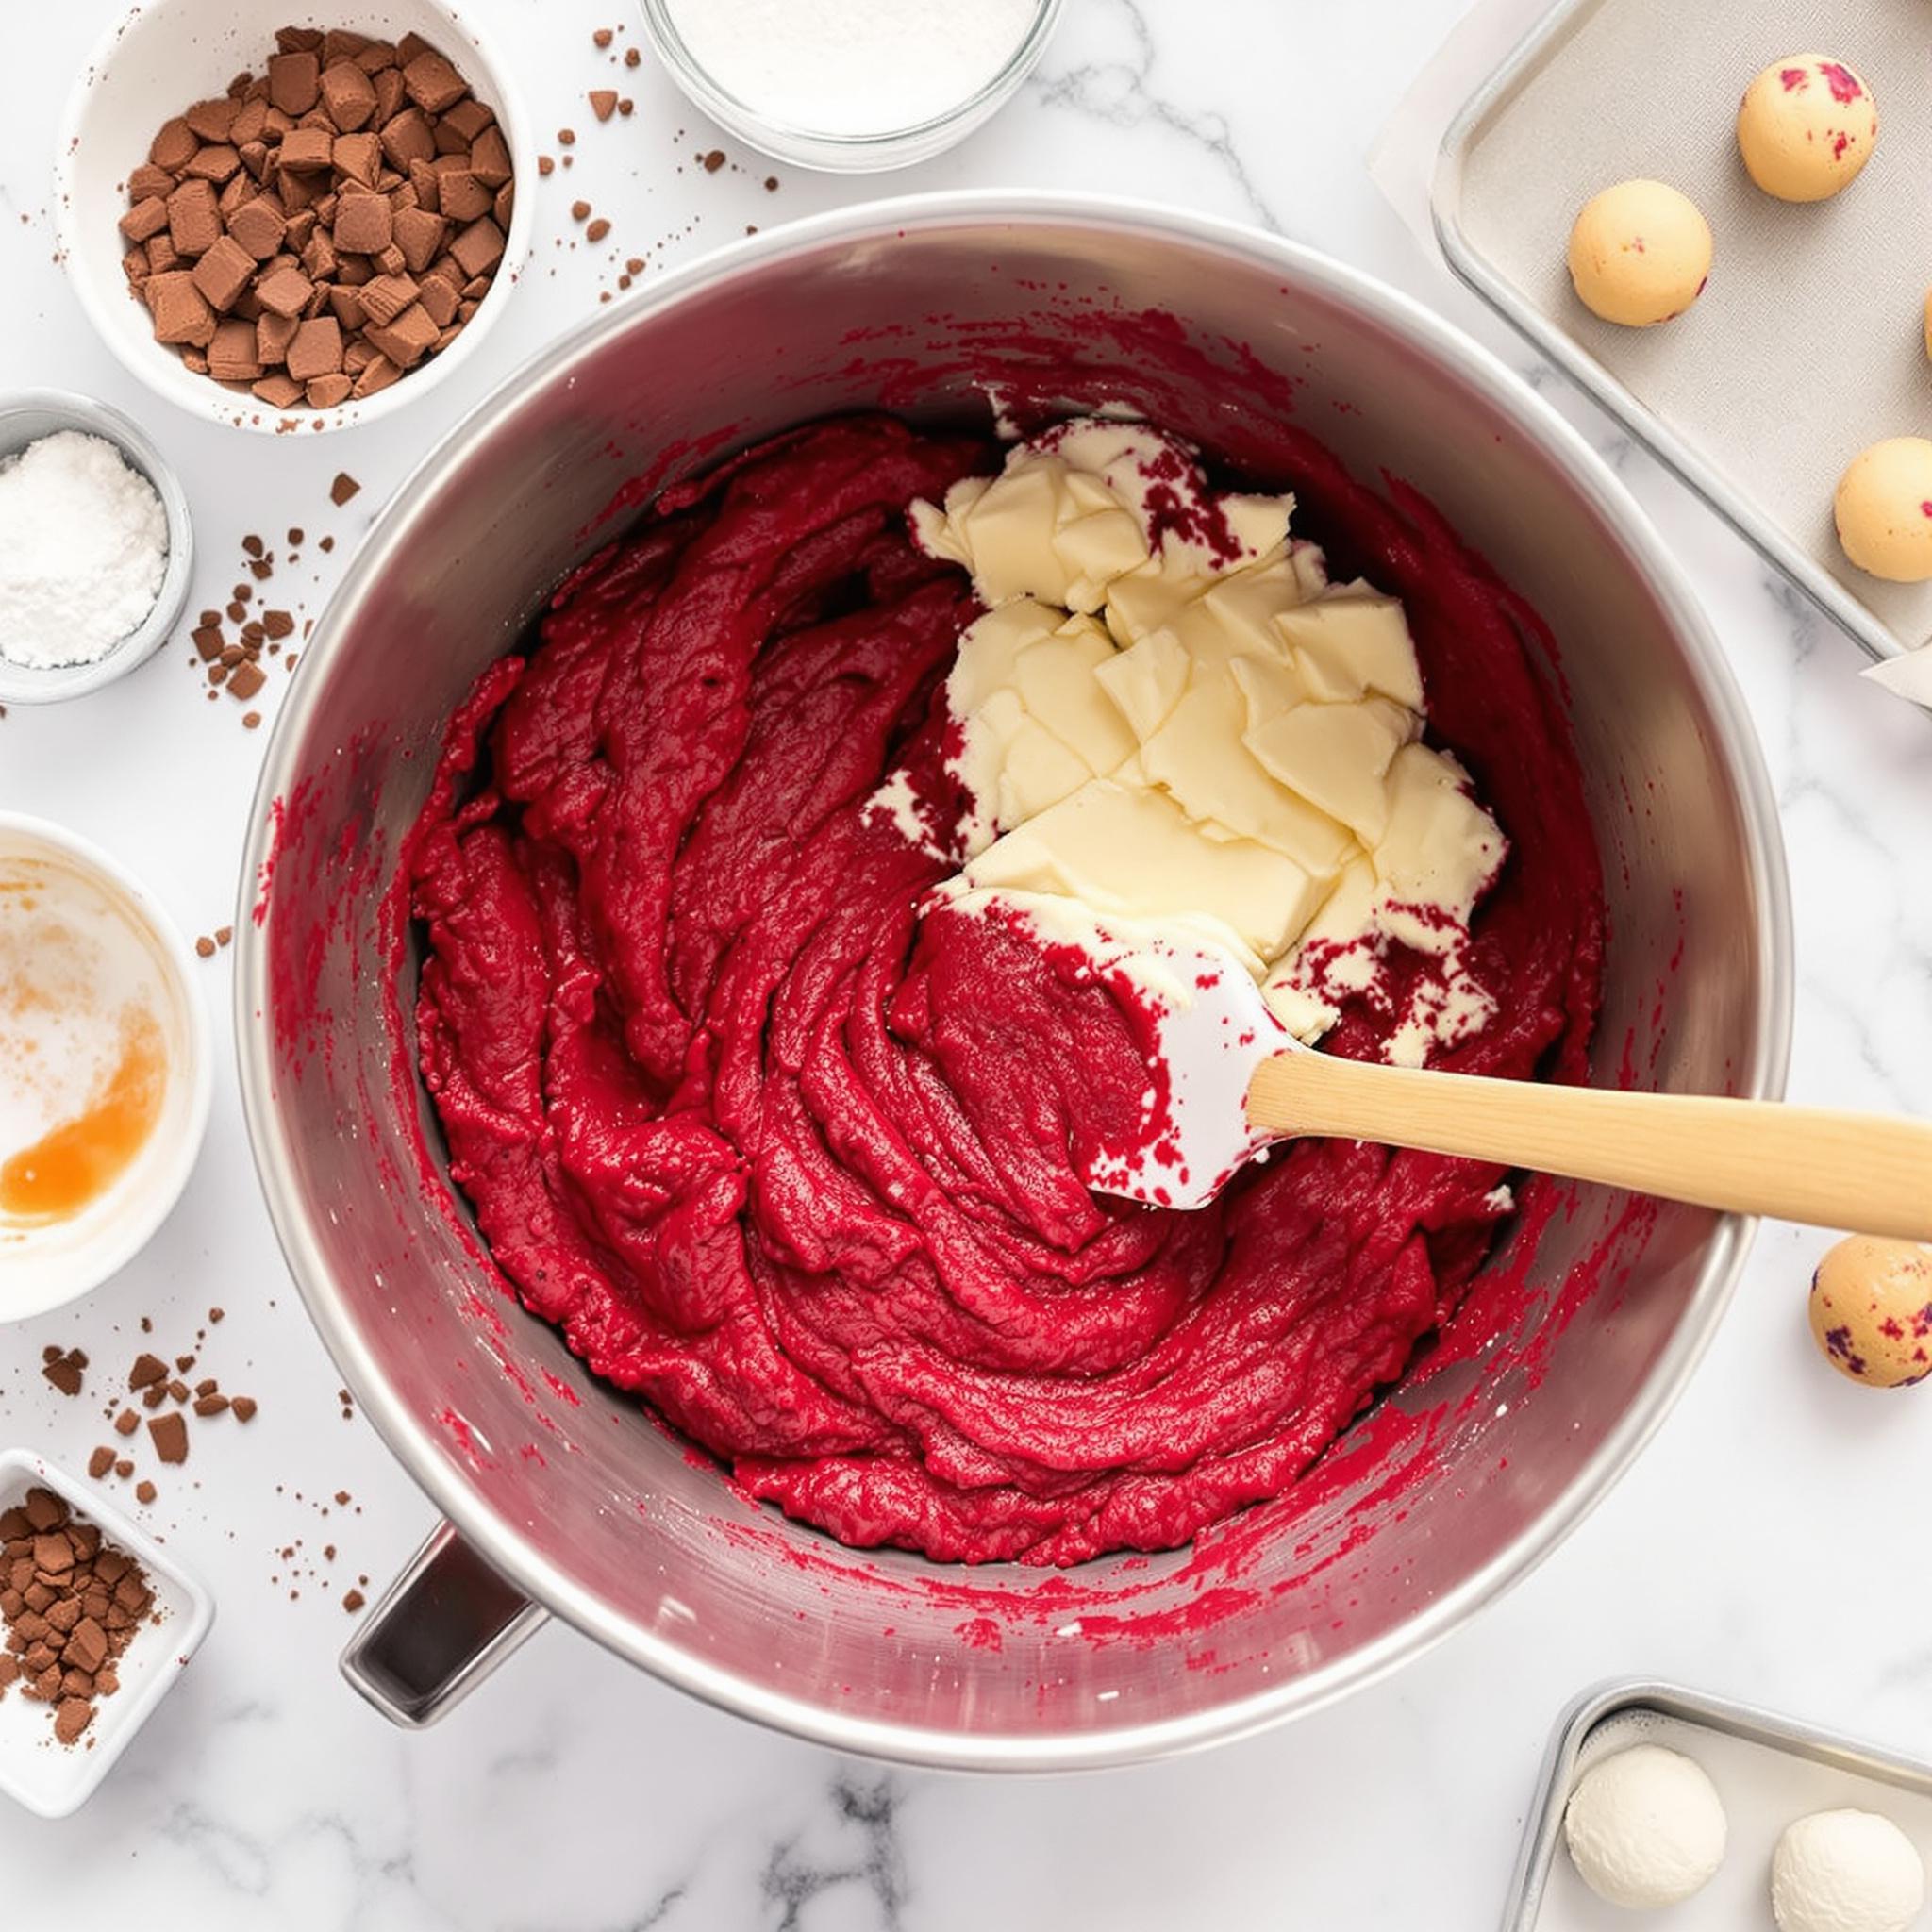
In a large mixing bowl, beat the softened butter, granulated sugar, and brown sugar until light and fluffy. This step is crucial for achieving that melt-in-your-mouth texture. Add the egg and vanilla extract, then mix until fully combined. Watch how the batter transforms into a creamy, fragrant base—it’s almost hypnotic!
Step 3: Incorporate Wet Ingredients
Now comes the fun part: adding the red food coloring and buttermilk. Mix in the food coloring until the dough turns a vibrant red, reminiscent of classic red velvet desserts. Slowly add the buttermilk, ensuring everything blends smoothly. Don’t overmix; you want the dough to retain its softness.
Step 4: Combine Dry and Wet Mixtures
Gradually fold the dry ingredients into the wet mixture. Use a spatula to gently combine them until a soft dough forms. Be careful not to overwork the dough, as this can result in tough cookies. At this stage, the dough should be slightly sticky yet manageable.
Step 5: Scoop and Bake
Using a cookie scoop or spoon, drop rounded portions of dough onto the prepared baking sheet, spacing them about 2 inches apart. Bake for 8-10 minutes, or until the edges are set but the centers remain slightly soft. Let the cookies cool completely before frosting.
Chef’s Tip
To elevate your red velvet cookies, chill the dough for 30 minutes before baking. This helps the cookies hold their shape and prevents excessive spreading. It also enhances the flavor, making them even more delicious!
Time Required
- Prep Time: 15 minutes
- Cooking Time: 10 minutes
- Resting Time: 30 minutes (optional)
- Total Time: 55 minutes
Nutritional Information
Per serving (1 cookie): Calories: 120 | Protein: 2g | Fat: 6g | Carbohydrates: 15g | Fiber: 1g | Sugar: 9g
Extra Information
Did you know that the red color in red velvet desserts was originally achieved through natural chemical reactions? While modern recipes rely on food coloring, some purists still prefer using beetroot powder for a natural alternative.
Necessary Tools
- Mixing bowls
- Whisk and spatula
- Cookie scoop
- Baking sheet
- Parchment paper
Storage Instructions
Store your red velvet cookies in an airtight container at room temperature for up to 3 days. If frosted, keep them in the refrigerator to prevent the cream cheese from spoiling. For longer storage, freeze the unfrosted cookies in a freezer-safe bag for up to 2 months. When ready to serve, simply thaw and frost as desired.
If freezing frosted cookies, place them in a single layer on a tray and freeze until solid. Then transfer them to a container to avoid smudging the frosting. Proper storage ensures your cookies stay fresh and tasty.
Always label your containers with the date to keep track of freshness. This small step makes a big difference when organizing your pantry or freezer.
Tips and Tricks
To ensure perfectly round cookies, gently tap the baking sheet on the counter after removing it from the oven. This helps flatten any uneven edges. Another trick is to roll the dough balls in powdered sugar before baking for a crackled effect.
Serving Suggestions
- Serve with a glass of cold milk for a comforting treat.
- Pair with a hot cup of coffee or tea for an afternoon snack.
Healthier Alternatives for Red Velvet Cookies
If you’re looking to make these red velvet cookies healthier, here are six variations:
- Gluten-Free Option: Substitute the all-purpose flour with a gluten-free blend.
- Low-Sugar Version: Use a sugar substitute like stevia or monk fruit.
- Vegan Twist: Replace the egg with flaxseed meal and water, and use vegan butter and cream cheese.
- Whole Grain Goodness: Swap half the flour with whole wheat flour for added fiber.
- Natural Coloring: Use beetroot powder instead of artificial food coloring.
- No Frosting: Skip the cream cheese frosting and enjoy the cookies plain or dusted with powdered sugar.
Common Mistakes to Avoid
Mistake 1: Overmixing the Dough
Overmixing can lead to dense, tough cookies. To avoid this, mix the dough just until the ingredients come together. A few streaks of flour are okay—they’ll disappear during baking.
Mistake 2: Skipping the Chilling Step
Chilling the dough isn’t mandatory, but it significantly improves texture and flavor. If you skip this step, your cookies might spread too much in the oven.
Mistake 3: Overbaking
These cookies are meant to be soft and chewy. Remove them from the oven when the edges are set but the centers are still slightly underdone. They’ll continue to cook as they cool.
Frequently Asked Questions
Absolutely! You can prepare the dough up to 2 days in advance and store it in the fridge. Just bring it to room temperature before baking.
Do I need to use food coloring?
No, you don’t have to use food coloring. However, it does give the cookies their iconic red color. For a natural option, try beetroot powder.
Yes, you can freeze the baked cookies. Place them in a single layer on a tray, freeze until solid, then transfer to a freezer-safe bag.
What if I don’t have buttermilk?
You can make a quick substitute by mixing 1/4 cup of milk with 1/2 teaspoon of lemon juice or vinegar. Let it sit for 5 minutes before using.
Gently tap the baking sheet on the counter right after removing it from the oven. This helps flatten any uneven edges.
Can I use a different frosting?
Of course! While cream cheese frosting is traditional, you could try chocolate ganache or a simple glaze.
This usually happens if the dough wasn’t chilled or if there’s too much butter. Make sure to measure ingredients accurately and chill the dough if needed.
Definitely! Kids love the bright red color and sweet flavor. Just omit the frosting if you’re concerned about added sugar.
Can I double the recipe?
Yes, doubling the recipe works perfectly. Just make sure your bowls and tools are large enough to accommodate the increased quantities.
What’s the best way to store leftovers?
Store leftover cookies in an airtight container at room temperature for up to 3 days. Frosted cookies should be refrigerated to preserve freshness.
Conclusion
With their vibrant color, rich flavor, and soft texture, Red Velvet Cookies are a must-try for any baking enthusiast. Whether you stick to the classic recipe or experiment with healthier alternatives, these cookies are sure to delight everyone who tries them. So grab your apron, gather your ingredients, and let’s bake some magic together!
Equipment
- Mixing bowl
- Whisk
- Spatula
- Cookie scoop
- Parchment paper
Ingredients
- 1 cup all-purpose flour
- 1/4 cup unsweetened cocoa powder
- 1/2 teaspoon baking soda
- 1/4 teaspoon salt
- 1/2 cup unsalted butter softened
- 1/2 cup granulated sugar
- 1/4 cup brown sugar
- 1 large egg
- 1 teaspoon vanilla extract
- 1 tablespoon red food coloring gel or liquid
- 1/4 cup buttermilk
- 4 ounces cream cheese softened
- 1 cup powdered sugar
Instructions
- Start by preheating your oven to 350°F (175°C). Line a baking sheet with parchment paper to prevent sticking.
- In a medium bowl, whisk together the flour, cocoa powder, baking soda, and salt.
- Beat the softened butter, granulated sugar, and brown sugar until light and fluffy.
- Add the egg and vanilla extract, then mix until fully combined. Stir in the red food coloring and buttermilk.
- Gradually fold the dry ingredients into the wet mixture until combined.
- Drop rounded portions of dough onto the prepared baking sheet. Bake for 8-10 minutes.
- Allow cookies to cool before frosting with cream cheese or dusting with powdered sugar.