
Introduction to Sweet Danish Dough
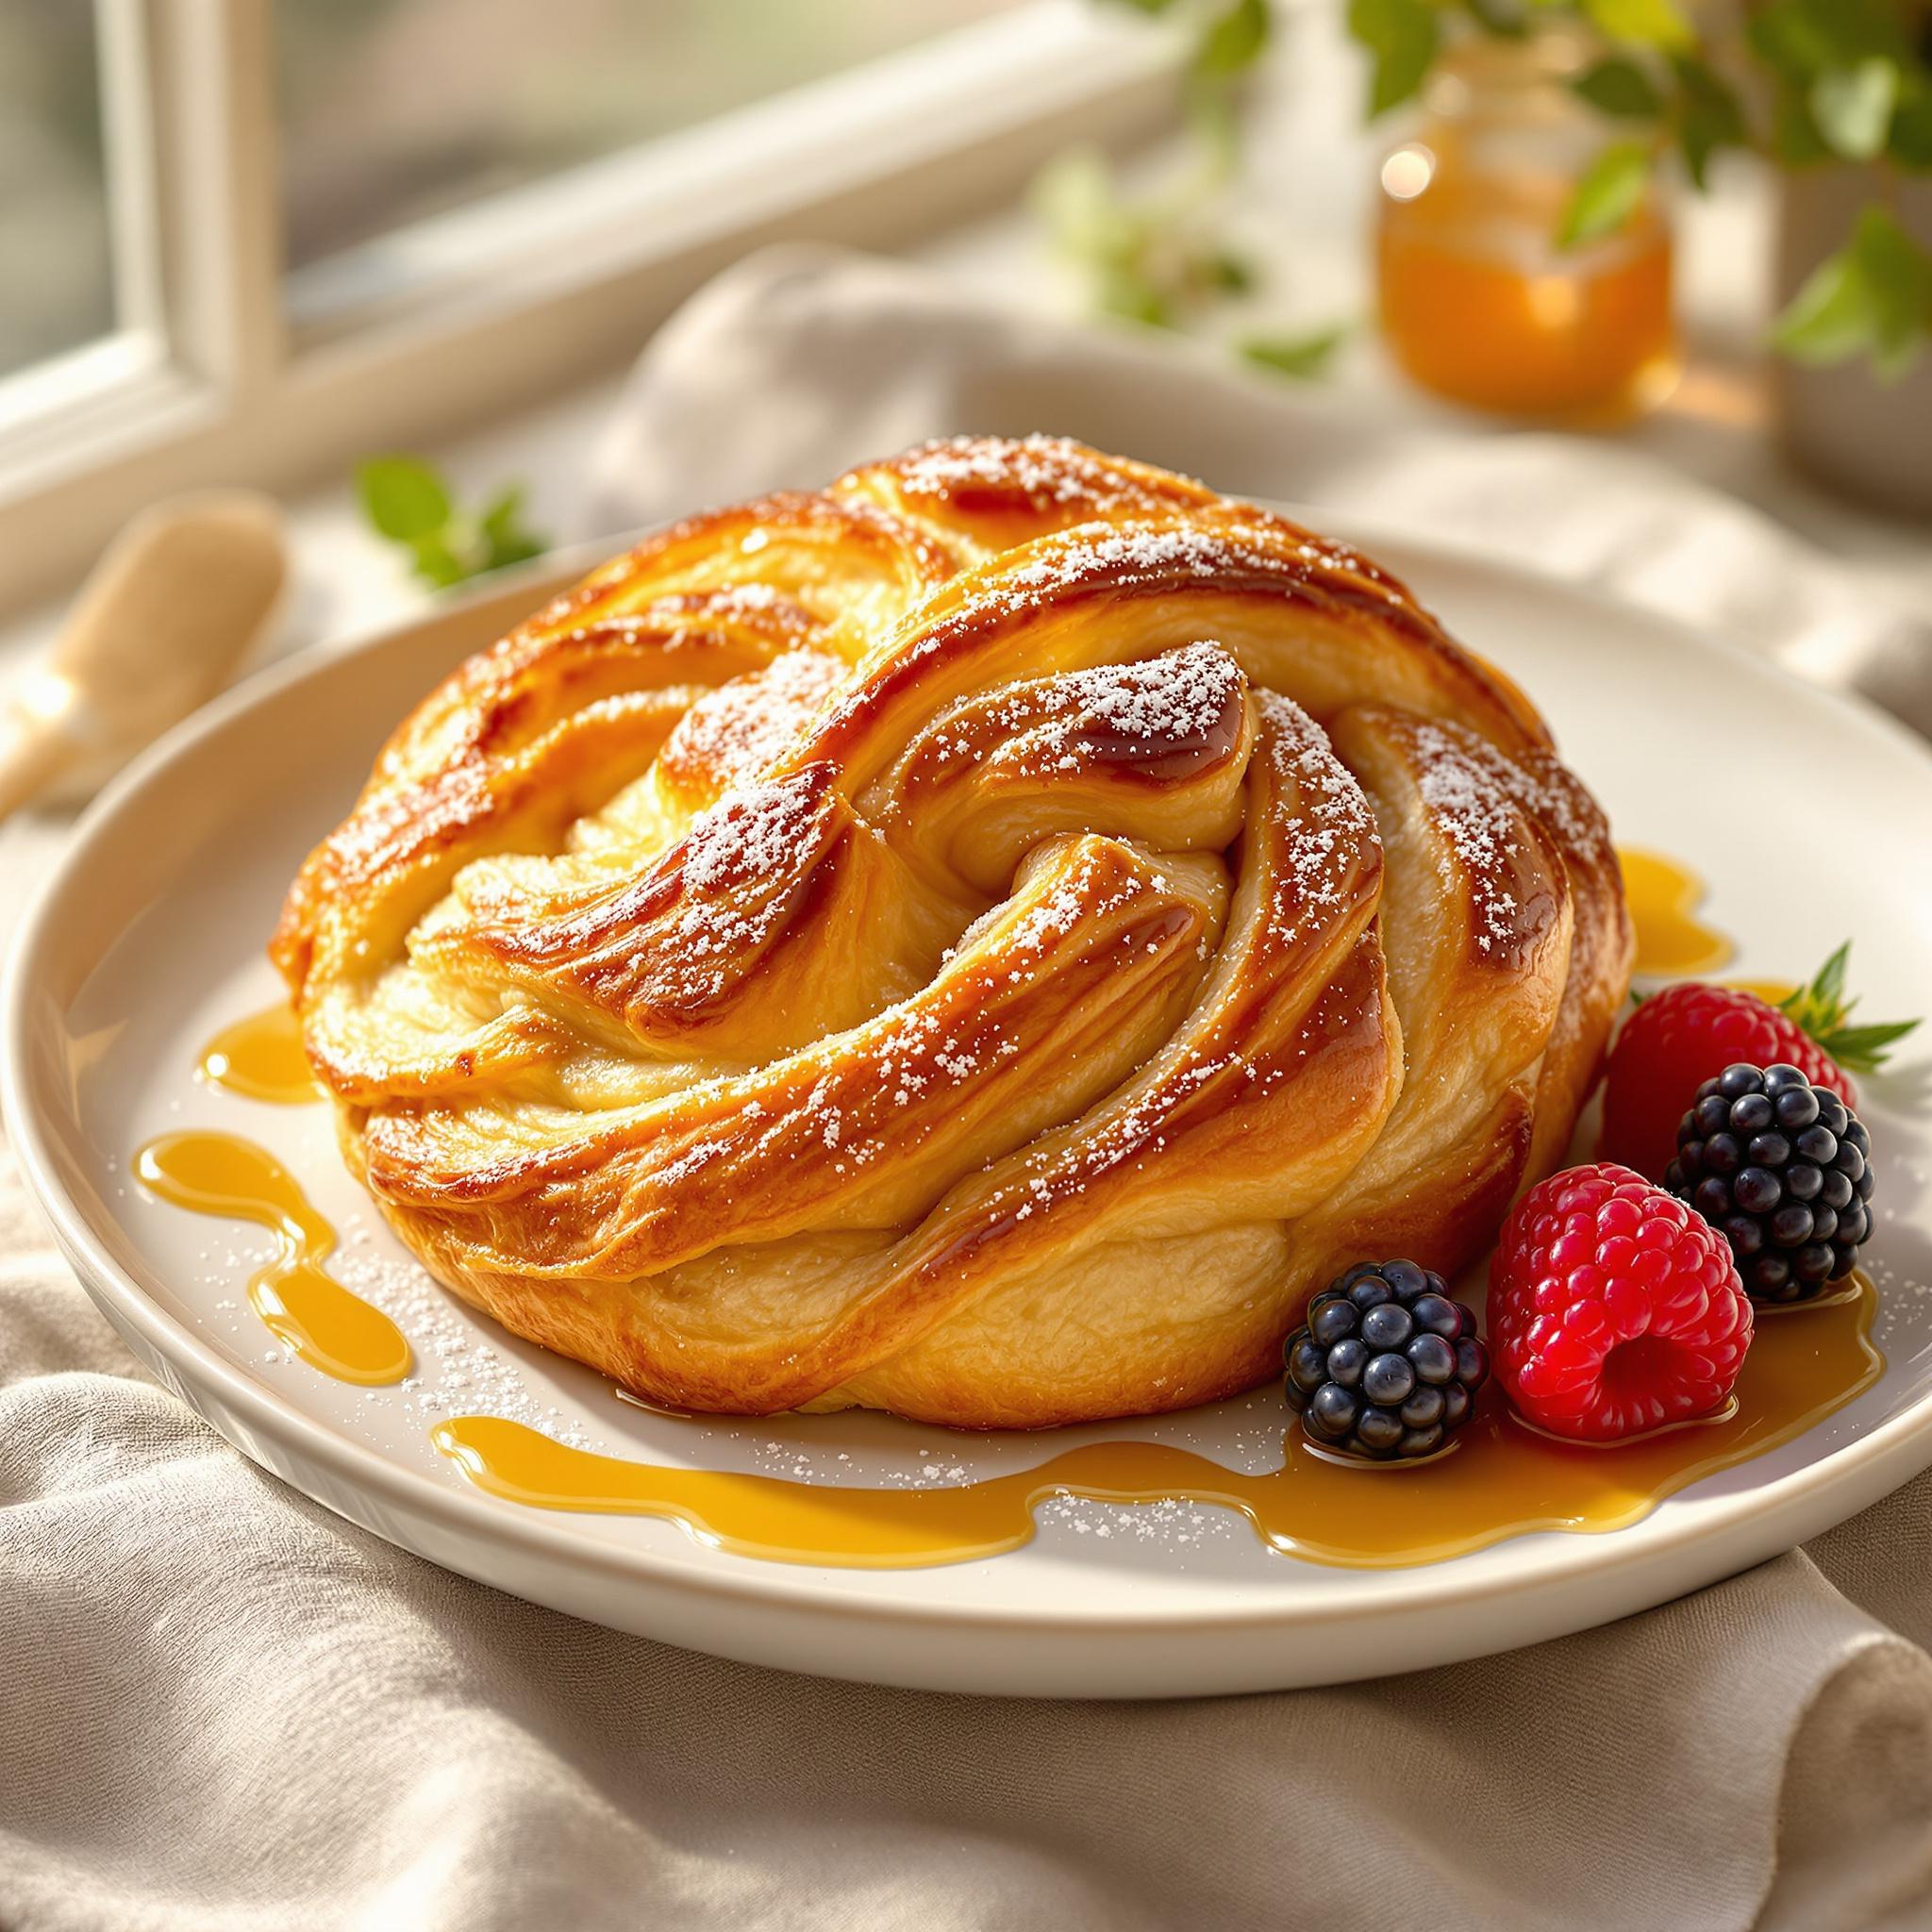
There’s something magical about the buttery, flaky layers of Sweet Danish Dough. Whether you’re a seasoned baker or just starting out, this recipe is bound to become a favorite in your kitchen. I remember the first time I made it—it was for a holiday brunch with my family. The aroma of cinnamon and vanilla wafting through the house brought everyone to the table before I even pulled it out of the oven. Sweet Danish Dough is not just a pastry; it’s an experience that brings joy to any occasion.
The History Behind Sweet Danish Dough
Sweet Danish Dough, also known as Danish pastry, has its roots in Austria but gained popularity in Denmark during the 19th century. It’s believed that Austrian bakers introduced the technique of laminating dough with butter to create those signature flaky layers. Over time, Danes added their own twist by incorporating sweet fillings like custard, fruit preserves, and almond paste. Today, variations of this pastry can be found worldwide, from classic cheese danishes to modern chocolate-filled creations. My version stays true to tradition while adding a personal touch—perfect for sharing with loved ones.
Why You’ll Love This Recipe
If you’re looking for a dessert that’s both impressive and comforting, Sweet Danish Dough is the answer. Its rich, buttery texture combined with sweet fillings makes every bite unforgettable. Plus, the process of making it is incredibly rewarding. Watching the dough rise and transform into golden perfection gives me so much satisfaction. And let’s not forget how versatile it is—you can customize it with your favorite flavors!
Perfect Occasions to Prepare Sweet Danish Dough
This delightful treat is perfect for special mornings, like birthdays or lazy Sunday brunches. It’s also a showstopper at tea parties or holiday gatherings. I love serving it on cozy winter days when the warmth of freshly baked pastries feels extra comforting. Whether you’re celebrating or simply indulging, Sweet Danish Dough fits the bill beautifully.
Ingredients for Sweet Danish Dough
- 4 cups all-purpose flour
- 1/2 cup granulated sugar
- 1 packet (2 1/4 teaspoons) active dry yeast
- 1 teaspoon salt
- 1 cup whole milk, warmed
- 1/2 cup unsalted butter, melted
- 2 large eggs
- 1 teaspoon vanilla extract
- 1 cup unsalted butter, cold (for lamination)
- Your choice of filling: jam, custard, or chopped nuts
Substitution Options for Flexibility
Don’t have whole milk? Use almond or oat milk instead. If you prefer a dairy-free option, substitute vegan butter for regular butter. For the filling, try Nutella, apple compote, or even savory options like cream cheese and herbs. These swaps keep the essence of Sweet Danish Dough intact while catering to dietary preferences.
Preparation Steps
Step 1: Make the Dough
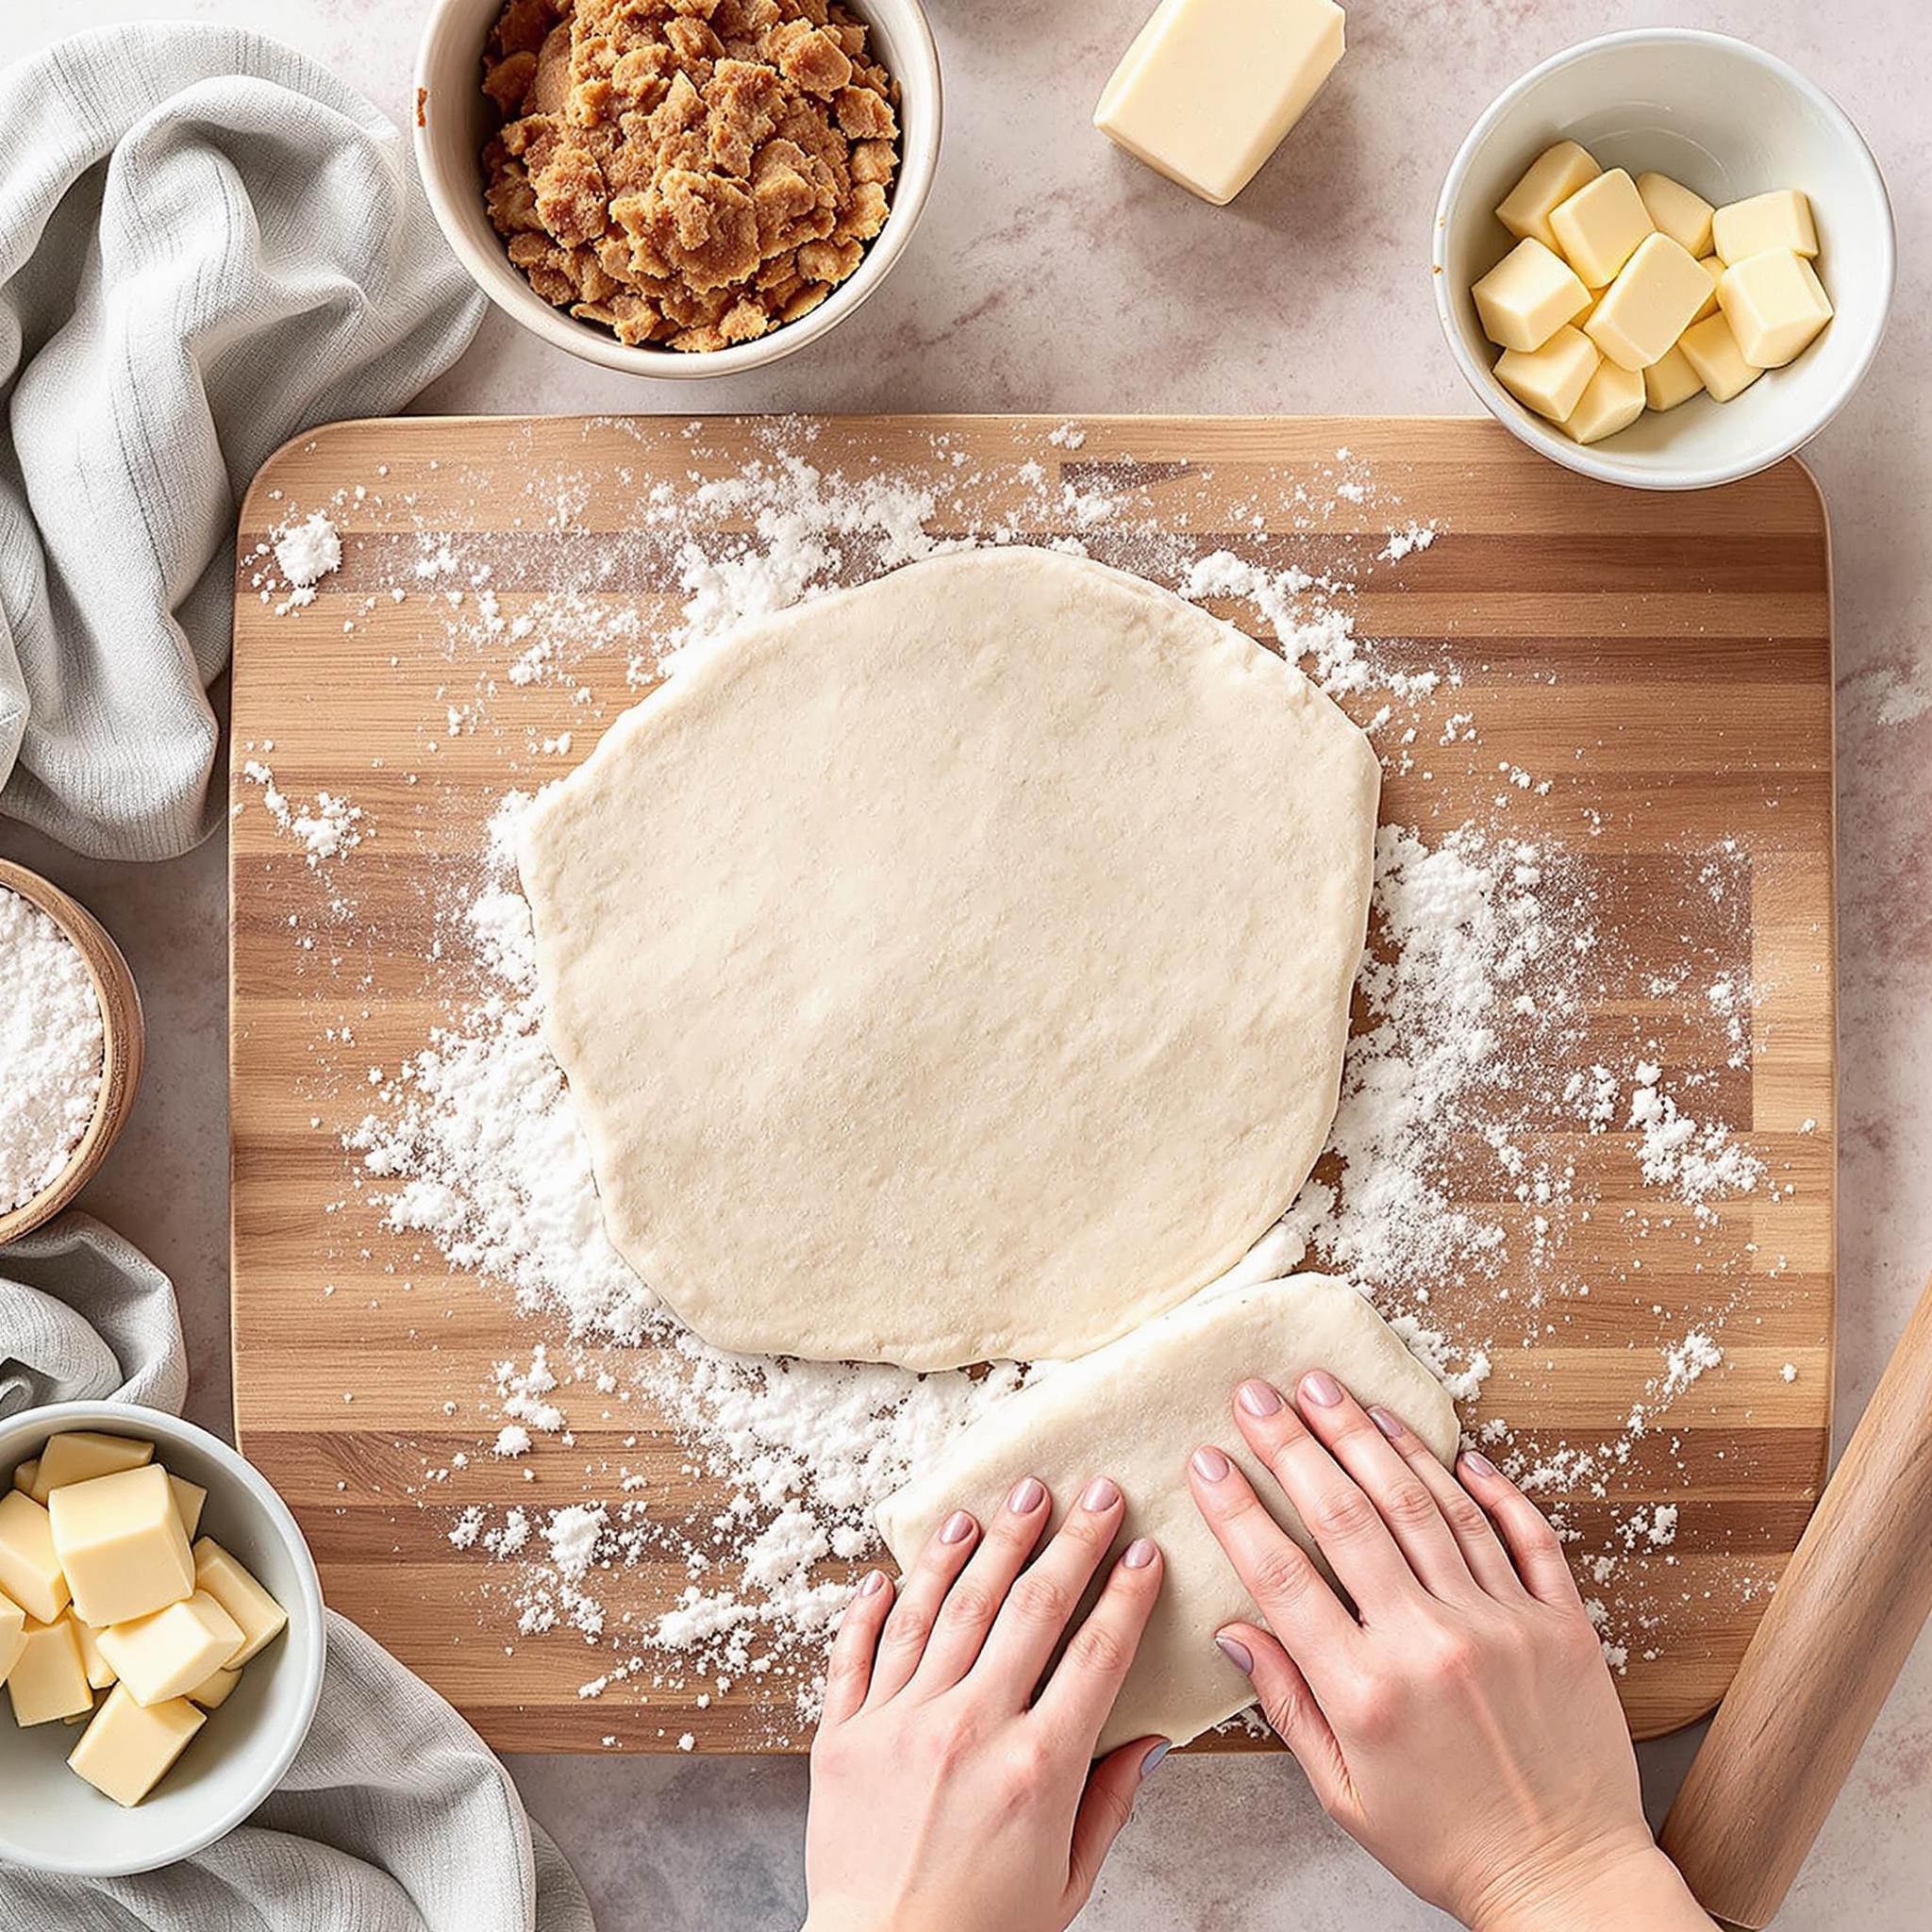
To begin, whisk together the flour, sugar, yeast, and salt in a large mixing bowl. In another bowl, combine the warm milk, melted butter, eggs, and vanilla extract. Gradually add the wet ingredients to the dry ones, stirring until a soft dough forms. Knead the dough on a lightly floured surface for about 8-10 minutes until smooth and elastic. Pro tip: If the dough feels too sticky, sprinkle a little more flour—but don’t overdo it, as this can make the pastry tough.
Step 2: Laminate the Dough
Roll the dough into a rectangle and place the cold butter in the center. Fold the dough over the butter like an envelope, sealing the edges. Roll it out again and fold it into thirds, similar to folding a letter. Repeat this process three times, chilling the dough between folds for 30 minutes each time. This step creates those irresistible flaky layers we all love in Sweet Danish Dough.
Step 3: Shape and Fill
Once the dough is ready, roll it out one final time and cut it into squares or rectangles. Add a dollop of your chosen filling in the center of each piece and fold the corners toward the middle, pinching them gently to seal. Arrange the shaped pastries on a baking sheet lined with parchment paper. Let them rise for about 30 minutes until puffy.
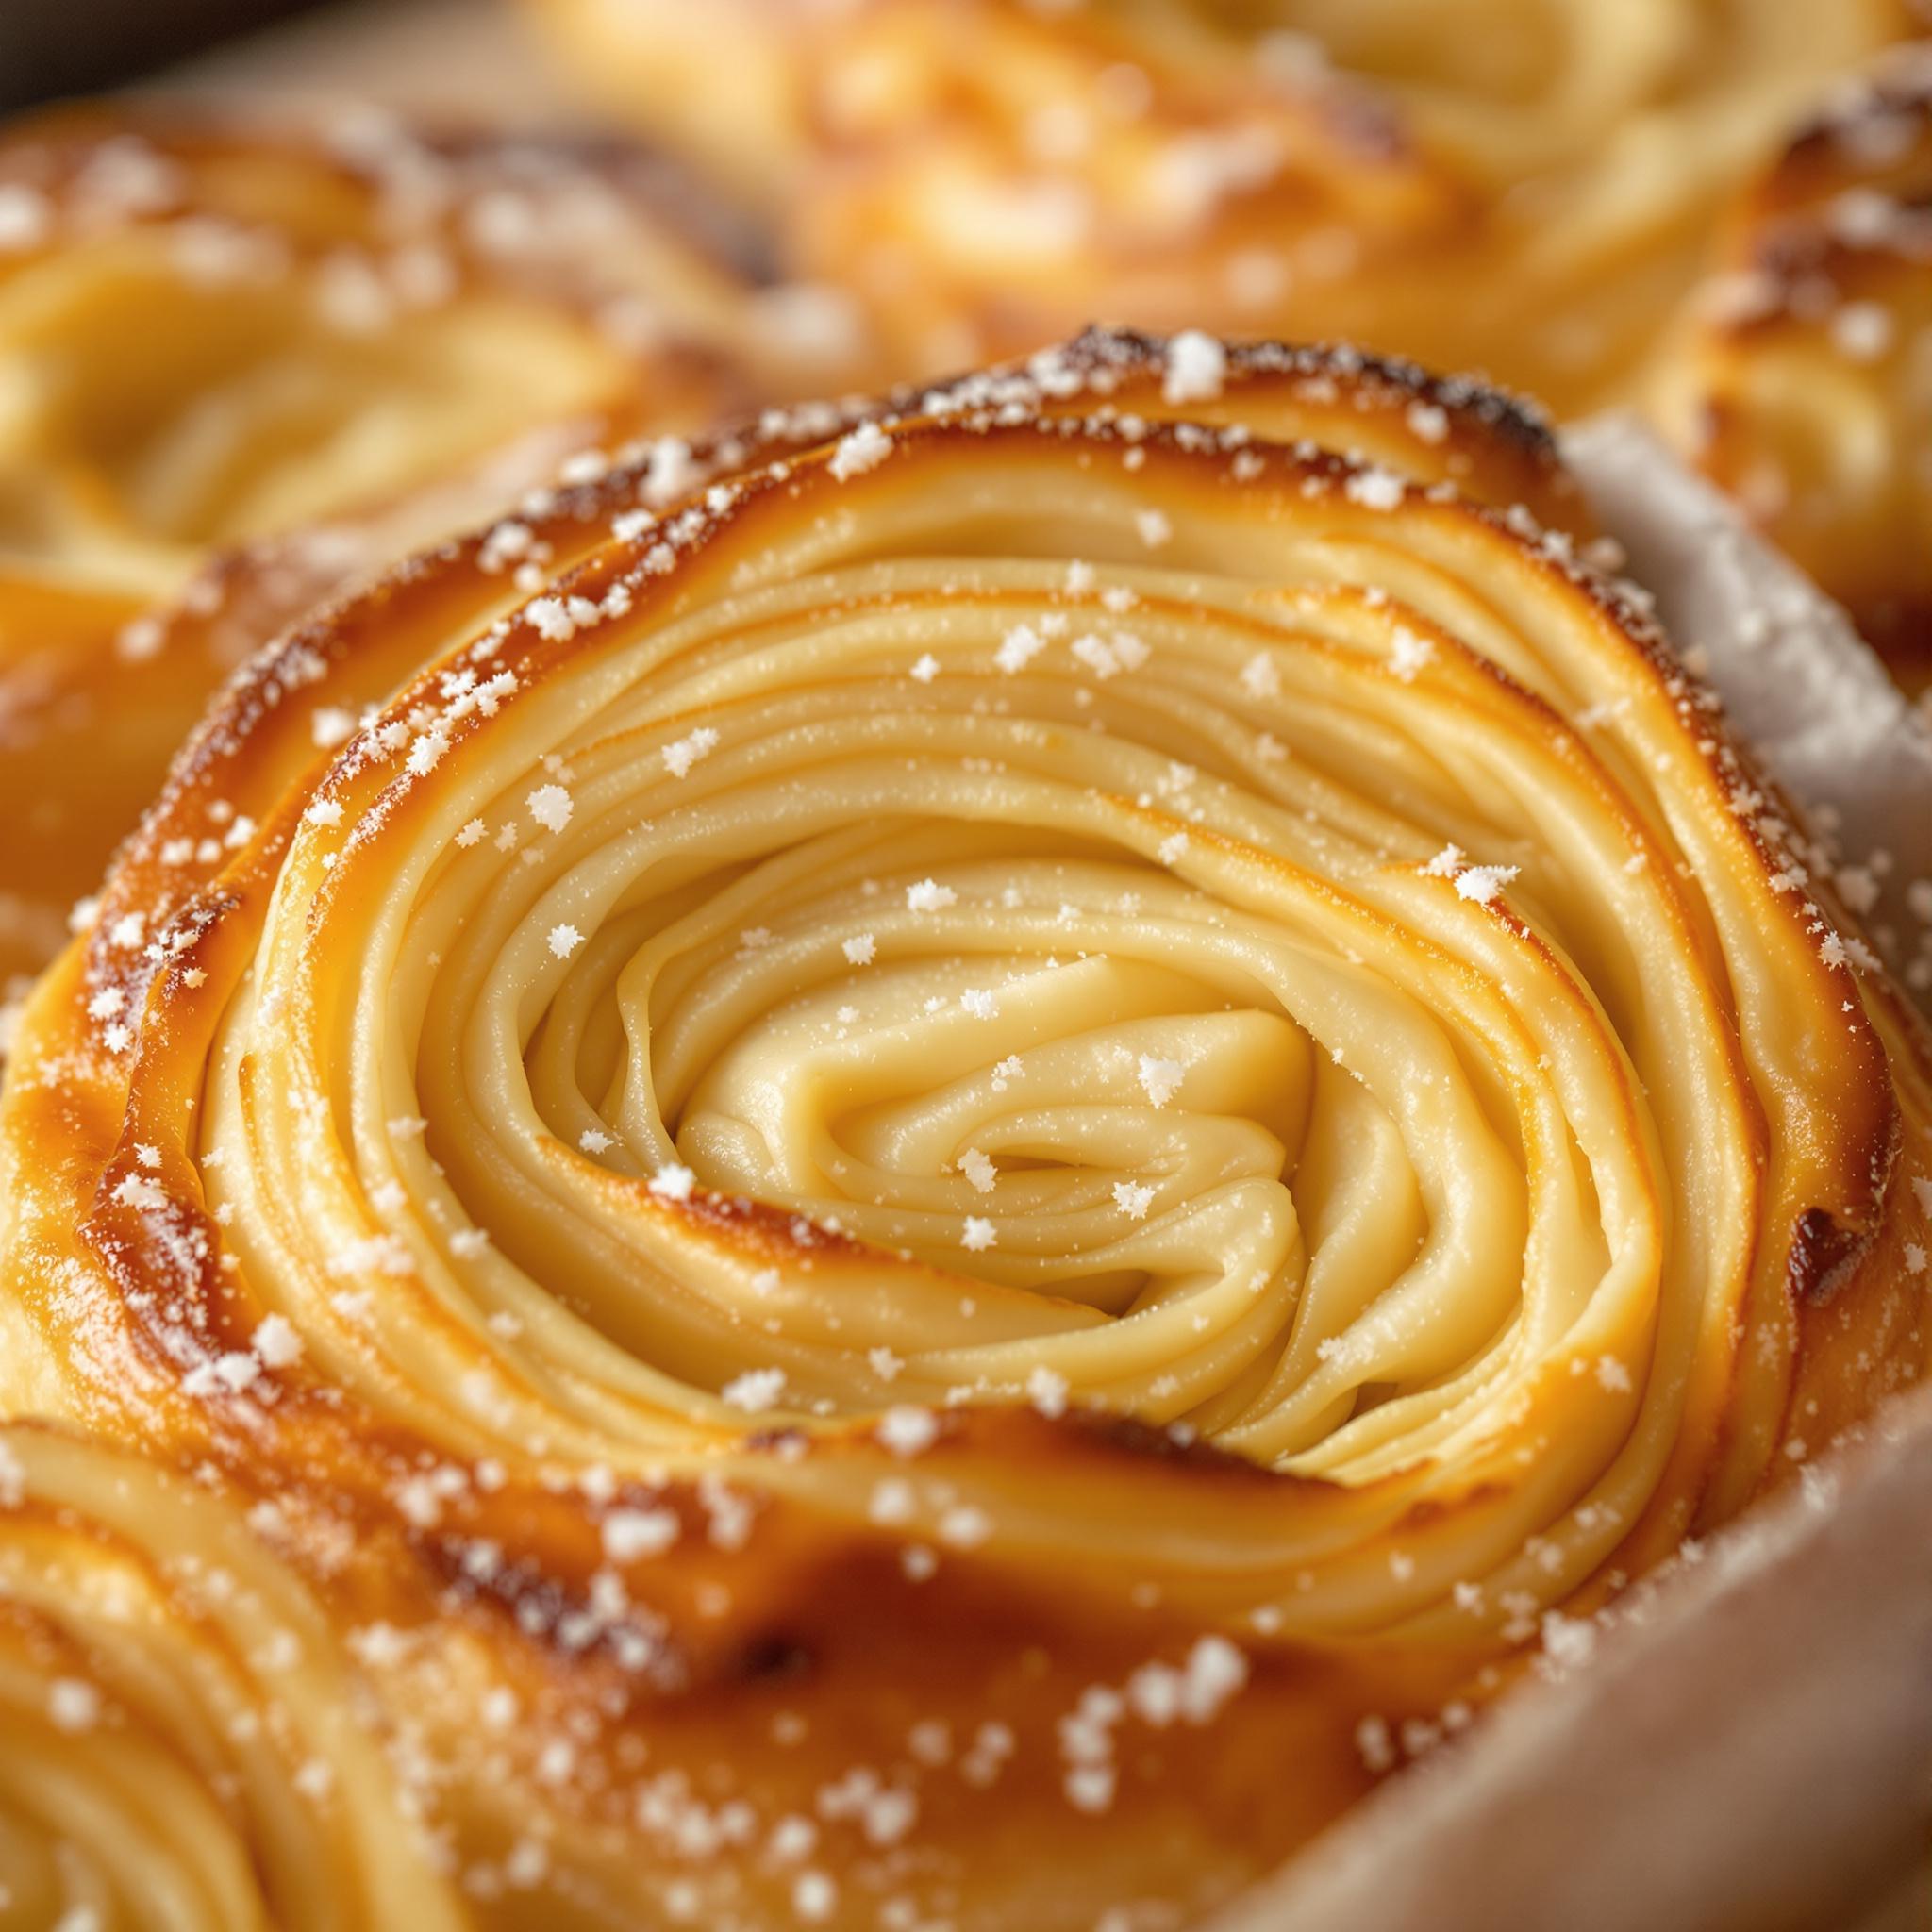
Step 4: Bake to Golden Perfection
Preheat your oven to 375°F (190°C). Brush the tops of the pastries with an egg wash made from one beaten egg and a splash of water. Bake for 15-20 minutes until golden brown and fragrant. As they bake, your kitchen will fill with the heavenly scent of butter and sugar—a sign that your Sweet Danish Dough is almost ready to enjoy!
Chef’s Tip for Perfect Sweet Danish Dough
For extra flavor, brush the baked pastries with a simple syrup glaze right after they come out of the oven. This adds a beautiful shine and enhances the sweetness without overpowering the delicate layers. Trust me, it’s a game-changer!
Time Required for Sweet Danish Dough
Preparation Time: 30 minutes
Cooking Time: 20 minutes
Resting Time: 2 hours (including chilling)
Total Time: Approximately 2 hours and 50 minutes
Nutritional Information
Per serving (1 pastry): Calories: 320 | Protein: 6g | Fat: 18g | Carbohydrates: 34g | Fiber: 1g | Sugar: 15g
Extra Information About Sweet Danish Dough
Did you know that traditional Danish pastries are often shaped into intricate designs? While my recipe keeps things simple, feel free to experiment with braids, spirals, or pinwheels for a creative touch.
Necessary Tools for Making Sweet Danish Dough
- Stand mixer or hand mixer
- Rolling pin
- Parchment paper
- Baking sheet
- Pastry brush
Storage Instructions for Sweet Danish Dough
Store leftover pastries in an airtight container at room temperature for up to two days. To maintain freshness, line the bottom of the container with paper towels to absorb excess moisture. For longer storage, freeze the unbaked pastries on a baking sheet, then transfer them to a freezer-safe bag. When ready to bake, simply thaw overnight in the fridge and proceed with the recipe.
If reheating, pop the pastries in the oven at 350°F (175°C) for 5-7 minutes to restore their crispiness. Avoid microwaving, as this can make them soggy.
Lastly, if you’ve made a batch with perishable fillings like custard, consume them within 24 hours for optimal safety and taste.
Tips and Tricks for Better Results
Always use cold butter for lamination—it’s key to achieving those flaky layers. Keep your workspace cool, especially during warmer months, to prevent the butter from melting prematurely. And don’t rush the resting periods; patience pays off in the form of perfectly risen, golden pastries.
Serving Suggestions for Sweet Danish Dough
- Pair with a steaming cup of coffee or tea for breakfast.
- Serve alongside fresh berries and whipped cream for dessert.
Healthier Alternatives for Sweet Danish Dough
Here are six ways to lighten up this indulgent treat:
- Whole Wheat Flour: Swap half the all-purpose flour with whole wheat for added fiber.
- Reduced Sugar: Cut the sugar by a quarter without compromising flavor.
- Low-Fat Milk: Use skim or low-fat milk instead of whole milk.
- Fruit-Based Fillings: Opt for natural fruit spreads instead of sugary jams.
- Egg White Wash: Replace the egg wash with a mixture of almond milk and maple syrup for a vegan option.
- Portion Control: Make mini pastries for smaller servings.
Common Mistakes to Avoid
Mistake 1: Skipping the Resting Periods
Rushing the resting periods can lead to dense, unflaky pastries. The dough needs time to relax and develop gluten structure. Always chill the dough between folds to ensure proper layering.
Mistake 2: Overworking the Dough
Kneading the dough excessively can result in tough pastries. Stop kneading once the dough becomes smooth and elastic. Remember, less is more when it comes to handling Sweet Danish Dough.
Mistake 3: Using Warm Butter
Warm butter won’t create distinct layers because it blends into the dough instead of forming pockets. Keep your butter cold throughout the process for best results.
Frequently Asked Questions
Can I make Sweet Danish Dough ahead of time?
Absolutely! You can prepare the dough a day in advance and refrigerate it overnight. Just let it come to room temperature before shaping and baking.
What fillings work best with this recipe?
Classic choices include raspberry jam, almond paste, and vanilla custard. For a twist, try Nutella, caramelized apples, or spiced pumpkin puree.
How do I prevent the dough from sticking?
Lightly flour your work surface and rolling pin. If the dough still sticks, chill it briefly before continuing.
Can I freeze Sweet Danish Dough?
Yes, you can freeze either the unbaked or baked pastries. Wrap them tightly in plastic wrap and store in a freezer-safe bag for up to three months.
Why didn’t my dough rise?
This could be due to expired yeast or incorrect water temperature. Ensure your yeast is fresh and the liquid is warm, not hot, to activate it properly.
Is Sweet Danish Dough difficult to make?
While it requires some patience, the steps are straightforward. With practice, you’ll master the art of laminating dough in no time.
Can I use a stand mixer for kneading?
Definitely! A stand mixer fitted with a dough hook simplifies the process and saves effort.
What if I don’t have a rolling pin?
You can use a clean wine bottle or a sturdy glass jar as a makeshift rolling pin.
How do I know when the pastries are done?
They should be golden brown and sound hollow when tapped on the bottom. Underbaked pastries may appear pale and doughy inside.
Can I add spices to the dough?
Of course! Cinnamon, cardamom, or nutmeg complement the sweetness wonderfully.
Conclusion
Sweet Danish Dough is a timeless classic that never fails to impress. From its buttery layers to its endless customization possibilities, this recipe is a testament to the joy of baking. Whether you’re whipping it up for a special occasion or just because, it’s sure to bring smiles to everyone who tastes it. So grab your apron, gather your ingredients, and let’s get baking!
Equipment
- Stand mixer
- Rolling pin
- Parchment paper
- Baking sheet
- Pastry brush
Ingredients
- 4 cups all-purpose flour
- 1/2 cup granulated sugar
- 1 packet active dry yeast (2 1/4 teaspoons)
- 1 teaspoon salt
- 1 cup whole milk warmed
- 1/2 cup unsalted butter melted
- 2 large eggs
- 1 teaspoon vanilla extract
- 1 cup unsalted butter cold (for lamination)
- to taste your choice of filling: jam, custard, or chopped nuts
Instructions
- Whisk together the flour, sugar, yeast, and salt in a large bowl. In another bowl, combine the warm milk, melted butter, eggs, and vanilla. Gradually add wet ingredients to dry, stirring to a soft dough. Knead on a floured surface for 8-10 minutes until smooth.
- Roll dough into a rectangle, place cold butter in center. Fold over butter, seal edges, roll out, and fold into thirds. Repeat folding three times, chilling dough between folds.
- Roll out dough, cut into squares or rectangles. Add filling, fold corners to the center. Place pastries on parchment-lined baking sheet, let rise until puffy.
- Preheat oven to 375°F (190°C). Brush pastries with egg wash, bake for 15-20 minutes until golden and fragrant.
Notes
Nutrition

Hi, I’m Olivia Parker, the founder of BakingSecret.com and a lifelong lover of all things sweet and homemade. I grew up in a small town in Oregon, where the smell of fresh cookies in my family’s kitchen sparked my passion for baking. Over the years, I turned that passion into a mission: to help home bakers feel confident, inspired, and creative.
After studying food science and working in several artisan bakeries across the U.S., I decided to create a space where everyone from beginners to seasoned bakers can find reliable recipes, expert tips, and a warm, welcoming community. BakingSecret.com is my way of sharing the magic of baking with the world. When I’m not testing new recipes, you’ll find me exploring farmers’ markets, collecting vintage cookbooks, or perfecting my sourdough technique.