
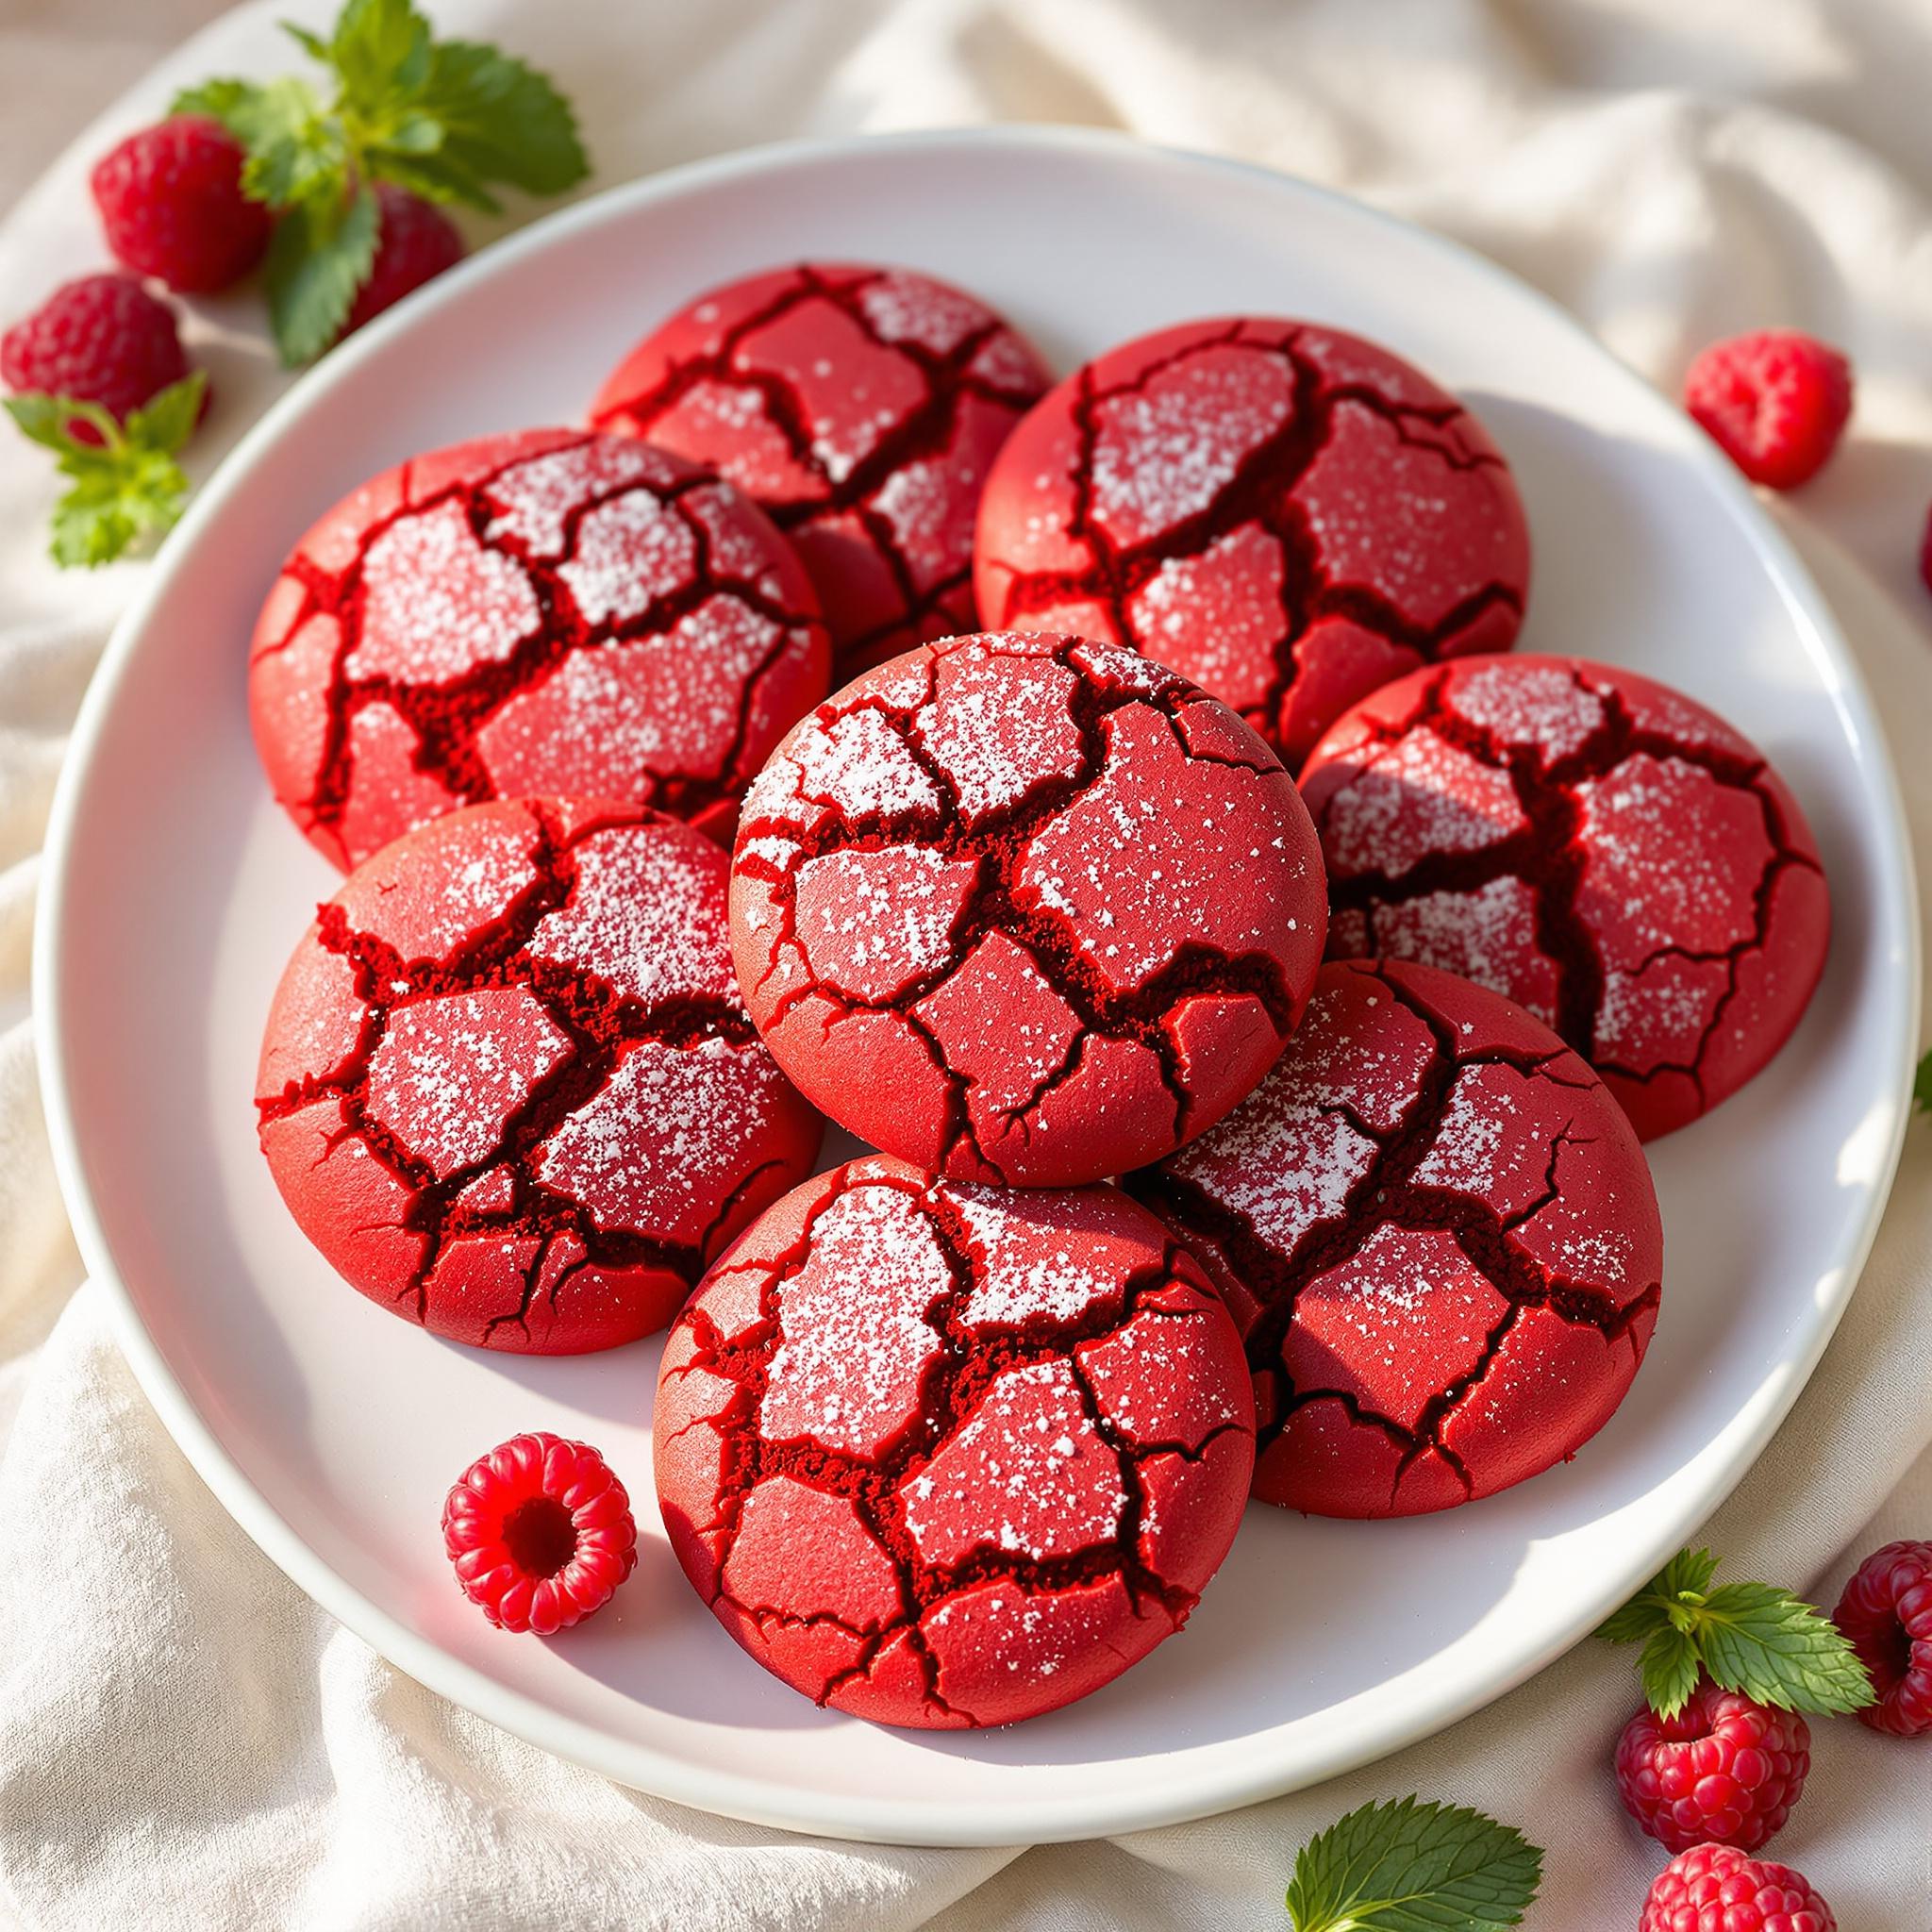
Introduction to Valentine’s Red Velvet Cookies
There’s something magical about baking cookies that are as beautiful as they are delicious, and these Valentine’s Red Velvet Cookies are no exception. I remember the first time I made them—it was for a cozy family gathering on Valentine’s Day. The vibrant red hue paired with the rich cocoa flavor instantly won everyone over. Whether you’re baking for a special occasion or just because, these cookies are sure to bring joy to your kitchen. Variations like red velvet dessert cookies or festive red velvet treats make this recipe versatile and fun!
The Story Behind Red Velvet Desserts
Red velvet desserts have a fascinating history. Originally, red velvet cakes gained popularity in the mid-20th century, thanks to their striking color and velvety texture. The deep red shade traditionally came from natural reactions between cocoa powder and acidic ingredients like buttermilk. Today, we often use food coloring to achieve that iconic look. These Valentine’s Red Velvet Cookies take inspiration from classic red velvet recipes but add a playful twist by turning them into bite-sized delights. They’re perfect for modern celebrations while still honoring tradition.
Why You’ll Love This Recipe
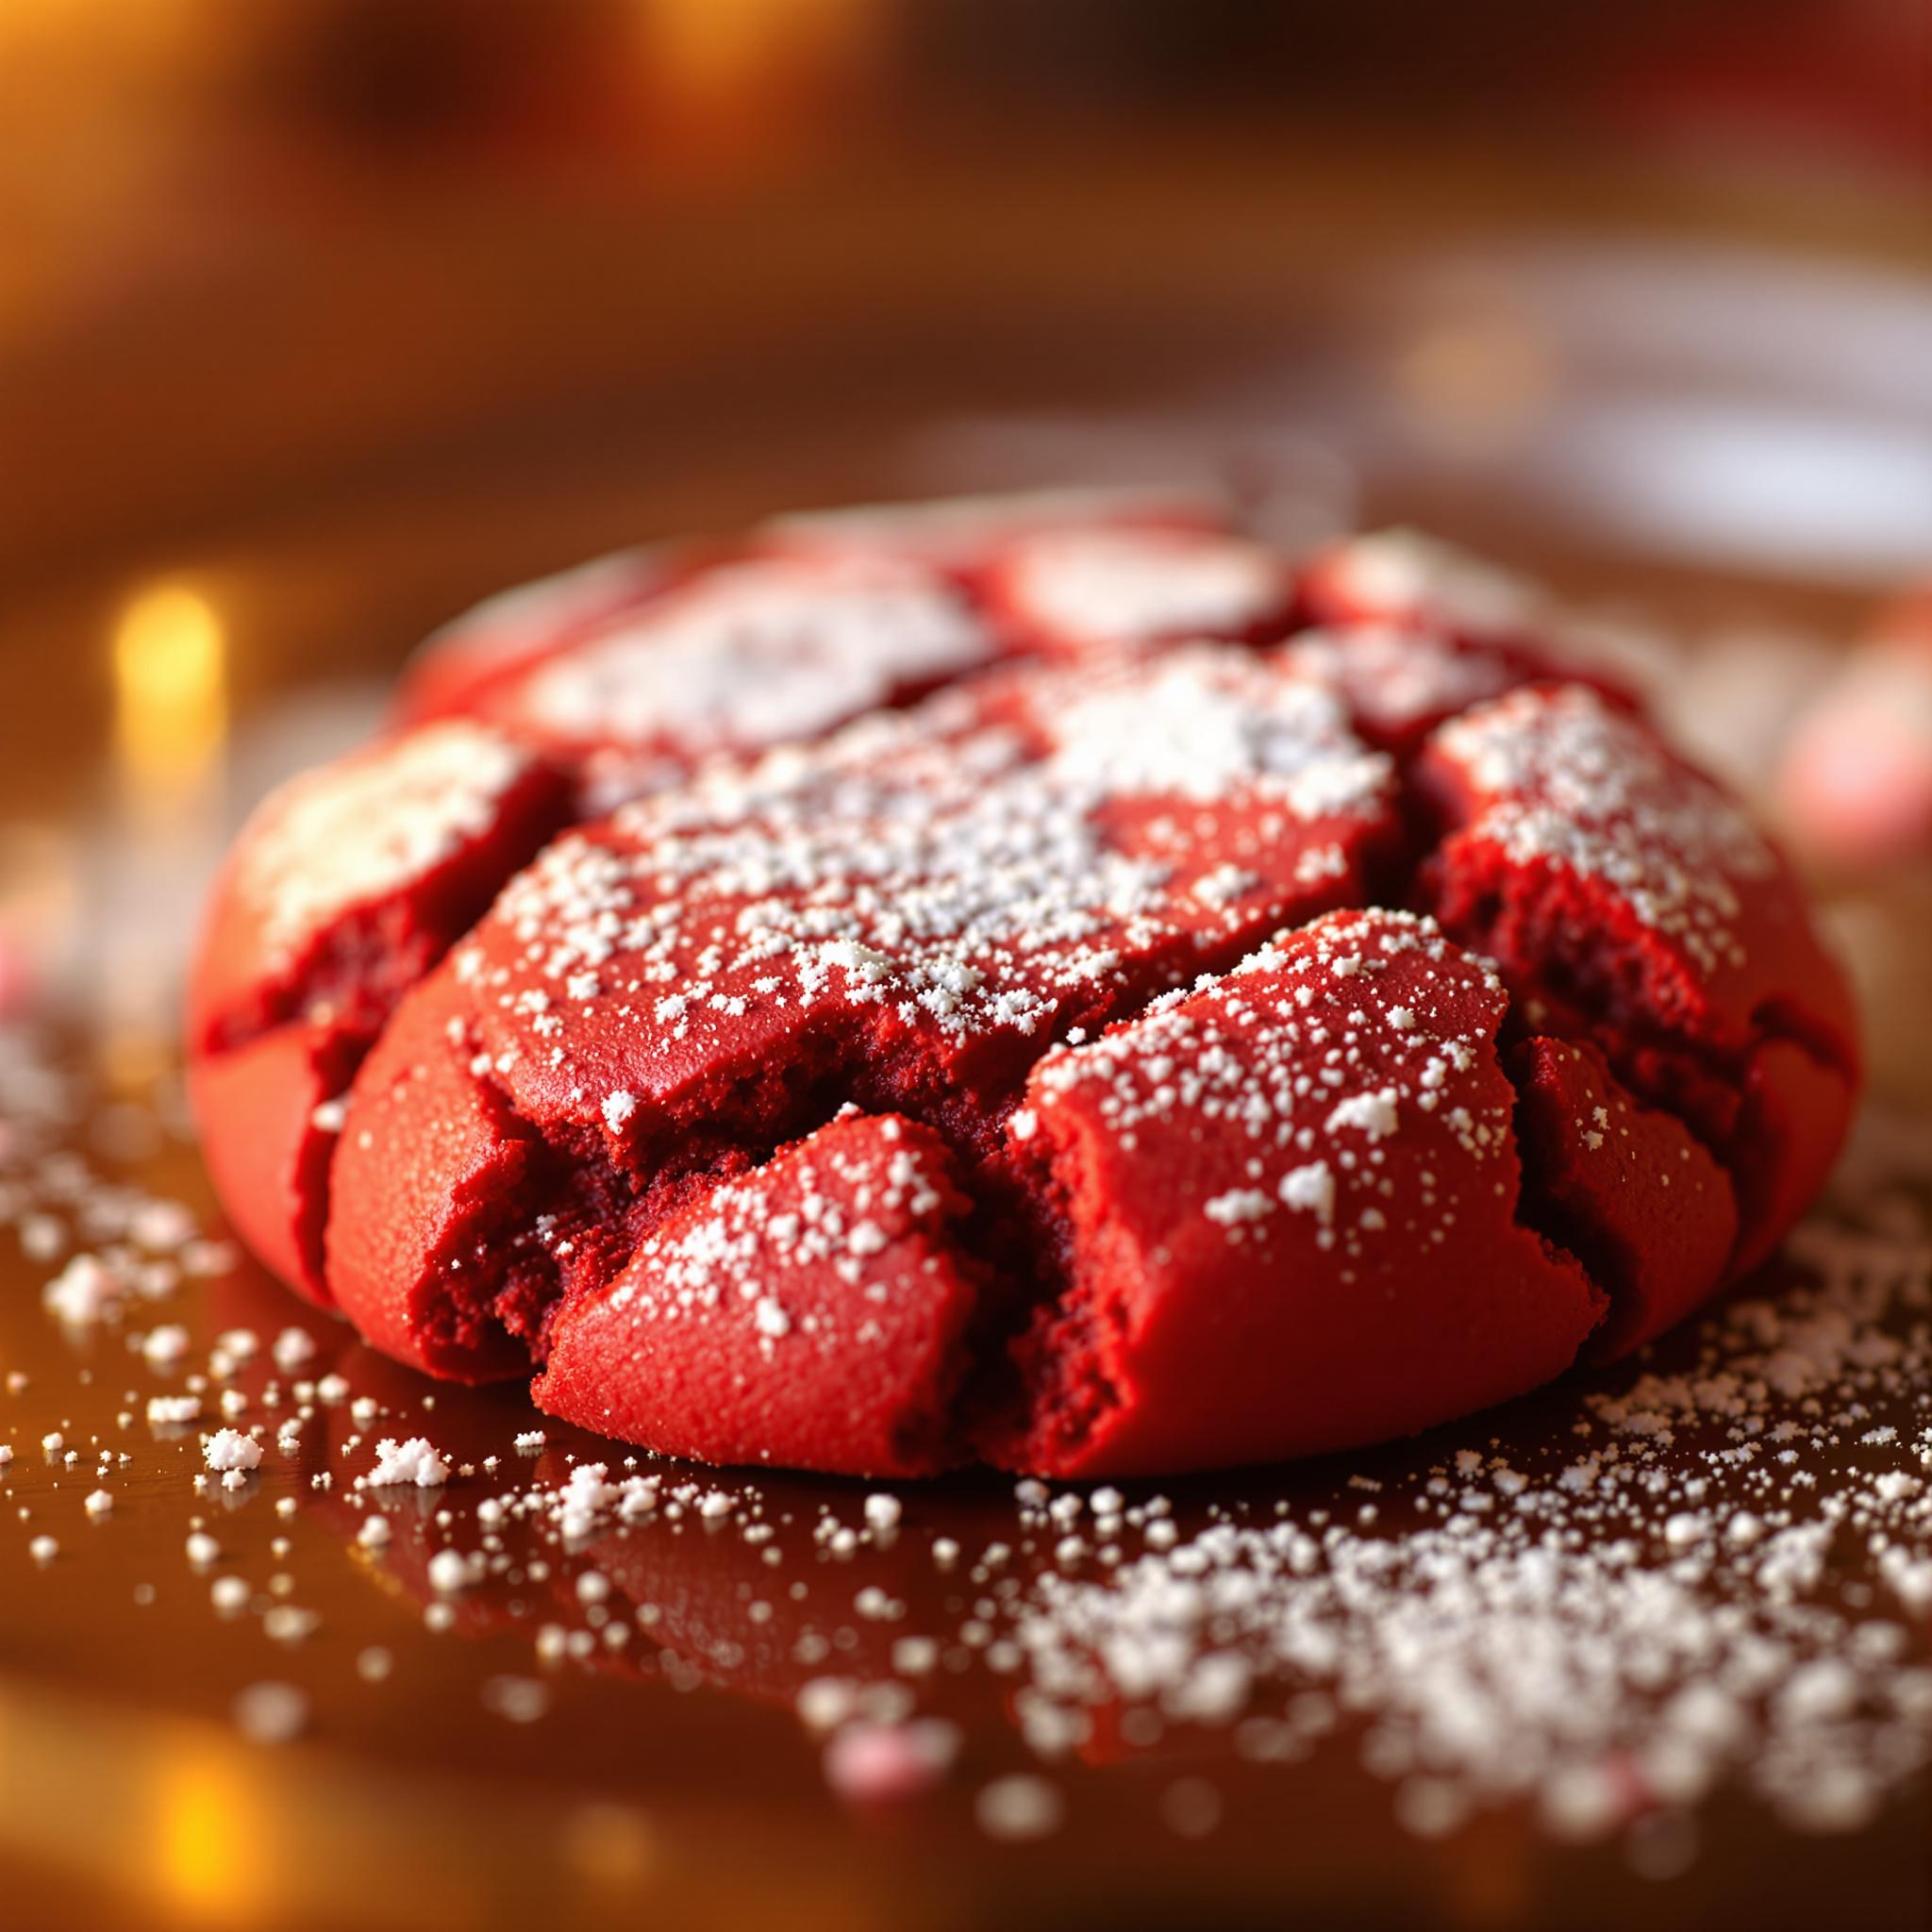
What makes these red velvet dessert cookies so irresistible? First, they strike the perfect balance between sweet and slightly tangy flavors. Second, they’re surprisingly easy to make—even if you’re new to baking! Plus, the soft, chewy texture combined with a hint of chocolate is simply divine. Whether you’re whipping up a batch for loved ones or treating yourself, these cookies are guaranteed to impress.
Perfect Occasions to Prepare Them
These festive red velvet treats are ideal for romantic dinners, holiday parties, or even casual get-togethers. Imagine serving them at a Valentine’s Day brunch or gifting them in pretty boxes tied with ribbons. They also work wonderfully as party favors or themed snacks for birthdays and anniversaries. Anytime you want to spread love through baked goods, this recipe has got you covered!
Ingredients for Valentine’s Red Velvet Cookies
- 1 cup all-purpose flour
- 2 tablespoons unsweetened cocoa powder
- 1/4 teaspoon baking soda
- 1/4 teaspoon salt
- 1/2 cup unsalted butter, softened
- 1/2 cup granulated sugar
- 1 large egg
- 1 teaspoon vanilla extract
- 1 tablespoon red food coloring (gel preferred)
- 1/4 cup white chocolate chips (optional)
Substitution Options
If you’re looking to customize your red velvet dessert cookies, here are some swaps: Use coconut oil instead of butter for a dairy-free option, replace white chocolate chips with dark chocolate chunks, or skip the food coloring altogether for a more rustic look. For gluten-free bakers, almond flour can substitute all-purpose flour, though the texture may vary slightly.
Preparation Steps
Step 1: Mixing the Dry Ingredients
Start by whisking together the flour, cocoa powder, baking soda, and salt in a medium bowl. This ensures the dry ingredients are evenly distributed, which is key to achieving that signature soft texture. Cocoa powder not only adds depth of flavor but also enhances the rich red color when mixed with the food coloring. Pro tip: Sift the cocoa powder to avoid lumps and ensure a smooth batter.
Step 2: Creaming Butter and Sugar
In a separate large bowl, cream the softened butter and sugar until light and fluffy. This step is crucial because it incorporates air into the mixture, giving the cookies their airy yet chewy consistency. As you mix, notice how the sugar grains dissolve into the butter, creating a pale, creamy base. Don’t rush this process—patience pays off in the final result!
Step 3: Adding Wet Ingredients
Beat in the egg and vanilla extract, followed by the red food coloring. Watch as the mixture transforms into a vibrant shade of red—a true hallmark of Valentine’s Red Velvet Cookies. Gel food coloring works best because it provides intense color without altering the dough’s consistency. If using liquid coloring, you might need a bit more to achieve the same effect.
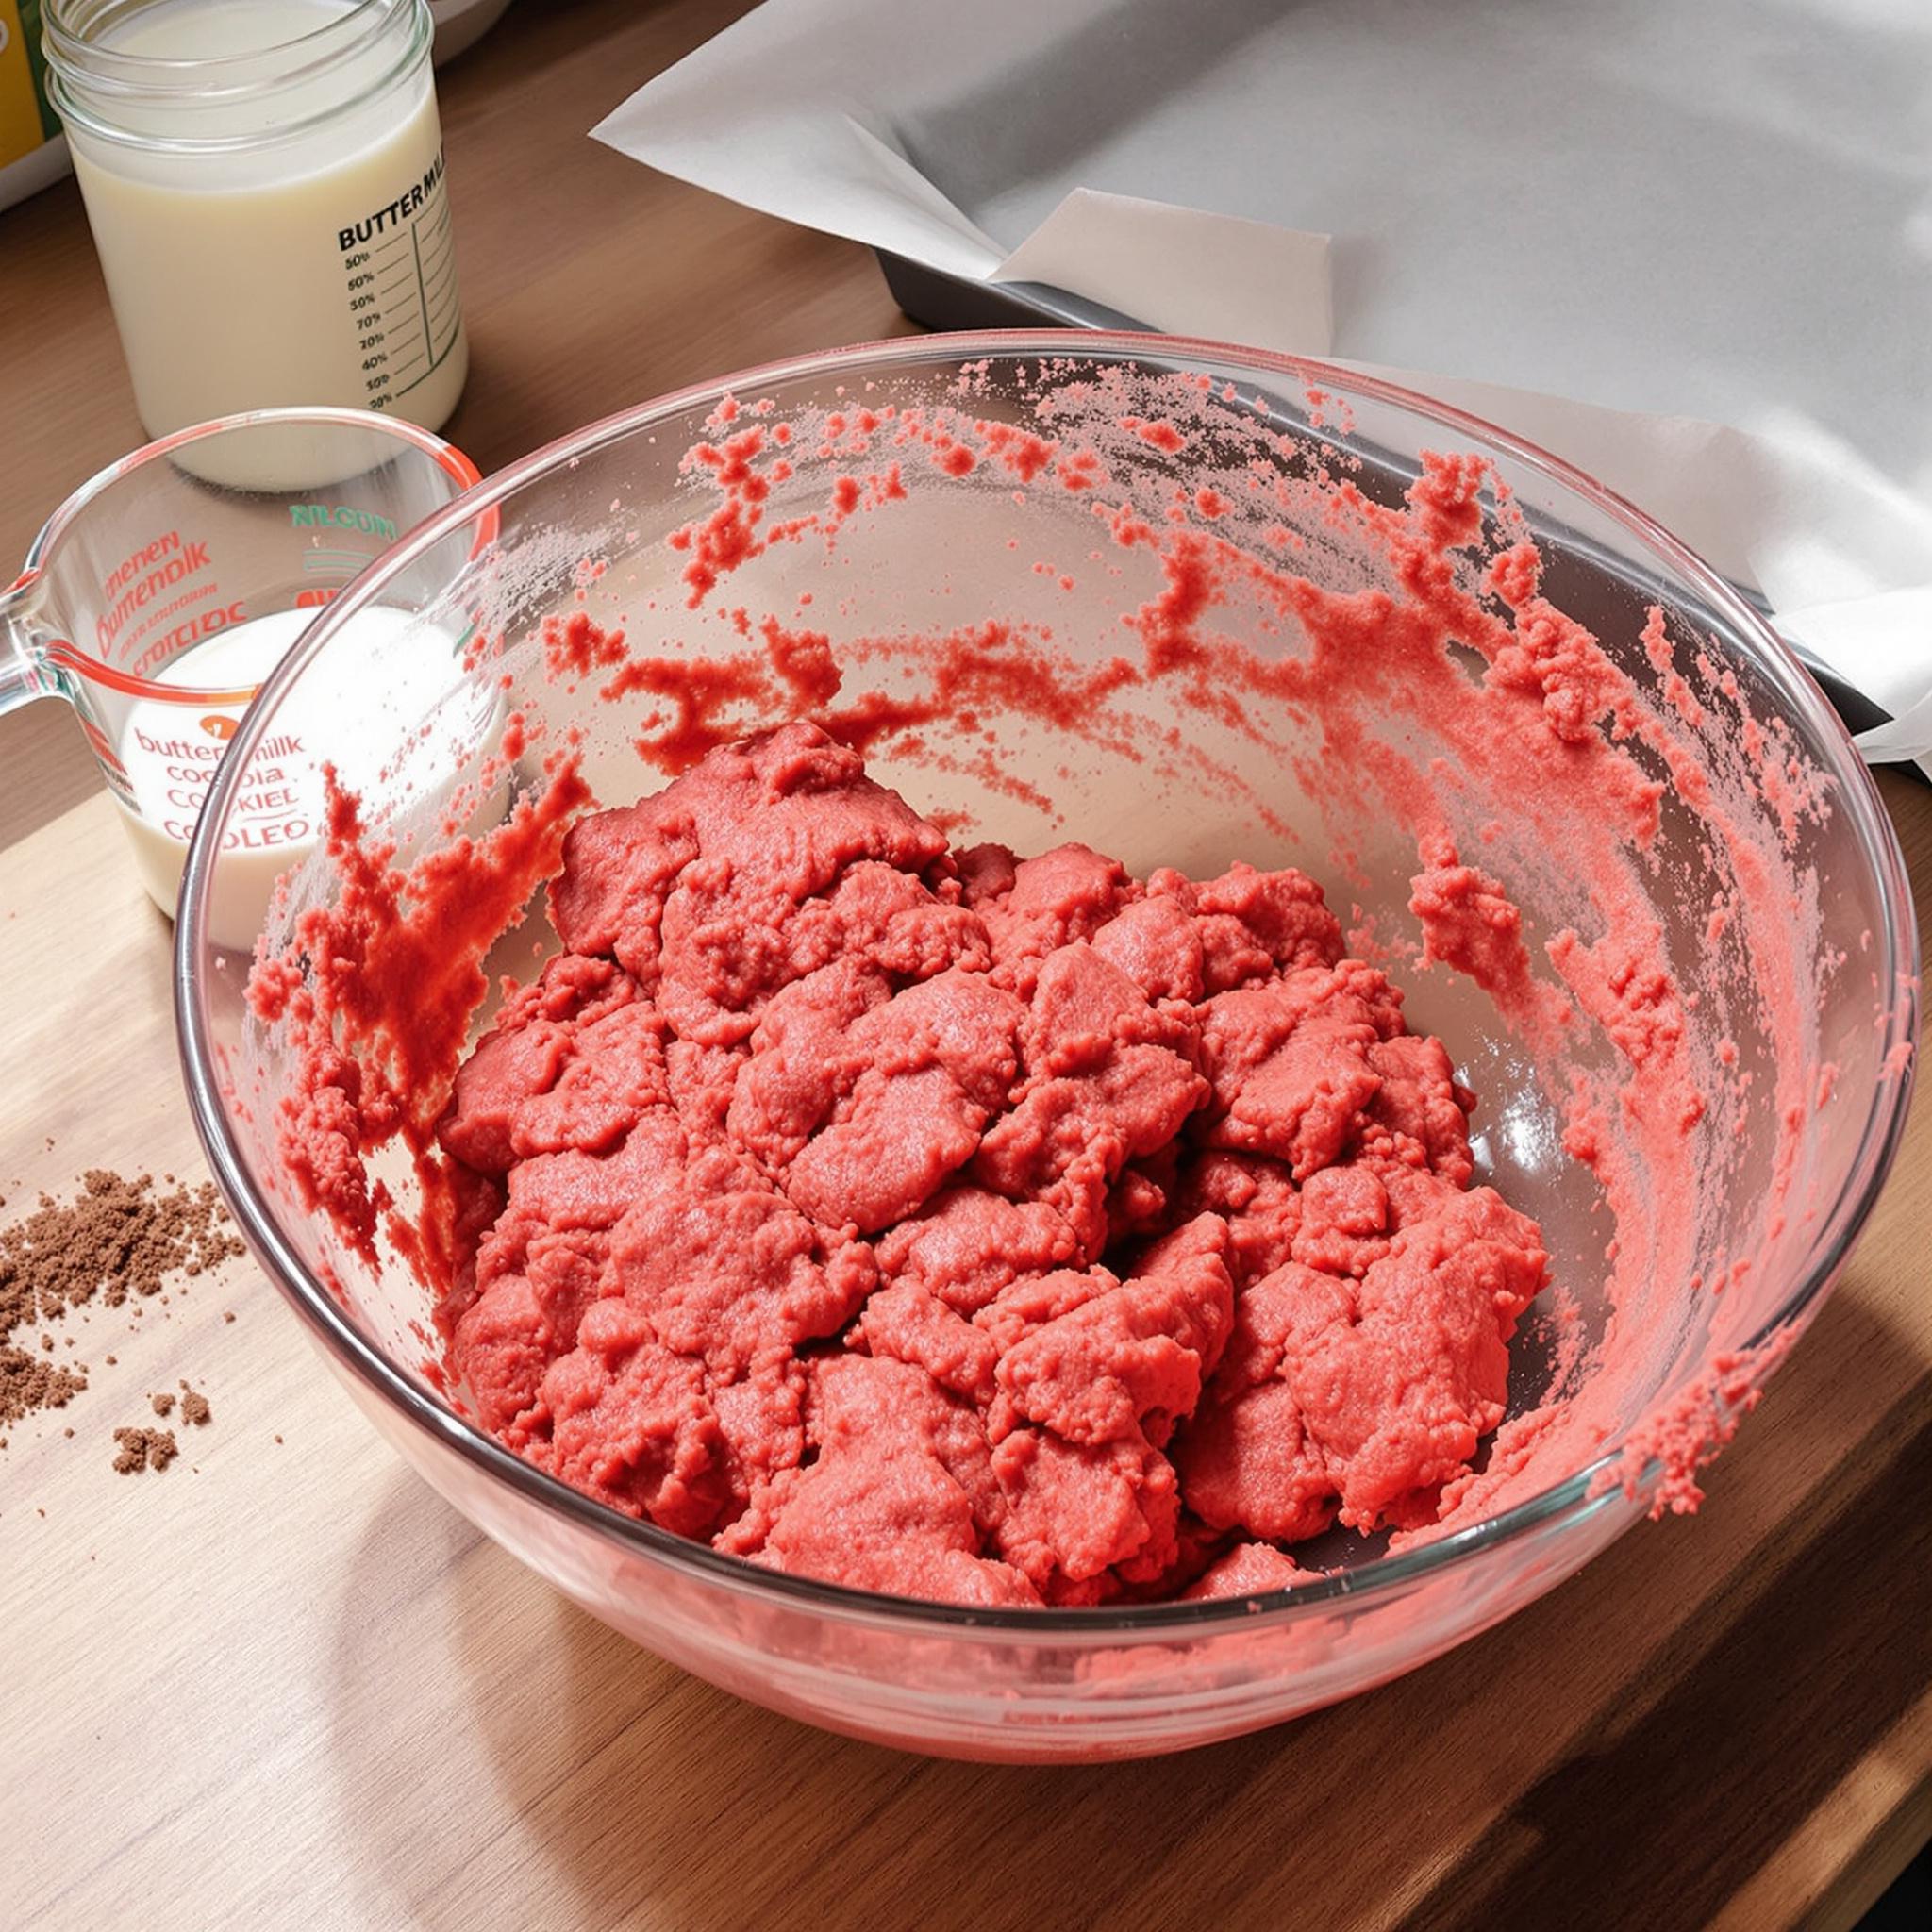
Step 4: Combining Wet and Dry Mixtures
Gradually fold the dry ingredients into the wet mixture until just combined. Be careful not to overmix, as this can lead to tough cookies. At this stage, the dough should be thick, sticky, and utterly tempting. Fold in the white chocolate chips if you’re using them—they’ll add a delightful contrast to the rich red dough.
Step 5: Baking the Cookies
Scoop tablespoon-sized portions of dough onto a lined baking sheet, spacing them about 2 inches apart. Bake in a preheated oven at 350°F (175°C) for 8-10 minutes. Keep an eye on them; you’ll know they’re done when the edges are set but the centers are still soft. Let them cool on the tray for a few minutes before transferring to a wire rack.
Chef’s Tip
To elevate your festive red velvet treats, drizzle melted white chocolate over the cooled cookies. Not only does it enhance the visual appeal, but it also adds a touch of sweetness that complements the cocoa beautifully.
Time Required
- Prep Time: 15 minutes
- Cooking Time: 10 minutes per batch
- Total Time: Approximately 30 minutes
Nutritional Information
Each cookie contains approximately 120 calories, with 6g of fat, 2g of protein, and 15g of carbohydrates. Enjoy these treats guilt-free in moderation!
Extra Information
Did you know that red velvet desserts were once considered a luxury item? During World War II, beet juice was sometimes used as a natural dye, making the dish both visually stunning and resourceful.
Necessary Tools
- Mixing bowls
- Whisk and spatula
- Baking sheets
- Parchment paper
- Cooling rack
Storage Instructions
Store your Valentine’s Red Velvet Cookies in an airtight container at room temperature for up to 5 days. To keep them fresh, place a slice of bread inside the container—it helps retain moisture. For longer storage, freeze the cookies in a freezer-safe bag for up to 3 months. Thaw them at room temperature before serving.
If freezing raw dough, portion it into balls and freeze on a tray before transferring to a bag. When ready to bake, simply pop them in the oven—no thawing required!
Avoid refrigerating the cookies unless absolutely necessary, as the cold air can dry them out. Instead, focus on keeping them sealed tightly to preserve their softness.
Tips and Tricks
- Use gel food coloring for brighter results.
- Chill the dough for 15 minutes before scooping for easier handling.
- Underbake slightly for ultra-soft cookies.
Serving Suggestions
Serve these cookies alongside a glass of milk or a warm cup of coffee for a comforting treat. For a fancier presentation, arrange them on a platter with fresh berries or edible flowers.
Healthier Alternatives
Here are six ways to make this recipe healthier:
- Gluten-Free Flour: Swap all-purpose flour with almond or oat flour.
- Reduced Sugar: Cut the sugar by one-third without compromising taste.
- Vegan Option: Replace eggs with flaxseed meal and butter with coconut oil.
- Natural Coloring: Use beetroot powder instead of artificial dye.
- Darker Chocolate:
- Portion Control: Make smaller cookies to reduce calorie intake.
Common Mistakes to Avoid
Mistake 1: Overmixing the Dough
Overmixing leads to dense cookies. Mix until just combined to maintain a light texture. Pro tip: Stop mixing as soon as you see no streaks of flour.
Mistake 2: Skipping Chilling
Skipping the chilling step can cause the cookies to spread too much. Chill the dough briefly for better shape retention.
Mistake 3: Overbaking
Overbaked cookies lose their softness. Remove them from the oven when the edges are firm but the centers are still slightly underdone.
Frequently Asked Questions
Can I use liquid food coloring?
Yes, but you may need more to achieve the same vibrancy as gel coloring.
How do I prevent spreading?
Chill the dough and ensure your baking sheets are cool before use.
Can I freeze the dough?
Absolutely! Portion it into balls and freeze for later use.
What’s the best way to store leftovers?
Keep them in an airtight container at room temperature for freshness.
Do I have to use white chocolate chips?
No, feel free to omit or substitute with other types of chips.
Is there a substitute for eggs?
Try flax eggs or applesauce for a vegan alternative.
Can I double the recipe?
Yes, just ensure your mixing bowls are large enough to accommodate the increased volume.
Why is my dough too sticky?
Add a tablespoon of flour at a time until the dough reaches the right consistency.
How long do they stay fresh?
They remain fresh for up to 5 days when stored properly.
Can I make these gluten-free?
Yes, swap regular flour with a gluten-free blend.
Conclusion
With their stunning appearance and irresistible flavor, Valentine’s Red Velvet Cookies are a must-try for any home baker. Whether you’re celebrating love or simply indulging in a sweet treat, this recipe promises happiness in every bite. So grab your apron, gather your ingredients, and let’s create something truly special together!
Equipment
- Mixing bowls
- Whisk
- Spatula
- Baking sheets
- Parchment paper
Ingredients
- 1 cup all-purpose flour
- 2 tablespoons unsweetened cocoa powder
- 1/4 teaspoon baking soda
- 1/4 teaspoon salt
- 1/2 cup unsalted butter softened
- 1/2 cup granulated sugar
- 1 large egg
- 1 teaspoon vanilla extract
- 1 tablespoon red food coloring gel preferred
- 1/4 cup white chocolate chips optional
Instructions
- Start by whisking together the flour, cocoa powder, baking soda, and salt in a medium bowl.
- Cream the softened butter and sugar until light and fluffy.
- Beat in the egg and vanilla extract, followed by the red food coloring.
- Gradually fold the dry ingredients into the wet mixture until just combined.
- Scoop tablespoon-sized portions of dough onto a lined baking sheet and bake at 350°F (175°C) for 8-10 minutes.
Notes
Nutrition

Hi, I’m Olivia Parker, the founder of BakingSecret.com and a lifelong lover of all things sweet and homemade. I grew up in a small town in Oregon, where the smell of fresh cookies in my family’s kitchen sparked my passion for baking. Over the years, I turned that passion into a mission: to help home bakers feel confident, inspired, and creative.
After studying food science and working in several artisan bakeries across the U.S., I decided to create a space where everyone from beginners to seasoned bakers can find reliable recipes, expert tips, and a warm, welcoming community. BakingSecret.com is my way of sharing the magic of baking with the world. When I’m not testing new recipes, you’ll find me exploring farmers’ markets, collecting vintage cookbooks, or perfecting my sourdough technique.