
Why You’ll Love This 3 Storey Cake Recipe
Picture this: it’s my niece’s birthday, and I’m staring at a Pinterest photo of a towering 3 storey cake that looks like a dream. I thought, “Can I really pull this off?” Spoiler alert: I did, and it was a hit! A 3 storey cake isn’t just a dessert; it’s a centerpiece, a showstopper, and a conversation starter. Whether you’re a seasoned baker or someone who just loves to try new things, this recipe is for you.
The Story Behind the 3 Storey Cake
Cakes with multiple tiers have been around for centuries. Traditionally, they were reserved for grand occasions like weddings and royal celebrations. The 3 storey cake became especially popular because it symbolizes abundance and celebration. In modern times, people use them for everything from birthdays to baby showers. My version combines classic techniques with a touch of creativity, making it perfect for family gatherings or impressing friends at your next dinner party.
Why This Recipe Stands Out
This 3 storey cake is all about balance. It’s rich but not overwhelming, sweet but not cloying. The layers are light and fluffy, while the frosting ties everything together with a creamy texture. Plus, it’s easier to make than you might think. If I can do it, so can you! And the best part? It’s completely customizable. Want chocolate? Done. Prefer vanilla or fruit flavors? You got it.
Perfect Occasions for a 3 Storey Cake
A 3 storey cake is perfect for any event where you want to make a statement. Birthdays, anniversaries, and holidays are obvious choices, but don’t stop there. Imagine surprising your coworkers with one at the office or bringing it to a family reunion. Even a casual get-together can feel extra special with this cake as the star of the table.
Ingredients for Your 3 Storey Cake
- 2 cups all-purpose flour
- 1 ½ cups granulated sugar
- ¾ cup unsalted butter (softened)
- 3 large eggs
- 1 cup whole milk
- 2 teaspoons baking powder
- 1 teaspoon vanilla extract
- ½ teaspoon salt
- 2 cups buttercream frosting
- Food coloring (optional, for decorating)
Substitution Options
- Swap all-purpose flour with gluten-free flour if needed.
- Use almond or oat milk instead of whole milk for a dairy-free option.
- Replace butter with margarine or coconut oil for a vegan twist.
Preparation Section
Step 1: Preheat and Prepare
Start by preheating your oven to 350°F (175°C). Grease three round cake pans and line the bottoms with parchment paper. This ensures the cakes won’t stick. Pro tip: Use a little butter or nonstick spray on the parchment for extra insurance. The smell of the warming kitchen will already have everyone excited!
Step 2: Mix the Dry Ingredients
In a large bowl, whisk together the flour, sugar, baking powder, and salt. This dry mixture gives the cake its structure. Imagine the soft, powdery texture in your hands—it’s almost therapeutic. Be sure to mix thoroughly so every bite has the same delicious consistency.
Step 3: Combine Wet Ingredients
In another bowl, beat the softened butter until creamy. Add the eggs one at a time, mixing well after each addition. Pour in the vanilla extract and milk. The buttery aroma combined with the sweetness of vanilla is enough to make anyone’s mouth water. Blend until smooth and creamy.
Step 4: Bring It All Together
Slowly add the dry ingredients to the wet mixture, stirring gently until fully combined. Avoid overmixing, as this can make the cake dense. The batter should be light and airy—just like clouds floating in the sky. Divide the batter evenly among the prepared pans.
Step 5: Bake to Perfection
Bake the cakes for 20–25 minutes or until a toothpick inserted into the center comes out clean. Let the cakes cool in the pans for 10 minutes before transferring them to a wire rack. The golden-brown edges and soft, spongy texture are worth the wait.
Step 6: Frost and Decorate
Once the cakes are completely cool, stack them with a generous layer of buttercream frosting between each tier. Cover the entire cake with frosting, smoothing it out with a spatula. Get creative with colors or designs! Chef’s tip: Chill the cake for 15 minutes before serving to let the frosting set.
Timing
- Prep Time: 20 minutes
- Cooking Time: 25 minutes
- Resting Time: 30 minutes (cooling)
- Total Time: 1 hour 15 minutes
Chef’s Secret
For an extra-fluffy cake, separate the egg whites and beat them until stiff peaks form. Fold them into the batter gently. This trick adds airiness and makes the cake layers incredibly light.
Extra Info
Did you know that a three-tiered cake stand is often called a “tiered cake display”? It’s designed to hold cakes like this one beautifully. Fun fact: Kamala Harris reportedly loves carrot cake, which could easily inspire a themed 3 storey cake.
Necessary Equipment
- Three round cake pans (8-inch diameter)
- Mixing bowls
- Electric mixer
- Spatula
- Parchment paper
- Wire cooling rack
Storage Tips
To keep your 3 storey cake fresh, store it in an airtight container at room temperature for up to two days. For longer storage, refrigerate it. Just be sure to bring it back to room temperature before serving. Freezing is also an option—wrap each layer individually in plastic wrap and foil.
If you live in a warm climate, avoid leaving the cake out for too long. Heat can cause the frosting to melt, ruining the design. Keep it in a cool spot away from direct sunlight.
When reheating slices, pop them in the microwave for 5–10 seconds. The warmth enhances the flavors and makes the cake even more irresistible.
Tips and Advice
- Measure ingredients carefully for consistent results.
- Use a serrated knife to level the cake layers if they rise unevenly.
- Practice patience when frosting—the smoother, the better!
Presentation Ideas
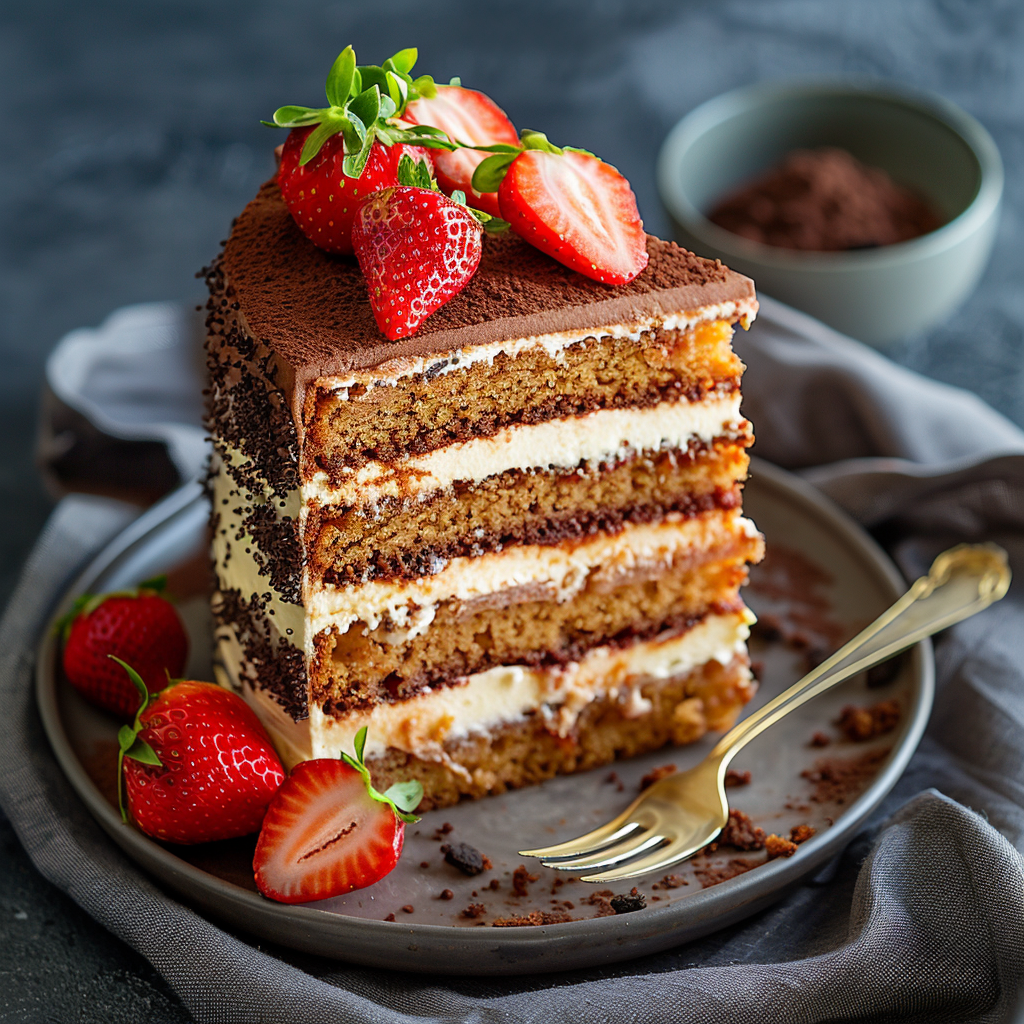
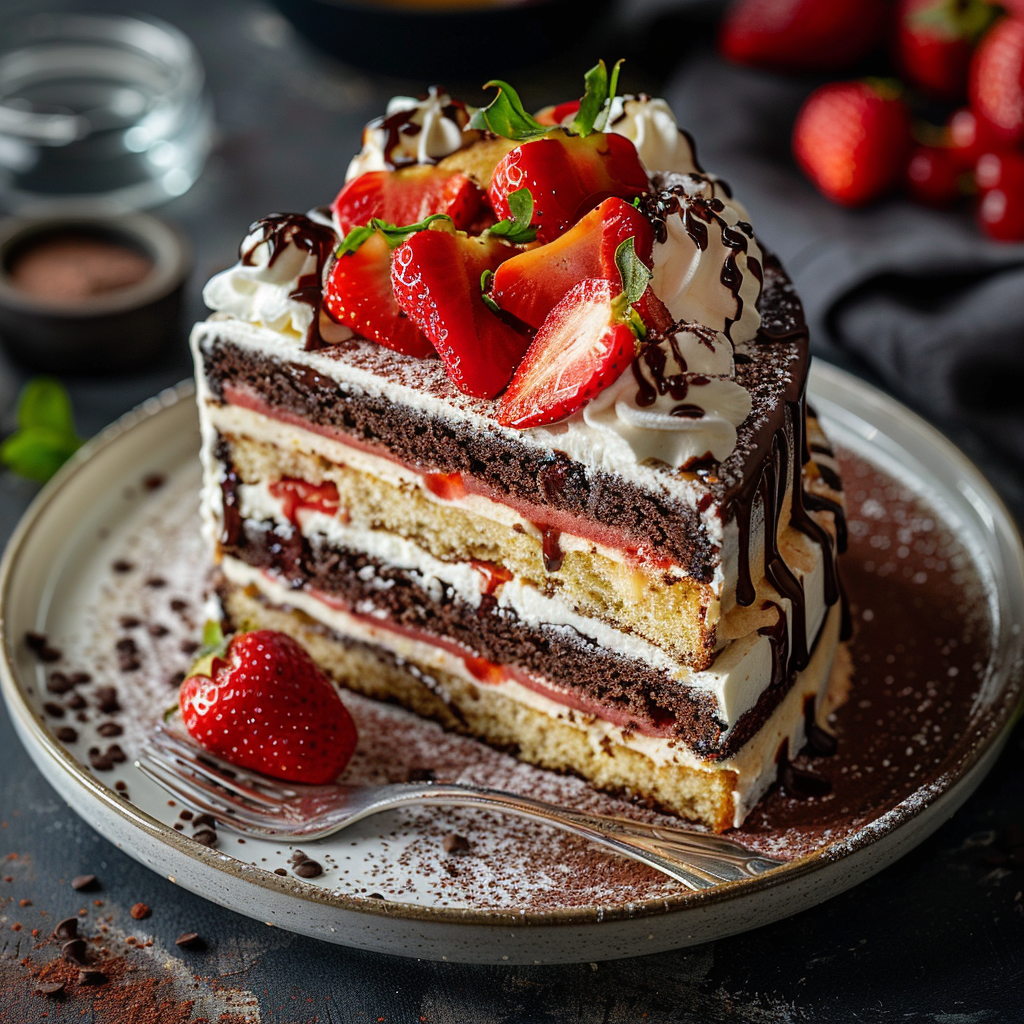
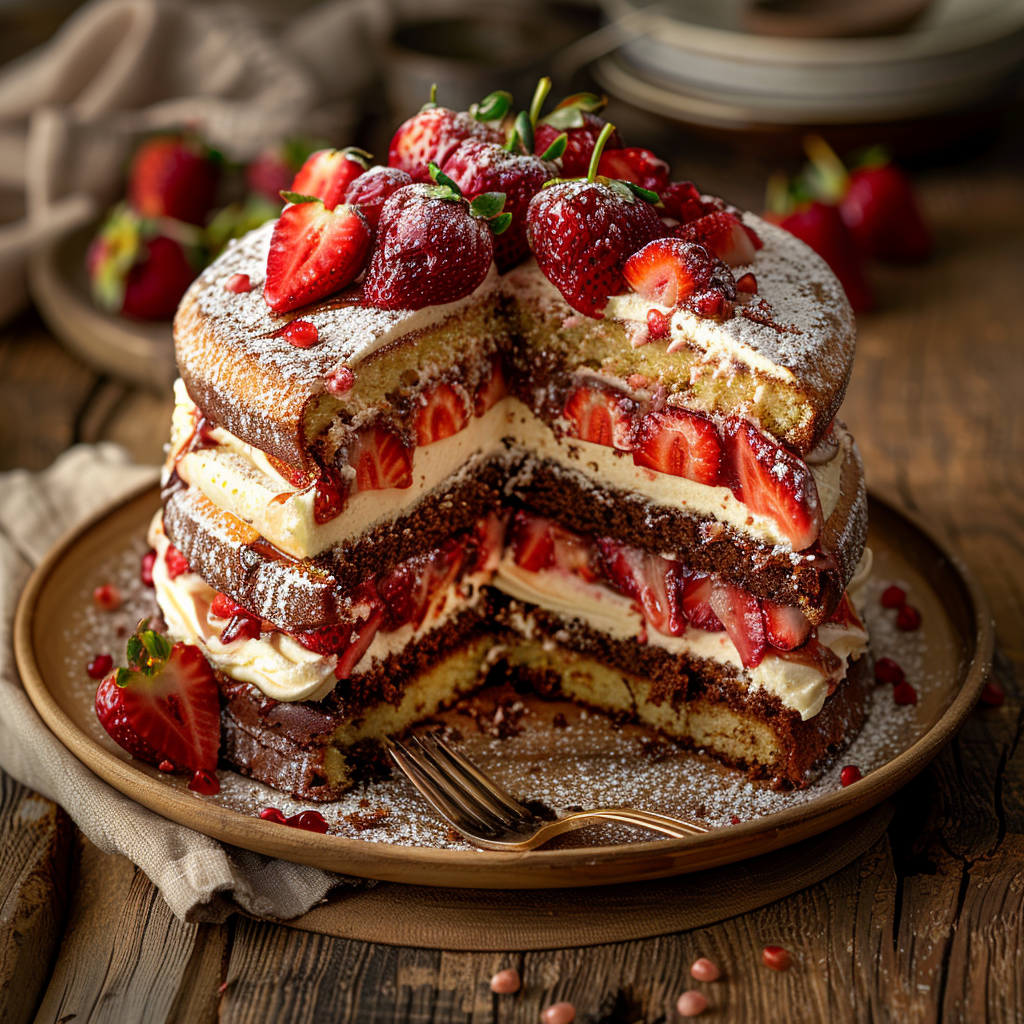
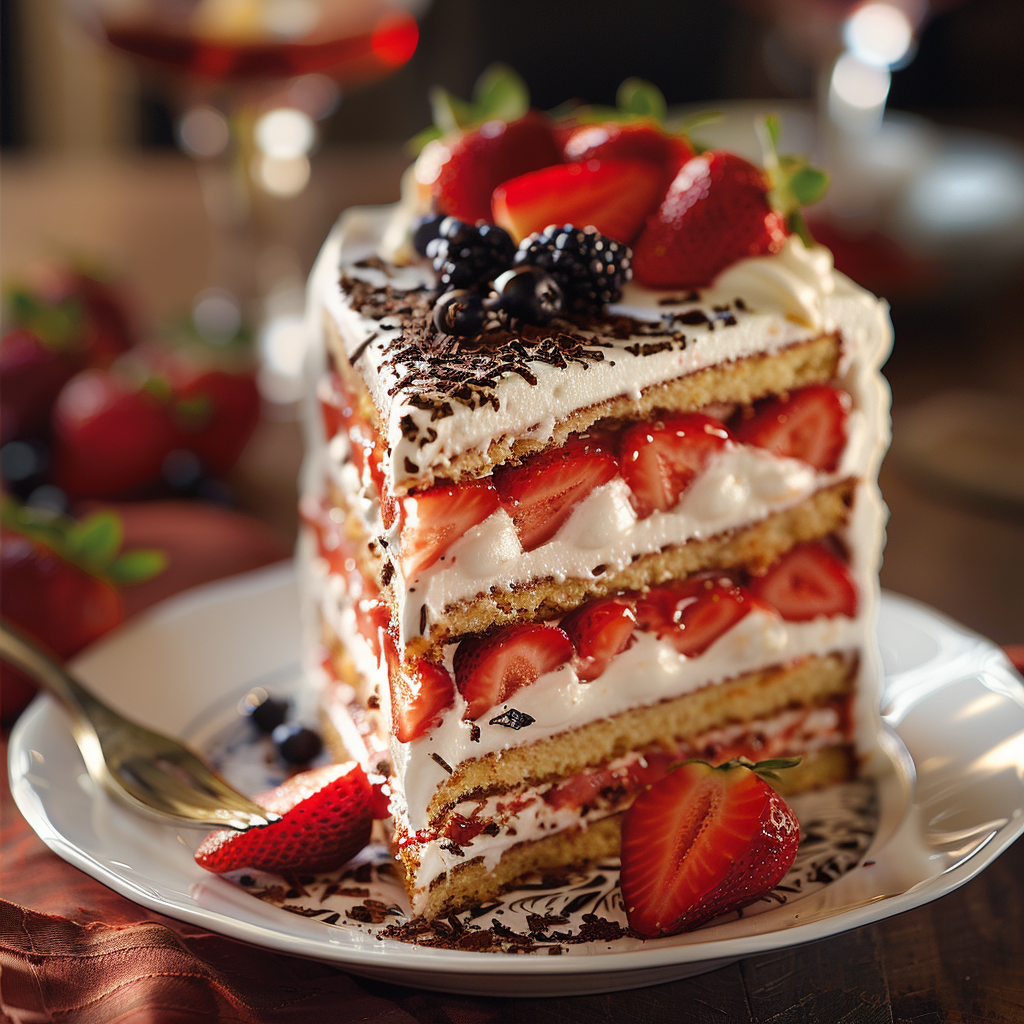
- Top the cake with fresh berries for a pop of color.
- Add edible flowers for an elegant touch.
- Drizzle caramel or chocolate sauce over the top for drama.
Healthier Alternatives
Here are six variations to make your 3 storey cake healthier:
- Low-Sugar Option: Use a sugar substitute like stevia or monk fruit.
- Vegan Version: Replace eggs with flaxseed meal mixed with water.
- Gluten-Free: Swap regular flour with almond or coconut flour.
- Fruit-Infused: Add pureed bananas or applesauce for natural sweetness.
- Protein-Packed: Incorporate protein powder into the batter.
- Dairy-Free Frosting: Use coconut cream instead of buttercream.
Common Mistakes to Avoid
Mistake 1: Overmixing the Batter
Overmixing leads to a dense cake instead of a light and fluffy one. To avoid this, stir gently and stop as soon as the ingredients are combined. Think of folding in delicate egg whites—it’s all about gentleness.
Mistake 2: Skipping the Cooling Step
Rushing to frost a warm cake causes the frosting to melt and slide off. Always let the layers cool completely. Pro tip: Place them in the fridge for 10 minutes to speed up the process.
Mistake 3: Uneven Layers
If your layers bake unevenly, trim them with a serrated knife. An uneven cake can topple during assembly, which no one wants to see happen.
FAQ
What is a three-tiered cake stand called?
A three-tiered cake stand is commonly referred to as a “tiered cake display” or “cake pedestal.” These stands are designed to showcase multi-layered cakes beautifully and elevate their presentation.
What is Kamala Harris’ favorite cake?
Kamala Harris reportedly loves carrot cake. If you’re feeling adventurous, why not create a carrot cake-inspired 3 storey cake? Add cream cheese frosting and a sprinkle of nuts for authenticity.
Why are wedding cakes 3 tiers?
Wedding cakes traditionally have three tiers to symbolize the couple’s past, present, and future. They’re also practical, offering enough servings for guests while maintaining an elegant appearance.
How tall is a 3 layer cake?
A typical 3 storey cake stands around 9–12 inches tall, depending on the thickness of the layers and frosting. Each layer usually measures about 2–3 inches high.
Can I freeze a 3 storey cake?
Yes! Wrap each layer tightly in plastic wrap and foil before freezing. Thaw overnight in the fridge before assembling and decorating.
Do I need special tools to make this cake?
No fancy gadgets required! Basic tools like mixing bowls, an electric mixer, and cake pans are all you need to create a stunning 3 storey cake.
How do I prevent my cake from sticking to the pan?
Grease the pans thoroughly and line the bottoms with parchment paper. A light dusting of flour can also help ensure easy release.
Can I use boxed cake mix?
Absolutely! Boxed mixes work great if you’re short on time. Just follow the package instructions and assemble as usual.
What flavor combinations work best?
Classic pairings include chocolate-vanilla, lemon-raspberry, and coffee-chocolate. Experiment to find your favorite combo!
How far in advance can I bake the layers?
You can bake the layers up to two days ahead. Store them wrapped in plastic wrap at room temperature until ready to assemble.
Final Thoughts
Creating a 3 storey cake might seem intimidating at first, but trust me—it’s easier than you think. With this recipe, you’ll not only impress your loved ones but also enjoy the process of baking something truly special. So grab your apron, gather your ingredients, and let’s make some magic in the kitchen!
Equipment
- Three round cake pans (8-inch diameter)
- Mixing bowls
- Electric mixer
- Spatula
- Parchment paper
- Wire cooling rack
Ingredients
- 2 cups all-purpose flour
- 1.5 cups granulated sugar
- 0.75 cup unsalted butter (softened)
- 3 large eggs
- 1 cup whole milk
- 2 teaspoons baking powder
- 1 teaspoon vanilla extract
- 0.5 teaspoon salt
- 2 cups buttercream frosting
- q.s. food coloring (optional) for decorating
Instructions
- Preheat your oven to 350°F (175°C). Grease three round cake pans and line the bottoms with parchment paper.
- In a large bowl, whisk together the flour, sugar, baking powder, and salt.
- In another bowl, beat the softened butter until creamy. Add the eggs one at a time, mixing well after each addition. Pour in the vanilla extract and milk, blending until smooth.
- Slowly add the dry ingredients to the wet mixture, stirring gently until fully combined. Divide the batter evenly among the prepared pans.
- Bake the cakes for 20–25 minutes or until a toothpick inserted into the center comes out clean. Let the cakes cool in the pans for 10 minutes before transferring them to a wire rack.
- Once the cakes are completely cool, stack them with a generous layer of buttercream frosting between each tier. Cover the entire cake with frosting and decorate as desired.