
A Taste of Heaven: The Heavenly Coconut Chocolate Cake
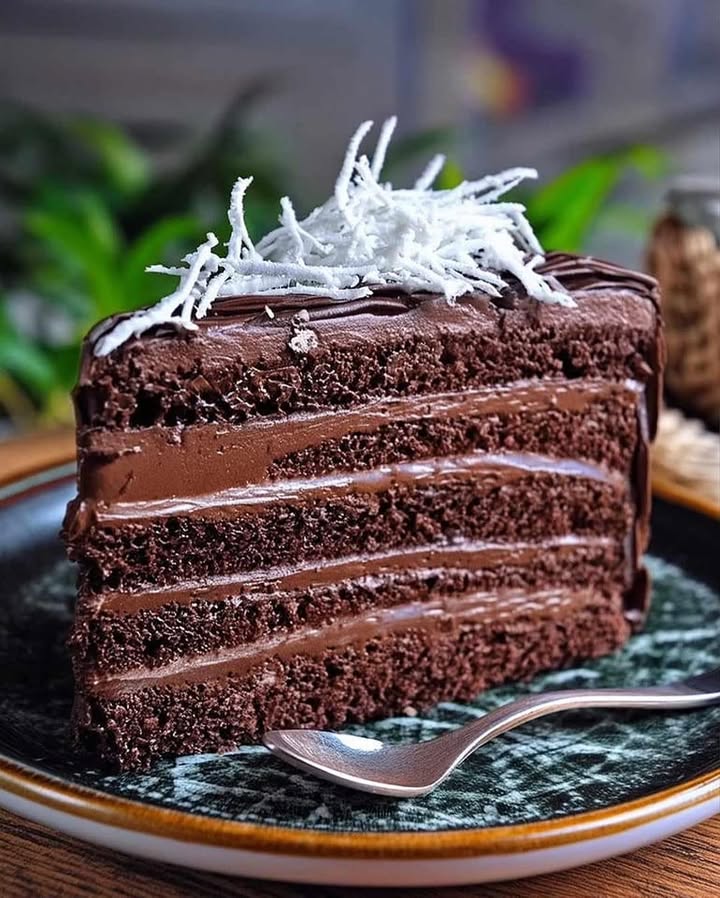
Imagine a delightful, rich, and velvety Coconut Chocolate Delight that makes every bite feel like a slice of heaven. This cake is not just a dessert; it’s an experience. Every time I make this for my family and friends, the smiles and compliments never get old. So, let’s dive into what makes this recipe so special and how you can bring this heavenly treat to your table.
The Story Behind the Heavenly Coconut Chocolate Cake
This recipe has been a staple in my family for generations. It all started with my grandmother, who would whip up this cake for every special occasion. The combination of rich chocolate and sweet coconut was a hit, and it quickly became a family favorite. Over the years, I’ve added my own little twists, making it even more delightful. Now, it’s time to share this beloved recipe with you.
Why You’ll Adore This Heavenly Coconut Chocolate Cake
There are a few reasons why this Coconut Chocolate Delight is a must-try. First, the flavors are simply divine. The rich cocoa and the sweet, creamy coconut create a perfect balance. Second, it’s surprisingly easy to make. Even if you’re not a seasoned baker, you can pull this off with some basic kitchen tools. Finally, it’s a versatile treat that can be enjoyed on any occasion, from birthdays to casual weekend gatherings.
Perfect Moments for This Heavenly Treat
This Coconut Chocolate Delight is perfect for a variety of occasions. Whether it’s a birthday party, a holiday gathering, or just a cozy night in with the family, this cake is sure to impress. It’s also a great way to show someone you care. Bake it for a friend who’s going through a tough time, or surprise your partner with a sweet treat. Trust me, it will make their day.
Ingredients for Your Heavenly Coconut Chocolate Cake
- 1 cup unsweetened cocoa powder
- 2 cups all-purpose flour
- 2 cups granulated sugar
- 1 1/2 teaspoons baking powder
- 1 1/2 teaspoons baking soda
- 1 teaspoon salt
- 2 large eggs
- 1 cup whole milk
- 1/2 cup vegetable oil
- 2 teaspoons vanilla extract
- 1 cup boiling water
- 2 cups shredded coconut for topping
- Frosting:
- 1 cup unsalted butter, softened
- 4 cups powdered sugar
- 1/4 cup heavy cream
- 2 teaspoons coconut extract
- 1 cup shredded coconut for frosting
Substitution Options
If you’re missing a few ingredients, don’t worry! Here are some easy substitutions:
- Unsweetened cocoa powder: Use dark chocolate cocoa powder for a richer flavor.
- Whole milk: Substitute with almond milk or any other plant-based milk for a dairy-free option.
- Vegetable oil: Use melted coconut oil for an extra coconut flavor.
Step-by-Step Preparation
Step 1: Preheat and Prepare the Pans
Preheat your oven to 350°F (175°C). Grab three 9-inch round pans and grease them with a bit of butter or cooking spray. Don’t forget to lightly dust them with flour to prevent the cake from sticking. This step ensures that your cake comes out perfectly and without any mess.
Step 2: Mix the Dry Ingredients
In a large bowl, stir together the cocoa powder, flour, sugar, baking powder, baking soda, and salt. Make sure everything is well combined. The dry ingredients should be smooth and free of lumps. This mixture forms the base of your Coconut Chocolate Delight.
Step 3: Add Wet Ingredients
Add the eggs, milk, oil, and vanilla extract to the dry ingredients. Beat on medium speed for about 2 minutes. The batter will start to become smooth and creamy. This step helps to incorporate air, making the cake light and fluffy.
Step 4: Stir in Boiling Water
Carefully stir in the boiling water. The batter will be thin, but that’s okay. The boiling water helps to deepen the chocolate flavor and keep the cake moist. Just give it a good stir until everything is well combined.
Step 5: Bake the Cakes
Pour the batter evenly into the prepared pans. Place them in the preheated oven and bake for 30 to 35 minutes. To check if the cakes are done, insert a toothpick into the center. If it comes out clean, they’re ready. Let the cakes cool for about 10 minutes before removing them from the pans and placing them on wire racks to cool completely. The aroma of baking chocolate will fill your kitchen, making everyone eager to try a slice.
Step 6: Prepare the Frosting
While the cakes are cooling, it’s time to make the frosting. Beat the softened butter until it’s creamy. Gradually add the powdered sugar, beating until it’s well combined. Next, add the heavy cream and coconut extract. Continue beating until the frosting is light and fluffy. The coconut extract adds a delightful aroma and a touch of tropical flavor.
Step 7: Assemble the Cake
Place one cake layer on a serving plate. Spread a generous amount of frosting on top and sprinkle with shredded coconut. Repeat with the second layer, and then top with the third layer. Frost the top and sides of the cake, and sprinkle the top with more shredded coconut. The cake will look and smell absolutely heavenly, and everyone will be eagerly waiting to dig in.
Step 8: Chill and Serve
Refrigerate the cake until you’re ready to serve. Chilling the cake for a while helps to set the frosting and makes it easier to slice. When you’re ready, take it out and serve. The cold cake will have a wonderfully firm texture, making each bite a delectable treat.
Timing
Prep Time: 20 minutes
Cook Time: 35 minutes
Total Time: 55 minutes
Kcal: 450 kcal per slice
Servings: 12
Chef’s Secret
One of my favorite secrets to enhance this Coconut Chocolate Delight is to toast the shredded coconut before adding it to the frosting. Simply spread the coconut on a baking sheet and toast it in the oven at 350°F (175°C) for about 5 minutes, or until golden brown. This adds a lovely, nutty flavor and a bit of crunch to the cake.
Extra Info
Did you know that coconut is not just a tasty ingredient but also a nutritional powerhouse? It’s rich in fiber, vitamins, and minerals. Plus, it has a low glycemic index, making it a great choice for those watching their blood sugar levels. So, you can enjoy this Coconut Chocolate Delight without too much guilt!
Necessary Equipment
- Three 9-inch round cake pans
- Mixing bowls
- Electric mixer or stand mixer
- Wire racks
- Spatula
Storage
To keep your Coconut Chocolate Delight fresh, store it in an airtight container in the refrigerator. It will stay fresh for up to 5 days. If you want to freeze the cake, wrap each layer separately in plastic wrap and place them in a freezer bag. The cake can be frozen for up to 3 months. Just thaw it in the fridge overnight before serving.
For the best texture, remove the cake from the fridge about 30 minutes before you plan to serve it. This allows the frosting to soften a bit, making each bite even more delectable. Enjoy your Coconut Chocolate Delight with a nice cup of coffee or tea – it’s the perfect way to end a meal or perk up your afternoon.
Tips and Advice
- Make sure all your ingredients are at room temperature before starting. This helps them mix better and creates a smoother batter.
- Don’t overmix the batter once you add the boiling water. Just stir until everything is combined. Overmixing can lead to a tough, dense cake.
- Use a serrated knife to level the cake layers if they come out with a dome. This ensures a flat surface for stacking and a more professional look.
Presentation Tips
- Add a sprinkle of extra toasted coconut around the edges of the cake for a rustic, homemade look.
- Drizzle some melted chocolate over the top for an extra touch of indulgence.
- Create a simple yet elegant garnish by adding a few fresh berries or a sprig of mint on top of the cake.
Healthier Alternative Recipes
If you’re looking for a lighter version of this Coconut Chocolate Delight, here are six delicious alternatives:
- Apple Lemon Sponge: A refreshing and fruity twist on a classic sponge cake.
- Ultimate Vegan Vanilla: A light and airy vanilla cake that’s perfect for those following a plant-based diet.
- Caramel Banana Delight: A decadent banana cake with a rich caramel sauce, perfect for a sweet treat.
- Vanilla Dream Delight: A simple and elegant vanilla cake that’s always a crowd-pleaser.
- Zucchini Chocolate Cake: A moist and flavorful cake that sneaks in some veggies, making it a healthier option.
- Carrot Coconut Cake: A naturally sweet and nutty cake that combines the goodness of carrots and coconut.
Common Mistakes to Avoid
Mistake 1: Overmixing the Batter
One of the most common mistakes is overmixing the batter, especially after adding the boiling water. This can lead to a tough, dense cake. To avoid this, mix the batter on medium speed for exactly 2 minutes, and then gently stir in the boiling water until just combined.
Mistake 2: Not Leveling the Cake Layers
Uneven cake layers can make it difficult to stack and frost your cake. To ensure a flat surface, use a serrated knife to level the tops of the cake layers. This will help you achieve a neat and professional-looking cake.
Mistake 3: Using Cold Ingredients
Using cold ingredients, such as eggs and milk, can result in a lumpy and uneven batter. Always make sure your ingredients are at room temperature before starting. This will help them mix smoothly and create a better texture in your cake.
FAQ
Can I use dark chocolate instead of cocoa powder?
Yes, you can use dark chocolate as a substitute for cocoa powder. Melt the dark chocolate and add it to the wet ingredients. This will give your cake a rich, intense chocolate flavor.
Is this cake suitable for a lactose-free diet?
Yes, you can make this cake lactose-free by substituting whole milk with almond milk or another plant-based milk. Also, use lactose-free butter for the frosting.
How long does the cake need to cool before frosting?
It’s best to let the cake cool completely before frosting, which usually takes about 1-2 hours. This prevents the frosting from melting and sliding off the cake.
Can I add nuts to the cake?
Absolutely! Chopped walnuts or pecans can be a great addition. Just fold them into the batter before pouring it into the pans. This adds a nice crunch and a nutty flavor to the cake.
How do I make the frosting extra creamy?
To make the frosting extra creamy, beat the butter until it’s very light and fluffy. Slowly add the powdered sugar, alternating with the heavy cream. Beat for a few extra minutes to incorporate air and make the frosting light and smooth.
Can I make this cake ahead of time?
Yes, you can make the cake layers ahead of time. Once they’re completely cooled, wrap them in plastic wrap and store them in the refrigerator or freezer. Just thaw and frost them when you’re ready to serve.
What if I don’t have three 9-inch pans?
If you don’t have three 9-inch pans, you can use two 9-inch pans, but the baking time will be longer. Start with 35-40 minutes and check with a toothpick. Alternatively, you can use one 9×13 inch pan, but the baking time will be around 40-45 minutes.
Can I use coconut oil instead of vegetable oil?
Yes, you can use melted coconut oil as a substitute for vegetable oil. This will give your cake an even more pronounced coconut flavor. Just make sure the coconut oil is melted and not too hot.
How do I prevent the cake from sticking to the pans?
To prevent the cake from sticking, make sure to grease the pans thoroughly with butter or cooking spray. Then, lightly dust them with flour, tapping out any excess. This will help the cake release easily from the pans after baking.
Can I use a different type of sugar?
You can use brown sugar or a combination of white and brown sugar. Brown sugar will give the cake a slightly different flavor, adding a touch of molasses. However, the texture might be a bit denser.
Final Thoughts
With its rich, indulgent flavors and easy preparation, the Coconut Chocolate Delight is a cake that’s sure to become a favorite in your home. Whether you’re celebrating a special occasion or just craving a sweet treat, this cake is the perfect choice. Give it a try and see for yourself why it’s a true delight. And if you’re looking for more delicious recipes, check out our all-recipes category for more inspiration.
Remember, the key to a great cake is not just following the recipe but also putting a little love and care into it. Happy baking!
Equipment
- Three 9-inch round cake pans
- Mixing bowls
- Electric mixer or stand mixer
- Wire racks
- Spatula
Ingredients
- 1 cup unsweetened cocoa powder
- 2 cups all-purpose flour
- 2 cups granulated sugar
- 1.5 teaspoons baking powder
- 1.5 teaspoons baking soda
- 1 teaspoon salt
- 2 large eggs
- 1 cup whole milk
- 0.5 cup vegetable oil
- 2 teaspoons vanilla extract
- 1 cup boiling water
- 2 cups shredded coconut for topping
- 1 cup unsalted butter, softened for frosting
- 4 cups powdered sugar for frosting
- 0.25 cup heavy cream for frosting
- 2 teaspoons coconut extract for frosting
- 1 cup shredded coconut for frosting
Instructions
- Preheat your oven to 350°F (175°C) and grease three 9-inch round cake pans with butter or cooking spray, dusting with flour.
- In a large bowl, combine cocoa powder, flour, sugar, baking powder, baking soda, and salt.
- Add eggs, milk, oil, and vanilla extract to the dry ingredients and beat on medium speed for about 2 minutes.
- Carefully stir in the boiling water until the batter is well combined.
- Pour the batter evenly into the prepared pans and bake for 30-35 minutes, or until a toothpick comes out clean.
- Let the cakes cool in the pans for about 10 minutes before transferring to wire racks to cool completely.
- To prepare the frosting, beat the softened butter until creamy, then gradually add powdered sugar, mixing well.
- Add heavy cream and coconut extract, and continue to beat until the frosting is light and fluffy.
- Assemble the cake by placing one layer on a serving plate, spreading frosting on top and sprinkling with shredded coconut. Repeat for the second layer and top with the third layer, frosting the top and sides of the cake.
- Refrigerate the cake until ready to serve.
Notes
Nutrition

Hi, I’m Olivia Parker, the founder of BakingSecret.com and a lifelong lover of all things sweet and homemade. I grew up in a small town in Oregon, where the smell of fresh cookies in my family’s kitchen sparked my passion for baking. Over the years, I turned that passion into a mission: to help home bakers feel confident, inspired, and creative.
After studying food science and working in several artisan bakeries across the U.S., I decided to create a space where everyone from beginners to seasoned bakers can find reliable recipes, expert tips, and a warm, welcoming community. BakingSecret.com is my way of sharing the magic of baking with the world. When I’m not testing new recipes, you’ll find me exploring farmers’ markets, collecting vintage cookbooks, or perfecting my sourdough technique.