
A Simple Italian Tart to Sweeten Your Day
Imagine walking into your kitchen, greeted by the aroma of freshly baked goodness. This Simple Italian Tart is a delightful treat that brings a touch of Italy to your home. It’s not just a dessert; it’s a little piece of joy that you can share with your family and friends. Let me tell you, this recipe has been a hit in my home, and I’m excited to share it with you!
The Story Behind This Scrumptious Tart
Tarts have been a beloved part of Italian cuisine for centuries. This particular recipe is a modern twist on a classic, blending traditional flavors with a hint of freshness. I first tasted a similar tart during a trip to Tuscany, and I was determined to recreate it at home. The result? A simple yet elegant dessert that captures the essence of Italian baking.
Why This Italian Tart Will Steal Your Heart
What makes this tart so special? For starters, it’s incredibly easy to make. No fancy techniques or equipment required. The combination of buttery, sweet, and zesty flavors is a symphony for your taste buds. Plus, it’s a versatile dessert that can be enjoyed on any occasion, from a casual family dinner to a festive gathering.
Ideal Moments to Indulge in This Tart
This Italian Tart is perfect for a variety of occasions. Serve it as a light dessert after a hearty meal, bring it to a potluck, or enjoy it with a cup of coffee for a mid-morning treat. It’s also a great option for a picnic or a lazy Sunday brunch. The possibilities are endless!
Ingredients for a Heavenly Tart
- 1 1/2 cups all-purpose flour
- 1 teaspoon baking powder
- 1/2 teaspoon baking soda
- 1/4 teaspoon salt
- 1/2 cup unsalted butter, softened
- 12 tablespoons granulated sugar (3/4 cup)
- 3 large eggs
- 1 teaspoon vanilla extract
- 1/2 cup whole milk
- Zest of 1 lemon
- Powdered sugar for dusting
Substitution Options to Keep It Fresh
If you’re missing a few ingredients, don’t worry! You can substitute the all-purpose flour with a gluten-free blend if needed. For a dairy-free version, use almond milk instead of whole milk and a vegan butter substitute. The flavor will still be amazing, trust me!
Preparation: Bringing the Tart to Life
Step 1: Preheat and Prepare
First things first, preheat your oven to 350°F (175°C). Grease and flour a 9-inch round pan. This step ensures your tart will come out easily and have a beautiful, golden crust.
Step 2: Mix the Dry Ingredients
In a medium bowl, combine the flour, baking powder, baking soda, and salt. Whisk these together until they are well mixed. The dry ingredients set the foundation for the tart’s texture and rise.
Step 3: Cream the Butter and Sugar
In a large bowl, beat the softened butter and granulated sugar with an electric mixer until light and fluffy. This step is crucial for creating a smooth and creamy base. The color should be a pale yellow, and the mixture should be airy.
Step 4: Add Eggs and Flavors
Add the eggs one at a time, beating well after each addition. Stir in the vanilla extract and lemon zest. The eggs add richness and structure, while the lemon zest gives a burst of freshness. The batter should be smooth and slightly thick.
Step 5: Combine Wet and Dry Ingredients
Gradually add the dry ingredients to the wet ingredients, alternating with the milk, beginning and ending with the dry ingredients. Mix until just combined. Overmixing can lead to a tough texture, so be gentle but thorough.
Step 6: Bake to Perfection
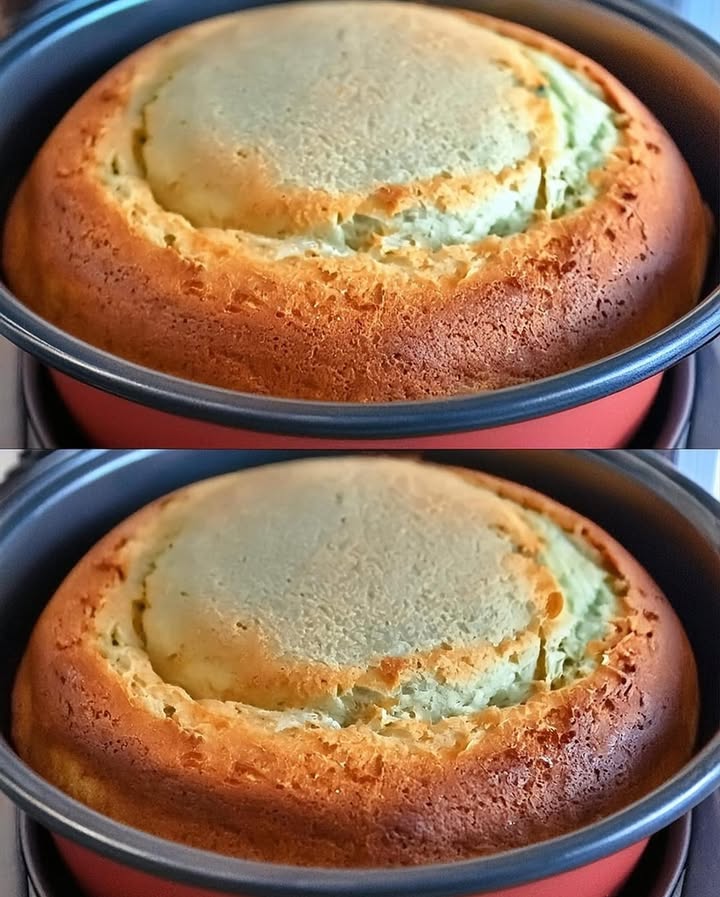
Pour the batter into the prepared pan and spread it evenly. Bake for 25-30 minutes, or until a toothpick inserted in the center comes out clean. The tart will turn a lovely golden brown, and your kitchen will smell divine!
Chef’s Tip: Enhance the Flavor
To add an extra layer of flavor, try adding a teaspoon of almond extract along with the vanilla. It complements the lemon beautifully and adds a subtle nuttiness.
Timing: From Start to Finish
This recipe is a breeze. Prep time is about 15 minutes, and the cooking time is 30 minutes. Total time from start to finish is 45 minutes. Perfect for a quick dessert or a last-minute treat.
Chef’s Secret: The Key to Success
The key to a perfect Italian Tart is in the mixing. Make sure the butter and sugar are well creamed, and be careful not to overmix the batter. This keeps the tart light and tender.
Extra Info: A Little Bit of History
Did you know that tarts have been around since ancient times? They were originally made with a pastry crust and filled with savory ingredients. Over time, sweet versions became popular, and the rest is history. This Italian Tart is a modern take on a classic, and it’s a true delight.
Necessary Equipment: Tools of the Trade
You’ll need a few basic tools to make this tart: a 9-inch round pan, a whisk, a mixing bowl, an electric mixer, and a spatula. Simple, right?
Storage: Keeping It Fresh
To keep your Italian Tart fresh, store it in an airtight container at room temperature for up to 3 days. If you want to extend its shelf life, you can refrigerate it for up to a week. Just make sure to let it come to room temperature before serving for the best flavor.
For long-term storage, you can freeze the tart. Wrap it tightly in plastic wrap and then in aluminum foil. It will keep in the freezer for up to 3 months. Thaw it in the refrigerator overnight before serving.
Always follow refrigerator safety guidelines to ensure your food stays safe and delicious.
Tips and Advice: Baking Like a Pro
Make sure all your ingredients are at room temperature before starting. This helps everything mix more smoothly. Also, don’t skip the lemon zest; it adds a wonderful, bright flavor. And don’t forget to preheat your oven; it ensures even baking.
Presentation Tips: Making It Look Beautiful
Once your tart is cooled, dust it with powdered sugar for a pretty, finishing touch. You can also garnish it with a few fresh berries or a dollop of whipped cream. Presentation is key, and a little extra effort goes a long way.
Healthier Alternative Recipes: Variations to Try
- Lemon Blueberry Tart: Add a cup of fresh blueberries to the batter for a burst of fruity flavor. Top with a light lemon glaze for a refreshing twist.
- Chocolate Chip Tart: Fold in a handful of chocolate chips for a rich, decadent treat. Check out our best chocolate cake recipe for more chocolatey goodness.
- Raspberry Tart: Swirl in raspberry jam for a sweet and tangy flavor. The vibrant color and tartness of the raspberries make it a standout dessert.
- Almond Tart: Add a cup of ground almonds to the batter for a nutty, textural delight. It’s a great option for those who love a bit of crunch.
- Peach Tart: Use ripe, sliced peaches on top of the batter before baking. The natural sweetness of the peaches is a perfect match for the tart’s simplicity.
- Coconut Tart: Swap the milk for coconut milk and add shredded coconut for a tropical twist. It’s like a mini vacation in every bite.
Common Mistakes to Avoid: Baking Perfectly
Mistake 1: Overbeating the Batter
Overbeating the batter can lead to a tough and chewy tart. Once the dry and wet ingredients are combined, mix just until there are no lumps. Pro tip: Use a spatula to fold in the final bits of flour gently.
Mistake 2: Not Preheating the Oven
A common mistake is not preheating the oven. This can result in uneven baking and an undercooked tart. Always preheat your oven to 350°F (175°C) before you start mixing the batter.
Mistake 3: Using Cold Ingredients
Using cold ingredients, especially the butter, can lead to a lumpy and uneven batter. Make sure all your ingredients are at room temperature before you begin. This ensures a smooth and creamy texture.
Mistake 4: Overbaking the Tart
Overbaking can dry out the tart and make it crumbly. Keep an eye on it and test it with a toothpick after 25 minutes. If it comes out clean, it’s ready. Pro tip: If the edges are browning too quickly, cover them with a strip of aluminum foil.
Mistake 5: Not Dusting with Powdered Sugar
Dusting with powdered sugar is not just for looks; it adds a hint of sweetness and a professional finish. Don’t skip this step! It’s the perfect final touch to your Italian Tart.
FAQ: Answering Your Questions
Can I use a different type of milk?
Yes, you can use almond milk or any other non-dairy milk as a substitute for whole milk. Just make sure it’s unflavored and unsweetened to avoid overpowering the tart’s flavors.
Is this tart suitable for people with gluten allergies?
While the original recipe uses all-purpose flour, you can use a gluten-free flour blend as a substitute. Just make sure to check the label for any additional allergens.
Can I add other fruits to the tart?
Absolutely! You can add a variety of fruits such as blueberries, raspberries, or even diced apples. Just make sure the fruits are small enough to distribute evenly in the batter.
How do I know when the tart is done?
Use a toothpick to test the center of the tart. If it comes out clean, the tart is done. If there’s some batter sticking to the toothpick, bake for a few more minutes and test again.
Can I make this tart in advance?
Yes, you can make this tart a day in advance. Store it in an airtight container at room temperature. Dust it with powdered sugar just before serving.
Can I freeze the tart?
Yes, you can freeze the tart. Wrap it tightly in plastic wrap and then in aluminum foil. It will keep in the freezer for up to 3 months. Thaw it in the refrigerator overnight before serving.
What can I do if the tart is too dry?
If the tart turns out too dry, you might have overbaked it. Next time, keep a closer eye on it and test it with a toothpick after 25 minutes. You can also add a bit more milk to the batter if it seems too thick.
Can I use a different size pan?
Yes, you can use a different size pan, but the baking time may vary. If you use a smaller pan, the tart will be thicker and may need a bit more time to bake. A larger pan will result in a thinner tart, which may bake faster.
Is this tart very sweet?
This tart is moderately sweet, thanks to the 12 tablespoons of granulated sugar. The lemon zest adds a nice balance, making it a perfect dessert for those who prefer a less sweet treat.
Can I use a hand mixer instead of an electric mixer?
Yes, you can use a hand mixer, but it will take a bit more effort. The goal is to get the butter and sugar to a light and fluffy consistency, so be patient and keep mixing until you achieve that texture.
Whether you’re a seasoned baker or a beginner, this Simple Italian Tart is a delightful recipe that’s sure to impress. It’s a perfect addition to your baking repertoire. If you’re looking for more delectable desserts, check out our other recipes. Happy baking!
Equipment
- Electric mixer
- Whisk
- Mixing bowl
- 9-inch round pan
- Spatula
Ingredients
- 1.5 cups all-purpose flour
- 1 tsp baking powder
- 0.5 tsp baking soda
- 0.25 tsp salt
- 0.5 cups unsalted butter, softened
- 12 tbsp granulated sugar (3/4 cup)
- 3 large eggs
- 1 tsp vanilla extract
- 0.5 cups whole milk
- 1 zest lemon
- q.s. powdered sugar for dusting to taste
Instructions
- Preheat the oven to 350°F (175°C) and grease and flour a 9-inch round pan.
- In a medium bowl, combine the flour, baking powder, baking soda, and salt, whisking until well mixed.
- In a large bowl, beat the softened butter and granulated sugar with an electric mixer until light and fluffy.
- Add the eggs one at a time, beating well after each addition, then stir in the vanilla extract and lemon zest.
- Gradually add the dry ingredients to the wet ingredients, alternating with the milk, beginning and ending with the dry ingredients.
- Pour the batter into the prepared pan and spread it evenly. Bake for 25-30 minutes, or until a toothpick inserted in the center comes out clean.
Notes
Nutrition

Hi, I’m Olivia Parker, the founder of BakingSecret.com and a lifelong lover of all things sweet and homemade. I grew up in a small town in Oregon, where the smell of fresh cookies in my family’s kitchen sparked my passion for baking. Over the years, I turned that passion into a mission: to help home bakers feel confident, inspired, and creative.
After studying food science and working in several artisan bakeries across the U.S., I decided to create a space where everyone from beginners to seasoned bakers can find reliable recipes, expert tips, and a warm, welcoming community. BakingSecret.com is my way of sharing the magic of baking with the world. When I’m not testing new recipes, you’ll find me exploring farmers’ markets, collecting vintage cookbooks, or perfecting my sourdough technique.